optical flow - princeton university computer science · 3 optical flow theory - introduction...
TRANSCRIPT

Min SunSrdjan Krstic
COS429Computer Vision
Optical Flow

2
Today's outline
Optical Flow theoryIntroductionShi-TomasiLucas-Kanade
OpenCV implementationThings to look out forExample code, step-by-step

3
Optical flow theory - introduction
Optical flow means tracking specific features (points) in an image across multiple framesHuman vision does optical flow analysis all the time – being aware of movement around themUse cases:
Find objects from one frame in other framesDetermine the speed and direction of movement of objectsDetermine the structure of the environment
Questions:How to determine one frame's features in another frame? (Lucas-Kanade)How to choose which features are “good” to track? (Shi-Tomasi)

4
Optical flow theory - Lucas-Kanade
Brightness Constancy

5
Optical flow theory - Lucas-Kanade

6
Optical flow theory - Lucas-Kanade

7
Optical flow theory - Lucas-Kanade
Prob: we have more equations than unknowns
– The summations are over all pixels in the K x K window– This technique was first proposed by Lukas & Kanade
(1981)• described in Trucco & Verri reading
– minimum least squares solution given by solution (in d) of:• Solution: solve least squares problem

8
Optical flow theory – Shi-Tomasi (cont'd)
Shi-Tomasi calculates the following matrix
where is the intensity of the pixel, and and are the horizontal and vertical displacements of the center of the window containing the neighborhood

9
Optical flow theory – Shi-Tomasi
A “good” feature will intuitively have two distinctive qualities: texturedness and corner
Lack of texture = ambiguity in trackingNo corner = aperture problemMany algorithms – Harris, SUSAN, FAST, Shi-Tomasi...
OpenCV implements the Shi-Tomasi algorithm

10
OpenCV implementation – HW5
optical flow analysis

11
OpenCV implementation – Tips
We will go through the crucial steps.For reference of sample code using optical flow analysis in OpenCV, please see YOUR_OPENCV_INSTALL_FOLDER/share/opencv/samples/c/lkdemo.c

12
OpenCV implementation – Tips (cont'd)
CvCapture *input_video = cvCaptureFromFile(“filename.avi”);
Clearly, this fails when the file doesn't existBut also, OpenCV uses a limited set of codecs, and it fails if it cannot read the codec
Obviously raw AVI is goodMJPEG and Cinepak are good for instanceDV is bad
Opening the input file

13
OpenCV implementation – Tips (cont'd)
cvQueryFrame( input_video );
Ugly hack.This is an OpenCV “gotcha”. Unless we get a frame from the video first, we can't look inside of the AVI to determine the properties of the video. In fact we can, but the results are incorrect.
Dummy get a frame from the video

14
OpenCV implementation – Tips (cont'd)
CvSize frame_size;frame_size.height = cvGetCaptureProperty( input_video, CV_CAP_PROP_FRAME_HEIGHT);
This is the standard format of getting the properties of the video. Similar constructions are for other properties, differing in the second parameter. For instance, if set to CV_CAP_PROP_FRAME_WIDTH, we would get the width of the frame
Read AVI properties

15
OpenCV implementation – Tips (cont'd)
CvNamedWindow( “Optical Flow”, CV_WINDOW_AUTOSIZE);
This is using HIGHGUI. It creates a window which we can use for output, for the purposes of visualization and debugging.
Create a window

16
OpenCV implementation – Tips (cont'd)
cvSetCaptureProperty( input_video, CV_CAP_PROP_POS_FRAMES, N );IplImage *frame = cvQueryFrame( input_video );
To get the Nth frame, we set the “current” frame to N and then execute cvQueryFrame.GOTCHA: cvQueryFrame always returns a pointer to the same location in memory. So the latter calls always overwrite the former ones. The only way to store multiple frames is to manually copy them to another place in memory.
Loop through frames

17
OpenCV implementation – Tips (cont'd)
IplImge *frame1 = cvCreateImage( cvSize(width, height), IPL_DEPTH_8U, 1 );cvConvertImage( frame, frame1, CV_CVTIMG_FLIP );
First line creates a new image of the appropriate size, 8-bit depth mono (single channel – grayscale)Second line converts the captured frame to this new format.GOTCHA: on top of converting, we need to flip the frame, since OpenCV by default reads AVI frames upside-down?!?!?!?
Allocate and convert

18
OpenCV implementation – Tips (cont'd)CvPoint2D32f frame1_features[N];cvGoodFeaturesToTrack( frame1, eig_image, temp_image, frame1_features, &N, .01, .01, NULL );First line allocates the memory to store the featuresSecond line actually runs the algorithm
eig_image and temp_image are just workspace for the algorithm&N is the place to store the number of features foundfirst .01 is the minimum eigenvalue of the feature to acceptsecond .01 is the minimum euclidean distance between two feature pointsNULL is the masking frame poining to the part of the image which should be search, whole image if NULL

19
OpenCV implementation – Tips (cont'd)
char optical_flow_found_feature[];float optical_flow_feature_error[];CvTermCriteria term = cvTermCriteria( CV_TERMCRIT_ITER | CV_TERMCRIT_EPS, 20, .3 );cvCalcOpticalFlowPyrLK( ... );
The first three lines are set-up steps needed for the algorithm. They are arguments to cvCalcOpticalFlowPyrLK, which has 13 arguments in total, explained in detail in the implementation below.
Run Lucas-Kanade

20
OpenCV implementation – Tips (cont'd)
CvPoint p, q;p.x = 1; p.y = 1; q.x = 2; q.y = 2;CvScalar line_color;line_color = CV_RGB(255, 0, 0);int line_thickness = 1;cvLine(frame1, p,q, line_color, line_thickness, CV_AA, 0);cvShowImage(“Optical Flow”, frame1);
This shows how to draw a red line from (1,1) to (2,2)CV_AA means draw the line antialiased0 means there are no fractional bits
Visualizing the output

21
Demo

22
Final Project
Skeleton code
23
OpenCV implementation – Tips (cont'd)
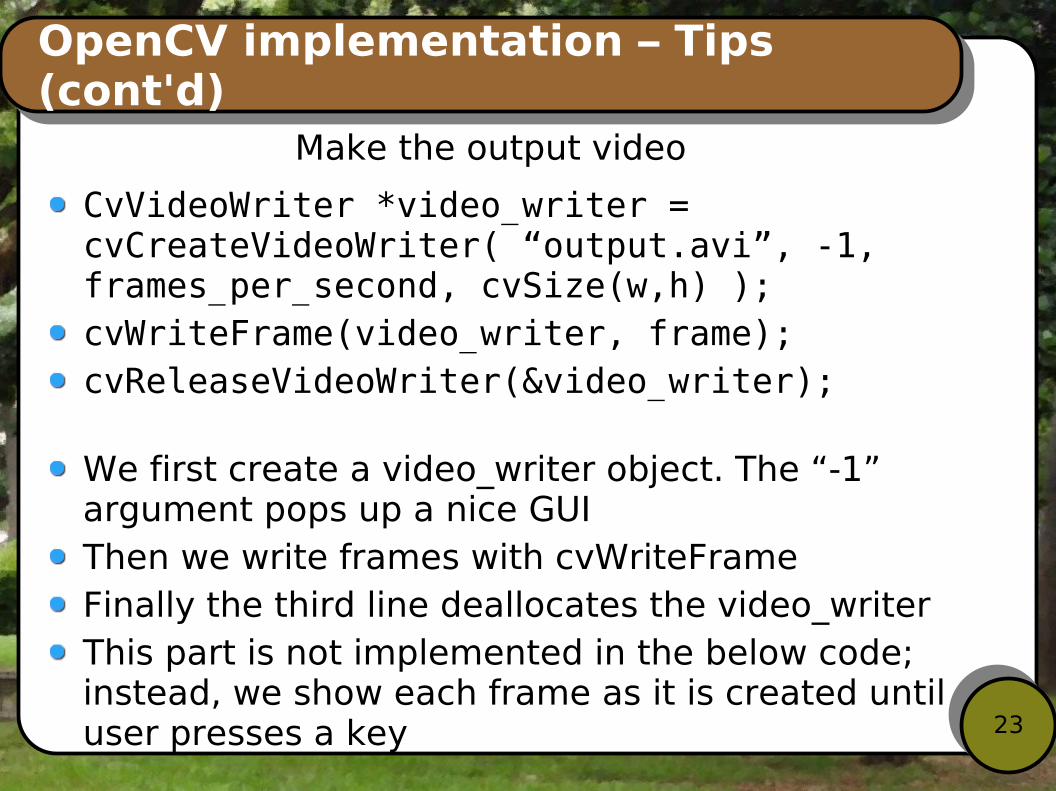
CvVideoWriter *video_writer = cvCreateVideoWriter( “output.avi”, -1, frames_per_second, cvSize(w,h) );cvWriteFrame(video_writer, frame);cvReleaseVideoWriter(&video_writer);
We first create a video_writer object. The “-1” argument pops up a nice GUIThen we write frames with cvWriteFrameFinally the third line deallocates the video_writerThis part is not implemented in the below code; instead, we show each frame as it is created until user presses a key
Make the output video