my favorite things - denton isd · my favorite things watercolor paintings inspired by the...
TRANSCRIPT
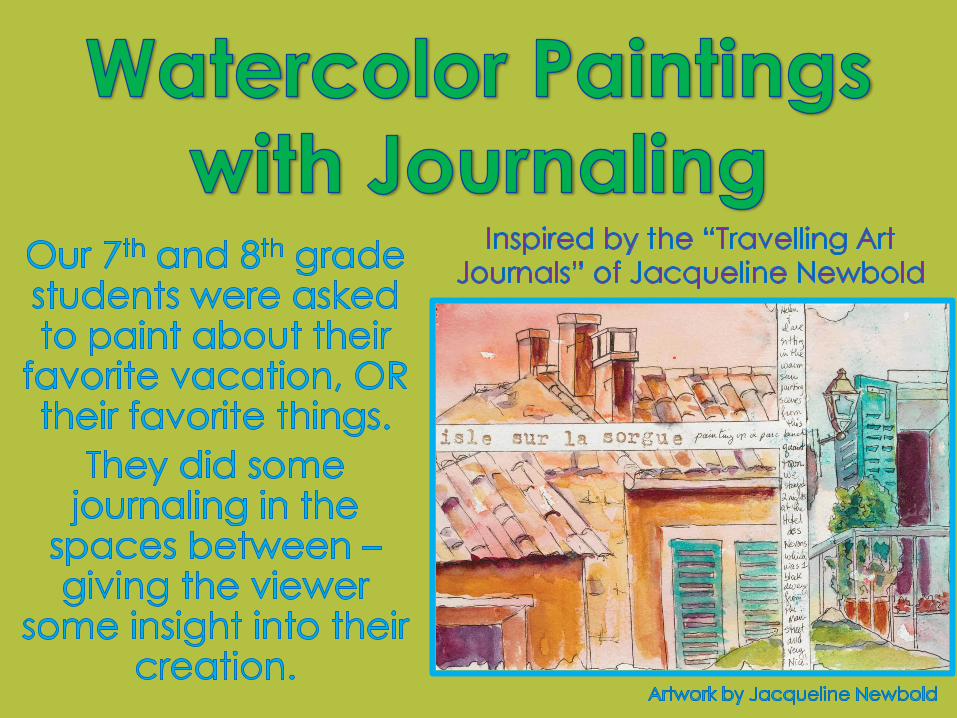
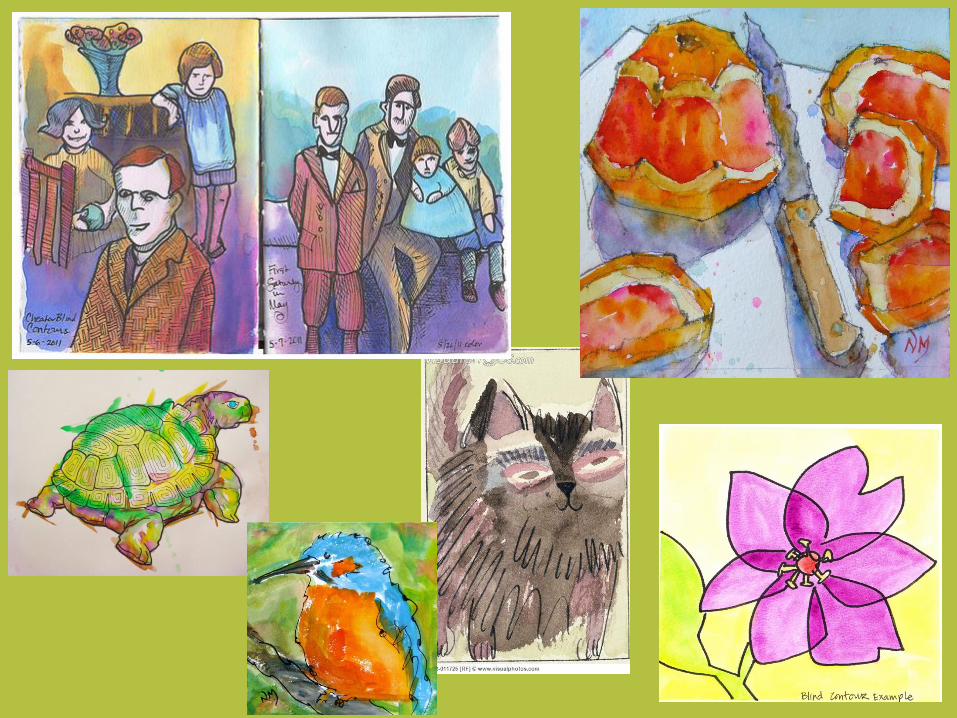
My Favorite
Things Watercolor
Paintings Inspired by the “Travelling Art
Journals” of Jacqueline
Newbold
For this watercolor
painting, we will be using
YOUR
FAVORITE THINGS
as inspiration and subject
matter!
In a few minutes, we will be filling out a
questionnaire called
“These are a Few of MY Favorite Things”
This will help you come up with ideas.
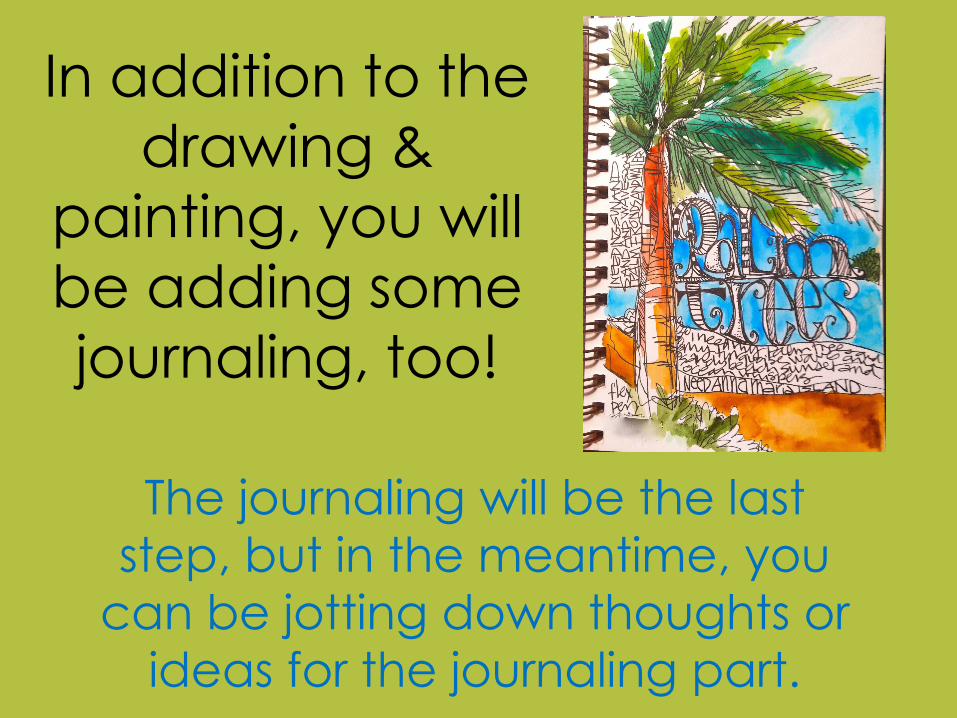
In addition to the
drawing &
painting, you will
be adding some
journaling, too!
The journaling will be the last
step, but in the meantime, you
can be jotting down thoughts or
ideas for the journaling part.
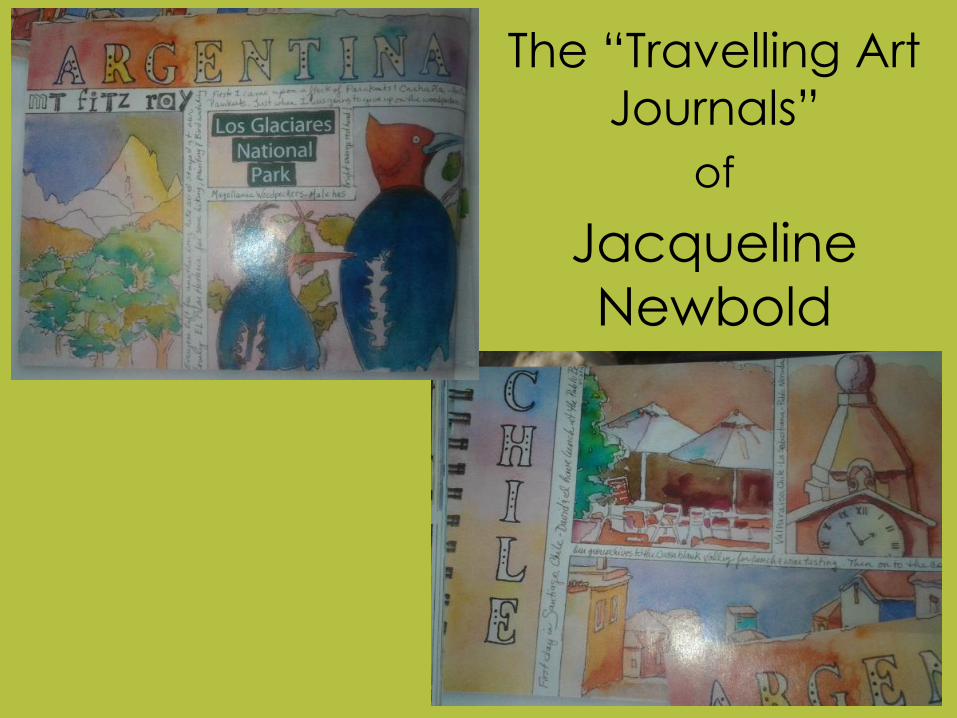
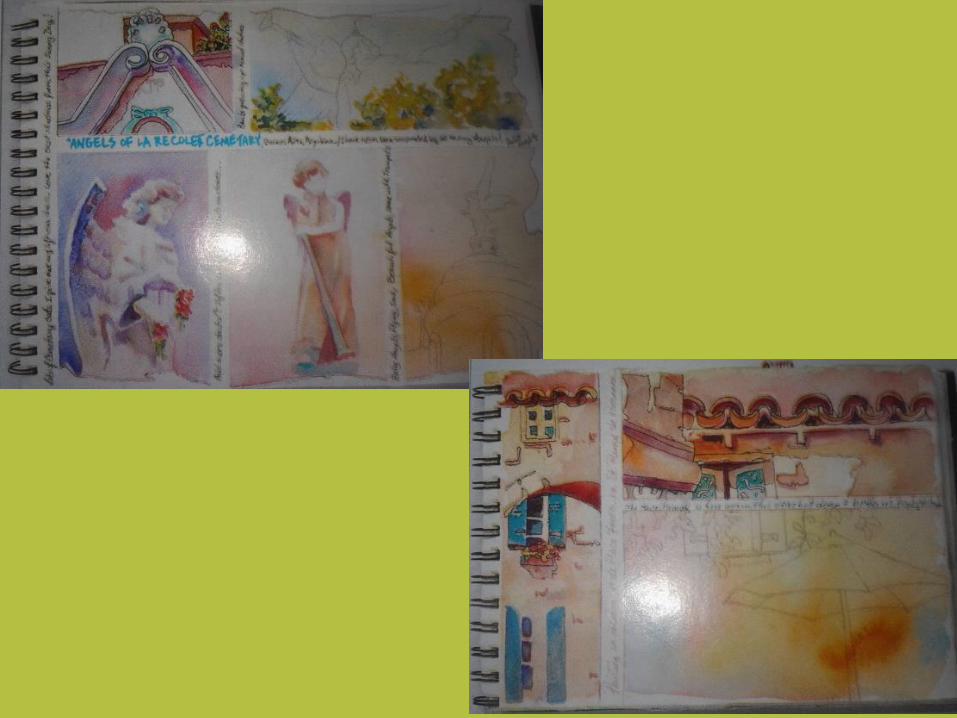
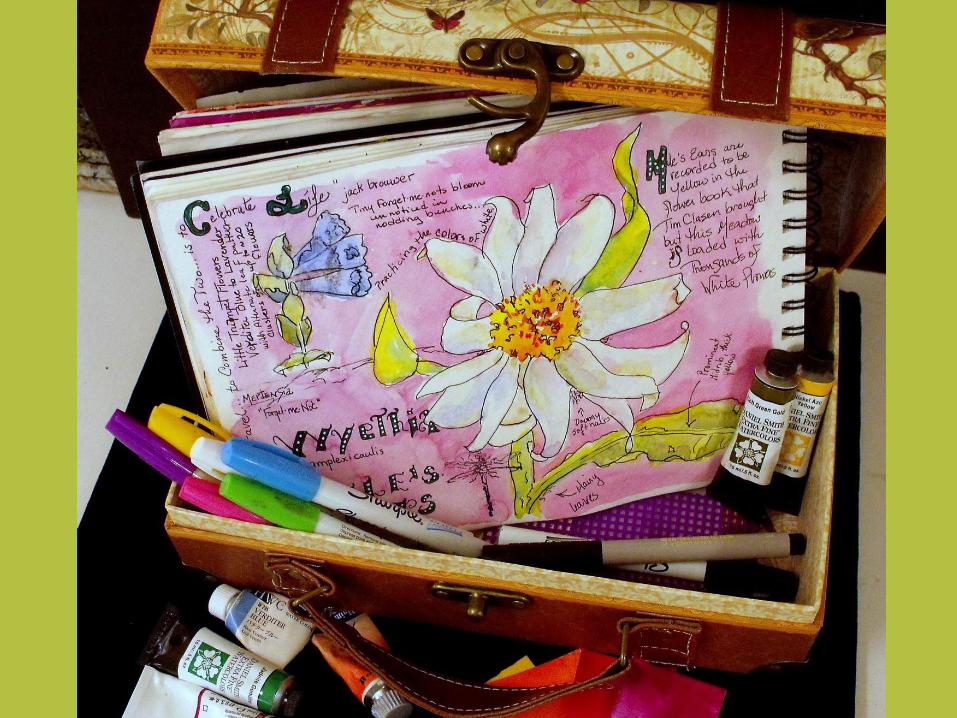
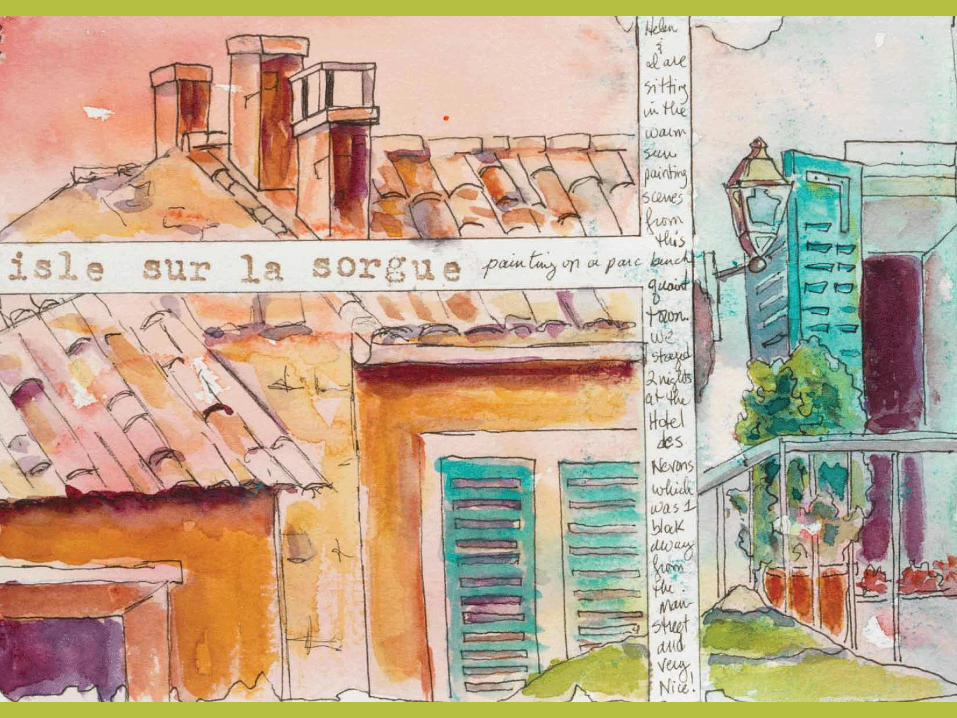
The “Travelling Art
Journals”
of
Jacqueline
Newbold
You have the next 5- 7
minutes to fill out the
questionnaire sheet.
This will help you come
up with ideas.
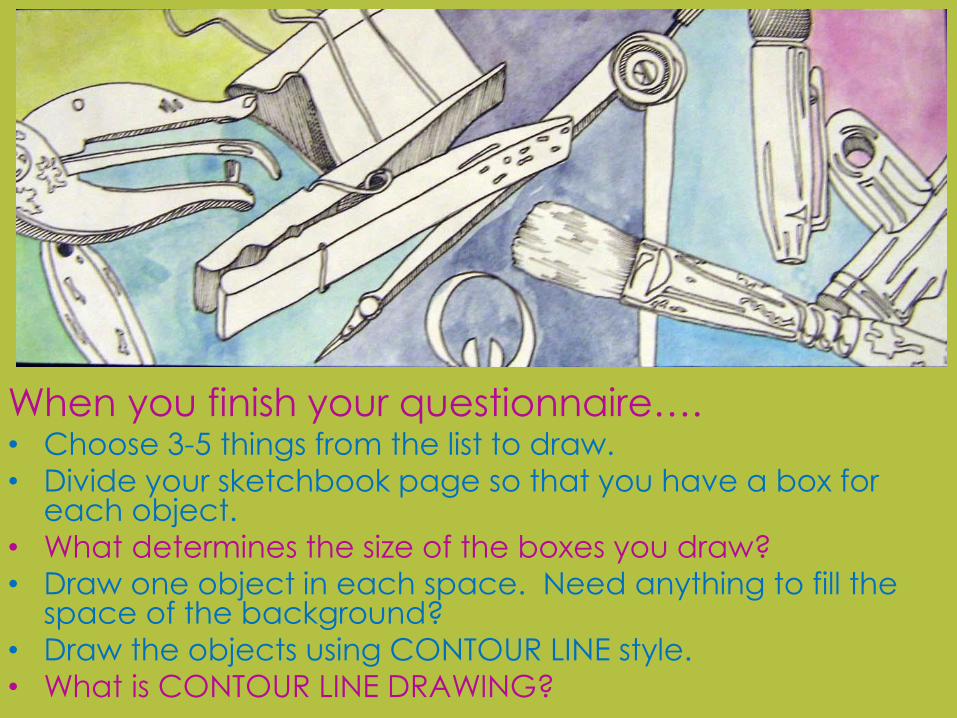
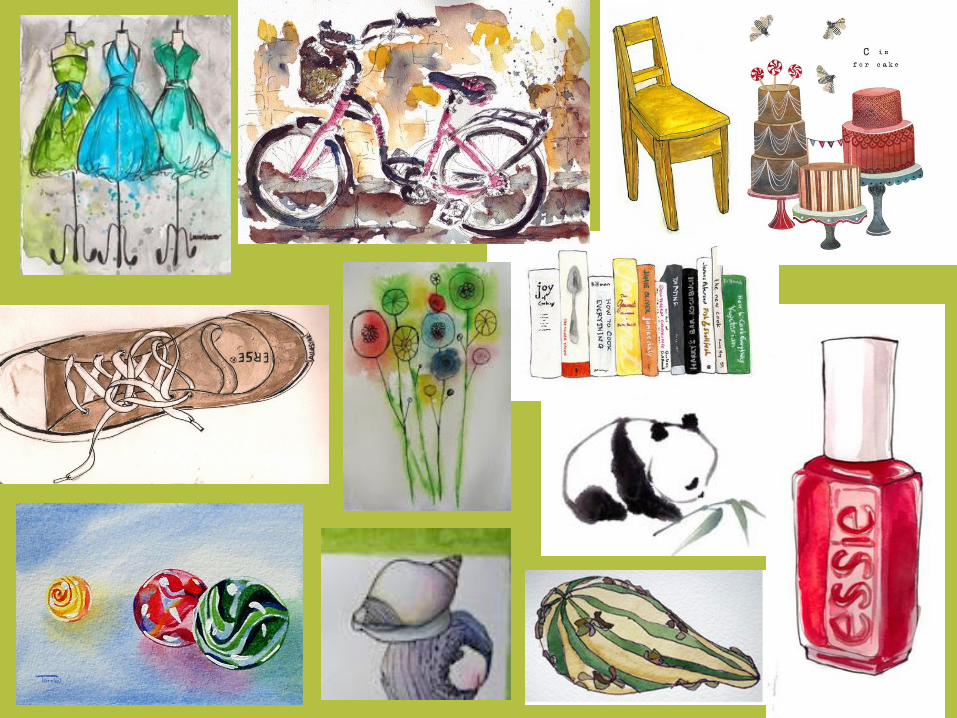
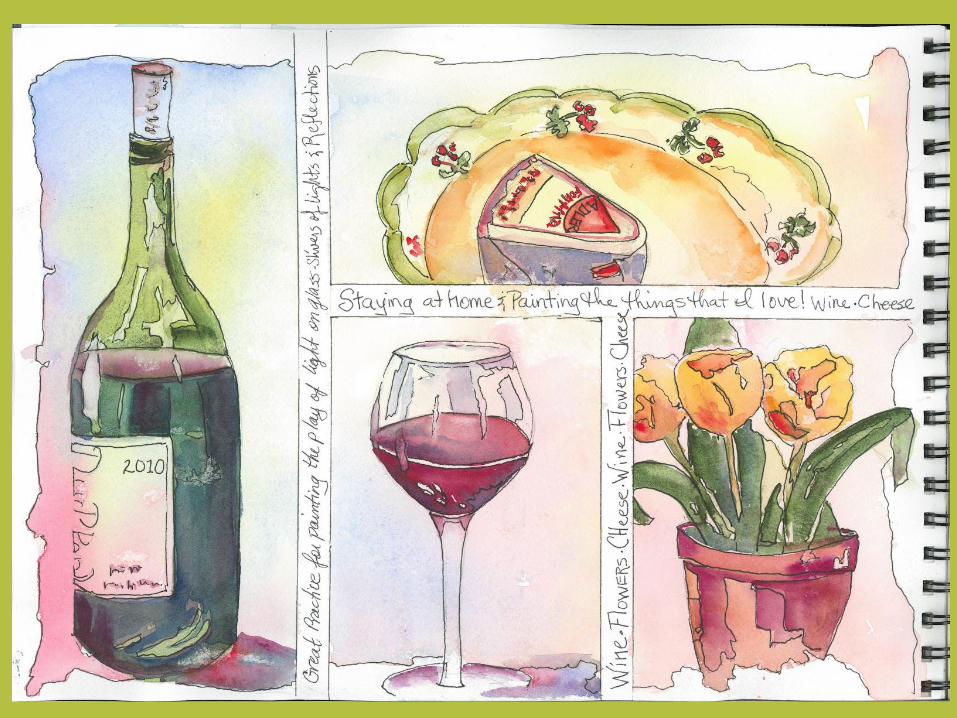
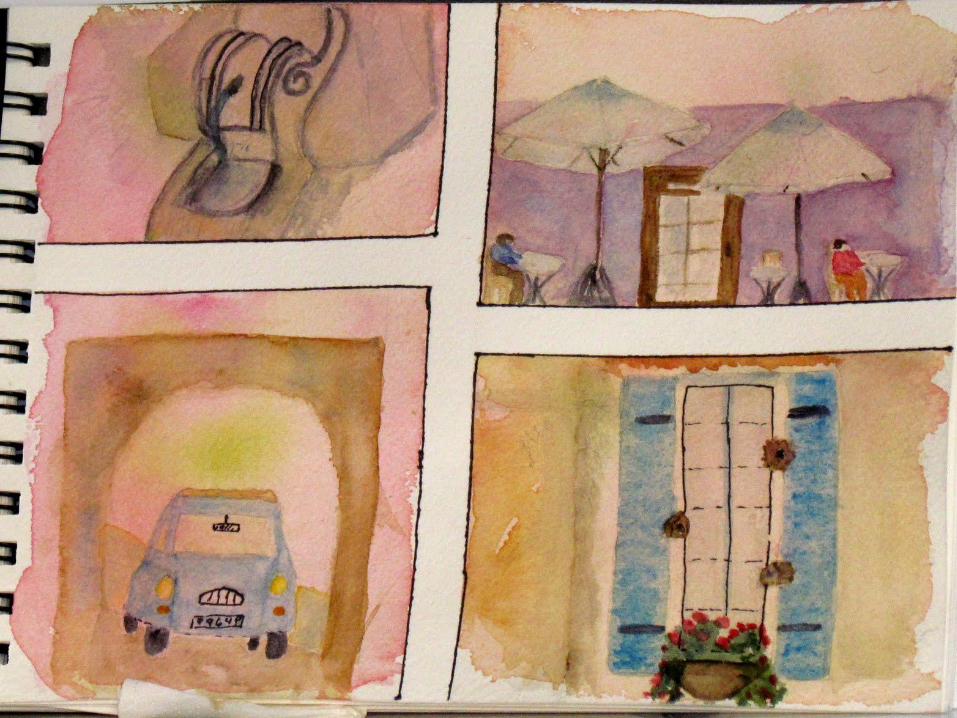
When you finish your questionnaire…. • Choose 3-5 things from the list to draw.
• Divide your sketchbook page so that you have a box for each object.
• What determines the size of the boxes you draw?
• Draw one object in each space. Need anything to fill the space of the background?
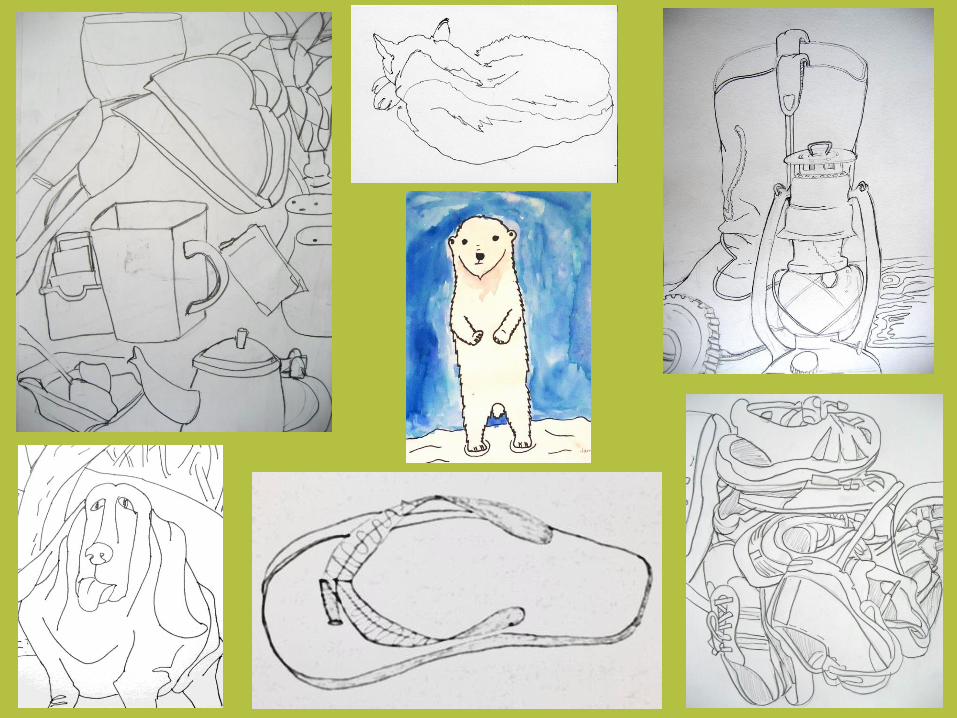
• Draw the objects using CONTOUR LINE style.
• What is CONTOUR LINE DRAWING?
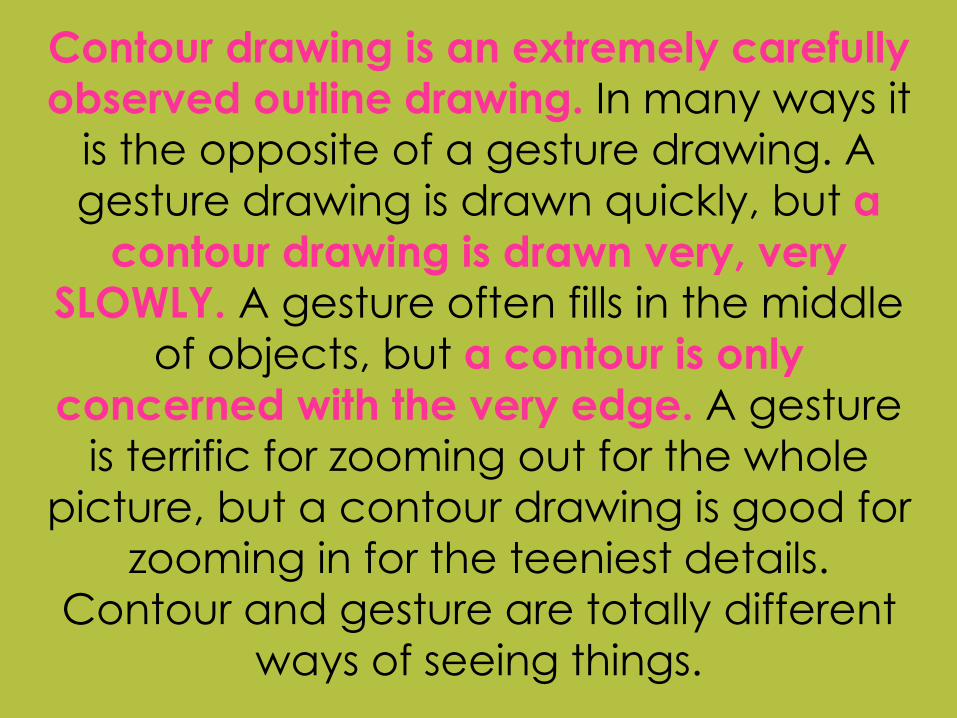
Contour drawing is an extremely carefully observed outline drawing. In many ways it
is the opposite of a gesture drawing. A
gesture drawing is drawn quickly, but a
contour drawing is drawn very, very SLOWLY. A gesture often fills in the middle
of objects, but a contour is only
concerned with the very edge. A gesture
is terrific for zooming out for the whole
picture, but a contour drawing is good for
zooming in for the teeniest details.
Contour and gesture are totally different
ways of seeing things.
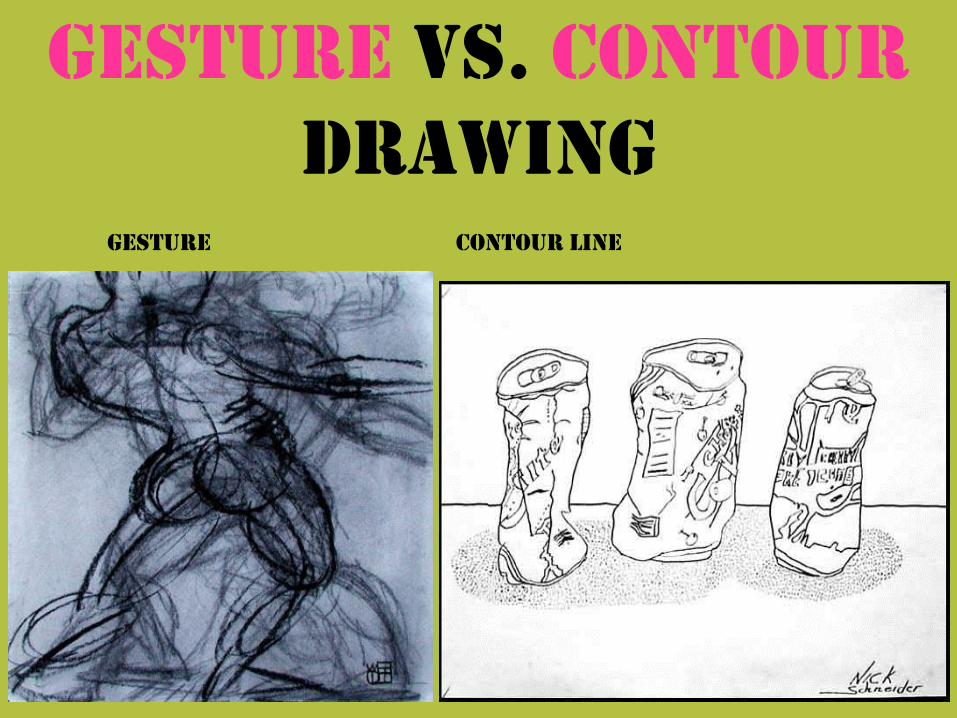
GESTURE VS. CONTOUR
DRAWING
Gesture contour line
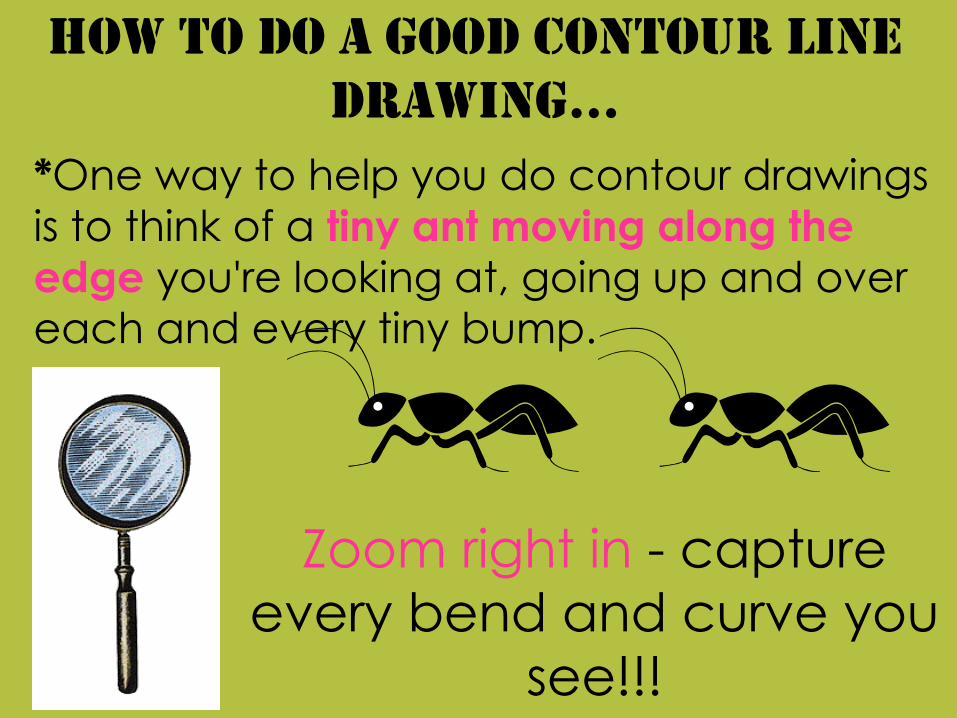
How to do a good contour line
drawing…
*One way to help you do contour drawings
is to think of a tiny ant moving along the
edge you're looking at, going up and over
each and every tiny bump.
Zoom right in - capture
every bend and curve you
see!!!
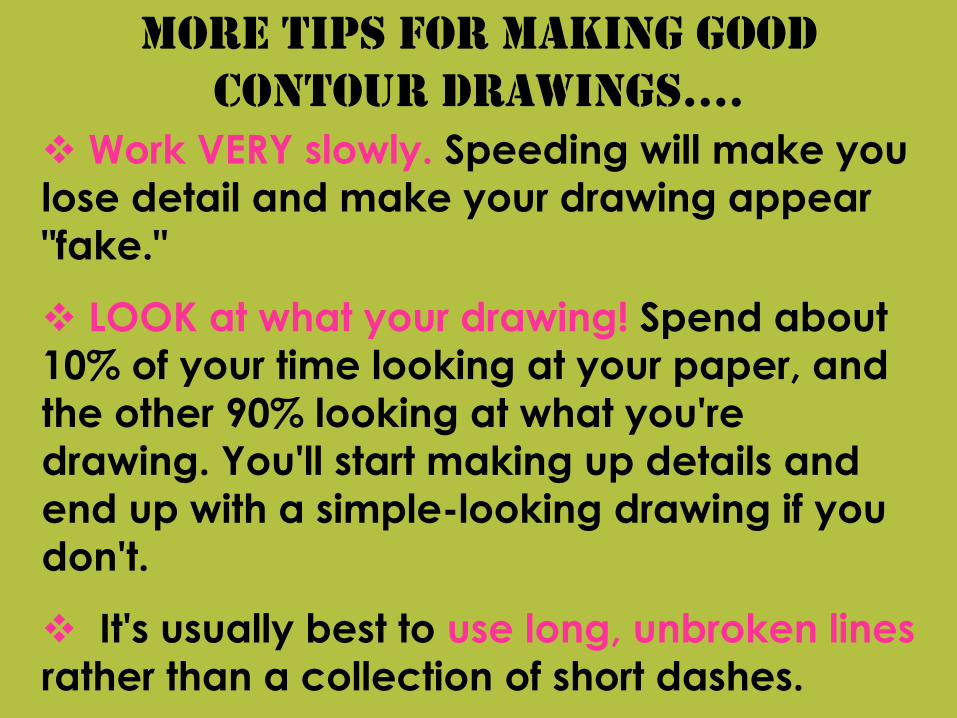
More tips for making good
contour drawings….
Work VERY slowly. Speeding will make you
lose detail and make your drawing appear
"fake."
LOOK at what your drawing! Spend about
10% of your time looking at your paper, and
the other 90% looking at what you're
drawing. You'll start making up details and
end up with a simple-looking drawing if you
don't.
It's usually best to use long, unbroken lines
rather than a collection of short dashes.
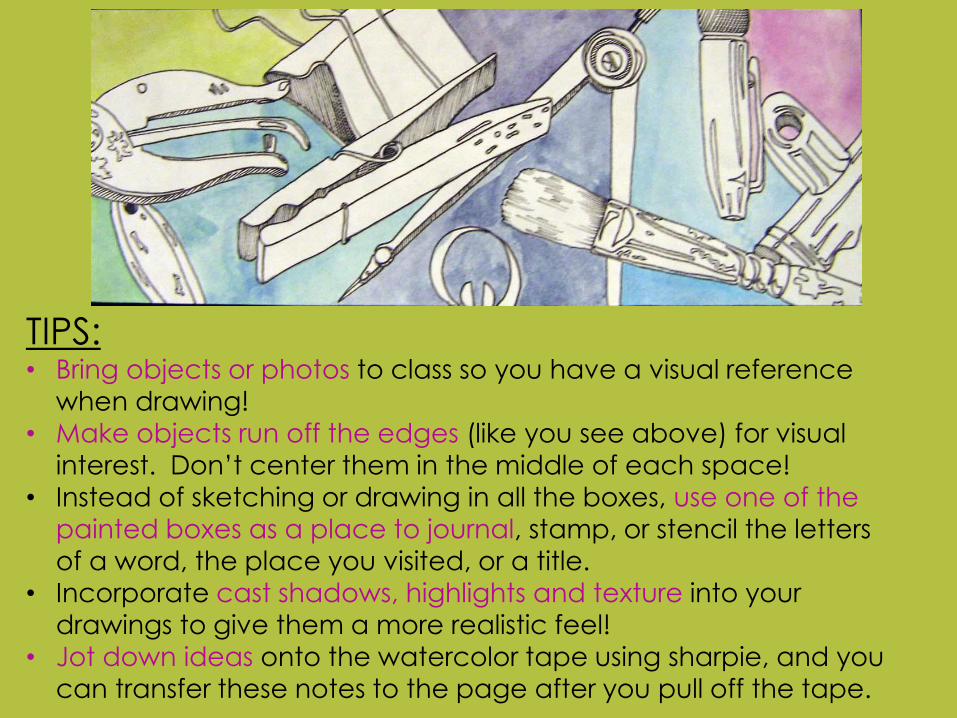
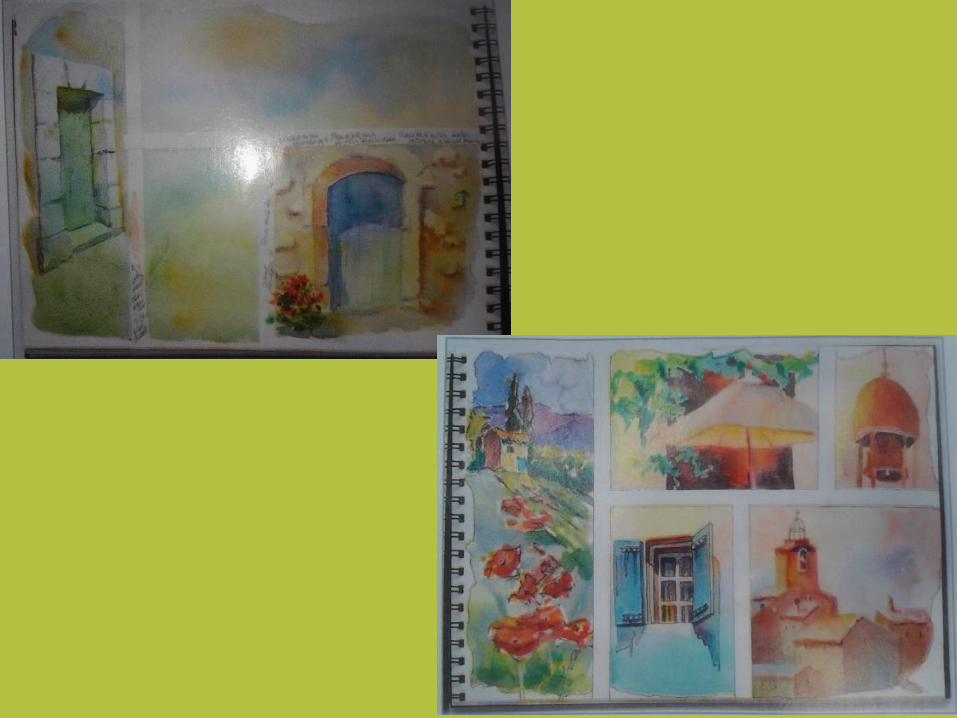
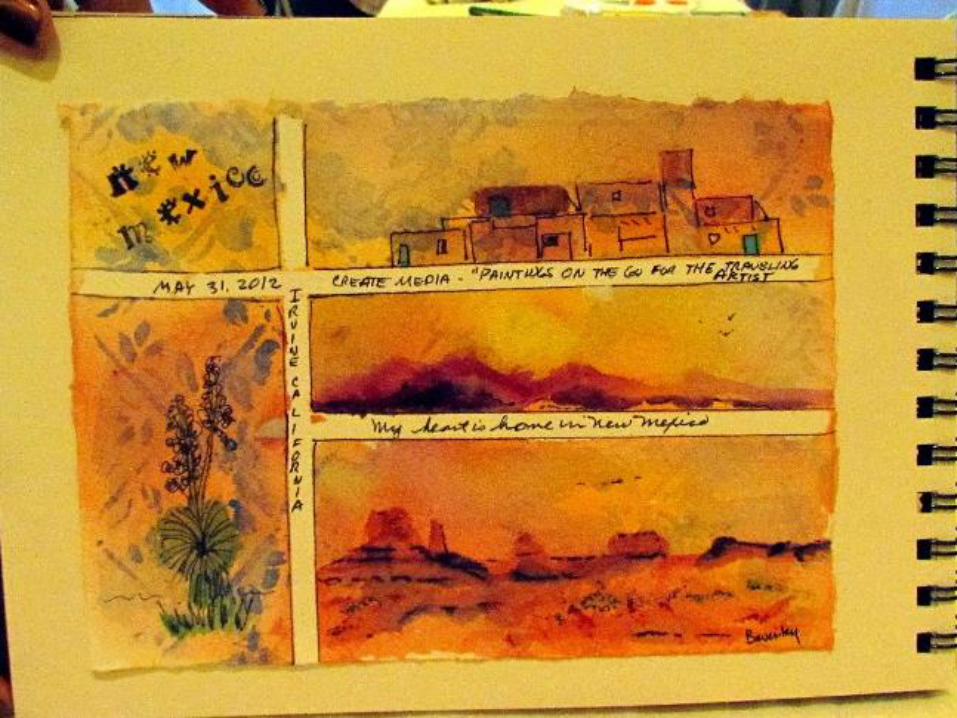
TIPS: • Bring objects or photos to class so you have a visual reference
when drawing!
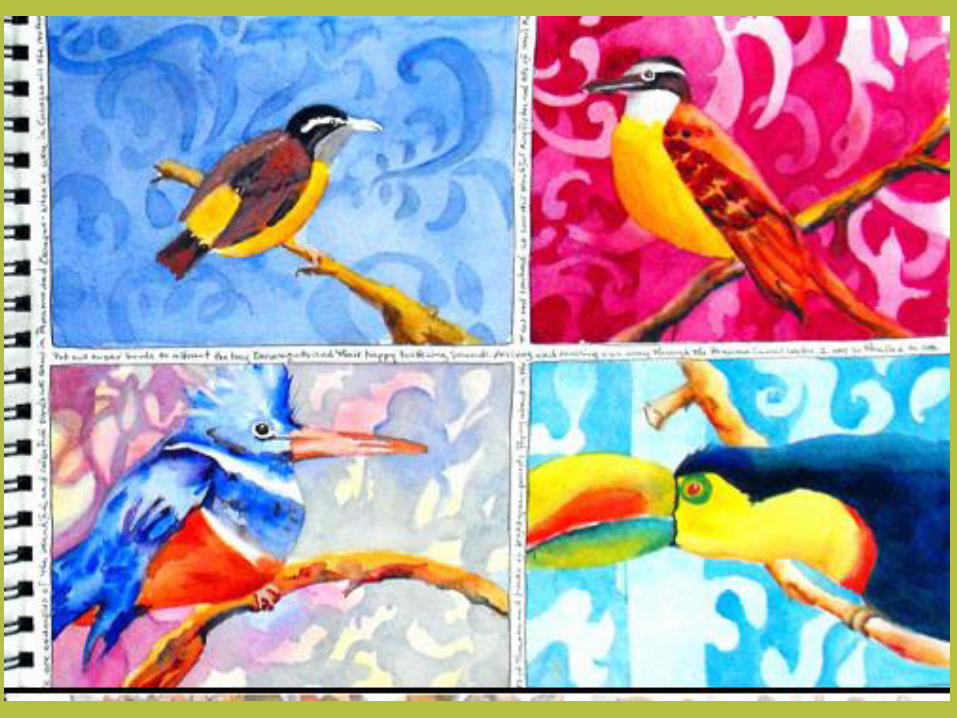
• Make objects run off the edges (like you see above) for visual
interest. Don’t center them in the middle of each space!
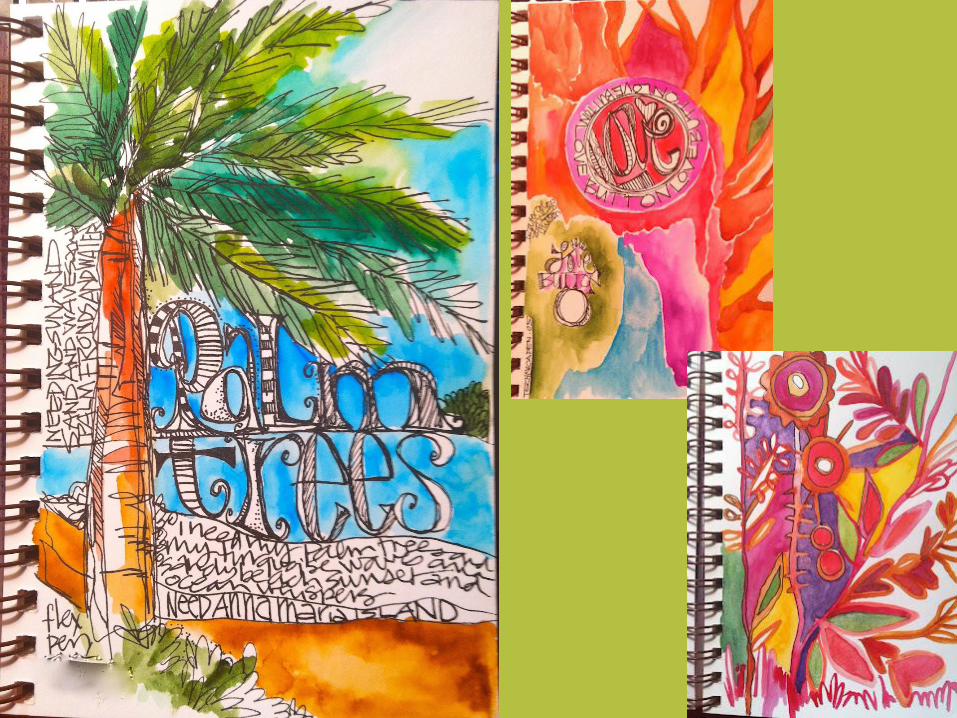
• Instead of sketching or drawing in all the boxes, use one of the
painted boxes as a place to journal, stamp, or stencil the letters
of a word, the place you visited, or a title. • Incorporate cast shadows, highlights and texture into your
drawings to give them a more realistic feel! • Jot down ideas onto the watercolor tape using sharpie, and you
can transfer these notes to the page after you pull off the tape.
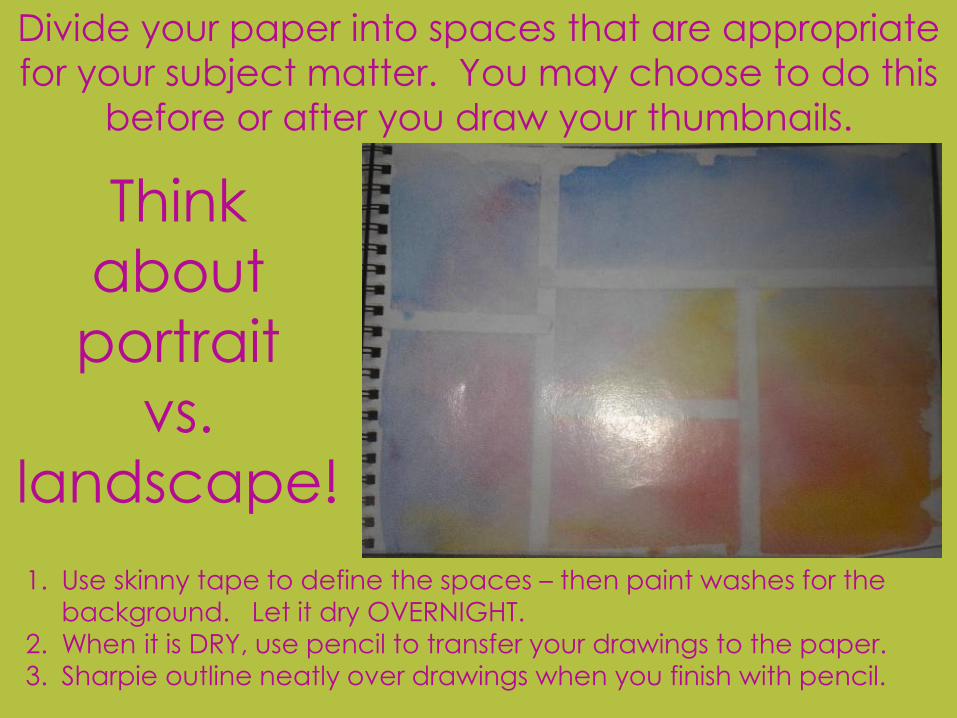
Divide your paper into spaces that are appropriate
for your subject matter. You may choose to do this
before or after you draw your thumbnails.
Think
about
portrait
vs.
landscape!
1. Use skinny tape to define the spaces – then paint washes for the
background. Let it dry OVERNIGHT. 2. When it is DRY, use pencil to transfer your drawings to the paper.
3. Sharpie outline neatly over drawings when you finish with pencil.
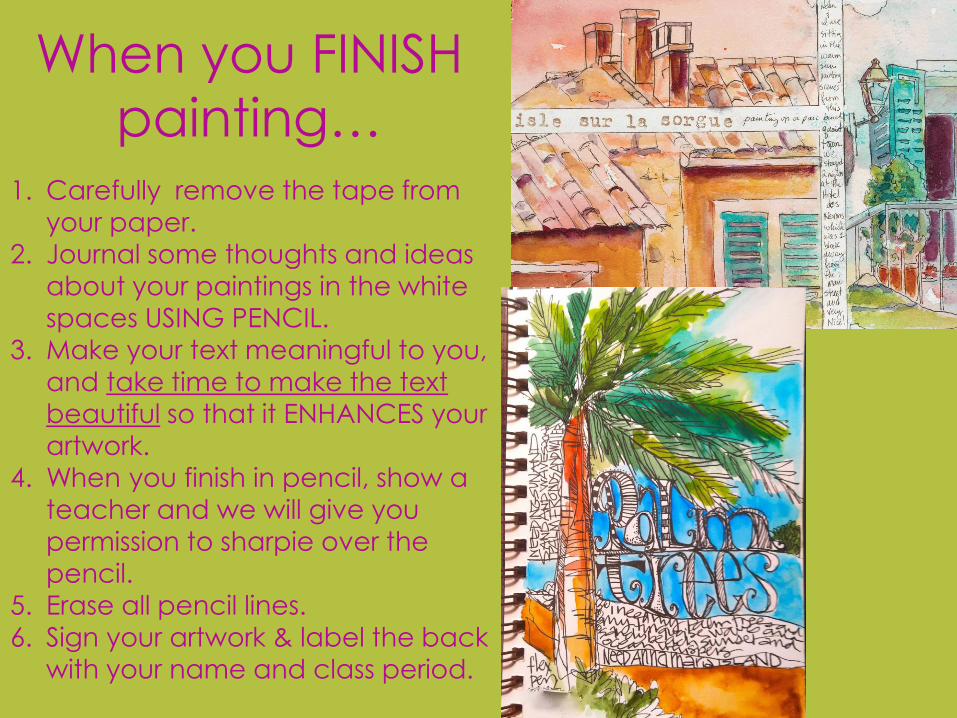
When you FINISH
painting… 1. Carefully remove the tape from
your paper. 2. Journal some thoughts and ideas
about your paintings in the white
spaces USING PENCIL.
3. Make your text meaningful to you,
and take time to make the text
beautiful so that it ENHANCES your
artwork.
4. When you finish in pencil, show a
teacher and we will give you permission to sharpie over the
pencil.
5. Erase all pencil lines.
6. Sign your artwork & label the back with your name and class period.