messerschmitt fuselage upgrade userguide - 3dlabprint · the messerschmitt h/f is a wonderful...
TRANSCRIPT
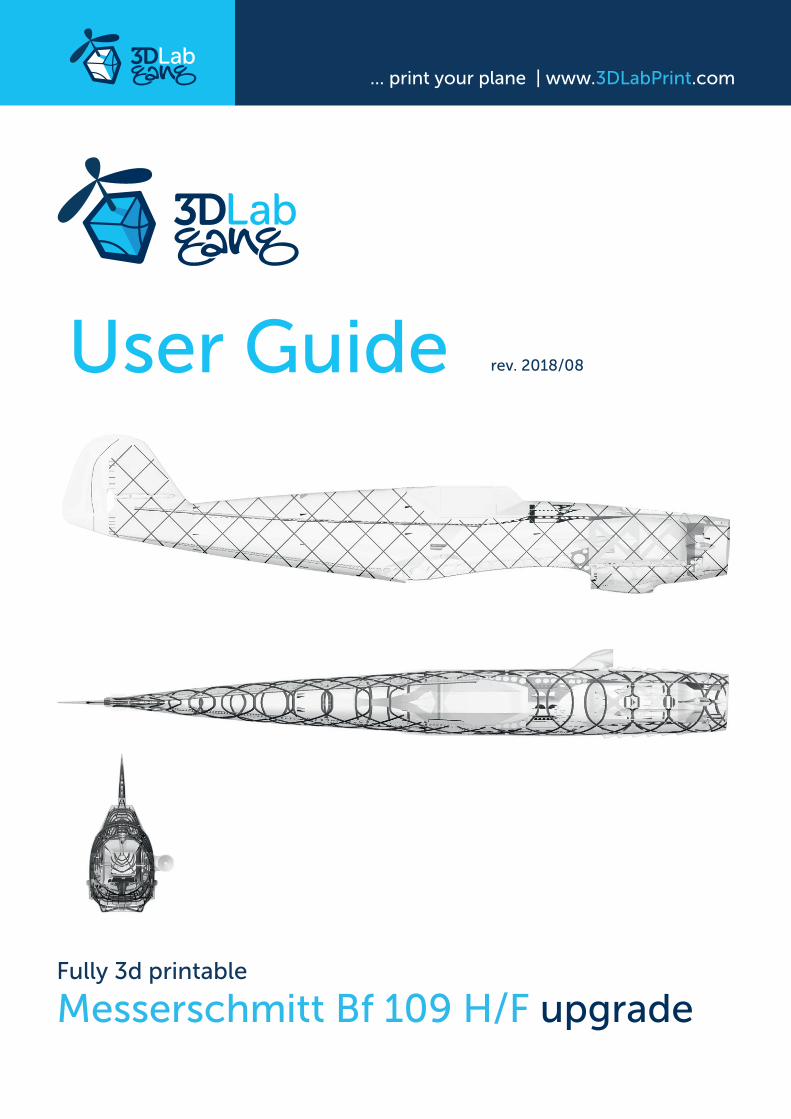
Fully 3d printable
Messerschmitt Bf 109 H/F upgrade
User Guide rev. 2018/08
... print your plane | www.3DLabPrint.com
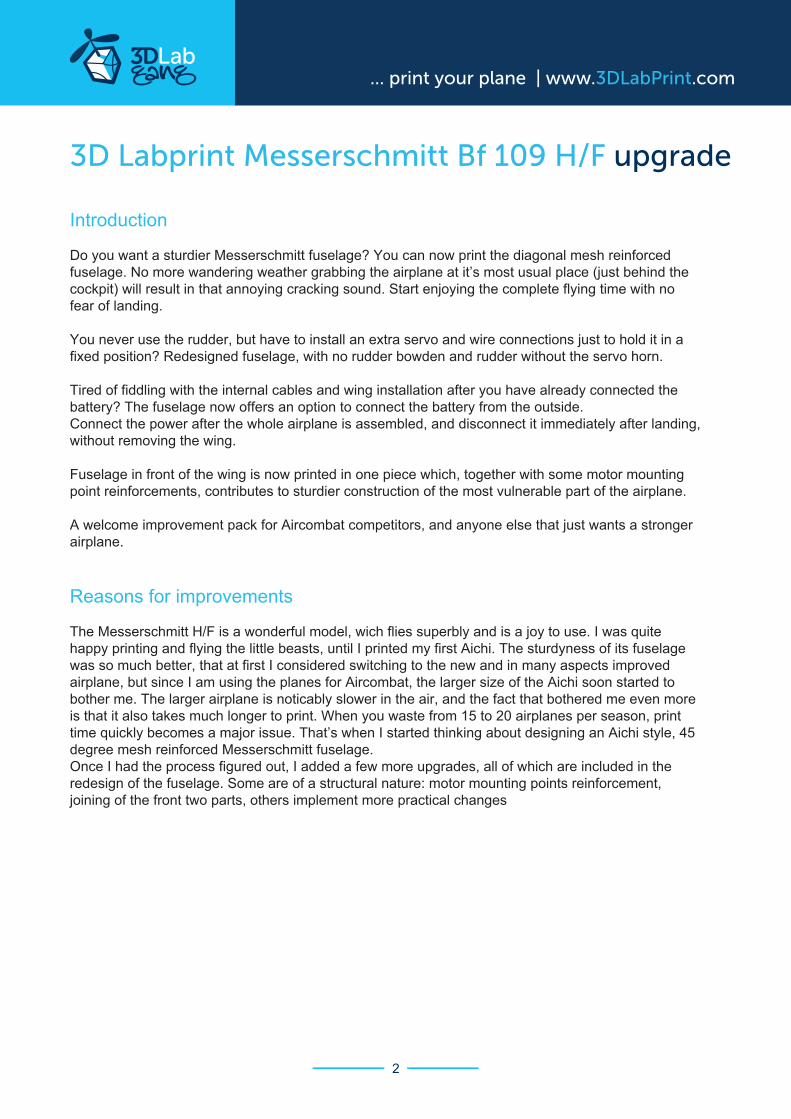
Introduction
Do you want a sturdier Messerschmitt fuselage? You can now print the diagonal mesh reinforced fuselage. No more wandering weather grabbing the airplane at it’s most usual place (just behind the cockpit) will result in that annoying cracking sound. Start enjoying the complete flying time with no fear of landing.
You never use the rudder, but have to install an extra servo and wire connections just to hold it in a fixed position? Redesigned fuselage, with no rudder bowden and rudder without the servo horn.
Tired of fiddling with the internal cables and wing installation after you have already connected the battery? The fuselage now offers an option to connect the battery from the outside. Connect the power after the whole airplane is assembled, and disconnect it immediately after landing, without removing the wing.
Fuselage in front of the wing is now printed in one piece which, together with some motor mounting point reinforcements, contributes to sturdier construction of the most vulnerable part of the airplane.
A welcome improvement pack for Aircombat competitors, and anyone else that just wants a stronger airplane.
Reasons for improvements
The Messerschmitt H/F is a wonderful model, wich flies superbly and is a joy to use. I was quite happy printing and flying the little beasts, until I printed my first Aichi. The sturdyness of its fuselage was so much better, that at first I considered switching to the new and in many aspects improved airplane, but since I am using the planes for Aircombat, the larger size of the Aichi soon started to bother me. The larger airplane is noticably slower in the air, and the fact that bothered me even more is that it also takes much longer to print. When you waste from 15 to 20 airplanes per season, print time quickly becomes a major issue. That’s when I started thinking about designing an Aichi style, 45 degree mesh reinforced Messerschmitt fuselage.Once I had the process figured out, I added a few more upgrades, all of which are included in the redesign of the fuselage. Some are of a structural nature: motor mounting points reinforcement, joining of the front two parts, others implement more practical changes
3D Labprint Messerschmitt Bf 109 H/F upgrade
... print your plane | www.3DLabPrint.com
2
45 degree meshreinforced fuselage
Reinforced motor mounting points
External power connection
Front part of fuselageprinted in one piece
Fixed rudder
... print your plane | www.3DLabPrint.com
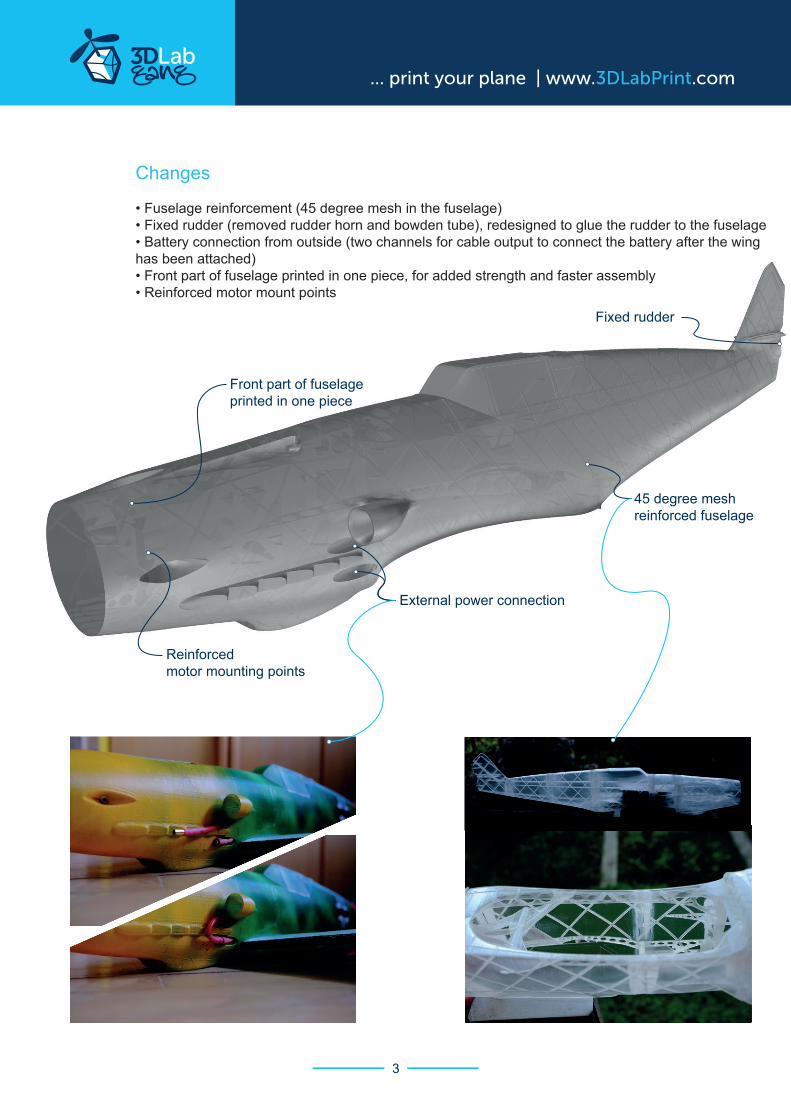
Changes
• Fuselage reinforcement (45 degree mesh in the fuselage)• Fixed rudder (removed rudder horn and bowden tube), redesigned to glue the rudder to the fuselage• Battery connection from outside (two channels for cable output to connect the battery after the wing has been attached)• Front part of fuselage printed in one piece, for added strength and faster assembly• Reinforced motor mount points
3
How to print
The modified parts use the same print settings as the original 3DLabprint ones. The modified stl, gcode and factory files have 3DLG (3D Lab Gang) at the end of their names. For detailed instructions regarding print settings, refer to the original 3DLabprint ME 109 H F userguide.
The printbed size in the gcode and facotry files is set to 200 x 200 mm, the height to 150 mm. The only exception is the fuselage 1, which requires 170 mm of height, due to change in front piece of the fuselage, which is now joined with the engine cover.
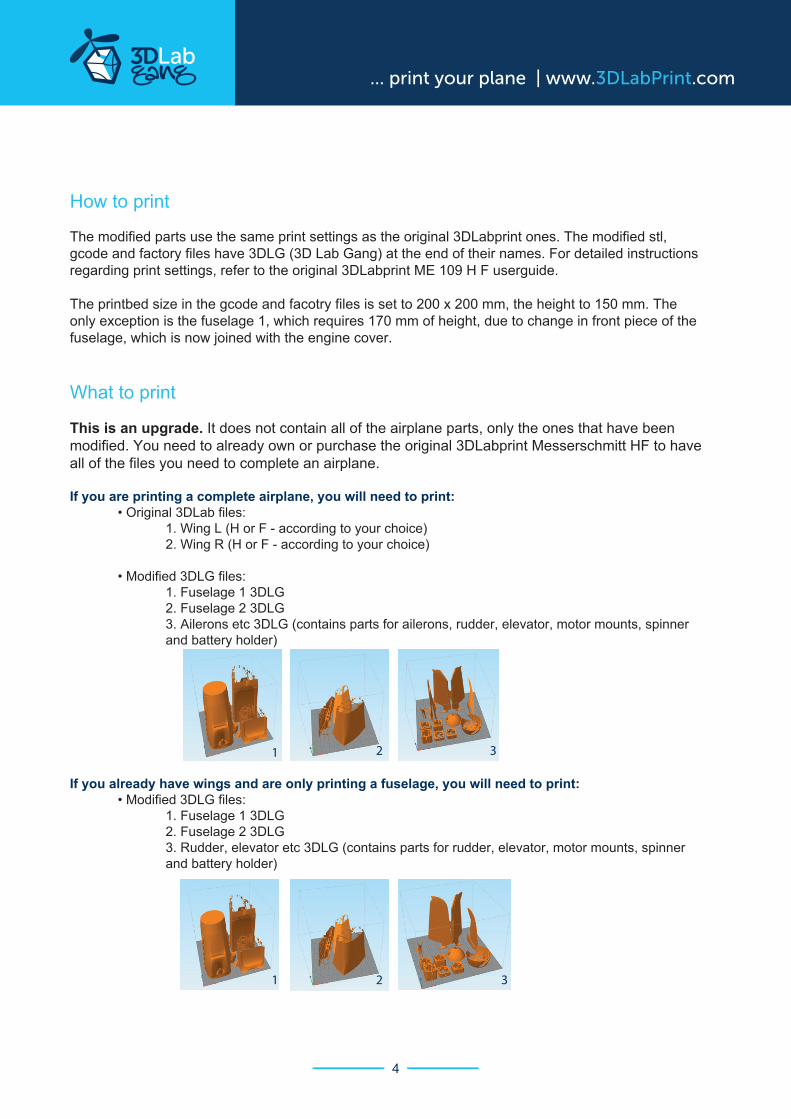
What to print
This is an upgrade. It does not contain all of the airplane parts, only the ones that have been modified. You need to already own or purchase the original 3DLabprint Messerschmitt HF to have all of the files you need to complete an airplane.
If you are printing a complete airplane, you will need to print: • Original 3DLab files: 1. Wing L (H or F - according to your choice) 2. Wing R (H or F - according to your choice)
• Modified 3DLG files: 1. Fuselage 1 3DLG 2. Fuselage 2 3DLG 3. Ailerons etc 3DLG (contains parts for ailerons, rudder, elevator, motor mounts, spinner and battery holder)
If you already have wings and are only printing a fuselage, you will need to print: • Modified 3DLG files: 1. Fuselage 1 3DLG 2. Fuselage 2 3DLG 3. Rudder, elevator etc 3DLG (contains parts for rudder, elevator, motor mounts, spinner and battery holder)
... print your plane | www.3DLabPrint.com
4
1
1 32
2 3

Comparison of print time and weight
Print time comparison (h): Original 3DLabprint Modified 3DLG differenceFuselage 1 6:54 7:43Fuselage 2 3:33 4:11 Ailerons etc 1:30 1:27 sum 11:57 13:21 1:24
Print weight comparison (g): Original 3DLabprint Modified 3DLG differenceFuselage 1 119 130Fuselage 2 58 69 Ailerons etc 7 6 sum 184 205 21
Additional reinforcements do add a bit of print time (about 8% longer), but the weight of the added plastic is only 21g, which is easily compensated with the subbtraction of weight for the rudder servo and the steel rudder wire connection, that are not used in this case. The end result is a sturdier airplane, with no added weight.
Enjoy printing, building and flying your airplanes!
... print your plane | www.3DLabPrint.com
5