longridge hip & ridge shingles - owens corning longridge hip... · application instructions...
TRANSCRIPT
Application InstructionsComplete shingle application on roof deck before applying hip and ridge shingles. Hip shingles must be applied before ridge shingles. Note: If a new roof is being applied over an existing roof, remove the old hip and ridge shingles to obtain a level application. Each shingle is perforated for separation into three Hip & Ridge shingles.
Precautionary Note: The manufacturer will not be responsible for problems resulting from any deviation from the recommended application instructions and the following precautions:
(A) Handling: Use extra care in handling shingles when the temperature is below 40°F (5°C). DO NOT drop bundles. Shingles can be broken easily in cold weather or their edges damaged in hot weather. DO NOT attempt to separate shingles by “breaking” them over another object such as a ridge.
(B) Fastener requirement: Use galvanized steel, stainless steel, or aluminum nails minimum 12 gauge shank with ⅜ inch diameter head. Owens Corning Roofing recommends that fasteners comply with ASTM F1667. Check local building codes. All fasteners must penetrate at least ¾ inch into the wood deck or completely through plywood or OSB sheathing.
(C) Fastening: Drive all fasteners until they are flush with the surface of the shingle. Special care must be taken when using pneumatic nail guns. Nails are to be driven straight so the entire head is flush against the shingle but does not cut the shingle surface. An improperly adjusted pneumatic gun can result in raised fasteners causing sealing failure, raised tabs, leaks, or blow-off. Place fasteners 10⅜ inch from the butt edge of the shingle. Do not apply fasteners in the sealant strip.
(D) Storage: Store in a covered ventilated area at a maximum temperature of 110°F (43°C). Stack in a flat fashion (maximum of 16 bundles high). Protect shingles from weather when stored at the job site. Do not store near steam pipes, radiators, etc.
(E) All exposed material must be rated Class A by Underwriters Laboratories, to maintain a Class A system.
Hip & Ridge Application1. Apply Hip & Ridge as shown, bending them over the hip or ridge lengthwise.
2. Apply ridge after hips have been applied, beginning on end of ridge opposite prevailing wind direction. See Fig. 1
3. Apply shingles with 10 inch exposure.
4. Fasten each shingle with 2 fasteners on each side, 1 inch and 2 inches from the edge and 10⅜ inch from the exposed end. See Fig. 2
5. Apply remaining hip and ridge shingles in the same manner with a 10 inch exposure.
6. When finishing the ridge, leave no headlap portion of the last hip and ridge shingle exposed. One option is to use the 10 inch exposed portion of a hip and ridge shingle, cutting a piece the appropriate length to extend over the headlap portion of the shingle to the end of the ridge.
7. Fasten final piece with four nails, each 1 inch and 2 inches in from each side edge and 1 inch in from the end of the ridge. Cover exposed fasteners with asphalt roof cement. Asphalt roof cement must meet ASTM D4586 Type I or Type II.
For 130 MPH Wind WarrantyApply a ¼ inch wide bead of Elastomeric Sealant that meets ASTM C920 approximately 3 inches long to each side of the hip and ridge shingle. See Fig. 3
Apply remaining hip and ridge shingles in the same manner with a 10 inch exposure.
When finishing the ridge, leave no headlap portion of the last hip and ridge shingle exposed. One option is to use the 10 inch exposed portion of a hip and ridge shingle, cutting a piece the appropriate length to extend over the headlap portion of the shingle to the end of the ridge.
Fasten final piece with four nails, each 1 inch and 2 inches in from each side edge and 1 inch in from the end of the ridge. Cover
exposed fasteners with asphalt roof cement. Asphalt roof cement must meet ASTM D4586 Type I or Type II.
Installing Double Hip & RidgeApplying a double layer of shingles to hips or ridges is easy to do and creates a more aesthetically pleasing appearance. Simply install the shingles using the method described above, but fasten two shingles simultaneously — one on top of the other. Make sure fasteners are long enough to penetrate through both layers of shingle and completely through the roof deck. See Fig. 4
OWENS CORNING ROOFING AND ASPHALT, LLC ONE OWENS CORNING PARKWAY TOLEDO, OHIO, USA 436591-800-GET-PINK® www.owenscorning.com/roofing
Pub. No. 10020546. Printed in U.S.A. December 2015. THE PINK PANTHER™ & © 1964–2015 Metro-Goldwyn-Mayer Studios Inc. All Rights Reserved. The color PINK is a registered trademark of Owens Corning. © 2015 Owens Corning. All Rights Reserved.
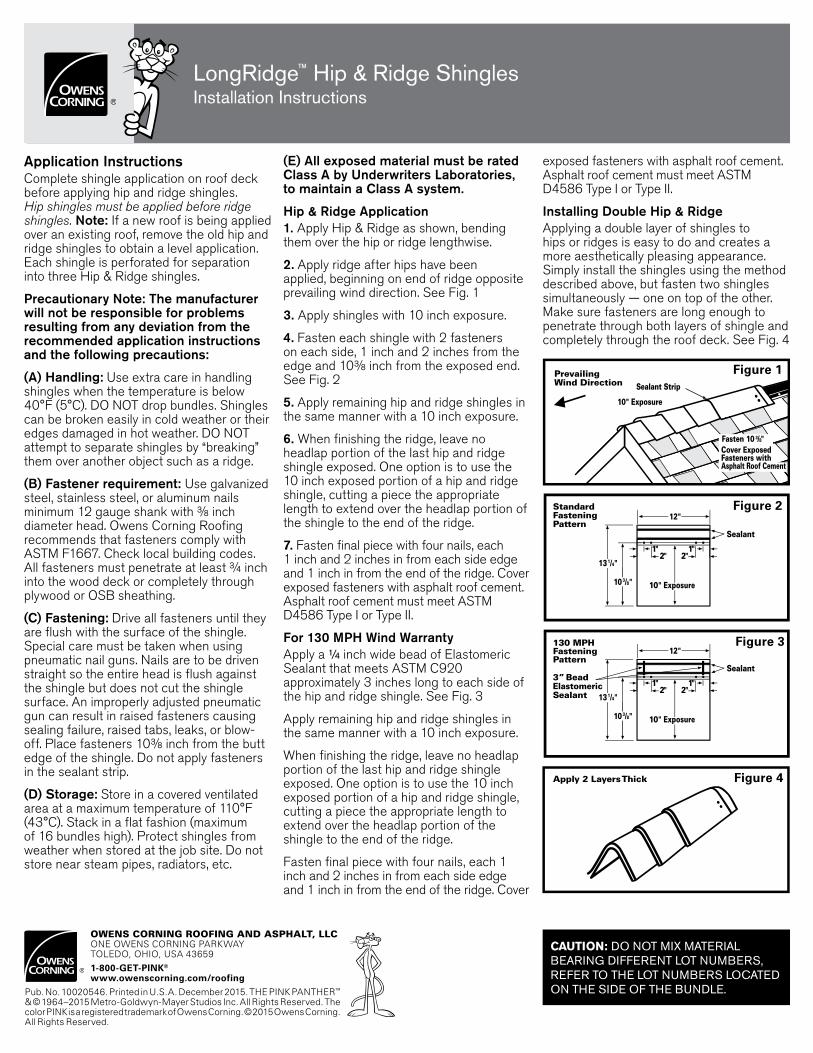
LongRidge™ Hip & Ridge Shingles Installation Instructions
Figure 2
Figure 1
StandardFasteningPattern
Figure 3
Figure 4
130 MPHFasteningPattern
Apply 2 Layers Thick
Sealant
12"
13 1/4"
10 3/8" 10" Exposure
2" 2"1" 1"
Sealant
12"
13 1/4"
10 3/8" 10" Exposure
2" 2"1" 1"
3” Bead Elastomeric Sealant
PrevailingWind Direction
10" Exposure
Sealant Strip
Fasten 10 3/8"Cover ExposedFasteners withAsphalt Roof Cement
CAUTION: DO NOT MIX MATERIAL BEARING DIFFERENT LOT NUMBERS, REFER TO THE LOT NUMBERS LOCATED ON THE SIDE OF THE BUNDLE.
Instrucciones para la colocaciónFinalice la aplicación de las tejas sobre la plataforma del techo antes de aplicar las tejas de limatesa y cumbrera. Las tejas de limatesa deben aplicarse antes que las tejas de cumbrera. Nota: Si se aplica un nuevo techo sobre otro existente, quite las tejas de limatesa y cumbrera viejas para obtener una aplicación nivelada. Cada teja está perforada para separarse en tres tejas de limatesa y cumbrera.
Nota de precaución: El fabricante no se hará responsable por los problemas que puedan resultar de cualquier desviación de lo recomendado en las instrucciones para la colocación de las tejas y de las siguientes notas de precaución:
(A) Manipulación: Cuando la temperatura se encuentra por debajo de los 40°F (5°C), la manipulación de las tejas requiere un cuidado especial. NO deje caer los paquetes. Las tejas pueden romperse fácilmente en el clima frío o sus bordes pueden dañarse en el clima cálido. NO intente separar las tejas "rompiéndolas" sobre otro objeto, como por ejemplo una cumbrera.(B) Requisito de sujetador: Use clavos de acero galvanizado, acero inoxidable o de aluminio, de calibre 12 como mínimo, con un diámetro de cabeza de ⅜ pulg. (9.5 mm). Owens Corning Roofing recomienda que los sujetadores cumplan con la norma ASTM F 1667. Consulte los códigos de edificación locales. Todos los sujetadores deben penetrar al menos ¾ pulg. en la plataforma del techo de madera o atravesar completamente los revestimientos de contrachapado o paneles de fibra orientada (OSB).(C) Sujeción: Clave todos los sujetadores hasta que queden al ras de la superficie de las tejas. Debe tener mucho cuidado cuando utiliza pistolas neumáticas. Los clavos deben colocarse de manera recta de modo que las cabezas queden niveladas contra las tejas pero sin cortar la superficie de las tejas. Una pistola neumática incorrectamente calibrada puede hacer que los sujetadores queden levantados y se pierda el sellado, o que se levanten las lengüetas o que se produzcan filtraciones o voladuras de tejas. Coloque los sujetadores a 10⅜ pulg. (263.5 mm) del extremo inferior de las tejas. No aplique sujetadores en la tira de sellado.(D) Almacenamiento: Conserve en un área cubierta y ventilada a una temperatura máxima de 110 ºF (43 °C). Apile de manera horizontal (hasta 16 paquetes máximo). Proteja las tejas del clima cuando las almacene en el lugar de trabajo. No las almacene cerca de tuberías de vapor, radiadores, etc.
(E) Para que un sistema califique como de Clase A, todo el material expuesto debe tener una clasificación Clase A por Underwriters Laboratories. Instalación de las tejas de limatesa y cumbrera1. Aplique las tejas de limatesa y cumbrera como se muestra, doblándolas a lo largo sobre la limatesa o la cumbrera.2. Aplique las tejas de cumbrera después de que se hayan instalado las tejas de limatesa, comenzando por el extremo de la cumbrera opuesto a la dirección del viento predominante. Ver la Fig. 1.3. Coloque las tejas dejando 10 pulg. (254 mm) expuestas.4. Sujete cada teja con 2 sujetadores en cada lado, a 1 pulg. (2.54 cm) y a 2 pulg. (5.08 cm) de distancia del borde y a 10⅜ pulg. (263.5 mm) de distancia del extremo expuesto. Ver la Fig. 2.5. Aplique el resto de las tejas de limatesa y cumbrera de la misma manera, con una exposición de 10 pulg. (254 mm).6. Cuando haya terminado con la cumbrera, no deje ningún área para superponer en la última teja de limatesa y cumbrera expuesta. Una opción es usar la porción expuesta de 10 pulg. (254 mm) de una teja de limatesa y cumbrera, cortando un pedazo que tenga la longitud apropiada y que se extienda sobre la porción de superposición de la teja hasta el extremo de la cumbrera.7. Sujete la pieza final con cuatro clavos, cada uno a 1 pulg. y a 2 pulg. de cada borde lateral y a 1 pulg. del borde de la cumbrera. Cubra los sujetadores expuestos con cemento asfáltico. El cemento asfáltico debe cumplir con la norma ASTM D4586 Tipo I ó Tipo II.Para la garantía de vientos de 130 MPHAplique un cordón de ¼ pulg. (0.6 cm) de ancho de sellador elastomérico que cumpla con las especificaciones de ASTM C920 con una longitud aproximada de 3 pulg. (7.62 cm) sobre cada lado de la teja de limatesa y cumbrera. Ver la Fig. 3.
Aplique el resto de las tejas de limatesa y cumbrera de la misma manera, con una exposición de 10 pulg. (254 mm). Cuando haya terminado con la cumbrera, no deje ningún área para superponer en la última teja de limatesa y cumbrera expuesta. Una opción es usar la porción expuesta de 10 pulg. (254 mm) de una teja de limatesa y cumbrera, cortando un pedazo que tenga la longitud apropiada y que se extienda sobre la porción de superposición de la teja hasta el extremo de la cumbrera.
Sujete la pieza final con cuatro clavos, cada uno a 1 pulg. y a 2 pulg. de cada borde lateral y a 1 pulg. del borde de la cumbrera. Cubra los sujetadores expuestos con cemento asfáltico. El cemento asfáltico debe cumplir con la norma ASTM D4586 Tipo I ó Tipo II.
Instalación de una capa doble de tejas para limatesas y cumbrerasLa colocación de una capa doble de tejas en las limatesas y cumbreras es fácil de realizar y produce un resultado más estético. Simplemente coloque las tejas utilizando el método descrito anteriormente, pero sujetando dos tejas a la vez - una encima de la otra. Asegúrese de que los sujetadores sean lo suficientemente largos como para atravesar ambas capas de tejas además de la plataforma del techo. Ver la Fig. 4.
OWENS CORNING ROOFING AND ASPHALT, LLC ONE OWENS CORNING PARKWAY TOLEDO, OHIO, USA 436591-800-GET-PINK® www.owenscorning.com/roofing
pub. No. 10020546. Impreso en Estados Unidos. diciembre 2015. la Pantera Rosa ™ & amp; © 1964–2015 metro-goldwyn-mayer studios inc. todos los derechos reservados. el color rosa es una marca registrada de owens corning. © 2015 owens corning. todos los derechos reservados.
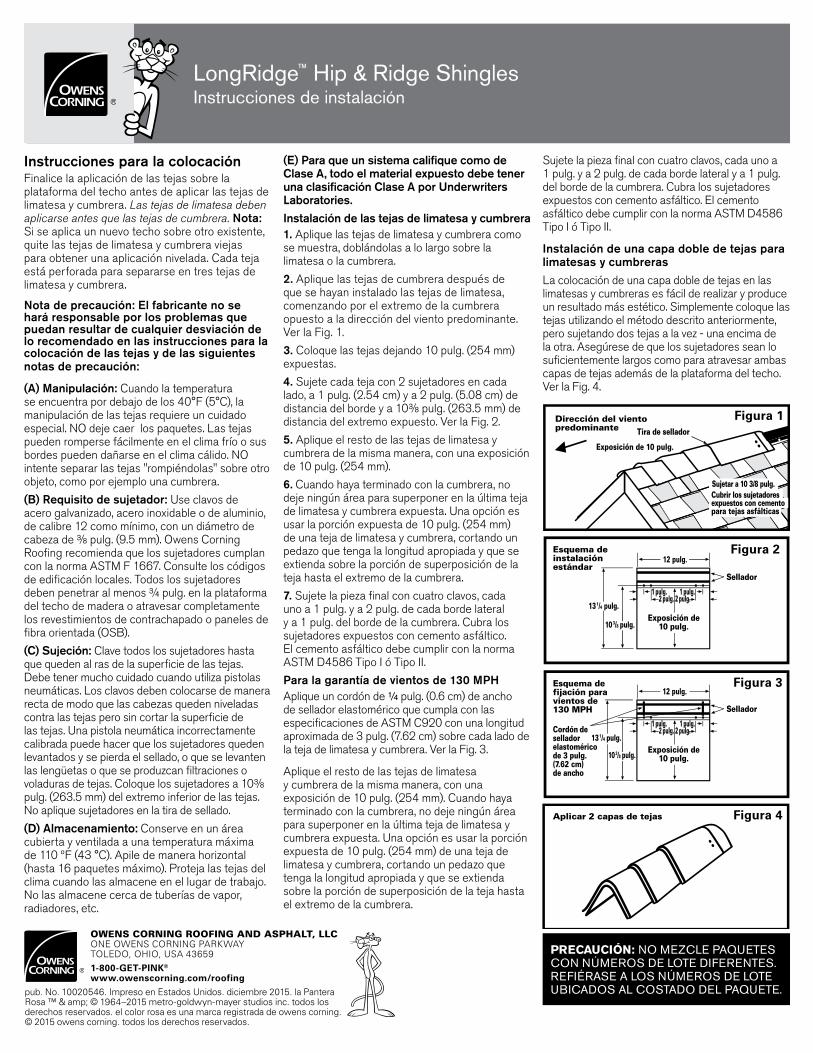
LongRidge™ Hip & Ridge Shingles Instrucciones de instalación
PRECAUCIÓN: NO MEZCLE PAQUETES CON NÚMEROS DE LOTE DIFERENTES. REFIÉRASE A LOS NÚMEROS DE LOTE UBICADOS AL COSTADO DEL PAQUETE.
Figura 2
Figura 1
Esquema deinstalaciónestándar
Figura 3
Figura 4
Esquema defijación paravientos de130 MPH
Aplicar 2 capas de tejas
Sellador
12 pulg.
Exposición de10 pulg.
2 pulg. 2 pulg.1 pulg. 1 pulg.
Sellador
12 pulg.
13 1/4 pulg.
10 3/8 pulg.
2 pulg. 2 pulg.1 pulg. 1 pulg.
Cordón deselladorelastoméricode 3 pulg.(7.62 cm)de ancho
Exposición de10 pulg.
13 1/4 pulg.
10 3/8 pulg.
Dirección del vientopredominante
Exposición de 10 pulg.
Tira de sellador
Sujetar a 10 3/8 pulg.Cubrir los sujetadoresexpuestos con cementopara tejas asfálticas