light follower robot
TRANSCRIPT

Light Follower Bot
ANURAG YADAV
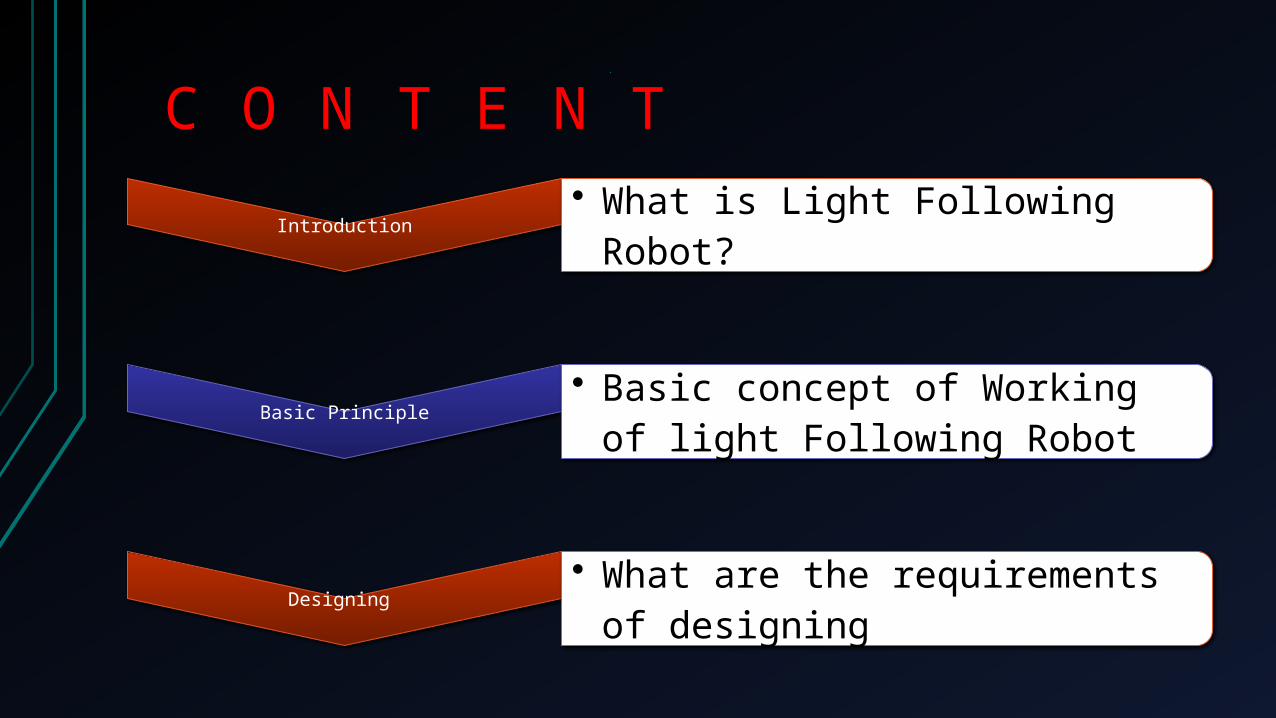
Introduction • What is Light Following Robot?
Basic Principle • Basic concept of Working of light Following Robot
Designing • What are the requirements of designing
TNETNOC

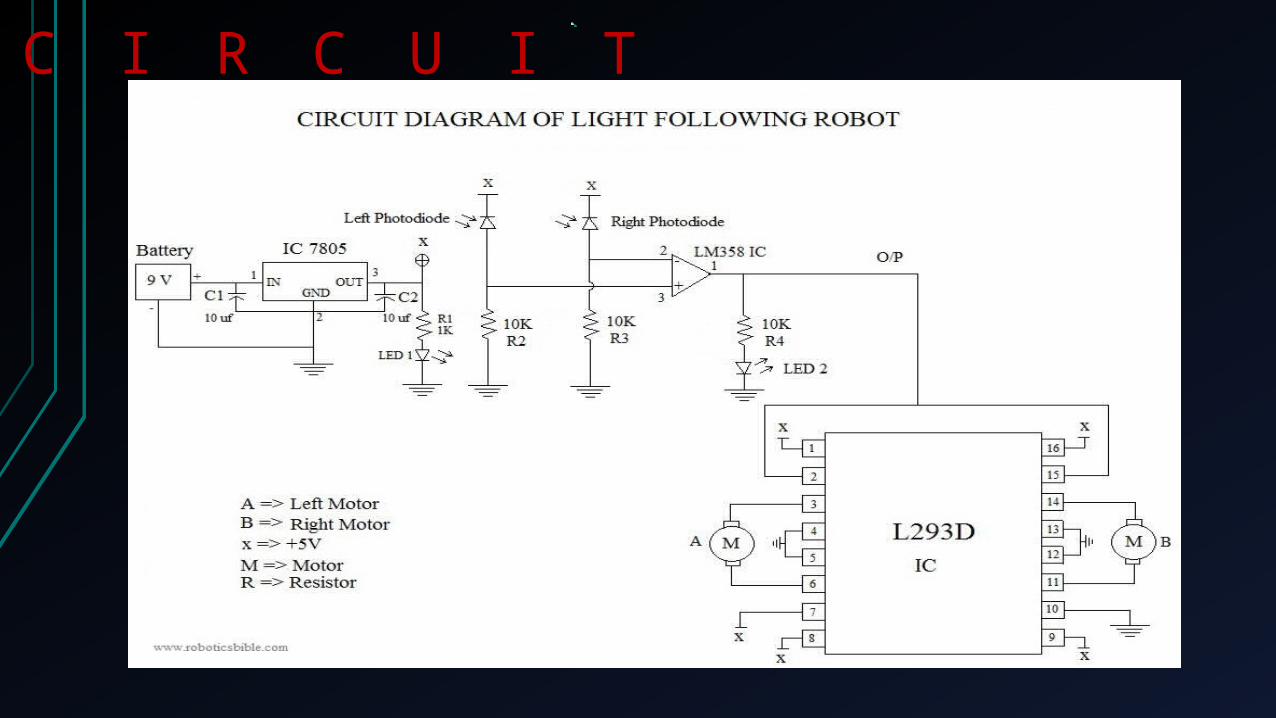
Designing • Circuit Diagram
Application • Where this technology can be applied & recent developments.
Summary • What are the advantage & disadvantages
Introduction
•It is a robot that senses the light & follows it. A user can shine a flashlight at its front and it will respond by following the light source. This robot uses a microcontroller for processing the sensor readings and responds by controlling the motors & it can also be designed without using micro controller. So basically it is a robot that responses according to light.

Light incident on LDR
Resistance Of LDR Changes
Op-Amp Sends Signal to transistor
Transistor activates Corresponding driving Motor
TPECNOC
When A LDR (light dependent resistor ) Subjected to white light then the resistance Varies .According to this variation Op-Amp & Transistor circuit gives response to drive the motor.
GNINGISED
• Op-Amp• Transistor• LDRs• DC Motors• Diode

TIUCRIC
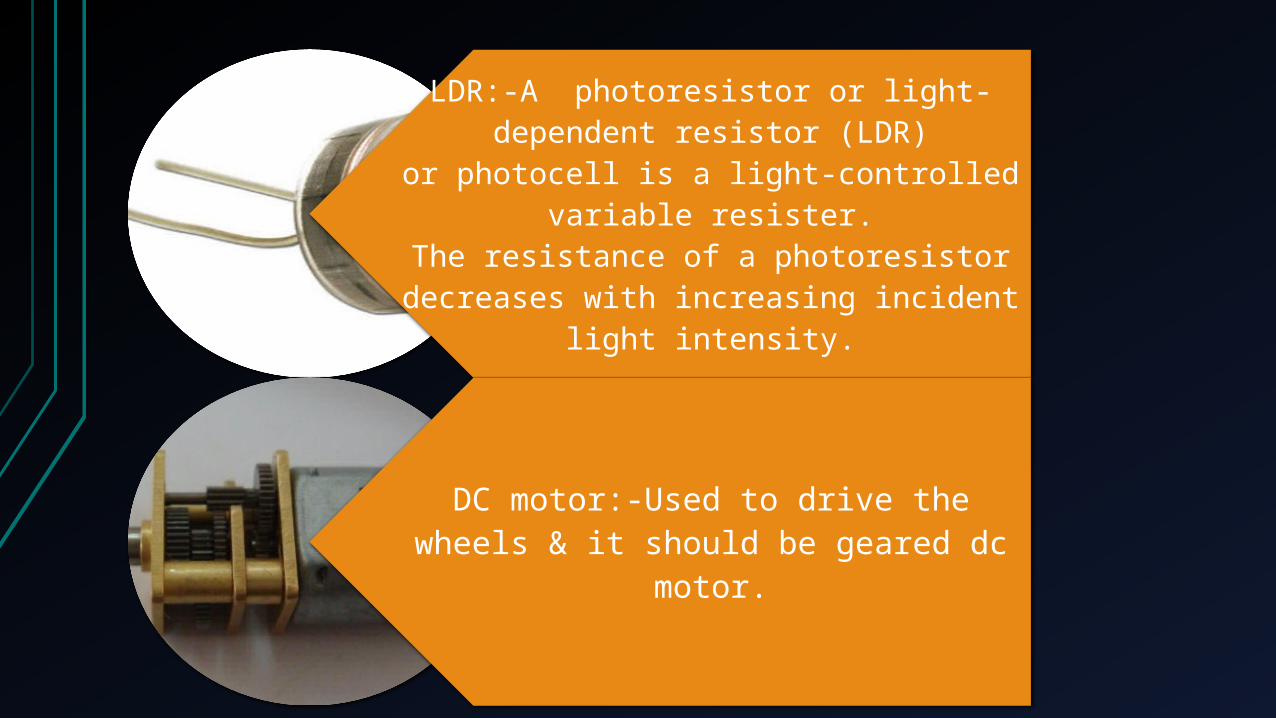
LDR:-A photoresistor or light-dependent resistor (LDR) or photocell is a light-controlled
variable resister. The resistance of a photoresistor decreases with increasing
incident light intensity.
DC motor:-Used to drive the wheels & it should be geared dc motor.

Op-Amp:-Here the Op-Amp is used as a voltage comparator. The output of Op-Amp is provide to
Transistor circuit.
Transistor:-These are used for the switching purpose of driving motors.
Diodes:- To block the effect of back EMF in driving motor.
TIUCRIC
• Battery: One 9V battery will be sufficient for powering the robot. For more usages, two pairs of 9V battery may be required.
• Battery holder: It is used to connect the battery with the circuit.
• Breadboard: One breadboard is used for designing the circuit. The electronic components are connected by inserting it in the holes of the breadboard.
• Capacitor: Two 10uf capacitors are implemented to store the current, equalize the power output, filter, and so on.
• Castor Wheel: One castor wheel is mounted in front of the hard board for providing easy and comfortable moving of the robot.
• Gear Motor: Two 300rpm gear motors are connected with the wheel for moving the robot.
• IC 7805: One IC 7805 voltage regulator is incorporated for allowing 5V of power supply to the circuit instead of 9V

• .
• IC L293D: One L293D IC motor driver is used for driving two motors in both clockwise and anticlockwise directions.
• IC LM358: One LM358 IC voltage comparator is attached to the circuit for comparing voltages across the + and – terminals.
• LED: A 1.5V 200mA LED is attached to notify the falling of light source on the photodiode.
• Resistor: One 1K & three 10K resistors are required for this process to reduce the voltage. The ranges of the resistors can be calculated with the help of a multimeter.
• Wheels: Two wheels (10cm dia.) are coupled with the gear motor. When the motor is powered, the wheels will start to rotate and move the robot.
• Wires: Two meters of both two core and four core wires will be required. For breadboard connections, two core wires should be used and for motor connections, four core wires should be used.
Advancement:-
• An array of LDR’s Sensor can be used for improvement of light sensing
that will give a high accuracy of readings.
• We can also design this using micro controller.
• If a ultrasonic sensor is added in this robot then it can avoid obstacles
which are in its path during following the light.
Application:-• Street lights• Alarm devices
• This technology can also be used to measure light intensity for applications
that require greater precision.
• Cameras can use this technology to determine the proper exposure time;
laptops may use in a circuit that varies screen brightness according to
ambient lighting conditions.

Advantage & Disadvantage:-
There is no specific advantage or disadvantage of this
technology it depends on the how this technology is used

THANK YOU