lesson 8 | 4-hour version slide:...
TRANSCRIPT
Lesson 8 | 4-Hour Version Slide: 4H-139

Lesson Objectives | 4-Hour Version Slide: 4H-140
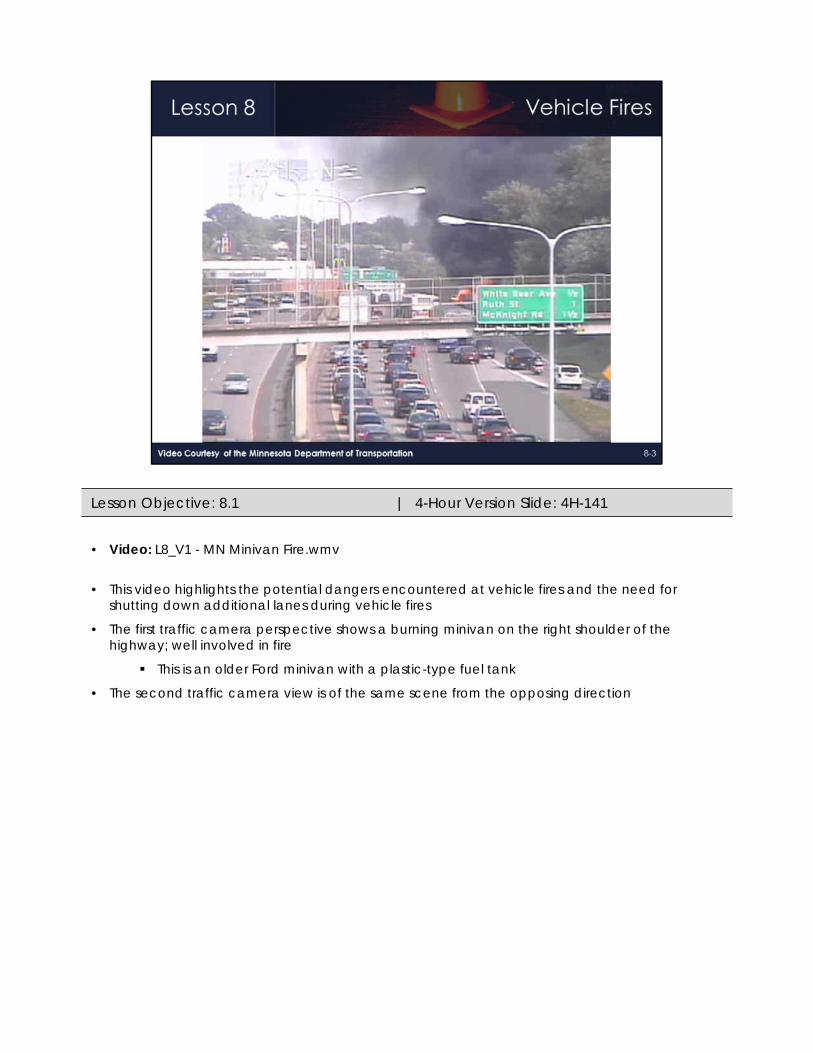
• Video: L8_V1 - MN Minivan Fire.wmv
• This video highlights the potential dangers encountered at vehicle fires and the need for shutting down additional lanes during vehicle fires
• The first traffic camera perspective shows a burning minivan on the right shoulder of the highway; well involved in fire
This is an older Ford minivan with a plastic-type fuel tank
• The second traffic camera view is of the same scene from the opposing direction
Lesson Objective: 8.1 | 4-Hour Version Slide: 4H-141
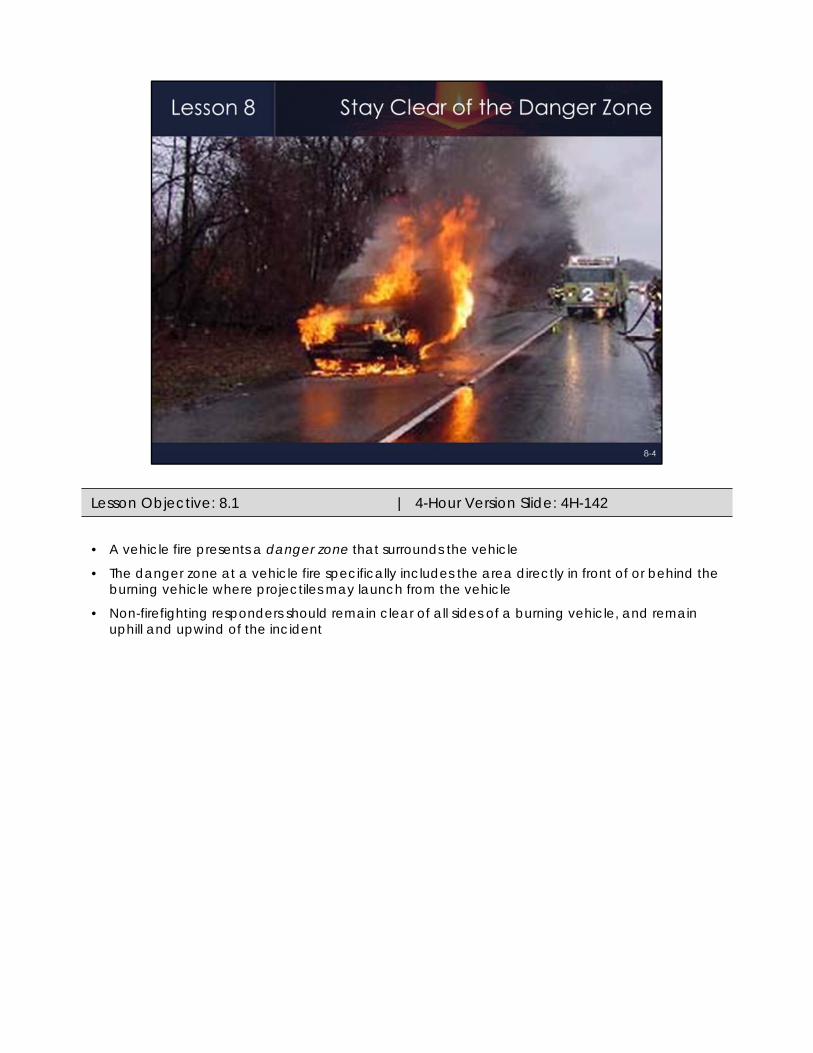
• A vehicle fire presents a danger zone that surrounds the vehicle
• The danger zone at a vehicle fire specifically includes the area directly in front of or behind the burning vehicle where projectiles may launch from the vehicle
• Non-firefighting responders should remain clear of all sides of a burning vehicle, and remain uphill and upwind of the incident
Lesson Objective: 8.1 | 4-Hour Version Slide: 4H-142
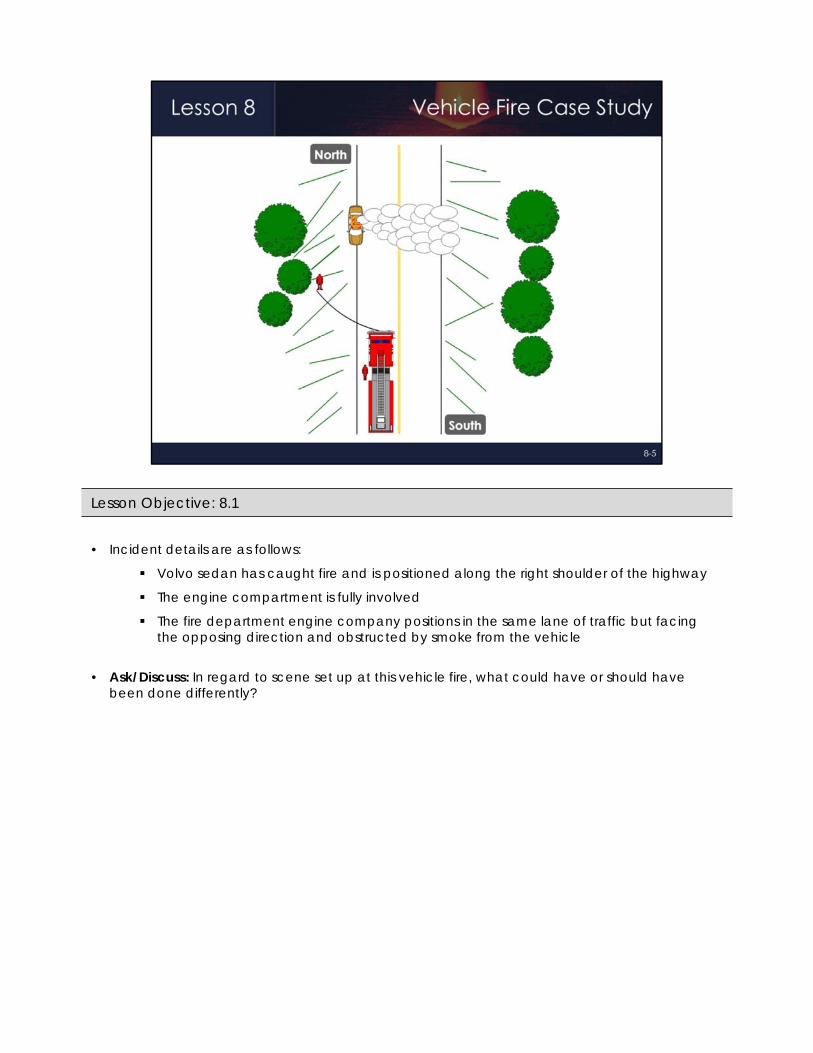
• Incident details are as follows:
Volvo sedan has caught fire and is positioned along the right shoulder of the highway
The engine compartment is fully involved
The fire department engine company positions in the same lane of traffic but facing the opposing direction and obstructed by smoke from the vehicle
• Ask/Discuss: In regard to scene set up at this vehicle fire, what could have or should have been done differently?
Lesson Objective: 8.1
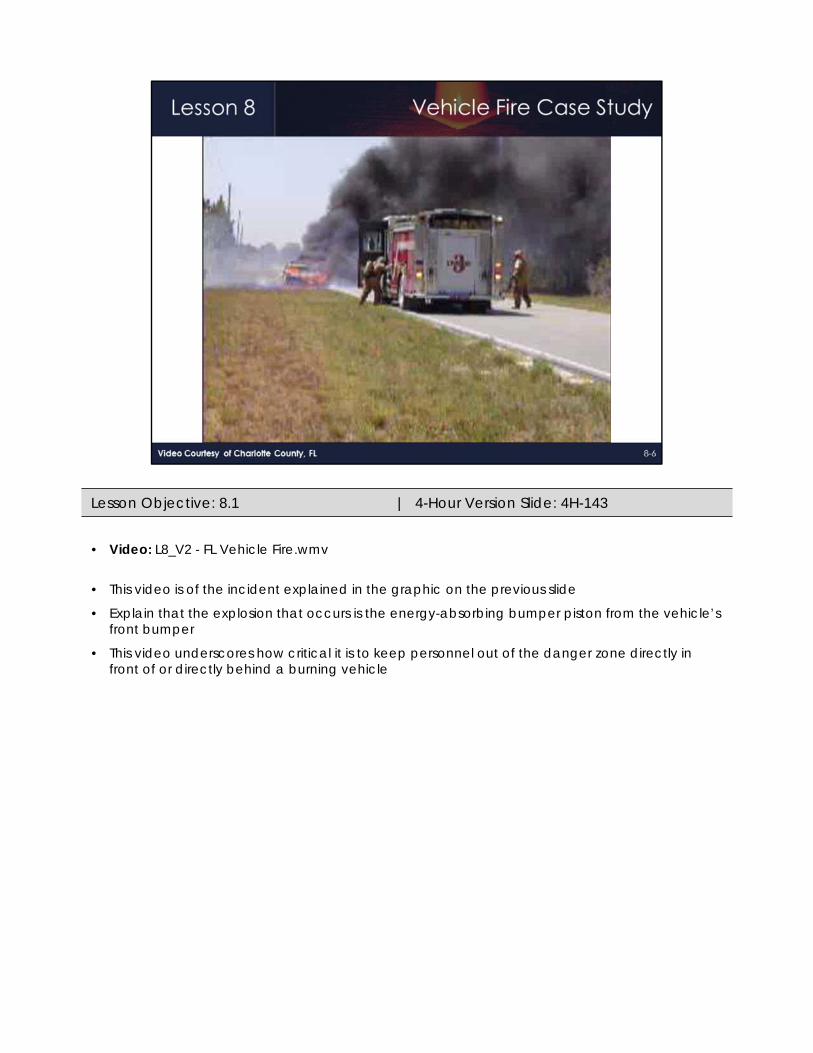
• Video: L8_V2 - FL Vehicle Fire.wmv
• This video is of the incident explained in the graphic on the previous slide
• Explain that the explosion that occurs is the energy-absorbing bumper piston from the vehicle’s front bumper
• This video underscores how critical it is to keep personnel out of the danger zone directly in front of or directly behind a burning vehicle
Lesson Objective: 8.1 | 4-Hour Version Slide: 4H-143
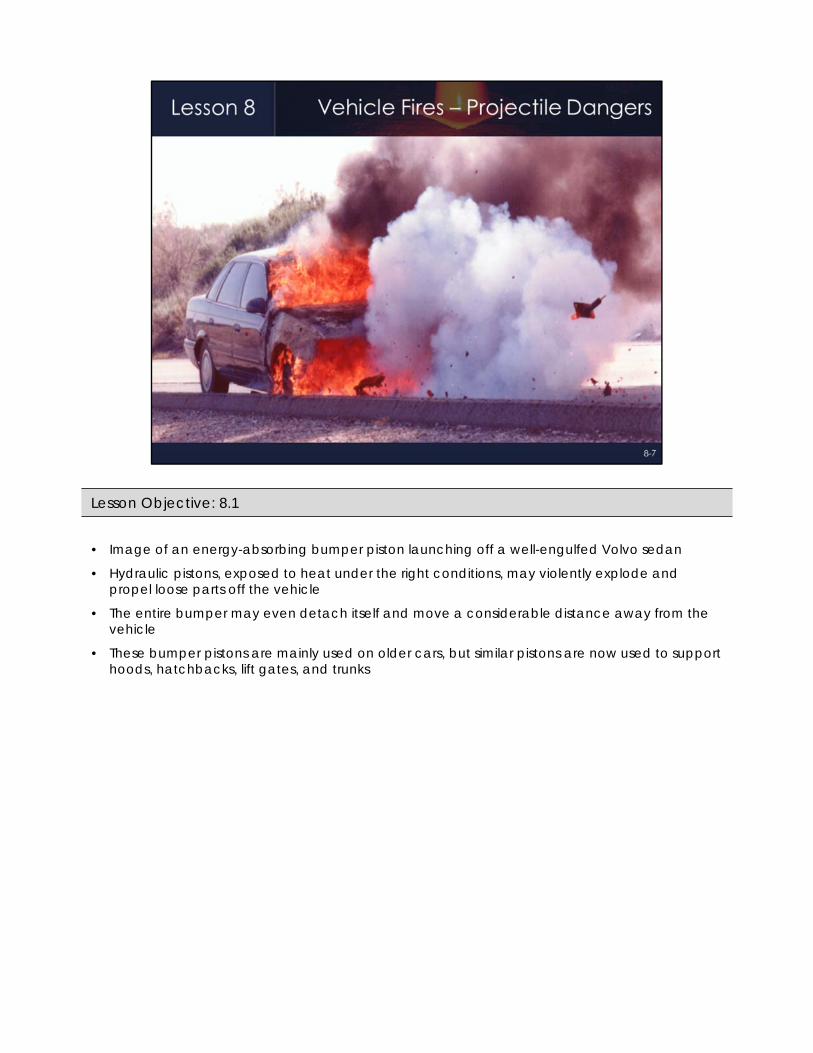
• Image of an energy-absorbing bumper piston launching off a well-engulfed Volvo sedan
• Hydraulic pistons, exposed to heat under the right conditions, may violently explode and propel loose parts off the vehicle
• The entire bumper may even detach itself and move a considerable distance away from the vehicle
• These bumper pistons are mainly used on older cars, but similar pistons are now used to support hoods, hatchbacks, lift gates, and trunks
Lesson Objective: 8.1

• Fluid-filled, hydraulic piston units used to hold open this hood would be compressed and in a horizontal position when the hood is closed
• If overheated, they are likely to fly forward during an engine compartment fire
Lesson Objective: 8.1
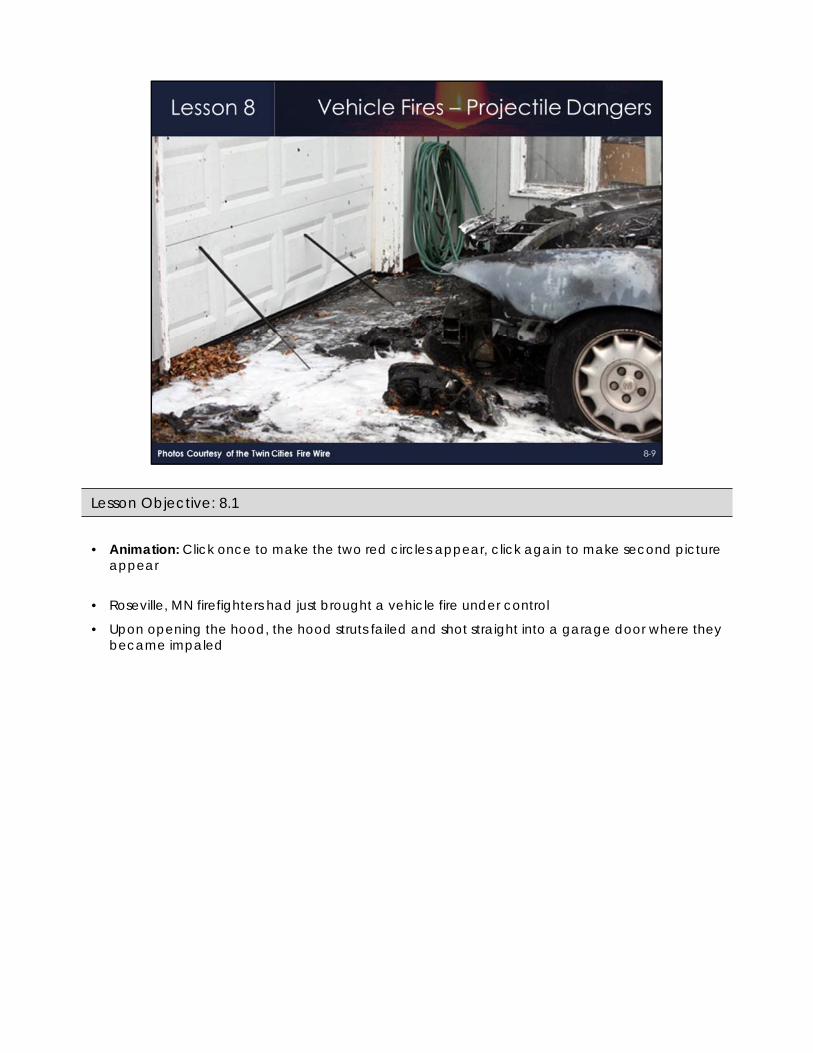
• Animation: Click once to make the two red circles appear, click again to make second picture appear
• Roseville, MN firefighters had just brought a vehicle fire under control
• Upon opening the hood, the hood struts failed and shot straight into a garage door where they became impaled
Lesson Objective: 8.1
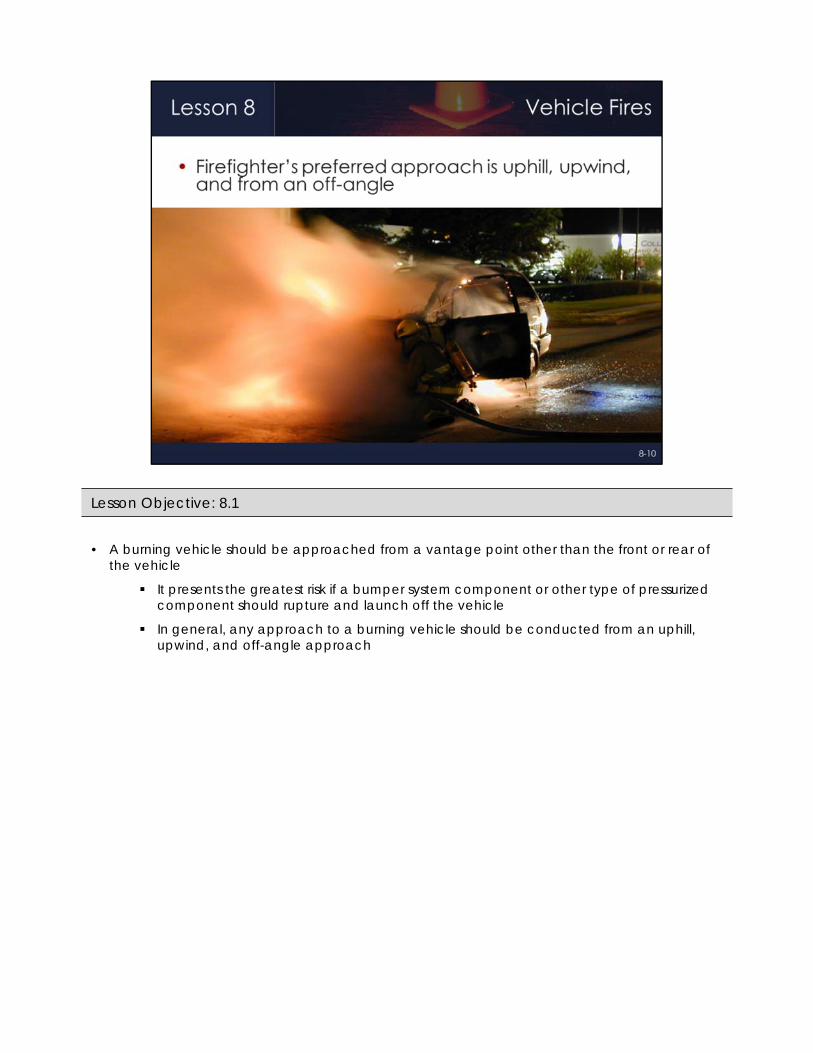
• A burning vehicle should be approached from a vantage point other than the front or rear of the vehicle
It presents the greatest risk if a bumper system component or other type of pressurized component should rupture and launch off the vehicle
In general, any approach to a burning vehicle should be conducted from an uphill, upwind, and off-angle approach
Lesson Objective: 8.1
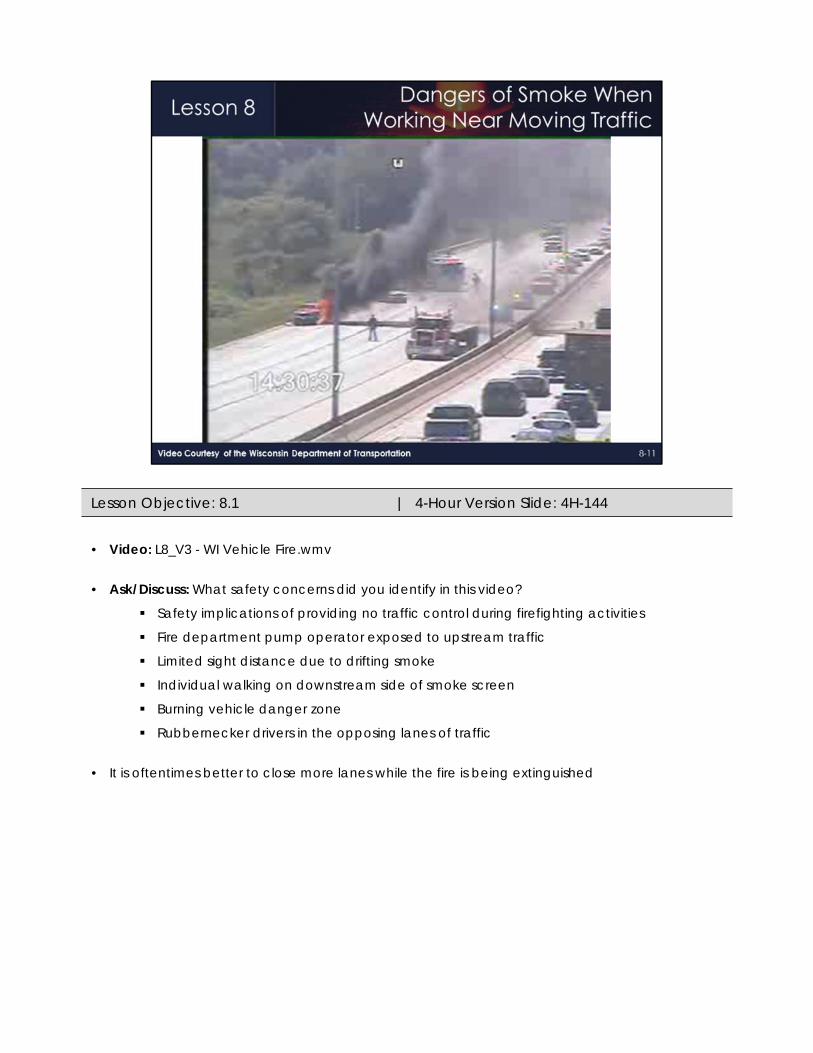
• Video: L8_V3 - WI Vehicle Fire.wmv
• Ask/Discuss: What safety concerns did you identify in this video?
Safety implications of providing no traffic control during firefighting activities
Fire department pump operator exposed to upstream traffic
Limited sight distance due to drifting smoke
Individual walking on downstream side of smoke screen
Burning vehicle danger zone
Rubbernecker drivers in the opposing lanes of traffic
• It is oftentimes better to close more lanes while the fire is being extinguished
Lesson Objective: 8.1 | 4-Hour Version Slide: 4H-144
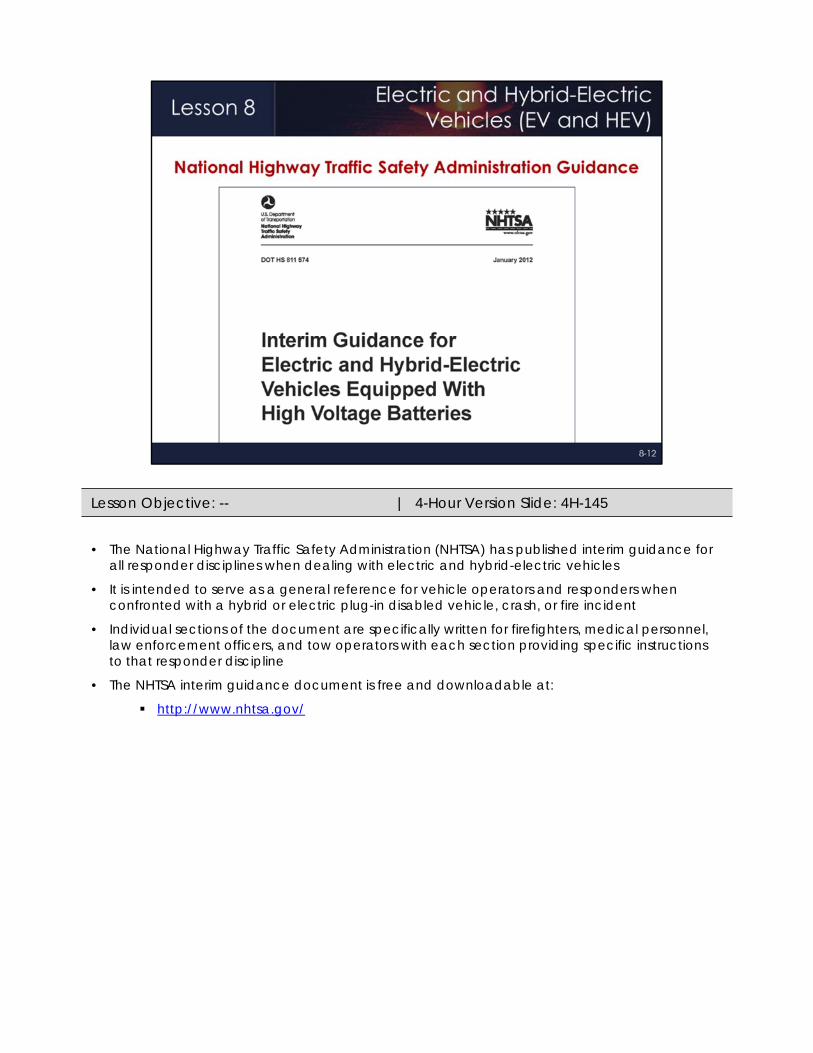
• The National Highway Traffic Safety Administration (NHTSA) has published interim guidance for all responder disciplines when dealing with electric and hybrid-electric vehicles
• It is intended to serve as a general reference for vehicle operators and responders when confronted with a hybrid or electric plug-in disabled vehicle, crash, or fire incident
• Individual sections of the document are specifically written for firefighters, medical personnel, law enforcement officers, and tow operators with each section providing specific instructions to that responder discipline
• The NHTSA interim guidance document is free and downloadable at:
http://www.nhtsa.gov/
Lesson Objective: -- | 4-Hour Version Slide: 4H-145
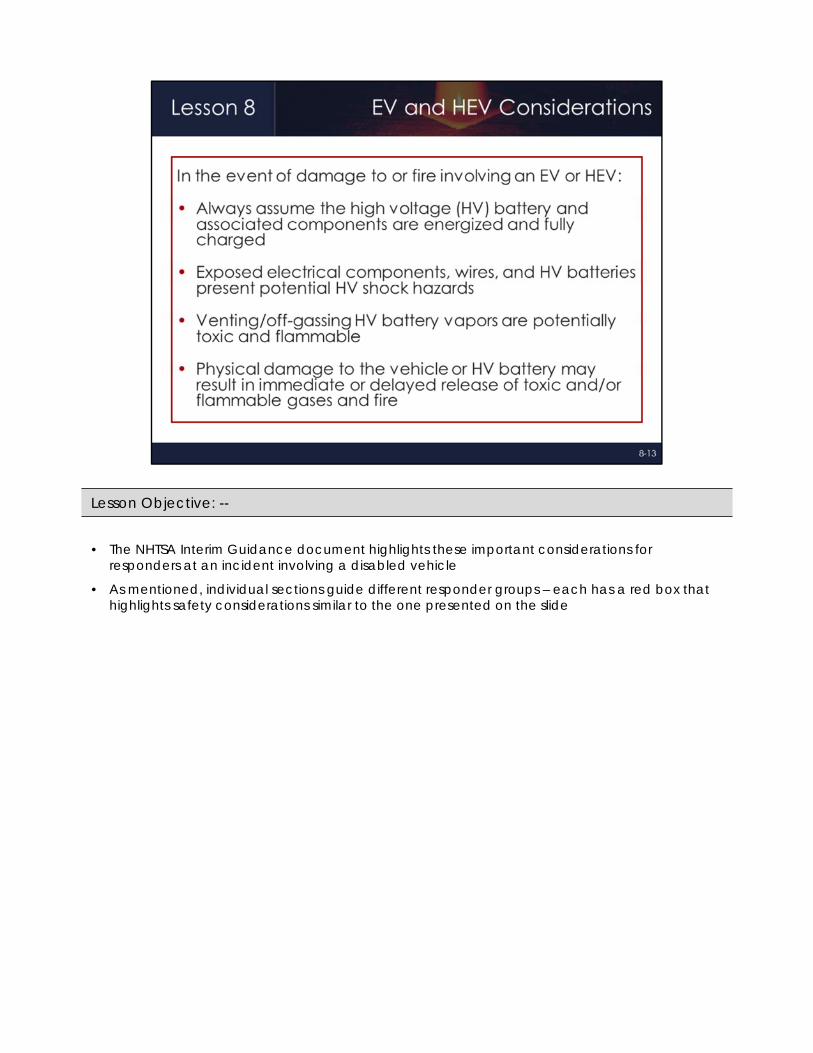
• The NHTSA Interim Guidance document highlights these important considerations for responders at an incident involving a disabled vehicle
• As mentioned, individual sections guide different responder groups – each has a red box that highlights safety considerations similar to the one presented on the slide
Lesson Objective: --
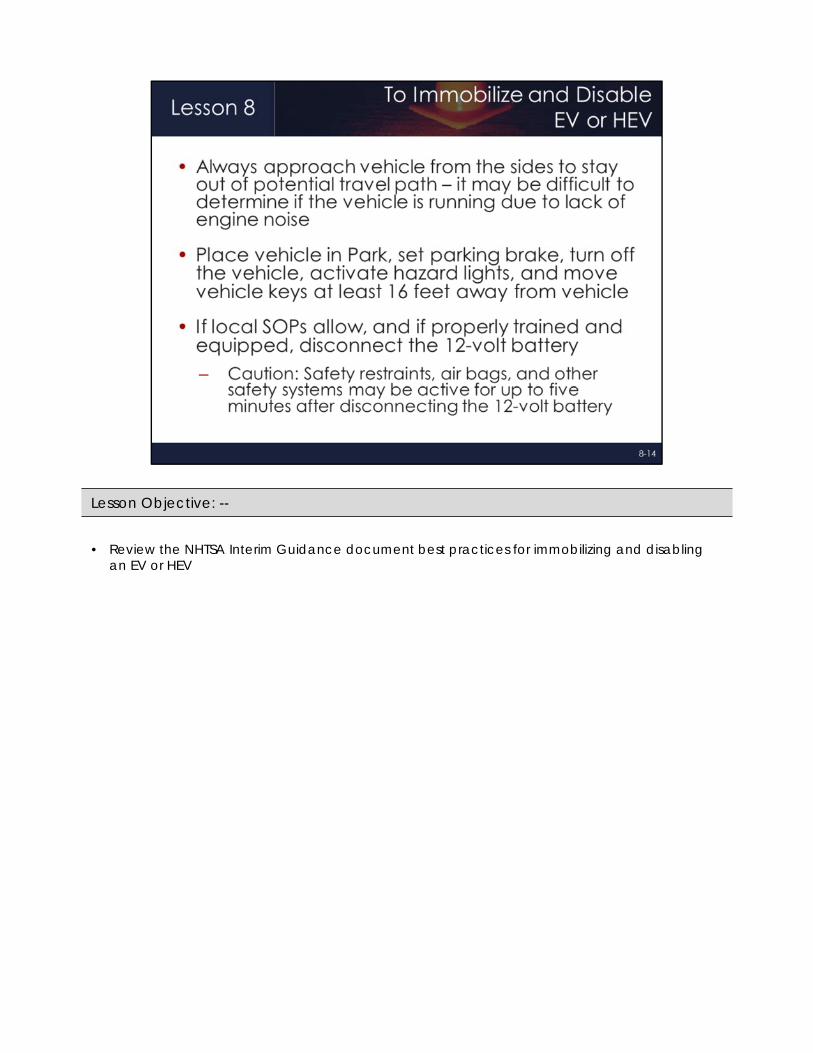
• Review the NHTSA Interim Guidance document best practices for immobilizing and disabling an EV or HEV
Lesson Objective: --
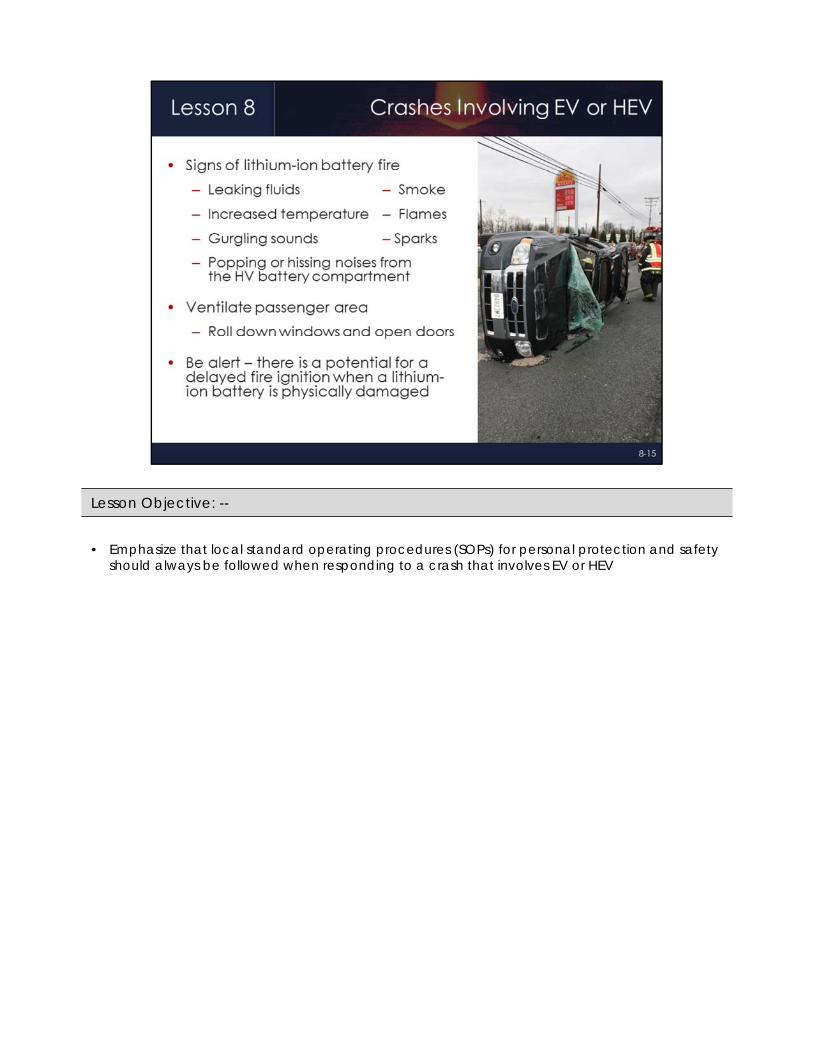
• Emphasize that local standard operating procedures (SOPs) for personal protection and safety should always be followed when responding to a crash that involves EV or HEV
Lesson Objective: --
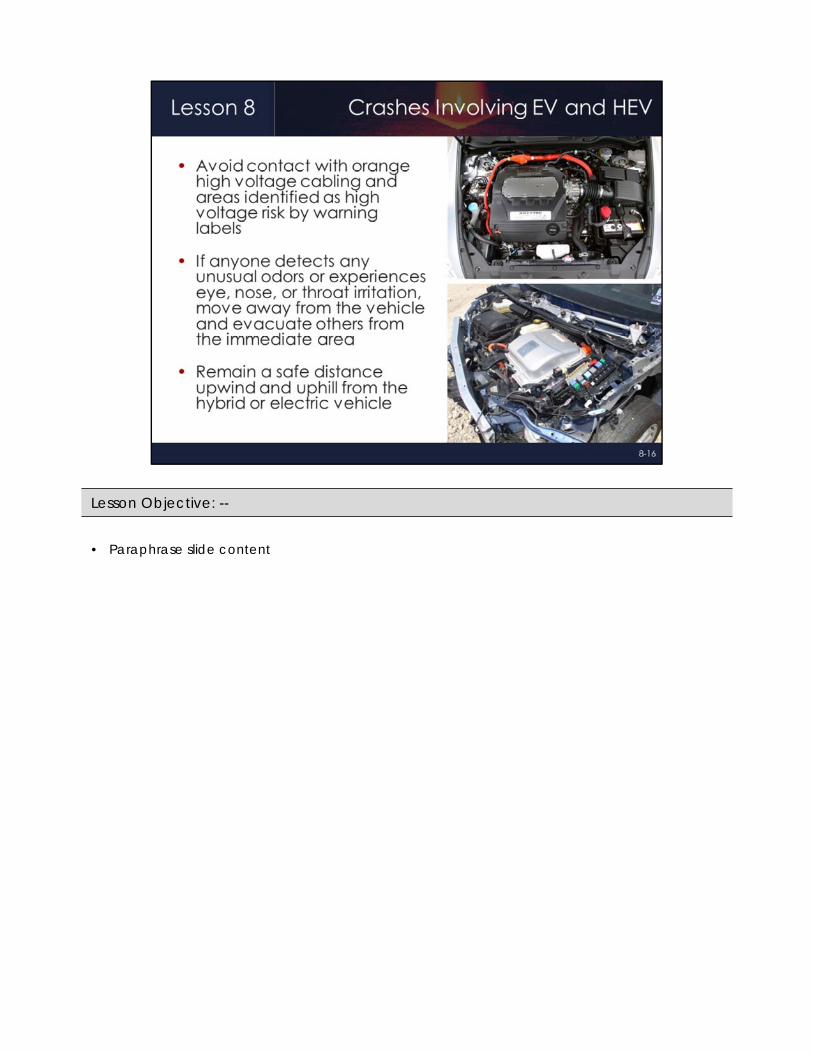
• Paraphrase slide content
Lesson Objective: --
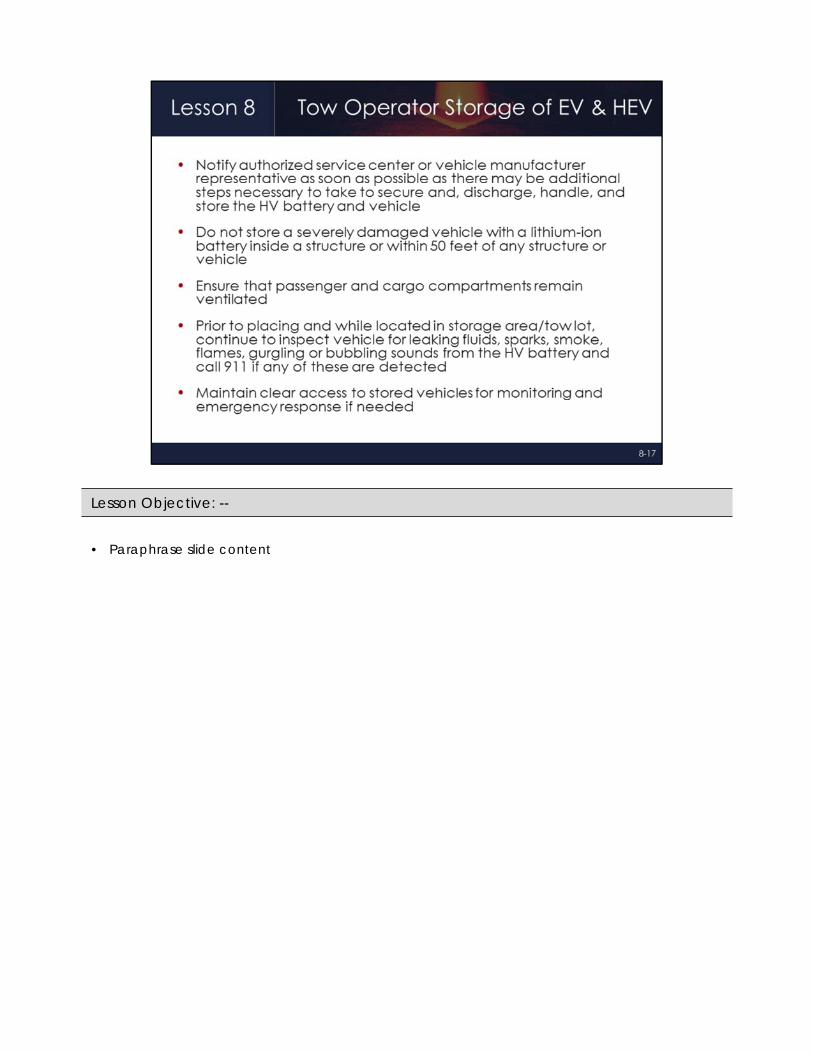
• Paraphrase slide content
Lesson Objective: --
• Recognize that most participants in this class have received hazmat training prior to this program
• 29 CFR 1910.120 is an OSHA regulation that went into effect in the 1980s that requires transportation workers (which includes responders) be trained in hazmat
• The purpose of this section of Lesson 8 is simply to discuss hazmat as it relates to TIM and provide a brief refresher
Lesson Objective: 8.2
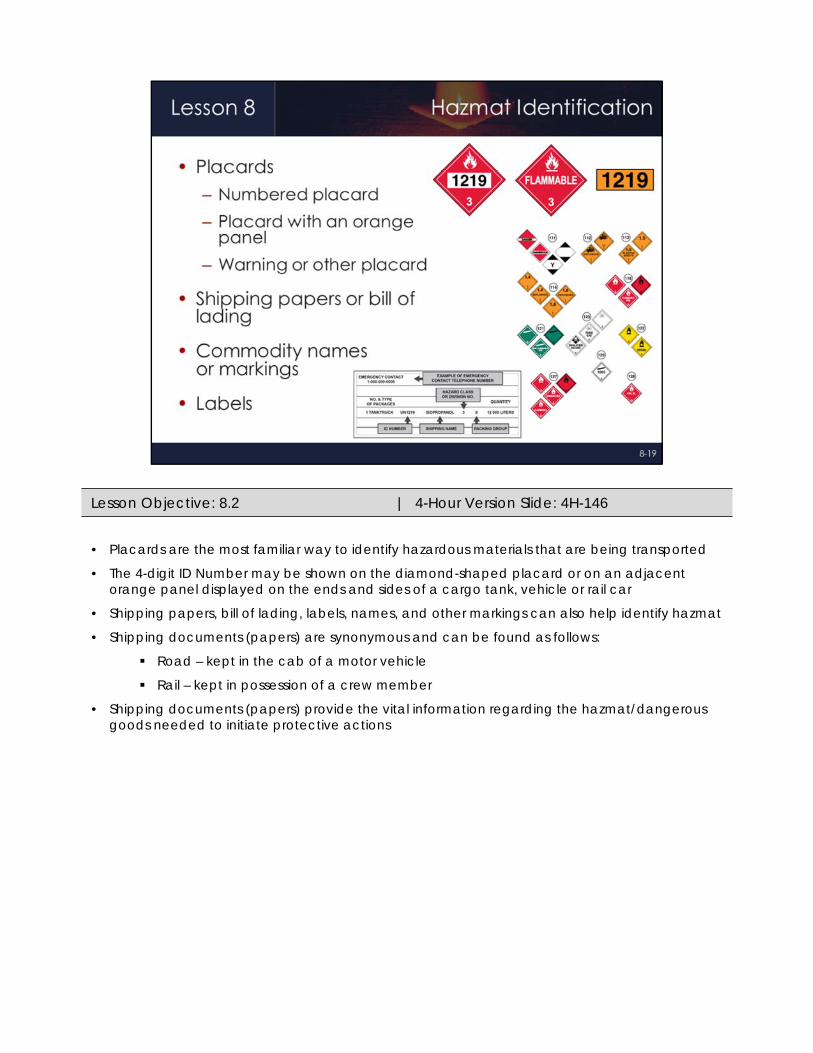
• Placards are the most familiar way to identify hazardous materials that are being transported
• The 4-digit ID Number may be shown on the diamond-shaped placard or on an adjacent orange panel displayed on the ends and sides of a cargo tank, vehicle or rail car
• Shipping papers, bill of lading, labels, names, and other markings can also help identify hazmat
• Shipping documents (papers) are synonymous and can be found as follows:
Road – kept in the cab of a motor vehicle
Rail – kept in possession of a crew member
• Shipping documents (papers) provide the vital information regarding the hazmat/dangerous goods needed to initiate protective actions
Lesson Objective: 8.2 | 4-Hour Version Slide: 4H-146

• The Emergency Response Guidebook (ERG) is an excellent resource for all incident responders
• The ERG is divided into sections, based on the color of the pages
White pages in the front of the book- Instructions / General Guidance / Basic Info
Yellow pages - 4-Digit ID Number
Blue pages- Name - Alphabetical
Orange pages- Actual response guides (more than 170)- In the event of an unknown material, Guide #111 should be followed
Green pages- Suggests initial evacuation or shelter in place distances for spills of materials that
are Toxic-by-Inhalation
White pages in the back of the book - Additional instructions and information on protective clothing and equipment
• Electronic versions of the ERG, computer software, and mobile applications are also available
Lesson Objective: 8.2 | 4-Hour Version Slide: 4H-147
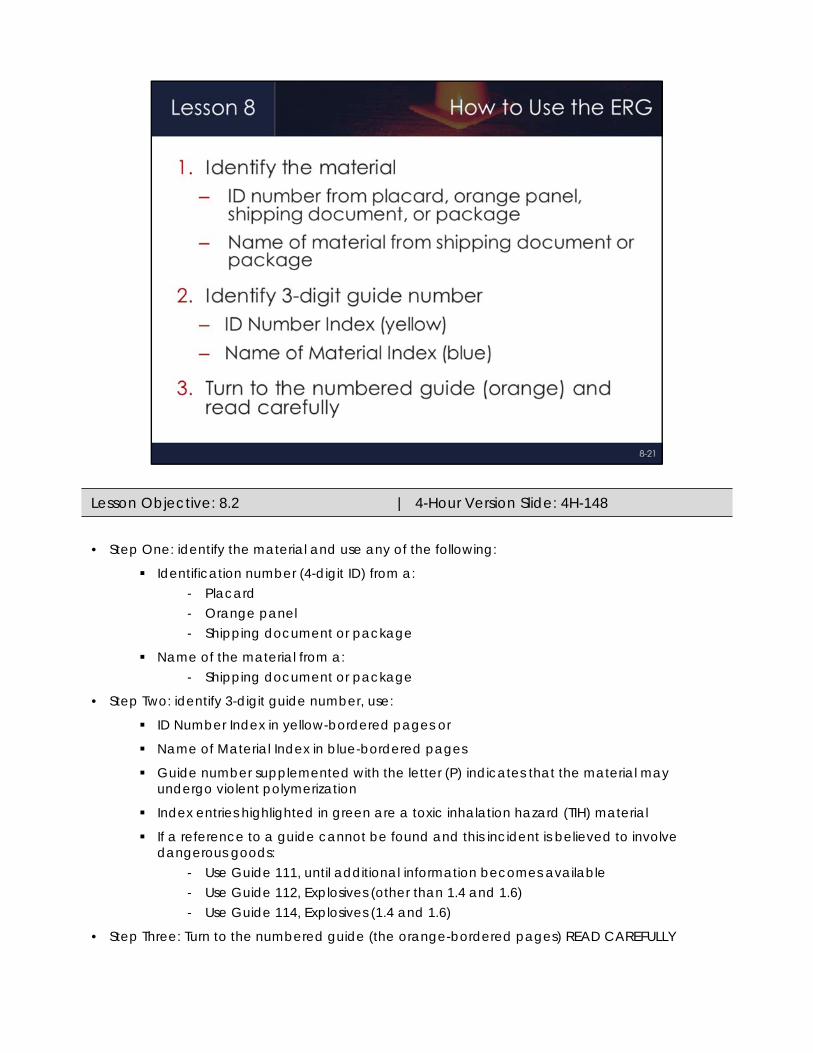
• Step One: identify the material and use any of the following:
Identification number (4-digit ID) from a:- Placard- Orange panel- Shipping document or package
Name of the material from a:- Shipping document or package
• Step Two: identify 3-digit guide number, use:
ID Number Index in yellow-bordered pages or
Name of Material Index in blue-bordered pages
Guide number supplemented with the letter (P) indicates that the material may undergo violent polymerization
Index entries highlighted in green are a toxic inhalation hazard (TIH) material
If a reference to a guide cannot be found and this incident is believed to involve dangerous goods:
- Use Guide 111, until additional information becomes available- Use Guide 112, Explosives (other than 1.4 and 1.6)- Use Guide 114, Explosives (1.4 and 1.6)
• Step Three: Turn to the numbered guide (the orange-bordered pages) READ CAREFULLY
Lesson Objective: 8.2 | 4-Hour Version Slide: 4H-148
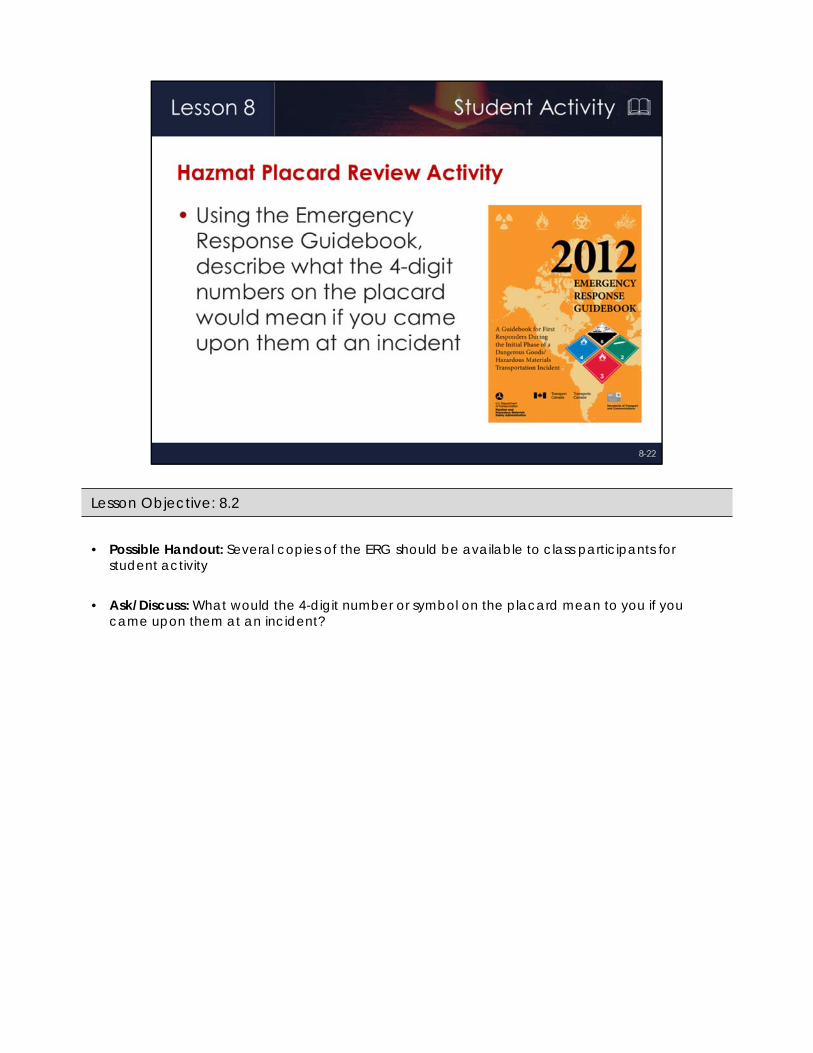
• Possible Handout: Several copies of the ERG should be available to class participants for student activity
• Ask/Discuss: What would the 4-digit number or symbol on the placard mean to you if you came upon them at an incident?
Lesson Objective: 8.2
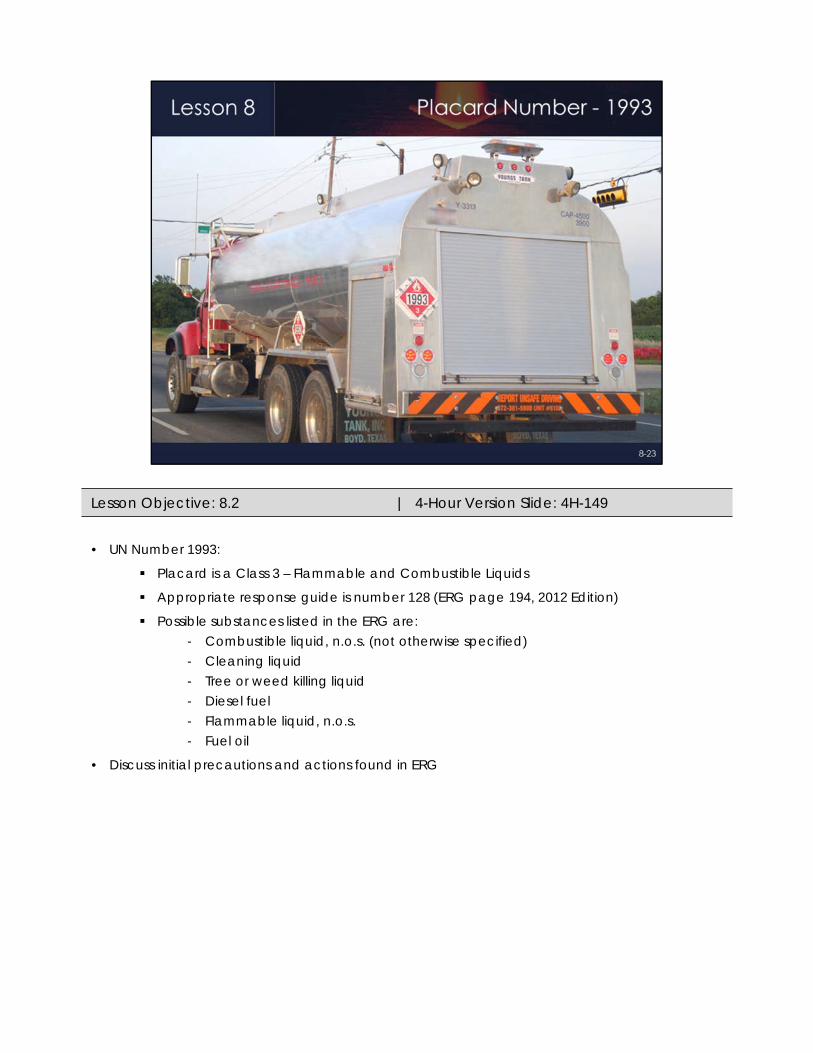
• UN Number 1993:
Placard is a Class 3 – Flammable and Combustible Liquids
Appropriate response guide is number 128 (ERG page 194, 2012 Edition)
Possible substances listed in the ERG are: - Combustible liquid, n.o.s. (not otherwise specified)- Cleaning liquid- Tree or weed killing liquid- Diesel fuel- Flammable liquid, n.o.s.- Fuel oil
• Discuss initial precautions and actions found in ERG
Lesson Objective: 8.2 | 4-Hour Version Slide: 4H-149
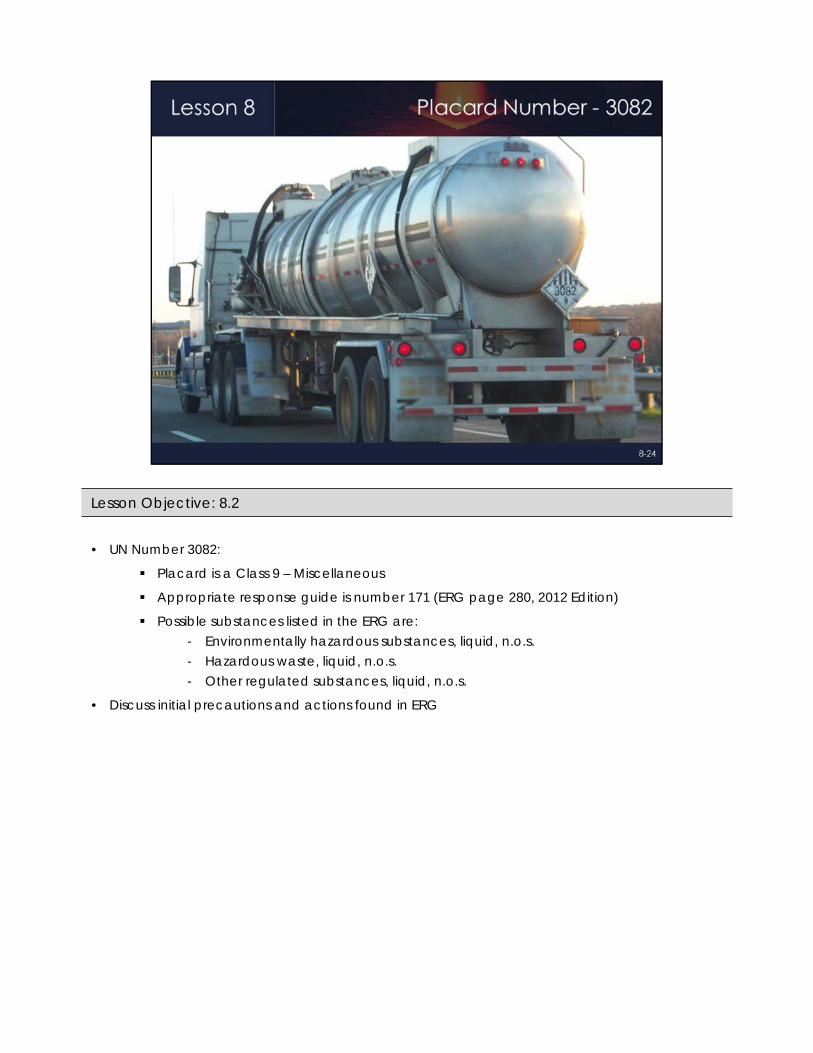
• UN Number 3082:
Placard is a Class 9 – Miscellaneous
Appropriate response guide is number 171 (ERG page 280, 2012 Edition)
Possible substances listed in the ERG are: - Environmentally hazardous substances, liquid, n.o.s.- Hazardous waste, liquid, n.o.s.- Other regulated substances, liquid, n.o.s.
• Discuss initial precautions and actions found in ERG
Lesson Objective: 8.2
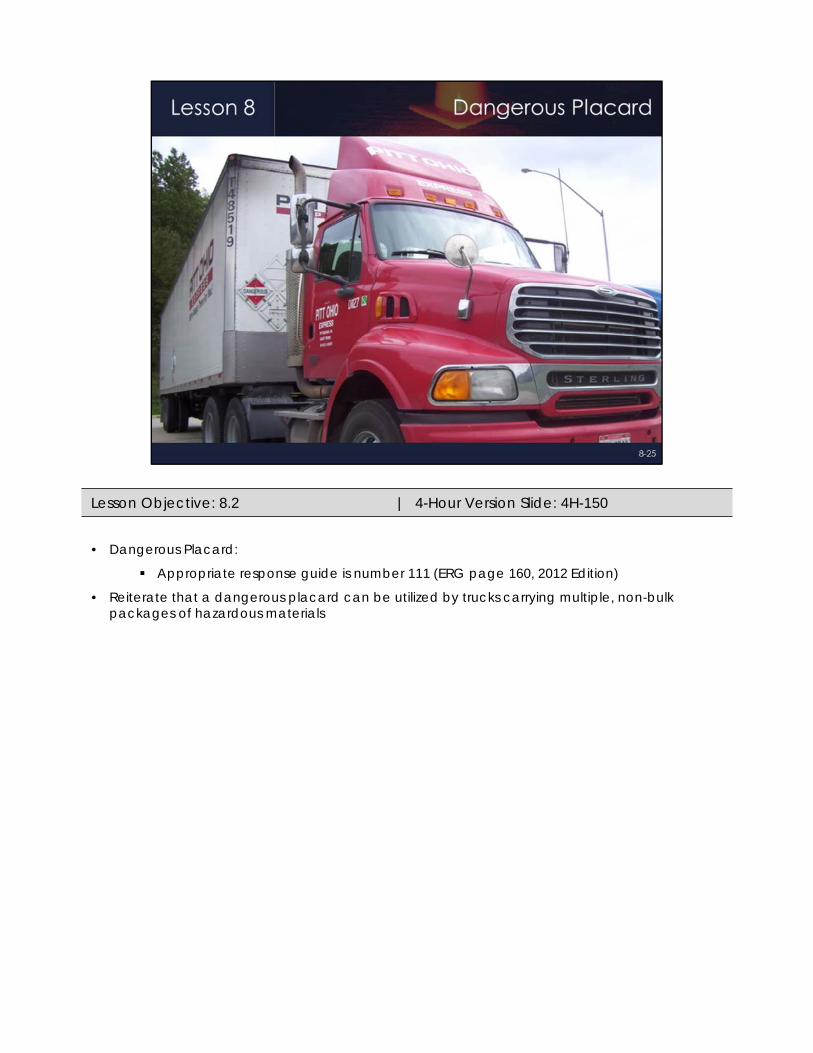
• Dangerous Placard:
Appropriate response guide is number 111 (ERG page 160, 2012 Edition)
• Reiterate that a dangerous placard can be utilized by trucks carrying multiple, non-bulk packages of hazardous materials
Lesson Objective: 8.2 | 4-Hour Version Slide: 4H-150
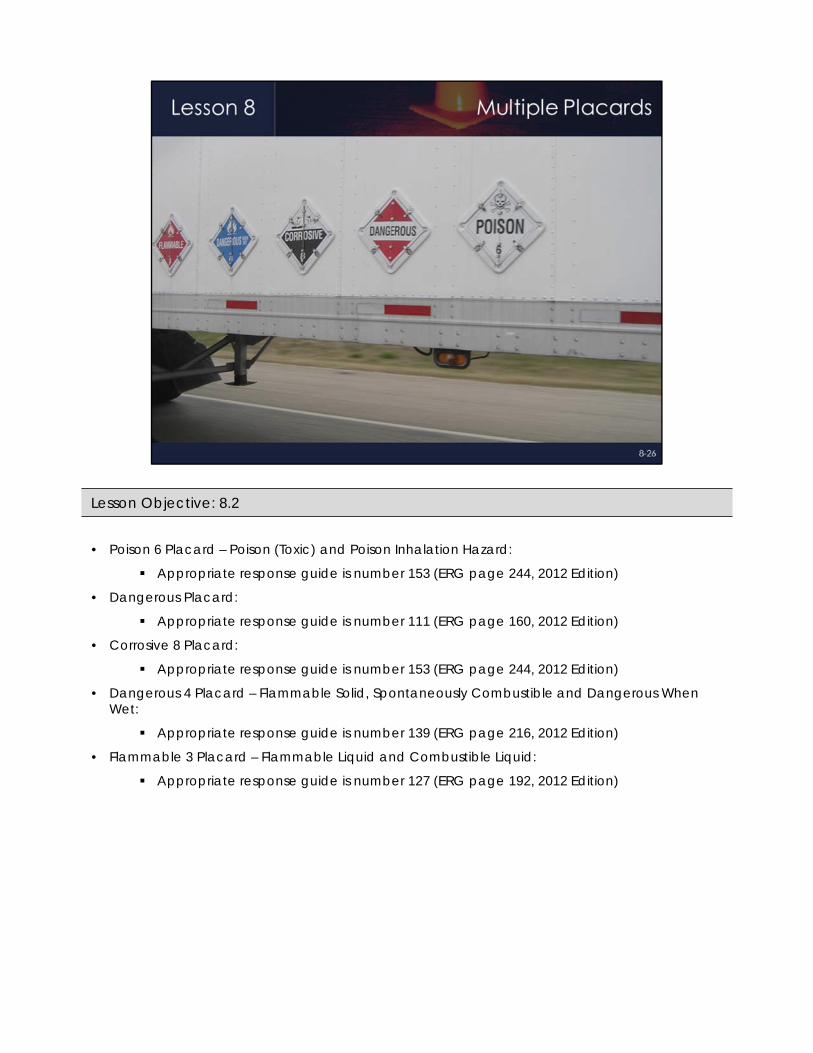
• Poison 6 Placard – Poison (Toxic) and Poison Inhalation Hazard:
Appropriate response guide is number 153 (ERG page 244, 2012 Edition)
• Dangerous Placard:
Appropriate response guide is number 111 (ERG page 160, 2012 Edition)
• Corrosive 8 Placard:
Appropriate response guide is number 153 (ERG page 244, 2012 Edition)
• Dangerous 4 Placard – Flammable Solid, Spontaneously Combustible and Dangerous When Wet:
Appropriate response guide is number 139 (ERG page 216, 2012 Edition)
• Flammable 3 Placard – Flammable Liquid and Combustible Liquid:
Appropriate response guide is number 127 (ERG page 192, 2012 Edition)
Lesson Objective: 8.2
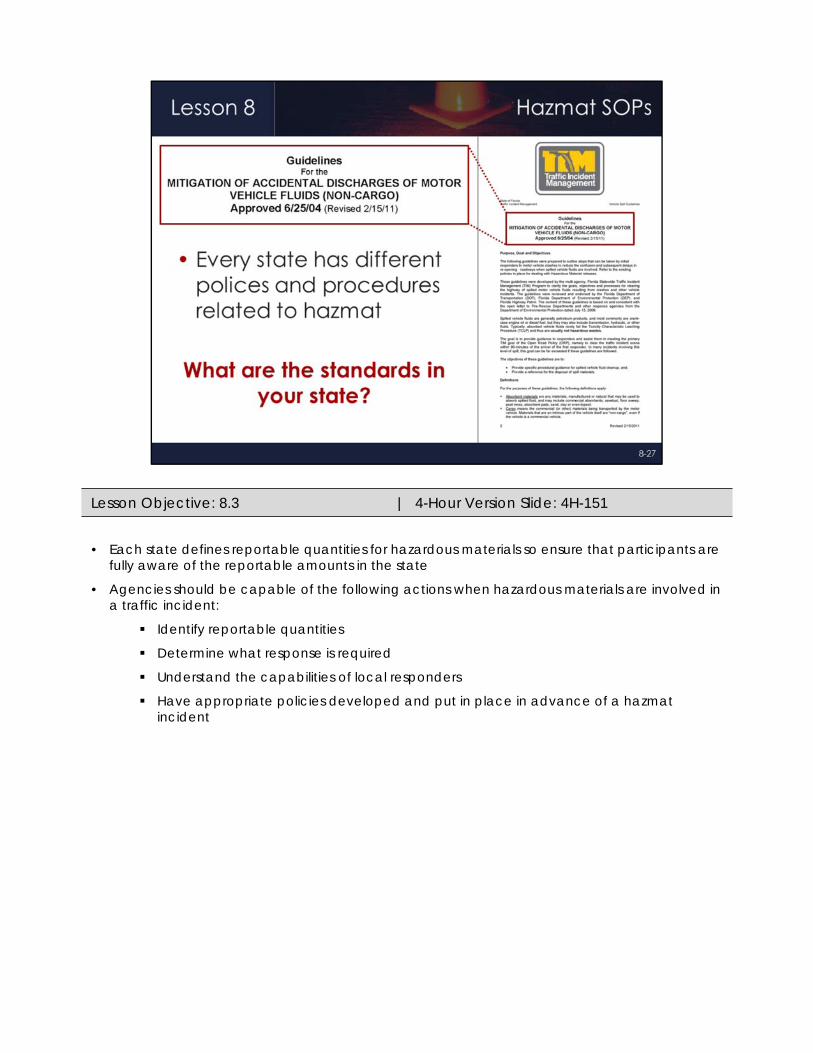
• Each state defines reportable quantities for hazardous materials so ensure that participants are fully aware of the reportable amounts in the state
• Agencies should be capable of the following actions when hazardous materials are involved in a traffic incident:
Identify reportable quantities
Determine what response is required
Understand the capabilities of local responders
Have appropriate policies developed and put in place in advance of a hazmat incident
Lesson Objective: 8.3 | 4-Hour Version Slide: 4H-151
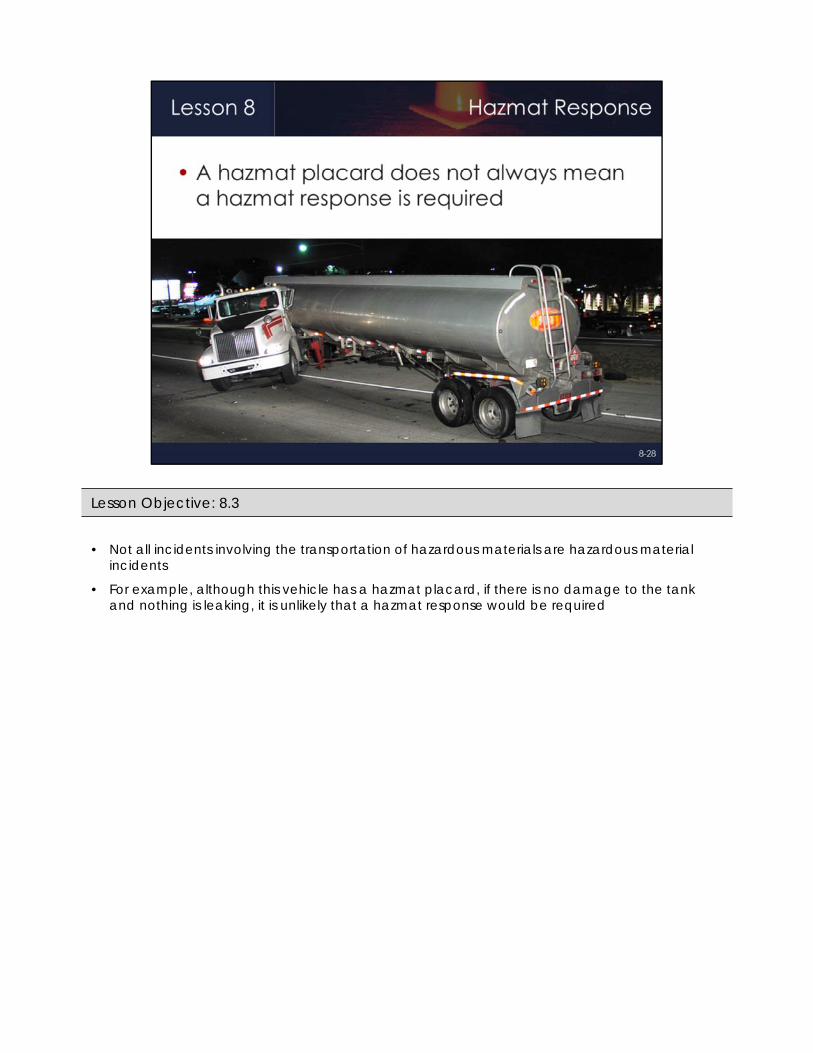
• Not all incidents involving the transportation of hazardous materials are hazardous material incidents
• For example, although this vehicle has a hazmat placard, if there is no damage to the tank and nothing is leaking, it is unlikely that a hazmat response would be required
Lesson Objective: 8.3
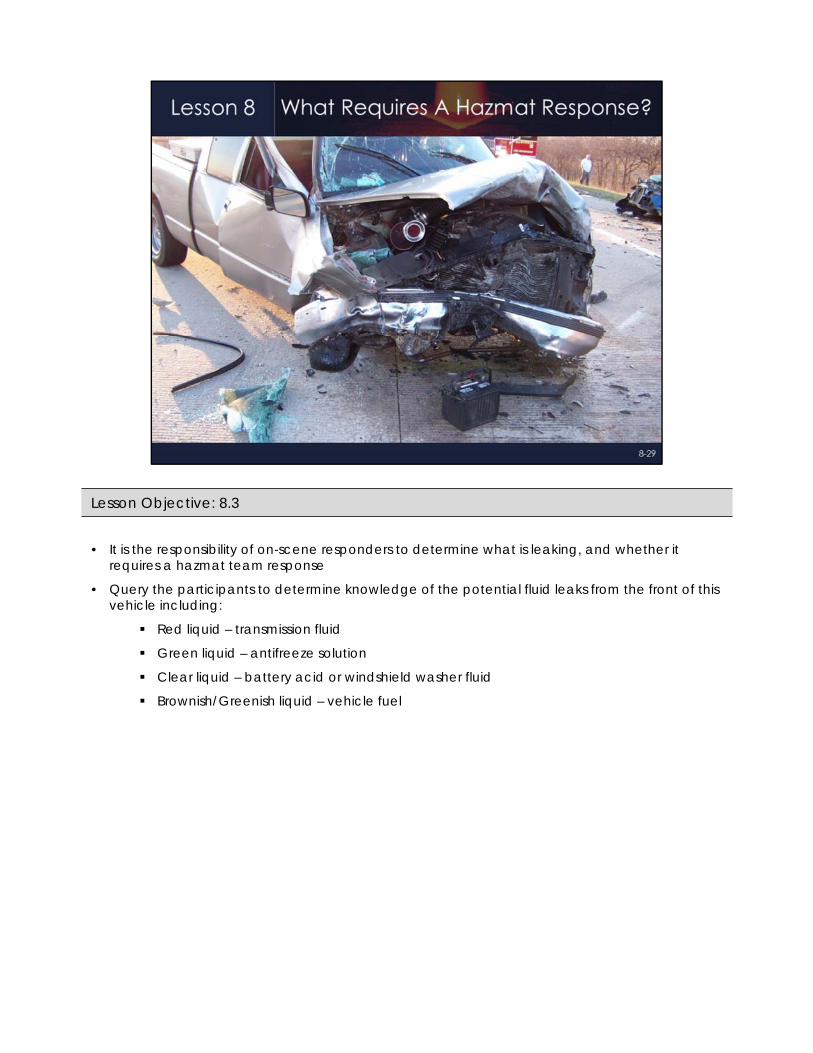
• It is the responsibility of on-scene responders to determine what is leaking, and whether it requires a hazmat team response
• Query the participants to determine knowledge of the potential fluid leaks from the front of this vehicle including:
Red liquid – transmission fluid
Green liquid – antifreeze solution
Clear liquid – battery acid or windshield washer fluid
Brownish/Greenish liquid – vehicle fuel
Lesson Objective: 8.3
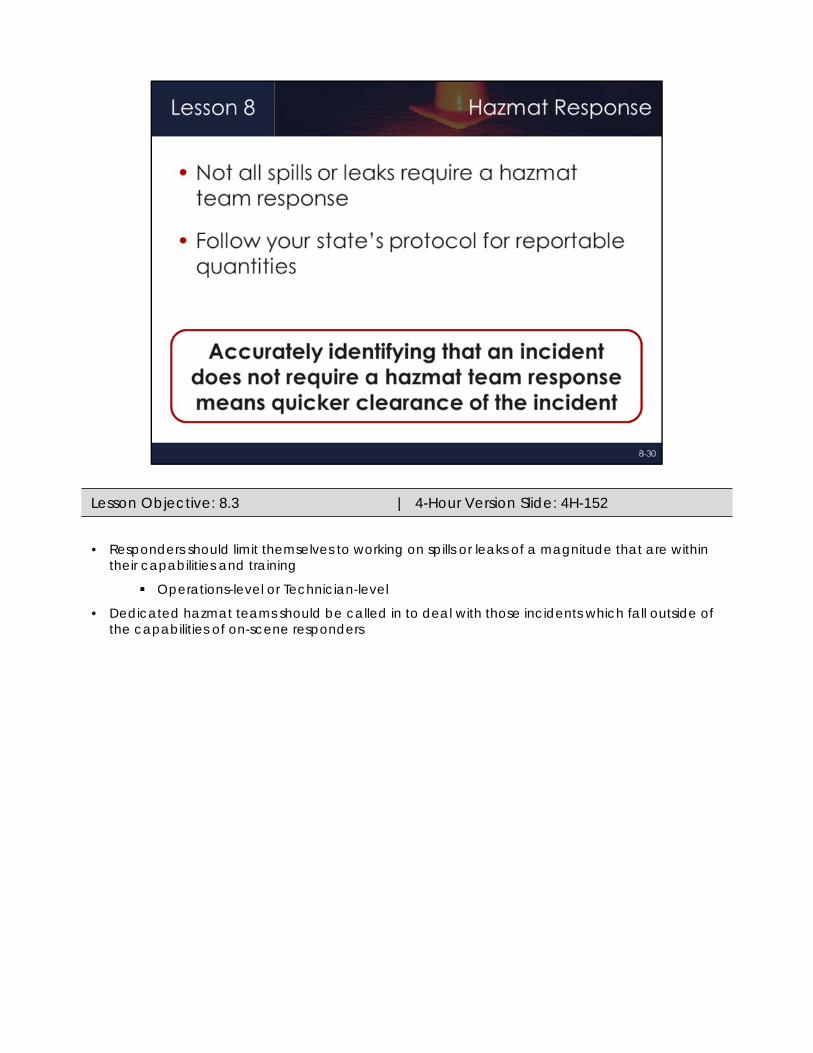
• Responders should limit themselves to working on spills or leaks of a magnitude that are within their capabilities and training
Operations-level or Technician-level
• Dedicated hazmat teams should be called in to deal with those incidents which fall outside of the capabilities of on-scene responders
Lesson Objective: 8.3 | 4-Hour Version Slide: 4H-152
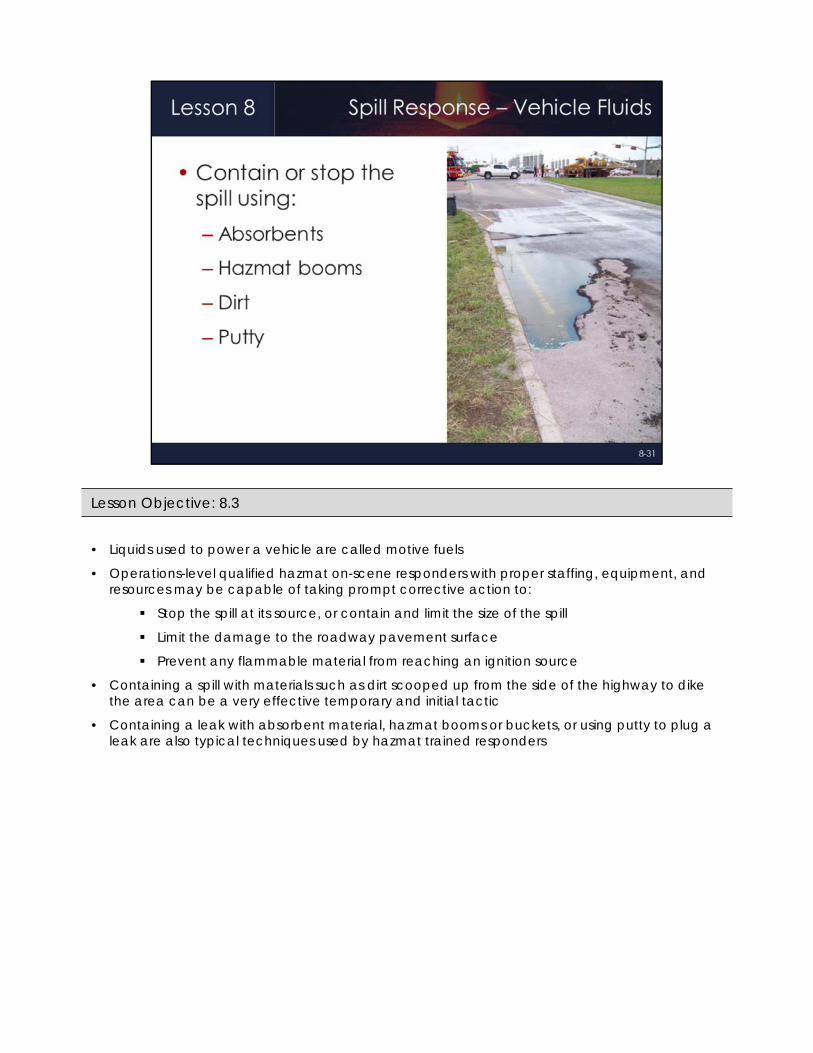
• Liquids used to power a vehicle are called motive fuels
• Operations-level qualified hazmat on-scene responders with proper staffing, equipment, and resources may be capable of taking prompt corrective action to:
Stop the spill at its source, or contain and limit the size of the spill
Limit the damage to the roadway pavement surface
Prevent any flammable material from reaching an ignition source
• Containing a spill with materials such as dirt scooped up from the side of the highway to dike the area can be a very effective temporary and initial tactic
• Containing a leak with absorbent material, hazmat booms or buckets, or using putty to plug a leak are also typical techniques used by hazmat trained responders
Lesson Objective: 8.3
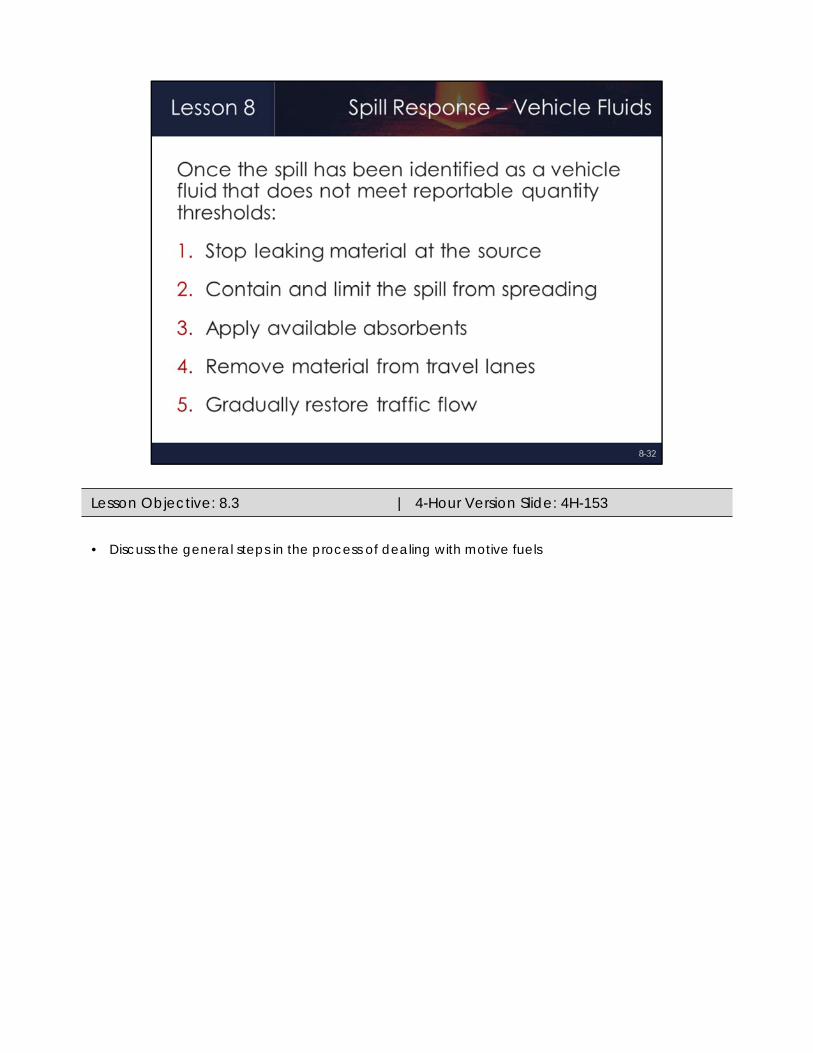
• Discuss the general steps in the process of dealing with motive fuels
Lesson Objective: 8.3 | 4-Hour Version Slide: 4H-153
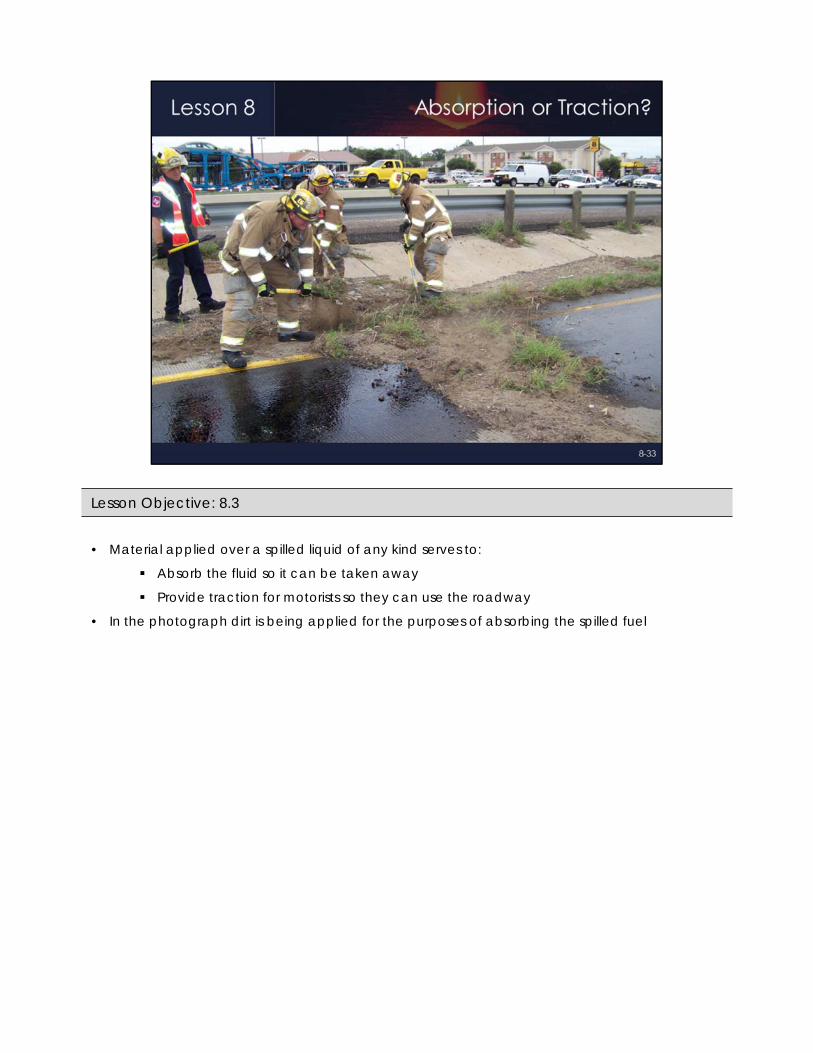
• Material applied over a spilled liquid of any kind serves to:
Absorb the fluid so it can be taken away
Provide traction for motorists so they can use the roadway
• In the photograph dirt is being applied for the purposes of absorbing the spilled fuel
Lesson Objective: 8.3
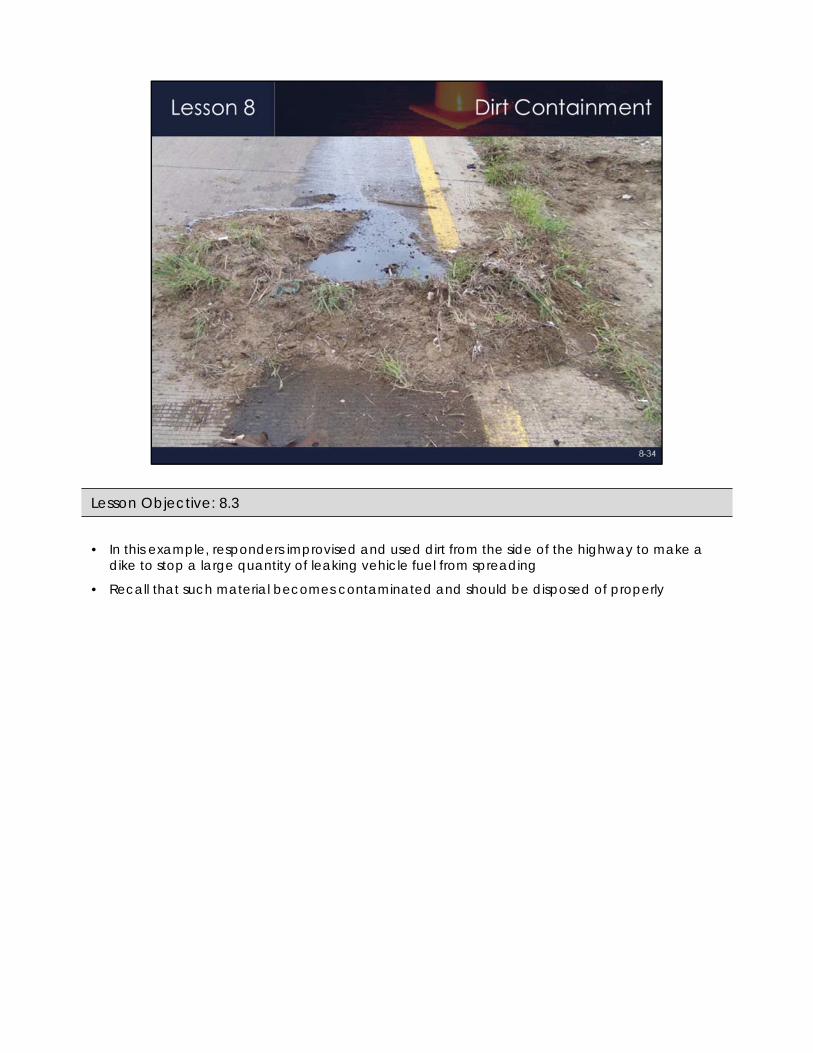
• In this example, responders improvised and used dirt from the side of the highway to make a dike to stop a large quantity of leaking vehicle fuel from spreading
• Recall that such material becomes contaminated and should be disposed of properly
Lesson Objective: 8.3

• A dry, granular material is being applied to a highway off-ramp by a transportation department crew for the purposes of providing vehicle traction
Lesson Objective: 8.3

• Ask/Discuss: How would you determine the potential quantity of fuel contained in one truck side saddle tank such as shown in this image?
• Ask/Discuss: Describe the actions that could be taken by on-scene responders in this situation
Plug the leak utilizing hazmat leak sealing putty, a cone, or a wedge
Contain the leak utilizing a 5-gallon bucket or a pool for example
Dike the spilled diesel fuel to prevent the fluid from spreading any further
Lesson Objective: 8.3
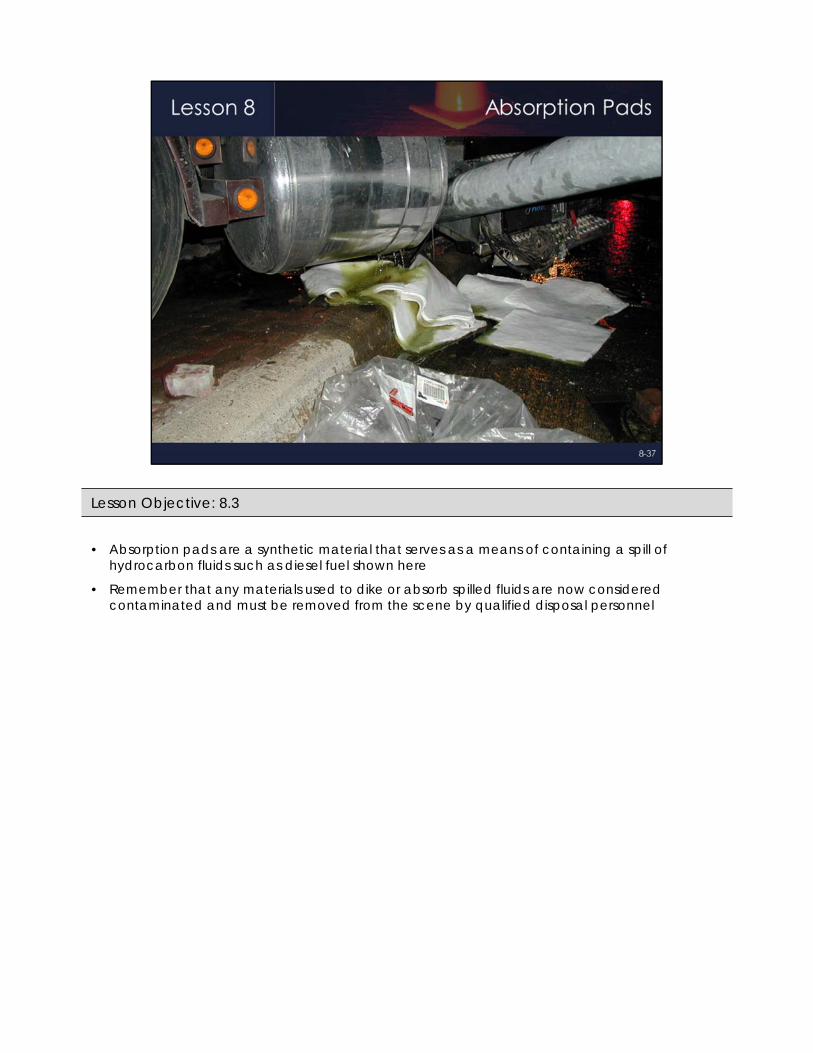
• Absorption pads are a synthetic material that serves as a means of containing a spill of hydrocarbon fluids such as diesel fuel shown here
• Remember that any materials used to dike or absorb spilled fluids are now considered contaminated and must be removed from the scene by qualified disposal personnel
Lesson Objective: 8.3
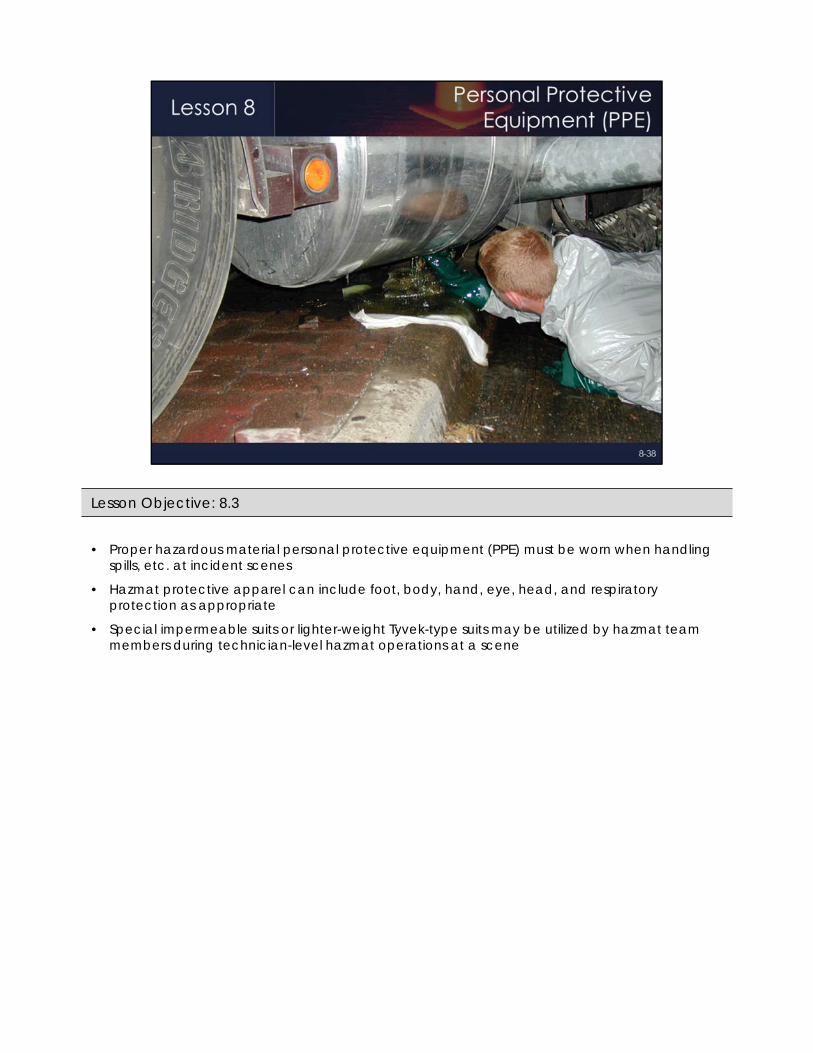
• Proper hazardous material personal protective equipment (PPE) must be worn when handling spills, etc. at incident scenes
• Hazmat protective apparel can include foot, body, hand, eye, head, and respiratory protection as appropriate
• Special impermeable suits or lighter-weight Tyvek-type suits may be utilized by hazmat team members during technician-level hazmat operations at a scene
Lesson Objective: 8.3
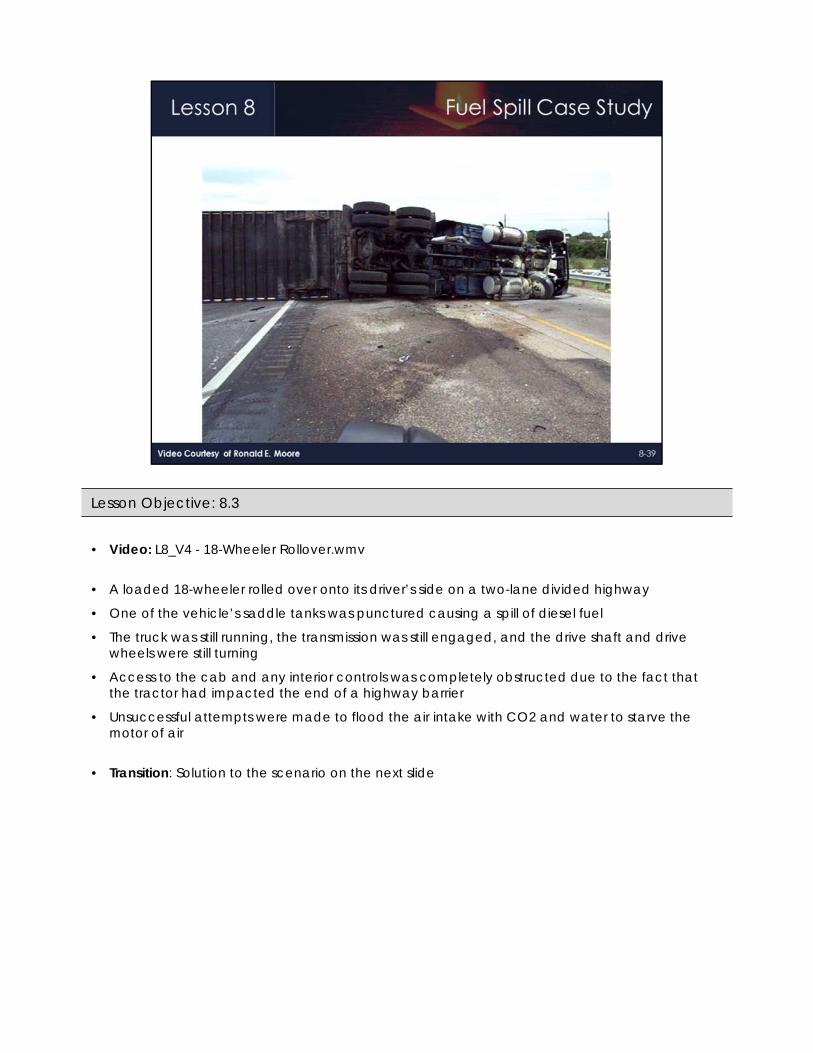
• Video: L8_V4 - 18-Wheeler Rollover.wmv
• A loaded 18-wheeler rolled over onto its driver’s side on a two-lane divided highway
• One of the vehicle’s saddle tanks was punctured causing a spill of diesel fuel
• The truck was still running, the transmission was still engaged, and the drive shaft and drive wheels were still turning
• Access to the cab and any interior controls was completely obstructed due to the fact that the tractor had impacted the end of a highway barrier
• Unsuccessful attempts were made to flood the air intake with CO2 and water to starve the motor of air
• Transition: Solution to the scenario on the next slide
Lesson Objective: 8.3
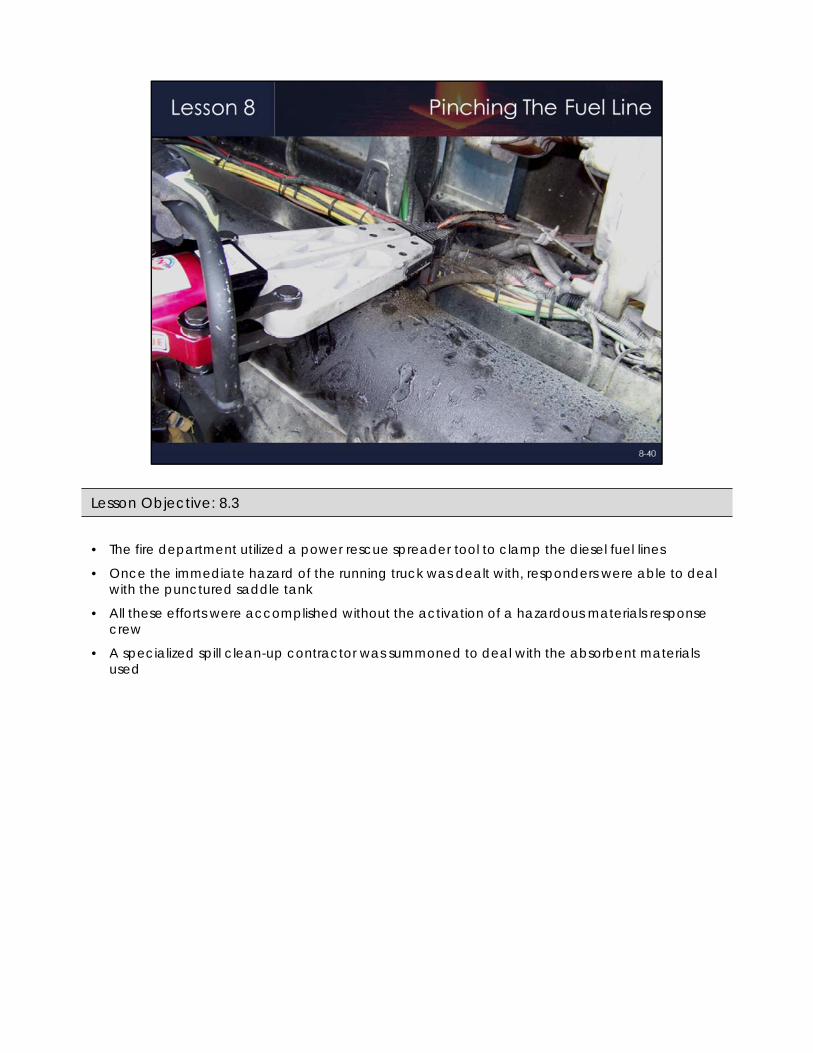
• The fire department utilized a power rescue spreader tool to clamp the diesel fuel lines
• Once the immediate hazard of the running truck was dealt with, responders were able to deal with the punctured saddle tank
• All these efforts were accomplished without the activation of a hazardous materials response crew
• A specialized spill clean-up contractor was summoned to deal with the absorbent materials used
Lesson Objective: 8.3
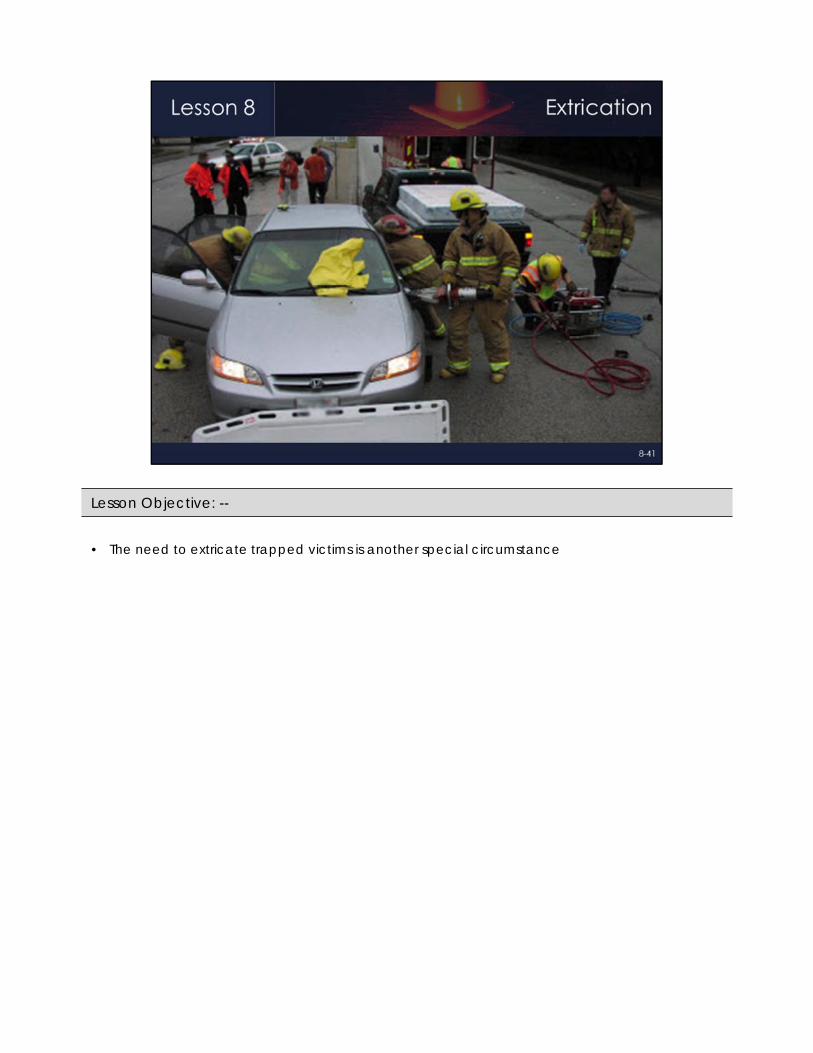
• The need to extricate trapped victims is another special circumstance
Lesson Objective: --
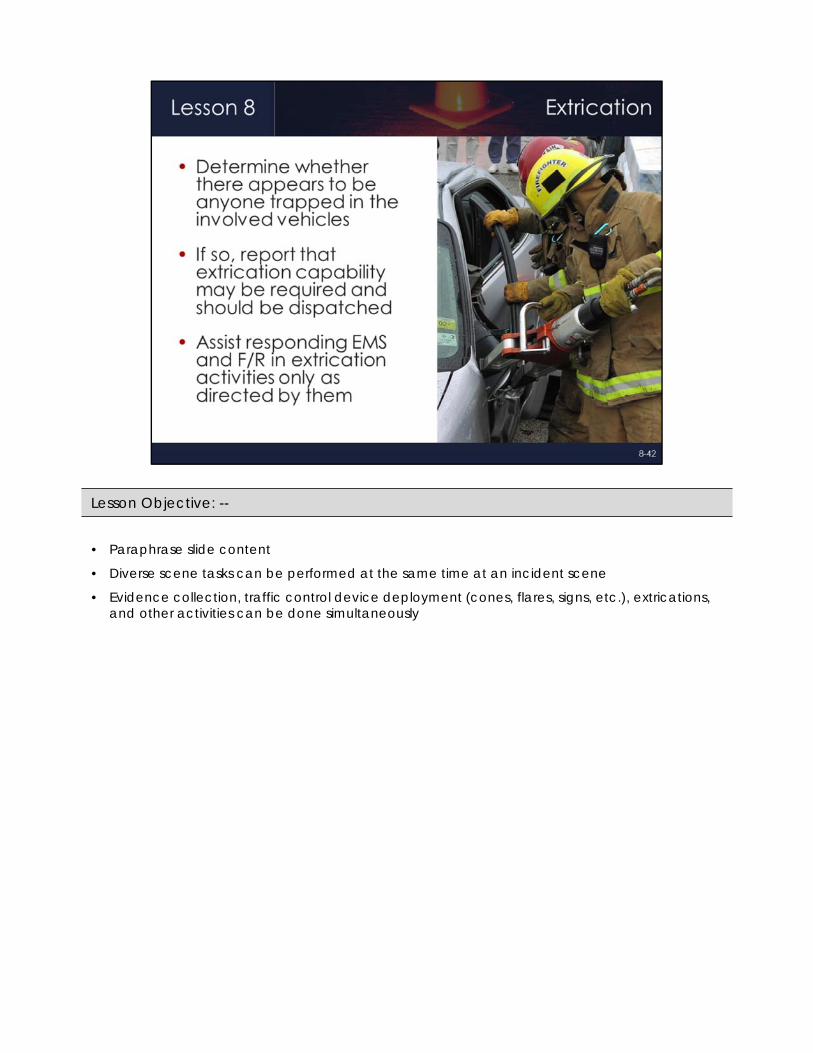
• Paraphrase slide content
• Diverse scene tasks can be performed at the same time at an incident scene
• Evidence collection, traffic control device deployment (cones, flares, signs, etc.), extrications, and other activities can be done simultaneously
Lesson Objective: --
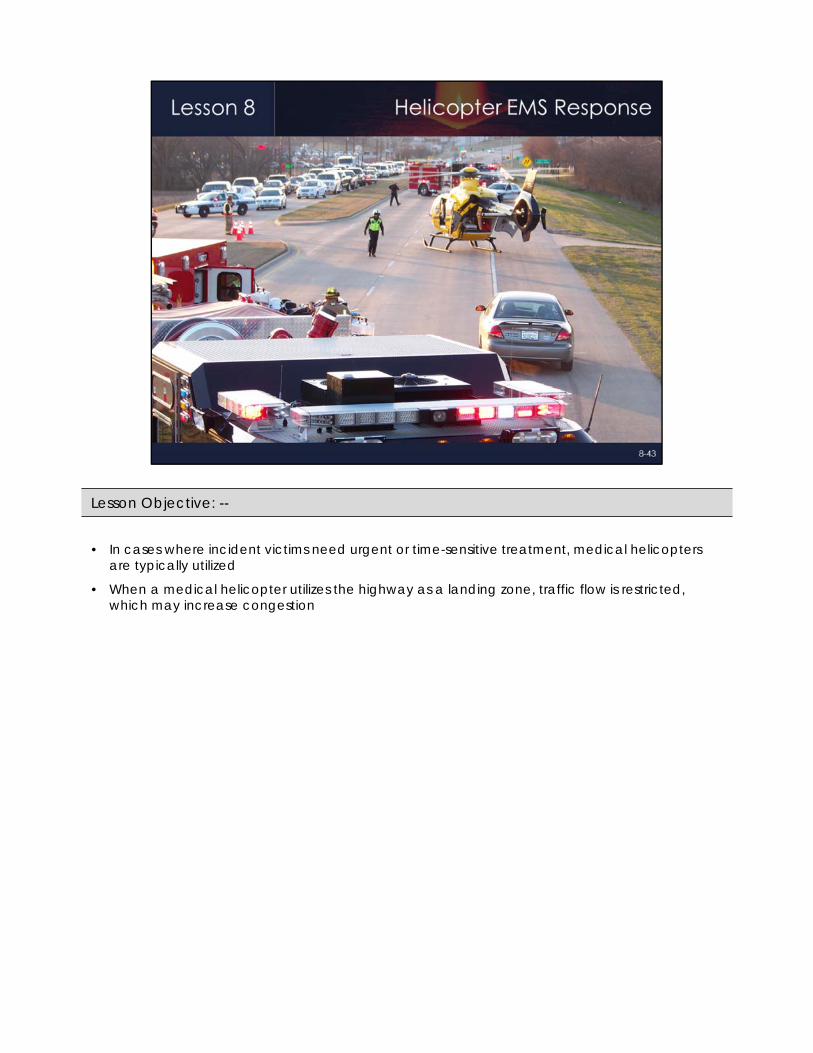
• In cases where incident victims need urgent or time-sensitive treatment, medical helicopters are typically utilized
• When a medical helicopter utilizes the highway as a landing zone, traffic flow is restricted,which may increase congestion
Lesson Objective: --
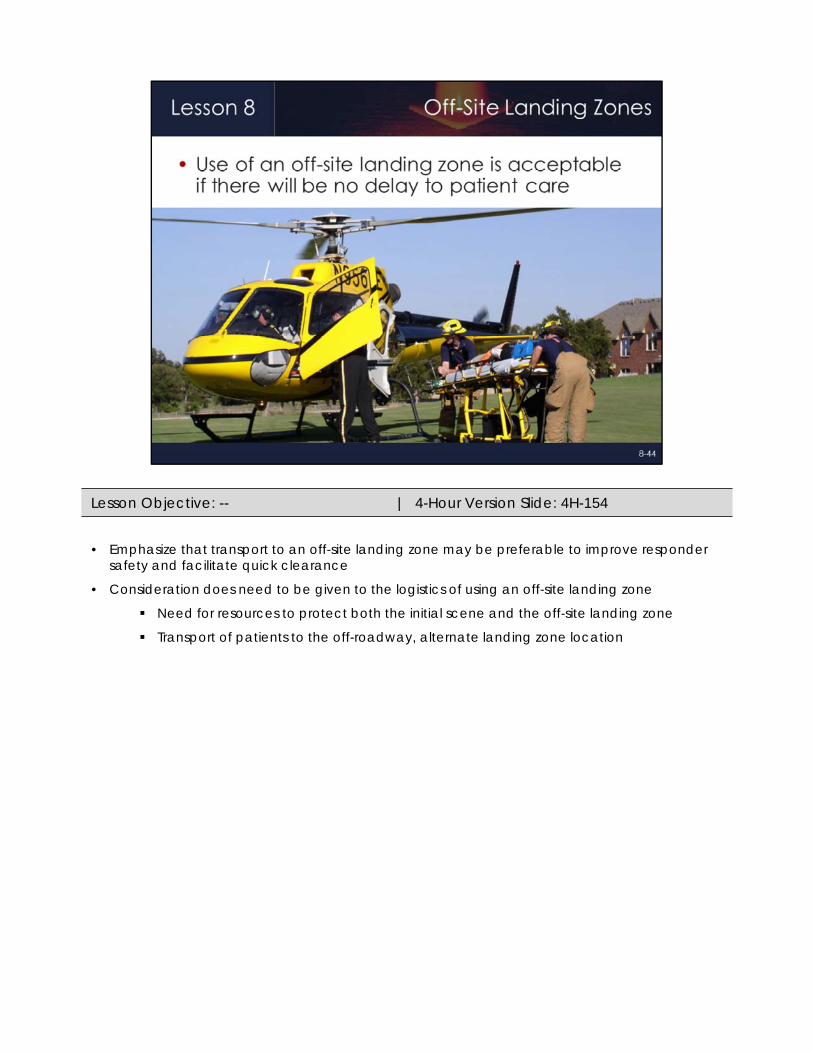
• Emphasize that transport to an off-site landing zone may be preferable to improve responder safety and facilitate quick clearance
• Consideration does need to be given to the logistics of using an off-site landing zone
Need for resources to protect both the initial scene and the off-site landing zone
Transport of patients to the off-roadway, alternate landing zone location
Lesson Objective: -- | 4-Hour Version Slide: 4H-154
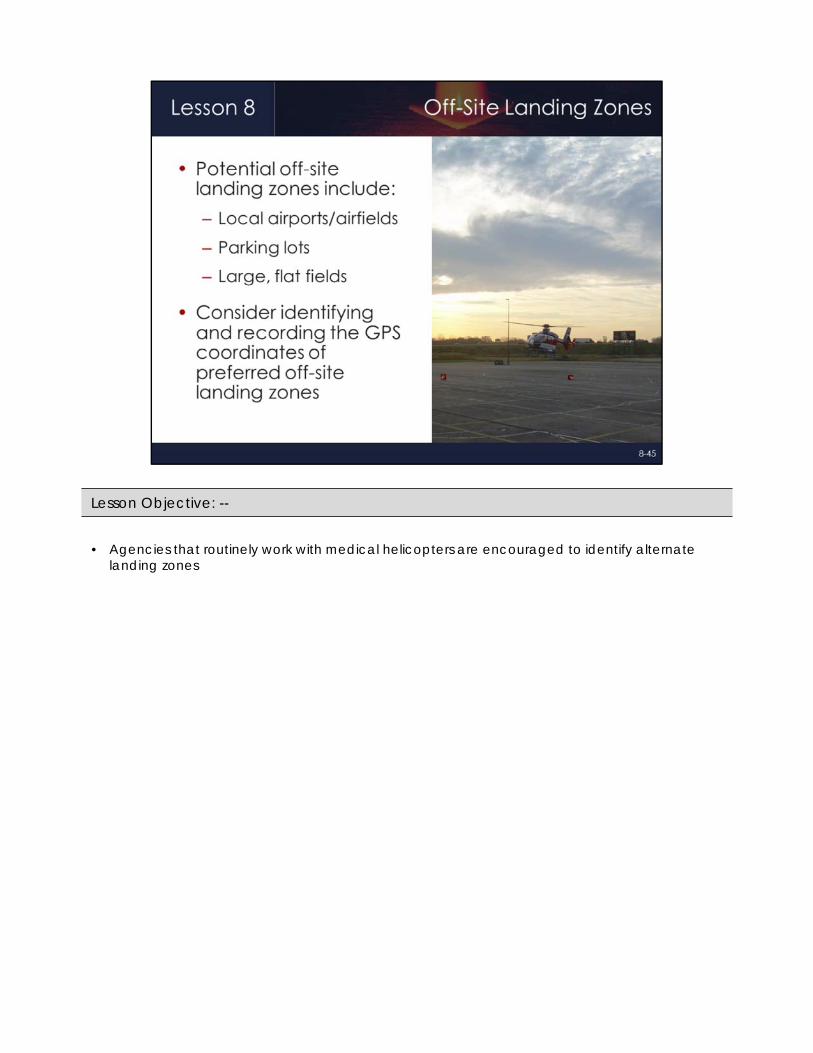
• Agencies that routinely work with medical helicopters are encouraged to identify alternate landing zones
Lesson Objective: --
• Review the purposes of a crash investigation
Collect data that ultimately helps understand when, where, and why crashes occur
Identifies who is at fault for vehicle repairs and other compensation
Ensures that individuals who committed a crime are brought to justice (DUI, manslaughter, vehicular homicide, leaving the scene, etc.)
Lesson Objective: 8.4 | 4-Hour Version Slide: 4H-155
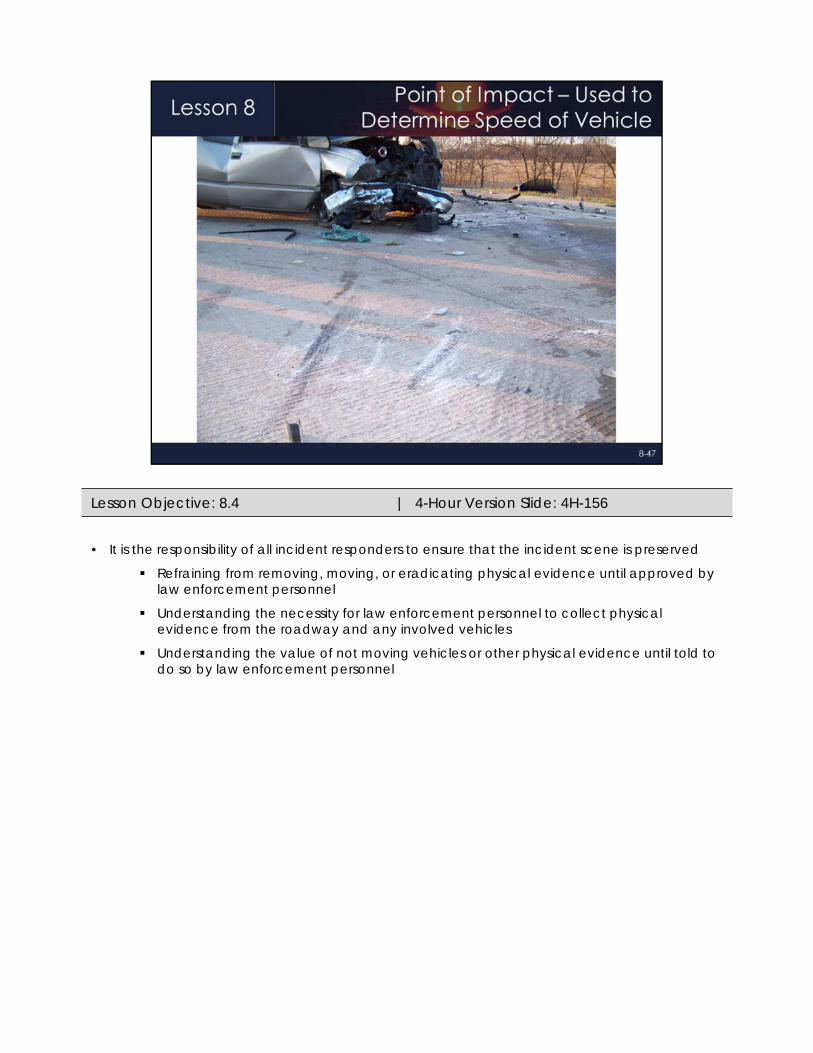
• It is the responsibility of all incident responders to ensure that the incident scene is preserved
Refraining from removing, moving, or eradicating physical evidence until approved by law enforcement personnel
Understanding the necessity for law enforcement personnel to collect physical evidence from the roadway and any involved vehicles
Understanding the value of not moving vehicles or other physical evidence until told to do so by law enforcement personnel
Lesson Objective: 8.4 | 4-Hour Version Slide: 4H-156
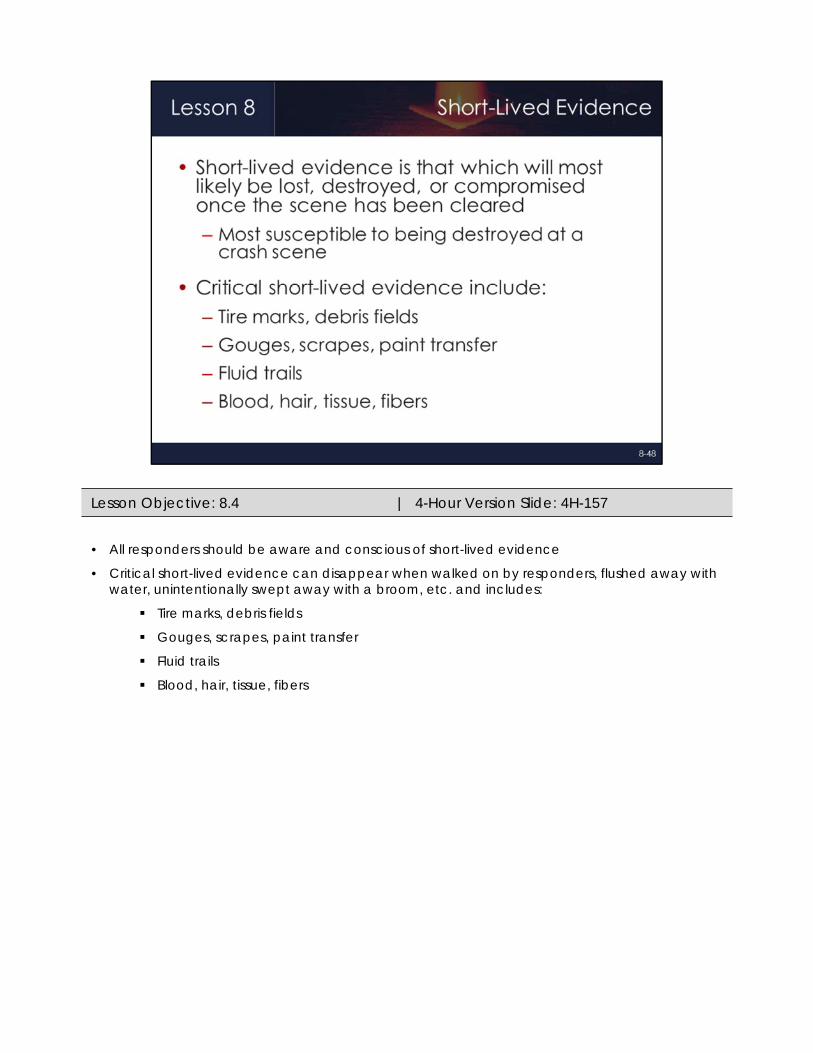
• All responders should be aware and conscious of short-lived evidence
• Critical short-lived evidence can disappear when walked on by responders, flushed away with water, unintentionally swept away with a broom, etc. and includes:
Tire marks, debris fields
Gouges, scrapes, paint transfer
Fluid trails
Blood, hair, tissue, fibers
Lesson Objective: 8.4 | 4-Hour Version Slide: 4H-157

• A dirt tire print is an example of short-lived evidence – it could be easily lost as vehicles drive over it, responders walk on it, or by sweeping of the roadway during incident clearance
Lesson Objective: 8.4
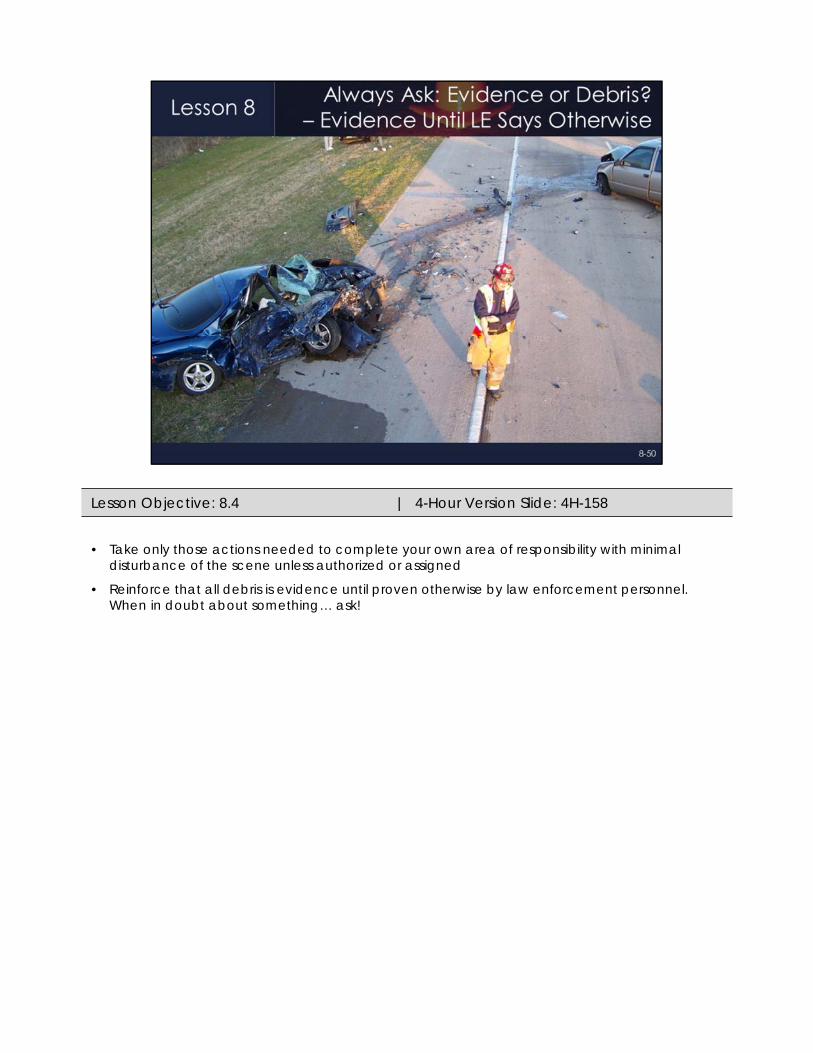
• Take only those actions needed to complete your own area of responsibility with minimal disturbance of the scene unless authorized or assigned
• Reinforce that all debris is evidence until proven otherwise by law enforcement personnel. When in doubt about something… ask!
Lesson Objective: 8.4 | 4-Hour Version Slide: 4H-158
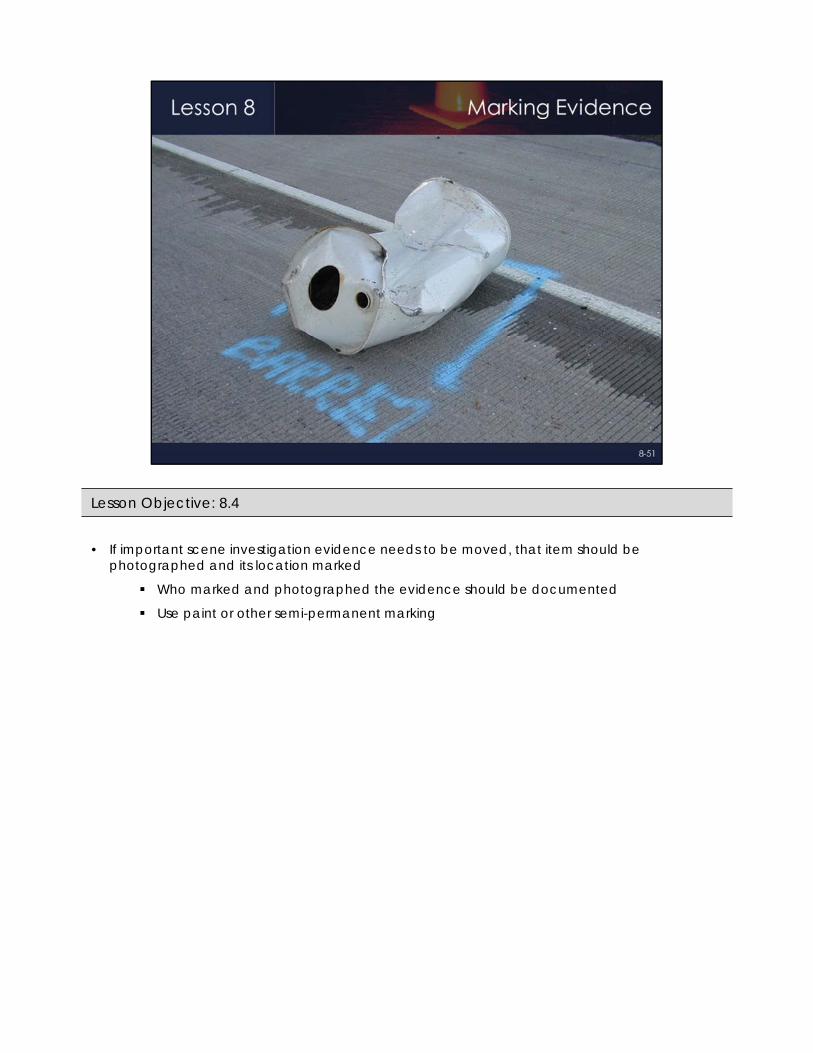
• If important scene investigation evidence needs to be moved, that item should be photographed and its location marked
Who marked and photographed the evidence should be documented
Use paint or other semi-permanent marking
Lesson Objective: 8.4
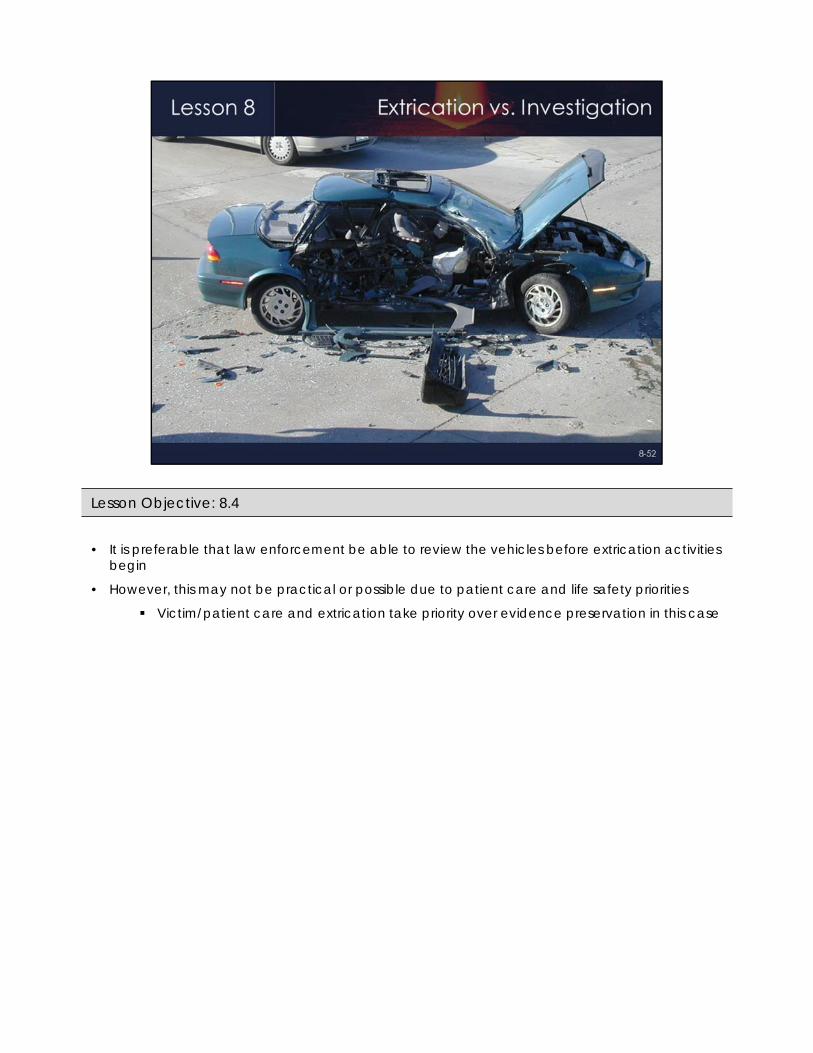
• It is preferable that law enforcement be able to review the vehicles before extrication activities begin
• However, this may not be practical or possible due to patient care and life safety priorities
Victim/patient care and extrication take priority over evidence preservation in this case
Lesson Objective: 8.4
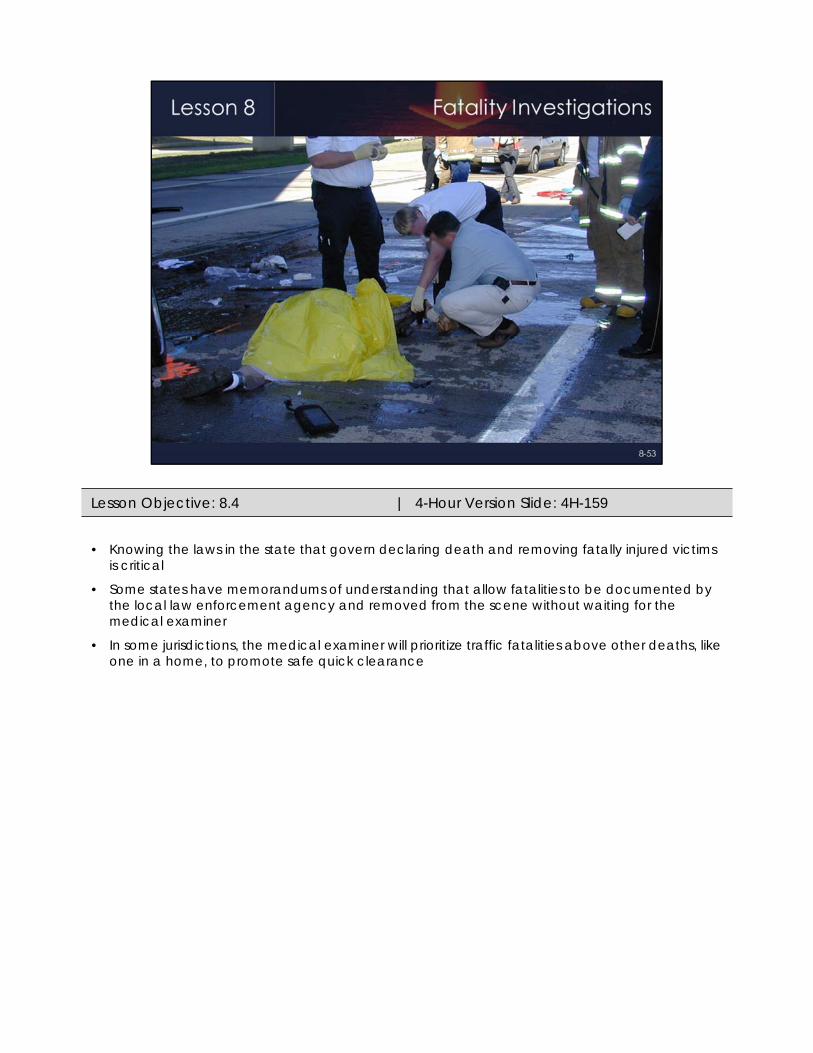
• Knowing the laws in the state that govern declaring death and removing fatally injured victims is critical
• Some states have memorandums of understanding that allow fatalities to be documented by the local law enforcement agency and removed from the scene without waiting for the medical examiner
• In some jurisdictions, the medical examiner will prioritize traffic fatalities above other deaths, like one in a home, to promote safe quick clearance
Lesson Objective: 8.4 | 4-Hour Version Slide: 4H-159
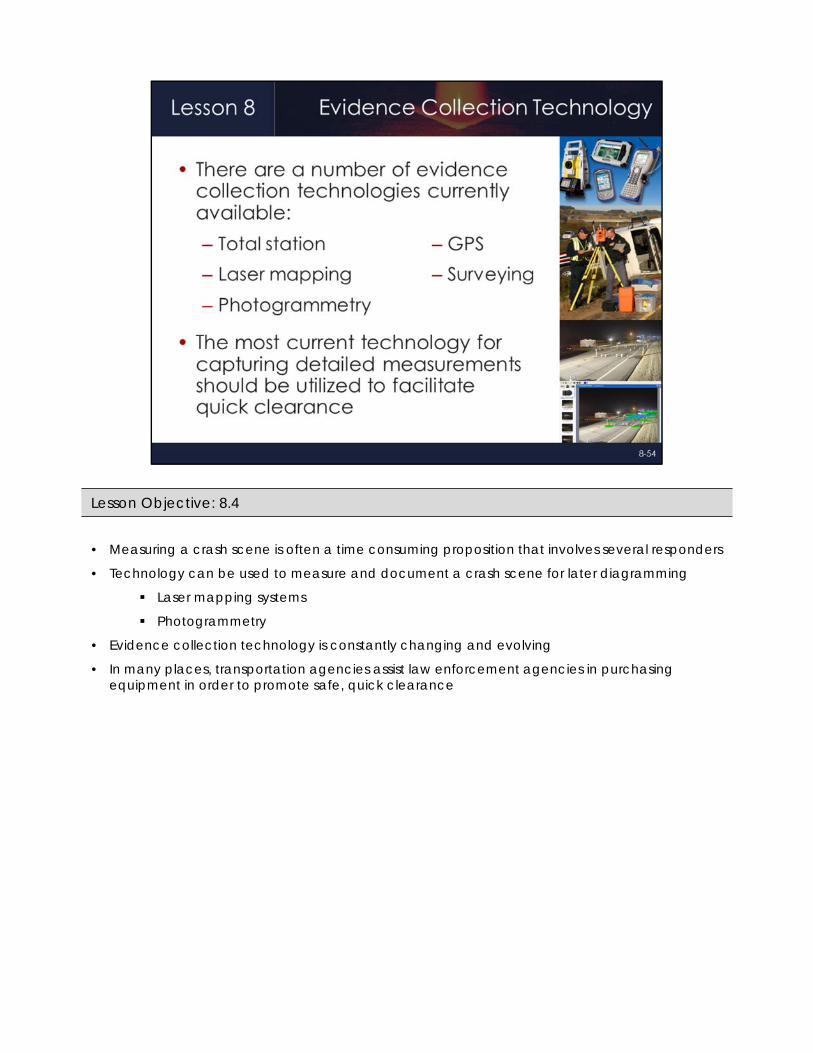
• Measuring a crash scene is often a time consuming proposition that involves several responders
• Technology can be used to measure and document a crash scene for later diagramming
Laser mapping systems
Photogrammetry
• Evidence collection technology is constantly changing and evolving
• In many places, transportation agencies assist law enforcement agencies in purchasing equipment in order to promote safe, quick clearance
Lesson Objective: 8.4
• Kansas City Police Department (KCPD) in Missouri, identified deficiencies in handling investigations
Too heavy of a reliance for traffic control on traffic enforcement crews, many of whom were district officers or on motorcycles
Less than optimal working relationship with Kansas City Fire Department
Poor internal and external communications
Did not use available resources to advantage
Lacked efficient scene management (no plan)
Medical examiner and/or towing/recovery not called until investigation complete
Available technology was not maximized- 2 of the 4 Total Stations used had reflector-less measuring - Different levels of competence with equipment- Responding personnel did not function as a team
Lesson Objective: --
• KCPD established a crash team which shared responsibilities, coordinated a team approach, developed a plan, and set goals and objectives
Supervisor is more of a coordinator
Lead Officer handling crash dictated roles of other team members
All members work in concert to accomplish goals
Limiting the time a roadway is closed is now factored into the action plan with a targeted 90 minute clearance
Supervisor coordinates response
Team members are active during rush hour, special events, bad weather and other high traffic periods with an emphasis on highway incidents
Objective is to keep patrol division resources available for non traffic related calls
Lesson Objective: --
• Factors considered:
Timely notification of Medical Examiner
Map it now or come back later considerations:- Can it be mapped from an offsite location such as an overpass? - If mapping has to occur, document evidence located in the roadway first, and
work across the roadway so individual lanes can be reopened before you measure things that can be done later such as shoulders, pavement edges, roadside signs, and objects
Document vehicle locations and positions and tow them away
Coordinate traffic control/incident signs for highway scenes with MODOT and update their Traffic Operations Center (TOC)
Arrange tows or turn scene over to MODOT for clean up
• Additional results:
Average time to clear incidents went from 39.1 minutes to 22.3 minutes, a 16.8 minute reduction in how long cars are in the roadway
The time to clear a back-up went from 11.1 minutes to 5.6, a 5.5 minute reduction in the time it takes to clear the back-up from incidents
Lesson Objective: --
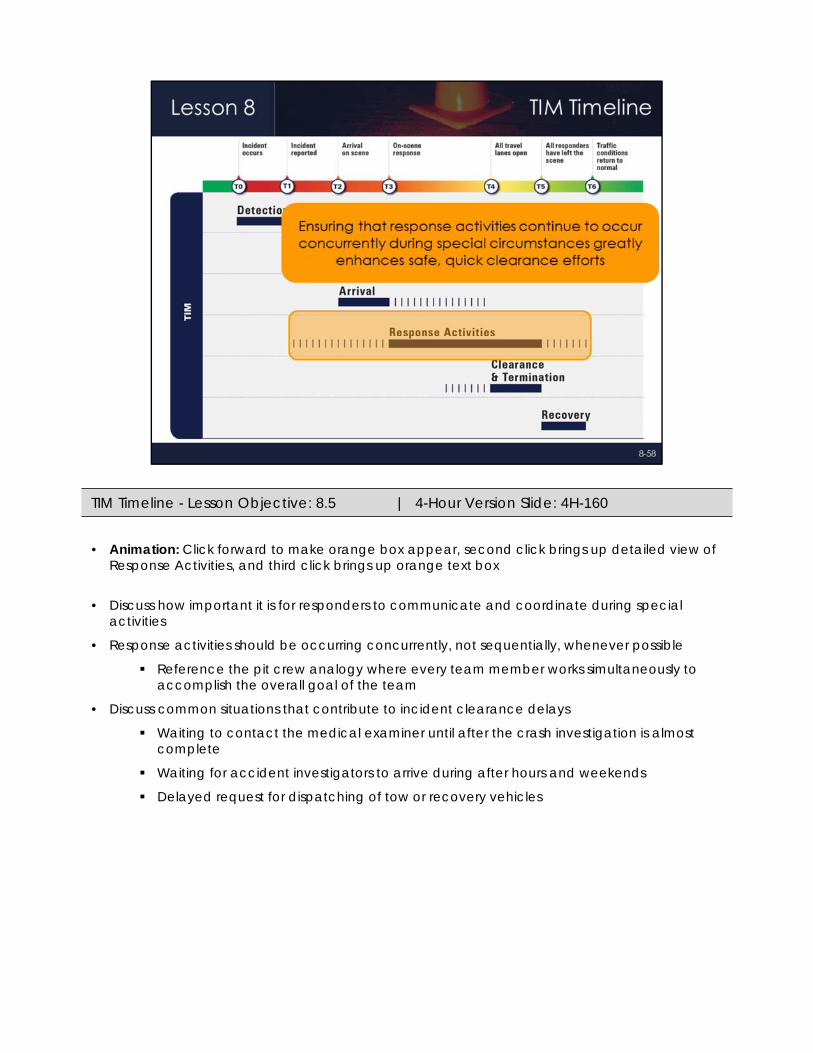
• Animation: Click forward to make orange box appear, second click brings up detailed view of Response Activities, and third click brings up orange text box
• Discuss how important it is for responders to communicate and coordinate during special activities
• Response activities should be occurring concurrently, not sequentially, whenever possible
Reference the pit crew analogy where every team member works simultaneously to accomplish the overall goal of the team
• Discuss common situations that contribute to incident clearance delays
Waiting to contact the medical examiner until after the crash investigation is almost complete
Waiting for accident investigators to arrive during after hours and weekends
Delayed request for dispatching of tow or recovery vehicles
TIM Timeline - Lesson Objective: 8.5 | 4-Hour Version Slide: 4H-160
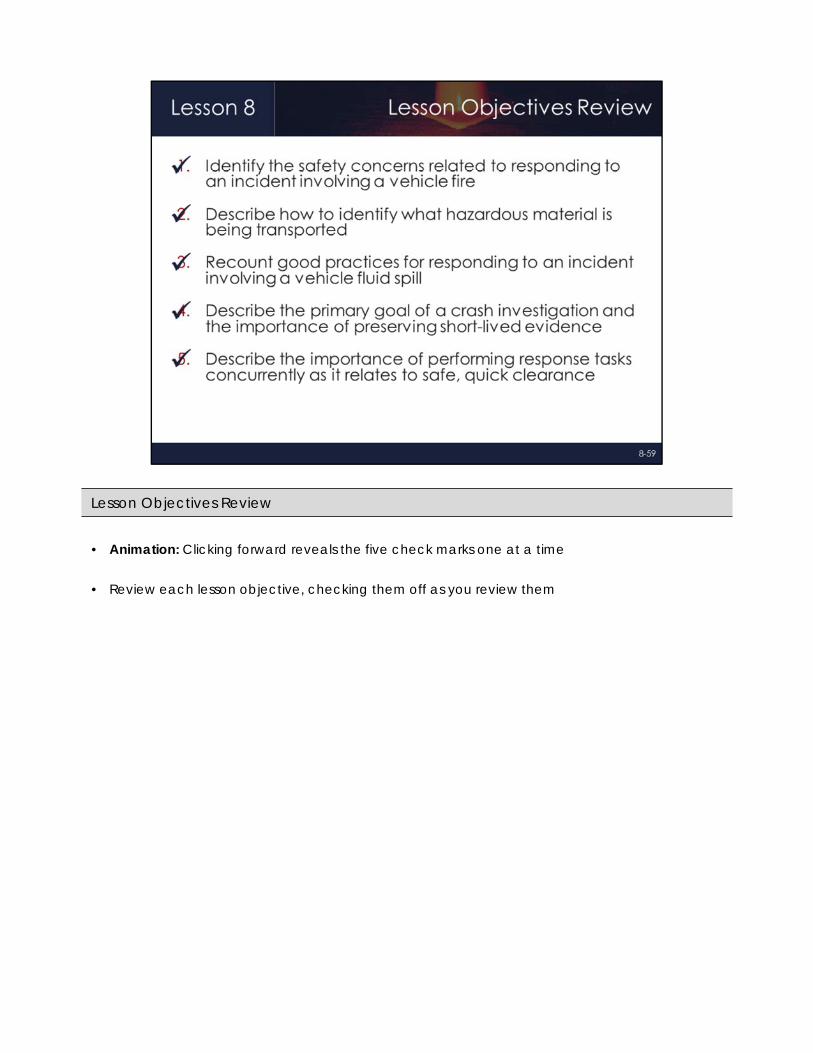
• Animation: Clicking forward reveals the five check marks one at a time
• Review each lesson objective, checking them off as you review them
Lesson Objectives Review