inventions - micron technology · inventions preparation grade level: 3 objectives this lesson will...
TRANSCRIPT
Revision Date: 08/13/2012 1
2006 Micron Technology Foundation, Inc. All Rights Reserved
Inventions
Preparation
Objectives
This lesson will enable students to:
Identify requirements for an Inventors Journal.
Design an invention using the inventing steps.
Build a solution to an engineering problem.
Explain the characteristics necessary for a patent.
Identify patentable inventions.
Note: There are two activity options for this lesson. Choose the activity that best suits the
desired learning objectives.
Standards
This lesson aligns with the following National Science Content Standards:
Science and Technology, 4-9
Science in Personal and Social Perspectives, 4-9
Note: While we strive to make our lessons as safe as possible, there are risks inherent in using
certain equipment or materials. Safety guidelines have been published where necessary within
each lesson. Please ensure that you have adequately reviewed the lesson and have the
information and materials necessary to perform it safely. Micron is not liable for any injuries
that result from use of these lessons. Some of the equipment used in this lesson can pose a
safety hazard if used incorrectly. Follow all safety guidelines and instructions as noted within
the text of the lesson to avoid potential injury.
Materials
“Inventions and Patents” PowerPoint slides
Unique invention – such as Orikaso fold up camp dishes
Design a Solution – Robot Effector
Styrofoam cups
Styrofoam or paper bowls
String
Wooden dowels
Assorted adhesives – poster
adhesive, scotch tape, double
stick tape, adhesive foam
Masking tape
Grade Level: 3-9 Group Size: 20-30
Time: 60-90 Minutes Presenters: 1-3
2
Rubber bands
Plastic knives
Markers
Scissors
Glass discs
Pencils
“Design a Solution – Robot Effector”
handout – Appendix A
“Invention Journal” – Appendix B
Sample robot effector and grappler
fixture
Design a Solution – Lift Structure
CDs
Styrofoam or paper bowls
String
Wooden dowels
Assorted adhesives – poster
adhesive, scotch tape, double
stick tape, adhesive foam
Spools
Wooden Sticks – tongue
depressors, popsicle sticks
Pipe Cleaners
Plastic knives
Markers
Scissors
Hot glue gun and glue
Cardboard for gluing surface
Pencils
“Design a Solution – Lift
Structure” handout – Appendix C
“Invention Journal” – Appendix B
Bit Brace hand drill or battery
operated power drill
Utility knife and cutting board
Tin snips
Weights for testing – large nuts
and washers work well
Preparation
Collect the materials and tools for the appropriate activity. Place them in a box or plastic bag.
Each team should have their own materials and tools. Copy the appropriate handouts “Design a
Solution – Robot Effector or Lift Structure” (Appendix A or C) and the “Invention Journal”
(Appendix B) for each team.
If the teams will be building the lift structure, additional setup is required. Use pieces of
cardboard as a work surfaces for the hot glue guns. Set up test stations. If hand tools are
available for use, set up an area for students to use the tools with supervision.
3
Introduction
Introduce the presenters. Use the “Inventions and Patents” PowerPoint slides (also found at
www.micron.com/lessonplans) to introduce the lesson.
Have you wondered how engineers and designers create, design, produce, and patent new
technologies? How does an idea become reality? How is a problem solved?
See a need, fill a need – that’s engineering and inventing.
Today we are going to explore these questions and find answers to them.
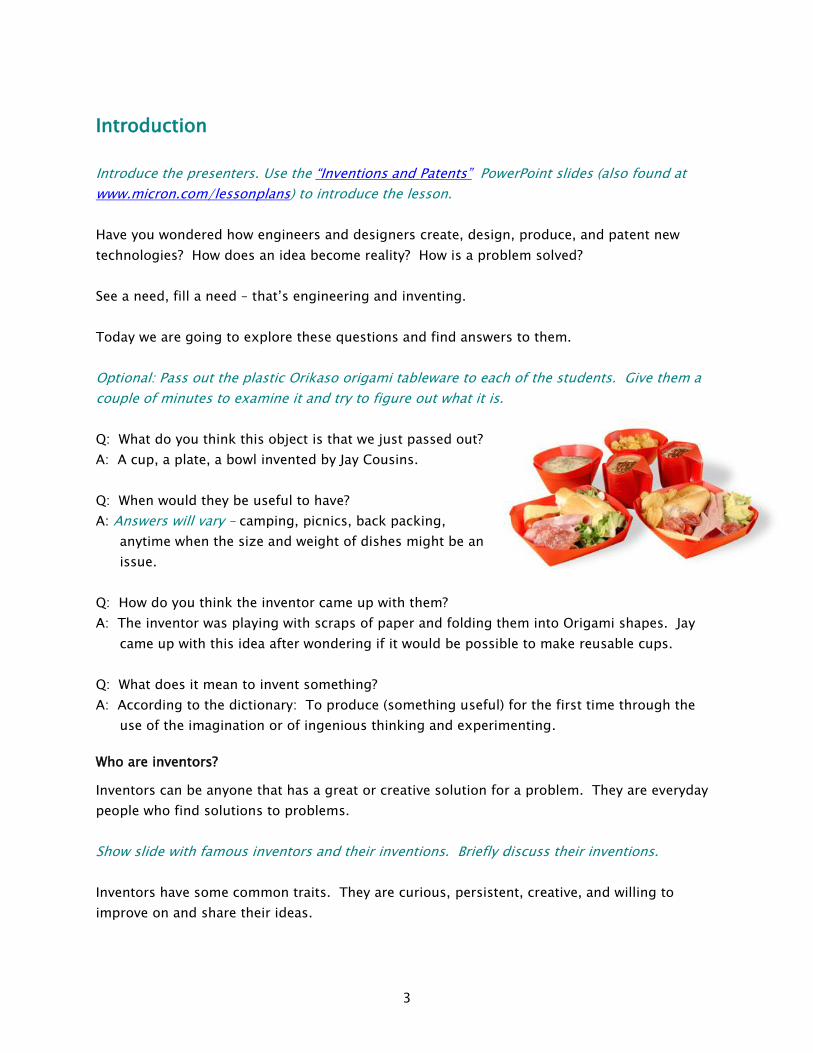
Optional: Pass out the plastic Orikaso origami tableware to each of the students. Give them a
couple of minutes to examine it and try to figure out what it is.
Q: What do you think this object is that we just passed out?
A: A cup, a plate, a bowl invented by Jay Cousins.
Q: When would they be useful to have?
A: Answers will vary – camping, picnics, back packing,
anytime when the size and weight of dishes might be an
issue.
Q: How do you think the inventor came up with them?
A: The inventor was playing with scraps of paper and folding them into Origami shapes. Jay
came up with this idea after wondering if it would be possible to make reusable cups.
Q: What does it mean to invent something?
A: According to the dictionary: To produce (something useful) for the first time through the
use of the imagination or of ingenious thinking and experimenting.
Who are inventors?
Inventors can be anyone that has a great or creative solution for a problem. They are everyday
people who find solutions to problems.
Show slide with famous inventors and their inventions. Briefly discuss their inventions.
Inventors have some common traits. They are curious, persistent, creative, and willing to
improve on and share their ideas.
4
Inventor’s Journal
In addition to have a number of personality traits in common, inventors share a method for
documenting their inventions. An inventor’s journal or logbook helps prove that you had the
idea for the invention first. It is an official record of your invention process. It contains all of
the ideas, experimentation records, observations, work details, design adjustments or changes
related to the invention. It can be used to help explain the invention to other people.
The journal is used to support ideas and work that may be patentable and it will be a legal
document in the patent application process.
Let’s brainstorm a minute. Write down the information you think should be included in an
inventor’s journal or log book. We will review your lists in a minute and write your ideas on the
board.
Give the students one minute to list their ideas on a piece of paper or their notebooks. After
the minute is up, ask the students to share their ideas. As they are sharing, list their comments
on the board or on a flip chart. If necessary provide suggestions or hints to stimulate the
brainstorming process. When reviewing the following list, cover the material quickly and
highlight any topics that haven’t already been mentioned.
Now let’s compare our list to the guidelines the Young Inventors’ Program has created.
Start with a bound notebook or journal. Here is a sample page for a journal. Pass out the
worksheet “Inventing Log” – Appendix B, to all students.
Begin each entry at the top of the page and draw a line through any pages that are
skipped or not used. This prevents adding information at a later date.
Every time you work on or think about your invention take notes on it. Include when and
where you were working or thinking.
Sign and date all entries when they are made. It is helpful to have a standard heading:
Date, Project Name/Number, Subject, and Signatures.
Write in ink and do not erase mistakes. Draw a single line through mistakes and add
your initials. Do not leave blanks between entries or remove pages.
Include all of your ideas, observations, and research findings. Be specific and detailed
with your process. The details will help others understand your inventing process.
Record all of your invention ideas and describe how you got them.
If you purchase materials or supplies to build your model, keep a list of those materials
and the costs.
Include labeled drawings and sketches of the invention. Photos can be used to record
the process.
Have an adult sign each entry at the time of the entry. That adult is the witness and is
validating that the invention and work are your own.
If available, show the class your journal or log and point out some of the items discussed.
5
Activity One: Design a Solution – Robot Effector
Now that we have reviewed the inventing process, let’s apply it.
Manufacturing companies are faced with challenges on a regular basis. As discussed there are
several things to look at when inventing solutions including: determining the problem or goal,
reviewing requirements, and identifying constraints.
Let’s look at an example – cameras in cell phones.
Q: What is the goal of the camera in a cell phone?
A: To take pictures and/or video.
Q: What are some of the requirements for a cell phone camera?
A: Answers may include: cost, clear pictures, picture quality, storage capacity, data recovery,
speed.
Q: What are some of the constraints?
A: Answers may include: cost of production/materials, appropriate materials, size restrictions,
low energy consumption, doesn’t heat up, technical knowledge required.
You are going to be the inventors, designers, and engineers!
Problem:
In a manufacturing environment often there is a need to pick up and move various objects
without touching the objects with hands or other body parts.
Q: What are examples you can think of when objects need to be picked up and moved without
being touched?
A: Answers may include: manufacturing food, pharmaceuticals, fragile, toxic or
dangerous materials.
Describe examples of this problem based on your background. Examples include moving wafer
boxes, loading memory parts into test boards, packaging individual memory parts or modules,
etc.
You are going to be the team of engineers and designers assigned to design and create a
solution for this problem. As the customer I have a number of requirements and constraints
you will need to work within.
Distribute the sets of Robot Effector materials, tools, and handouts to each team.
6
Ask the students to write the requirements and constraints on the team’s handout. Share with
them that recording the requirements and constraints is similar to questioning a customer and
determining the needs and challenges with regard to the product. Feel free to add additional
requirements or constraints as necessary.
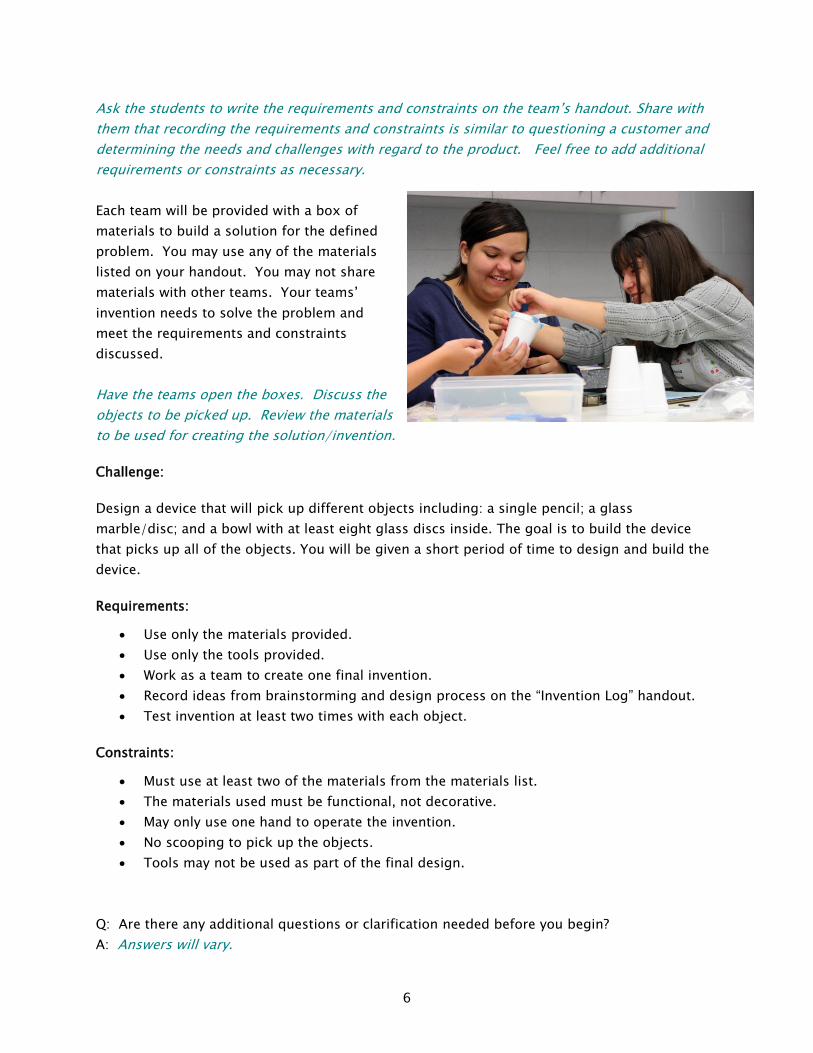
Each team will be provided with a box of
materials to build a solution for the defined
problem. You may use any of the materials
listed on your handout. You may not share
materials with other teams. Your teams’
invention needs to solve the problem and
meet the requirements and constraints
discussed.
Have the teams open the boxes. Discuss the
objects to be picked up. Review the materials
to be used for creating the solution/invention.
Challenge:
Design a device that will pick up different objects including: a single pencil; a glass
marble/disc; and a bowl with at least eight glass discs inside. The goal is to build the device
that picks up all of the objects. You will be given a short period of time to design and build the
device.
Requirements:
Use only the materials provided.
Use only the tools provided.
Work as a team to create one final invention.
Record ideas from brainstorming and design process on the “Invention Log” handout.
Test invention at least two times with each object.
Constraints:
Must use at least two of the materials from the materials list.
The materials used must be functional, not decorative.
May only use one hand to operate the invention.
No scooping to pick up the objects.
Tools may not be used as part of the final design.
Q: Are there any additional questions or clarification needed before you begin?
A: Answers will vary.
7
Ask students to write a solution statement on their handout that solves the problem and covers
the customer requirements. For example: Design and prototype a tool that will pick up the
objects listed.
Allow approximately 15 minutes for the teams to
design and test their inventions. Keep the student
apprised of the time remaining.
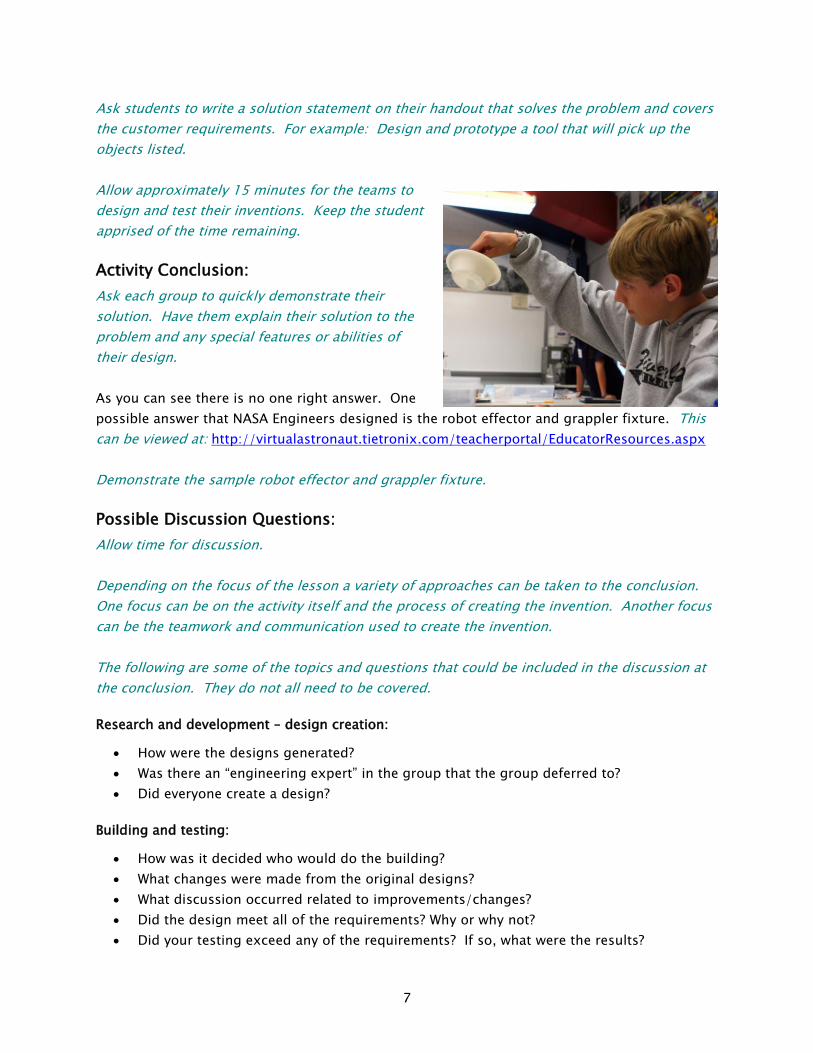
Activity Conclusion:
Ask each group to quickly demonstrate their
solution. Have them explain their solution to the
problem and any special features or abilities of
their design.
As you can see there is no one right answer. One
possible answer that NASA Engineers designed is the robot effector and grappler fixture. This
can be viewed at: http://virtualastronaut.tietronix.com/teacherportal/EducatorResources.aspx
Demonstrate the sample robot effector and grappler fixture.
Possible Discussion Questions:
Allow time for discussion.
Depending on the focus of the lesson a variety of approaches can be taken to the conclusion.
One focus can be on the activity itself and the process of creating the invention. Another focus
can be the teamwork and communication used to create the invention.
The following are some of the topics and questions that could be included in the discussion at
the conclusion. They do not all need to be covered.
Research and development – design creation:
How were the designs generated?
Was there an “engineering expert” in the group that the group deferred to?
Did everyone create a design?
Building and testing:
How was it decided who would do the building?
What changes were made from the original designs?
What discussion occurred related to improvements/changes?
Did the design meet all of the requirements? Why or why not?
Did your testing exceed any of the requirements? If so, what were the results?
8
Product Improvement:
What changes or redesign did your team do?
Why were they necessary?
Teamwork:
Did all members participate equally?
Were all ideas listened to and given equal weight?
Was everyone working toward the same goal?
Resources:
Describe how your team used the resources available. How did you minimize wasted
resources?
What resource was the most valuable to your team?
What resource was the least valuable?
9
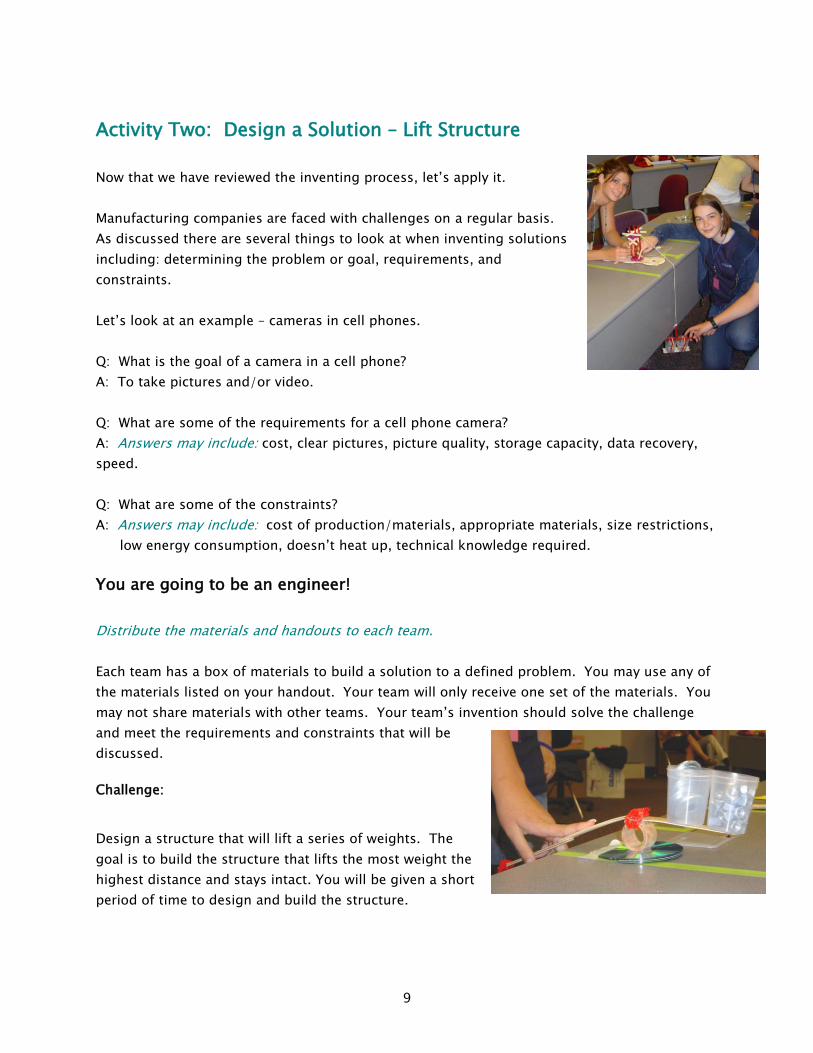
Activity Two: Design a Solution – Lift Structure
Now that we have reviewed the inventing process, let’s apply it.
Manufacturing companies are faced with challenges on a regular basis.
As discussed there are several things to look at when inventing solutions
including: determining the problem or goal, requirements, and
constraints.
Let’s look at an example – cameras in cell phones.
Q: What is the goal of a camera in a cell phone?
A: To take pictures and/or video.
Q: What are some of the requirements for a cell phone camera?
A: Answers may include: cost, clear pictures, picture quality, storage capacity, data recovery,
speed.
Q: What are some of the constraints?
A: Answers may include: cost of production/materials, appropriate materials, size restrictions,
low energy consumption, doesn’t heat up, technical knowledge required.
You are going to be an engineer!
Distribute the materials and handouts to each team.
Each team has a box of materials to build a solution to a defined problem. You may use any of
the materials listed on your handout. Your team will only receive one set of the materials. You
may not share materials with other teams. Your team’s invention should solve the challenge
and meet the requirements and constraints that will be
discussed.
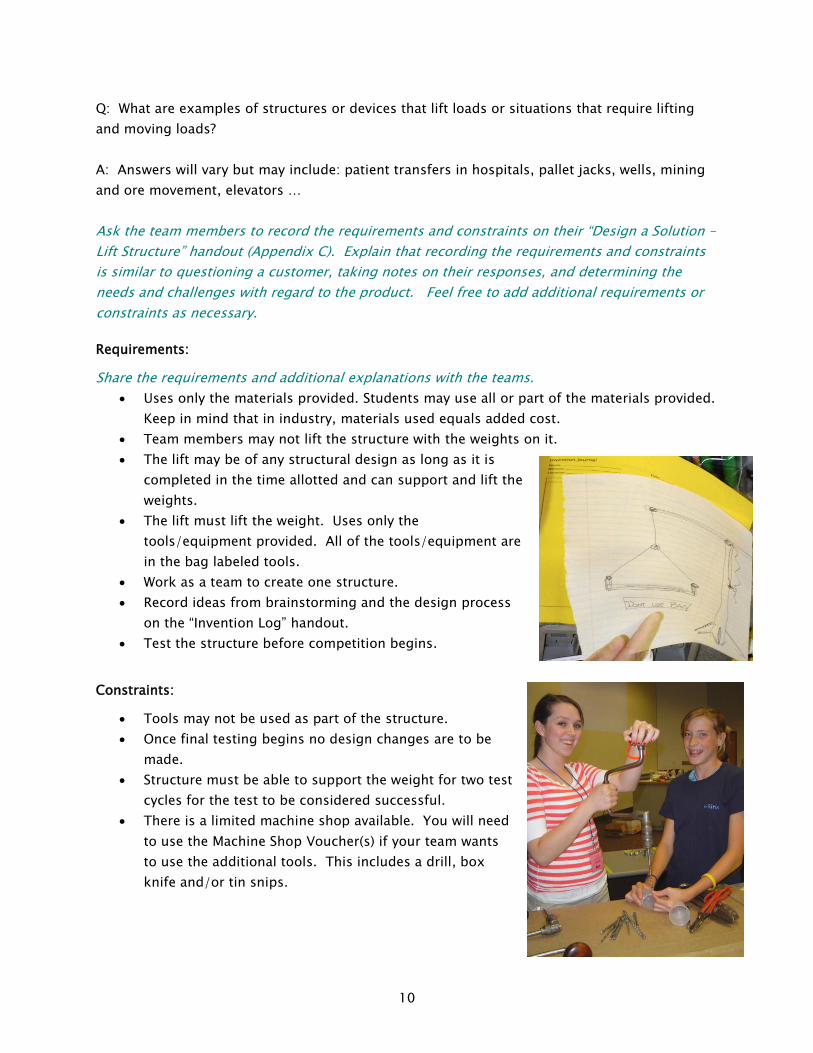
Challenge:
Design a structure that will lift a series of weights. The
goal is to build the structure that lifts the most weight the
highest distance and stays intact. You will be given a short
period of time to design and build the structure.
10
Q: What are examples of structures or devices that lift loads or situations that require lifting
and moving loads?
A: Answers will vary but may include: patient transfers in hospitals, pallet jacks, wells, mining
and ore movement, elevators …
Ask the team members to record the requirements and constraints on their “Design a Solution –
Lift Structure” handout (Appendix C). Explain that recording the requirements and constraints
is similar to questioning a customer, taking notes on their responses, and determining the
needs and challenges with regard to the product. Feel free to add additional requirements or
constraints as necessary.
Requirements:
Share the requirements and additional explanations with the teams.
Uses only the materials provided. Students may use all or part of the materials provided.
Keep in mind that in industry, materials used equals added cost.
Team members may not lift the structure with the weights on it.
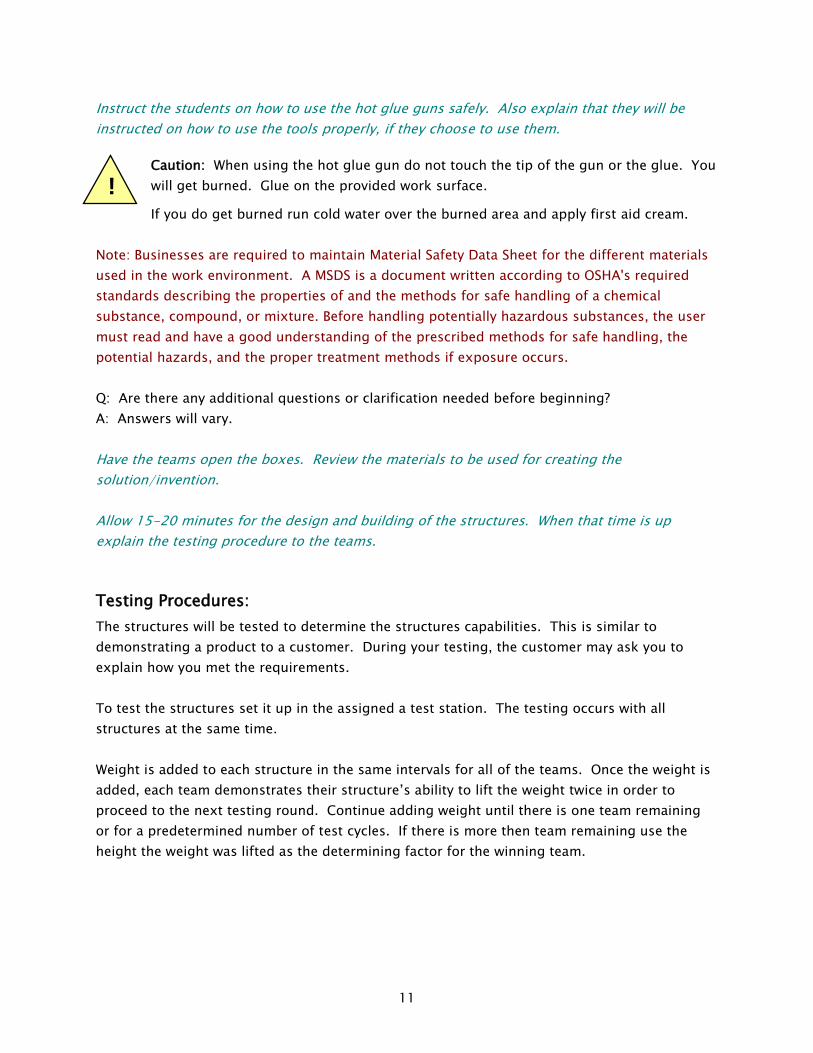
The lift may be of any structural design as long as it is
completed in the time allotted and can support and lift the
weights.
The lift must lift the weight. Uses only the
tools/equipment provided. All of the tools/equipment are
in the bag labeled tools.
Work as a team to create one structure.
Record ideas from brainstorming and the design process
on the “Invention Log” handout.
Test the structure before competition begins.
Constraints:
Tools may not be used as part of the structure.
Once final testing begins no design changes are to be
made.
Structure must be able to support the weight for two test
cycles for the test to be considered successful.
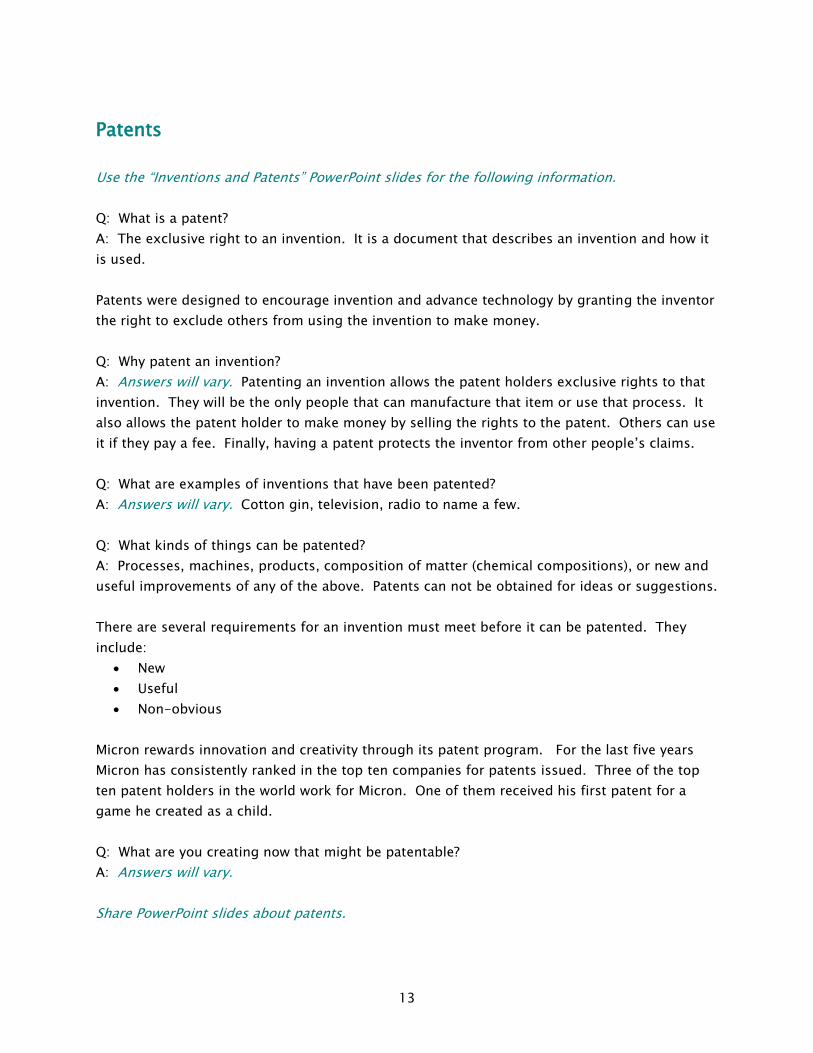
There is a limited machine shop available. You will need
to use the Machine Shop Voucher(s) if your team wants
to use the additional tools. This includes a drill, box
knife and/or tin snips.
11
!
Instruct the students on how to use the hot glue guns safely. Also explain that they will be
instructed on how to use the tools properly, if they choose to use them.
Caution: When using the hot glue gun do not touch the tip of the gun or the glue. You
will get burned. Glue on the provided work surface.
If you do get burned run cold water over the burned area and apply first aid cream.
Note: Businesses are required to maintain Material Safety Data Sheet for the different materials
used in the work environment. A MSDS is a document written according to OSHA's required
standards describing the properties of and the methods for safe handling of a chemical
substance, compound, or mixture. Before handling potentially hazardous substances, the user
must read and have a good understanding of the prescribed methods for safe handling, the
potential hazards, and the proper treatment methods if exposure occurs.
Q: Are there any additional questions or clarification needed before beginning?
A: Answers will vary.
Have the teams open the boxes. Review the materials to be used for creating the
solution/invention.
Allow 15-20 minutes for the design and building of the structures. When that time is up
explain the testing procedure to the teams.
Testing Procedures:
The structures will be tested to determine the structures capabilities. This is similar to
demonstrating a product to a customer. During your testing, the customer may ask you to
explain how you met the requirements.
To test the structures set it up in the assigned a test station. The testing occurs with all
structures at the same time.
Weight is added to each structure in the same intervals for all of the teams. Once the weight is
added, each team demonstrates their structure’s ability to lift the weight twice in order to
proceed to the next testing round. Continue adding weight until there is one team remaining
or for a predetermined number of test cycles. If there is more then team remaining use the
height the weight was lifted as the determining factor for the winning team.

12
Activity Conclusion:
Share the results of the competition and determine which structure was able to lift the most
weight the highest distance. Have each group share their design process with the entire class.
Discuss the different structures and what worked with each and what changes the teams would
make to future designs.
13
Patents
Use the “Inventions and Patents” PowerPoint slides for the following information.
Q: What is a patent?
A: The exclusive right to an invention. It is a document that describes an invention and how it
is used.
Patents were designed to encourage invention and advance technology by granting the inventor
the right to exclude others from using the invention to make money.
Q: Why patent an invention?
A: Answers will vary. Patenting an invention allows the patent holders exclusive rights to that
invention. They will be the only people that can manufacture that item or use that process. It
also allows the patent holder to make money by selling the rights to the patent. Others can use
it if they pay a fee. Finally, having a patent protects the inventor from other people’s claims.
Q: What are examples of inventions that have been patented?
A: Answers will vary. Cotton gin, television, radio to name a few.
Q: What kinds of things can be patented?
A: Processes, machines, products, composition of matter (chemical compositions), or new and
useful improvements of any of the above. Patents can not be obtained for ideas or suggestions.
There are several requirements for an invention must meet before it can be patented. They
include:
New
Useful
Non-obvious
Micron rewards innovation and creativity through its patent program. For the last five years
Micron has consistently ranked in the top ten companies for patents issued. Three of the top
ten patent holders in the world work for Micron. One of them received his first patent for a
game he created as a child.
Q: What are you creating now that might be patentable?
A: Answers will vary.
Share PowerPoint slides about patents.
14
Share personal experiences with patents if applicable.
Discuss the inventions created during the activity. Review the requirements for patents and
have each group determine if their designs would be eligible for a patent. Ask the groups to
share what their team decided.
Inventing Process – Extension
The following information may be used to assist students preparing for competitions or science
projects. It may also be used as a follow-up to the activity.
Q: What is required to invent something?
A: Answers will vary: Creativity, persistence, a great idea
Q: What is the process for performing scientific experiments called?
A: The Scientific Method.
Just like scientists, inventors have a process as well. It’s called the inventing process. It isn’t as
formal as the scientific method, but it does include important steps.
Q: What is the process for inventing?
A: Answers will vary: Review the following steps with the class.
1. Keep a log or journal.
2. Use your imagination and think creatively. Sometimes this is called, “Thinking outside the
box.” Don’t worry about if your idea is possible or realistic.
3. Look for problems that need to be solved.
In your journal, answer questions such as:
o What would make __________ easier to complete?
o What drives me crazy about _________?
o It would be helpful if __________.
o My life would be so much easier if I had a
__________________.
o What the world needs now is a
_______________________,
Take a survey of friends and family – ask what problem they
have for which they would like solutions invented.
15
4. Brainstorm and evaluate solutions to the problems.
How can you solve the problems that you listed?
Which problem and solution is the most interesting, helpful, realistic, challenging, etc.
5. Choose the idea that best meets your interests and goals.
6. Plan and design your invention.
7. Research your invention to make sure someone has not already created it. Also research
and determine if your invention will work. When researching, be sure to use the Internet
or library to expand your search beyond your school or community.
8. Draw your invention in detail.
9. Make a model.
10. Test and revise your model – even the best design can be improved. Does it work as
intended? Does it solve your problem? If not, redesign it and test it again. Additional
research may be required.
11. Name your invention.
12. Patent your invention. “By Kids For Kids” is a company that works with students to help
them successfully create and patent their inventions.
13. Share your invention with others. You might be able to sell it.
Appendix A – Inventions
16
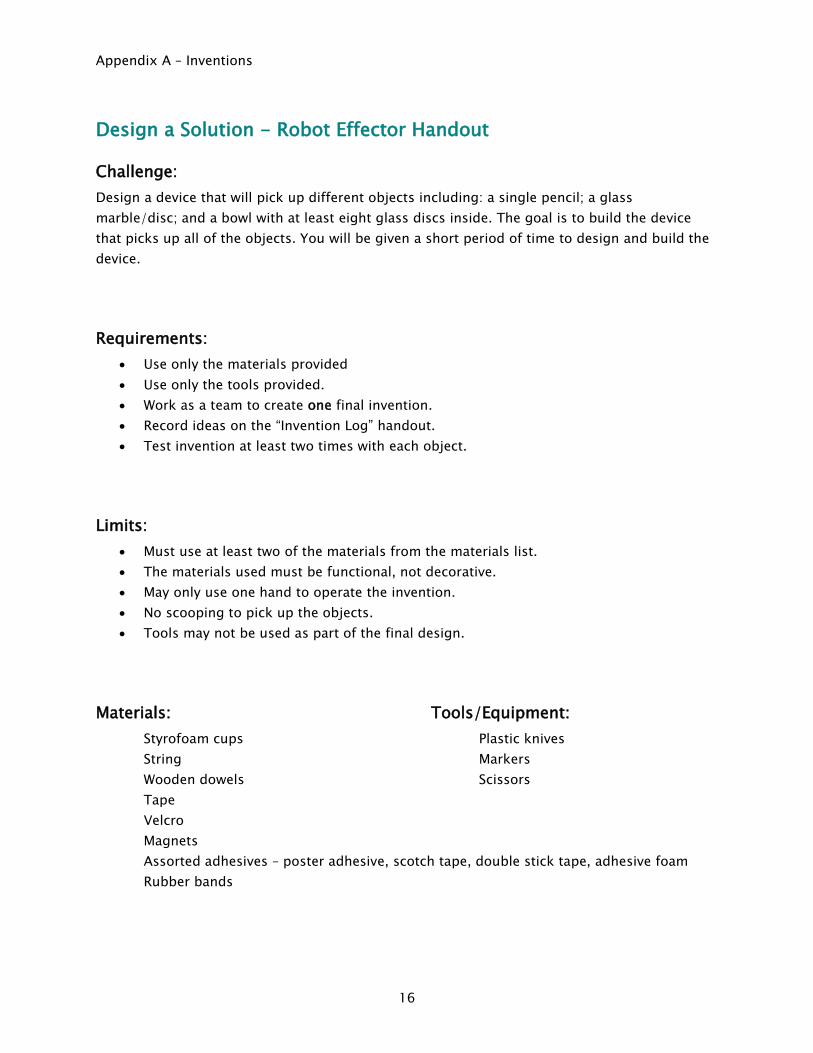
Design a Solution - Robot Effector Handout
Challenge:
Design a device that will pick up different objects including: a single pencil; a glass
marble/disc; and a bowl with at least eight glass discs inside. The goal is to build the device
that picks up all of the objects. You will be given a short period of time to design and build the
device.
Requirements:
Use only the materials provided
Use only the tools provided.
Work as a team to create one final invention.
Record ideas on the “Invention Log” handout.
Test invention at least two times with each object.
Limits:
Must use at least two of the materials from the materials list.
The materials used must be functional, not decorative.
May only use one hand to operate the invention.
No scooping to pick up the objects.
Tools may not be used as part of the final design.
Materials: Tools/Equipment:
Styrofoam cups Plastic knives
String Markers
Wooden dowels Scissors
Tape
Velcro
Magnets
Assorted adhesives – poster adhesive, scotch tape, double stick tape, adhesive foam
Rubber bands

Appendix A – Inventions
17
Process Steps:
1. Restate the problem so that the requirements and limitations are included.
2. Brainstorm ways to pick up each object or group of objects using the requirements given.
List ideas that are generated.
3. Review materials available.
4. Draft design. Sketch design ideas on the Invention Journal handout.
5. Manufacture prototype.
6. Test prototype.
7. Refine design – even the best inventions can be improved upon.
8. Review parameters given to make sure design meets all of the parameters.
9. Determine invention name and marketing strategy.
10. Demonstrate invention to entire class.
Solution Statement:
_____________________________________________________________________________________________
_____________________________________________________________________________________________
_____________________________________________________________________________________________
_____________________________________________________________________________________________
Brainstorming ideas:
_____________________________________________________________________________________________
_____________________________________________________________________________________________
_____________________________________________________________________________________________
_____________________________________________________________________________________________
_____________________________________________________________________________________________
_____________________________________________________________________________________________
_____________________________________________________________________________________________
___________________________________________________________________________________________
Appendix B – Inventions
18
Invention Journal
Name: _____________________________ Date:_____________________________
Witness: ___________________________ Time: ____________________________
Location: __________________________ Project ___________________________
Drawings, Photos Notes
Appendix C – Inventions
19
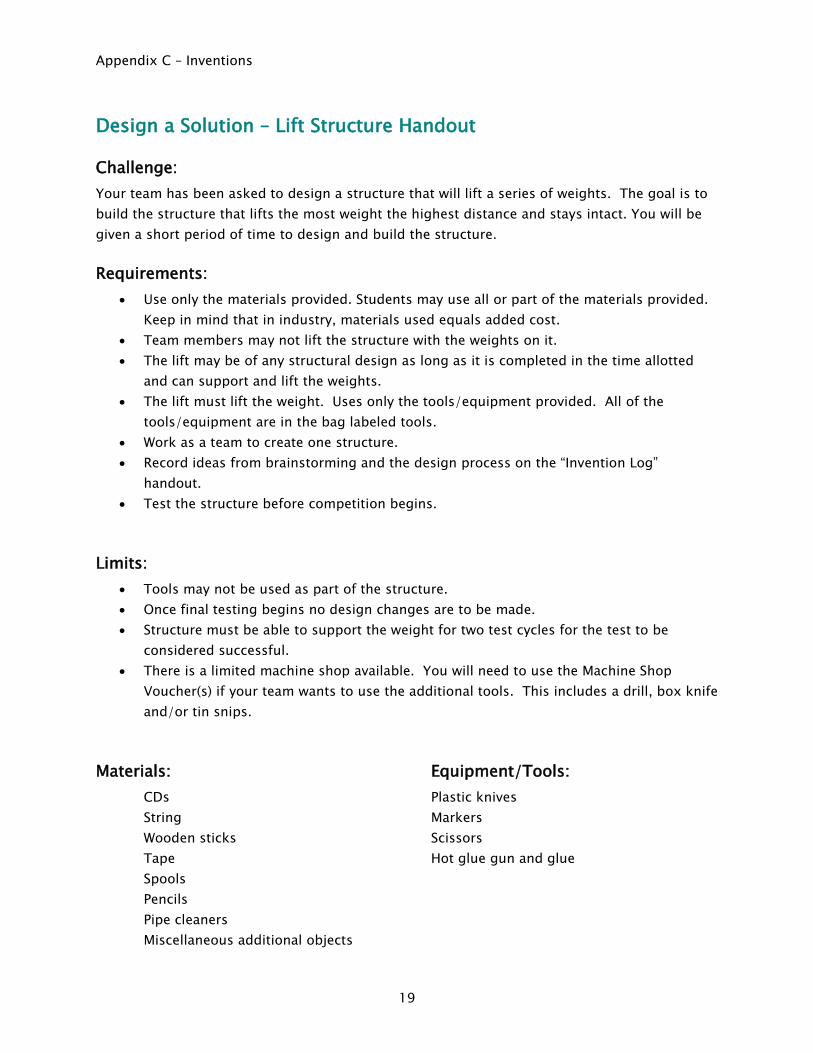
Design a Solution – Lift Structure Handout
Challenge:
Your team has been asked to design a structure that will lift a series of weights. The goal is to
build the structure that lifts the most weight the highest distance and stays intact. You will be
given a short period of time to design and build the structure.
Requirements:
Use only the materials provided. Students may use all or part of the materials provided.
Keep in mind that in industry, materials used equals added cost.
Team members may not lift the structure with the weights on it.
The lift may be of any structural design as long as it is completed in the time allotted
and can support and lift the weights.
The lift must lift the weight. Uses only the tools/equipment provided. All of the
tools/equipment are in the bag labeled tools.
Work as a team to create one structure.
Record ideas from brainstorming and the design process on the “Invention Log”
handout.
Test the structure before competition begins.
Limits:
Tools may not be used as part of the structure.
Once final testing begins no design changes are to be made.
Structure must be able to support the weight for two test cycles for the test to be
considered successful.
There is a limited machine shop available. You will need to use the Machine Shop
Voucher(s) if your team wants to use the additional tools. This includes a drill, box knife
and/or tin snips.
Materials: Equipment/Tools:
CDs Plastic knives
String Markers
Wooden sticks Scissors
Tape Hot glue gun and glue
Spools
Pencils
Pipe cleaners
Miscellaneous additional objects
Appendix C – Inventions
20
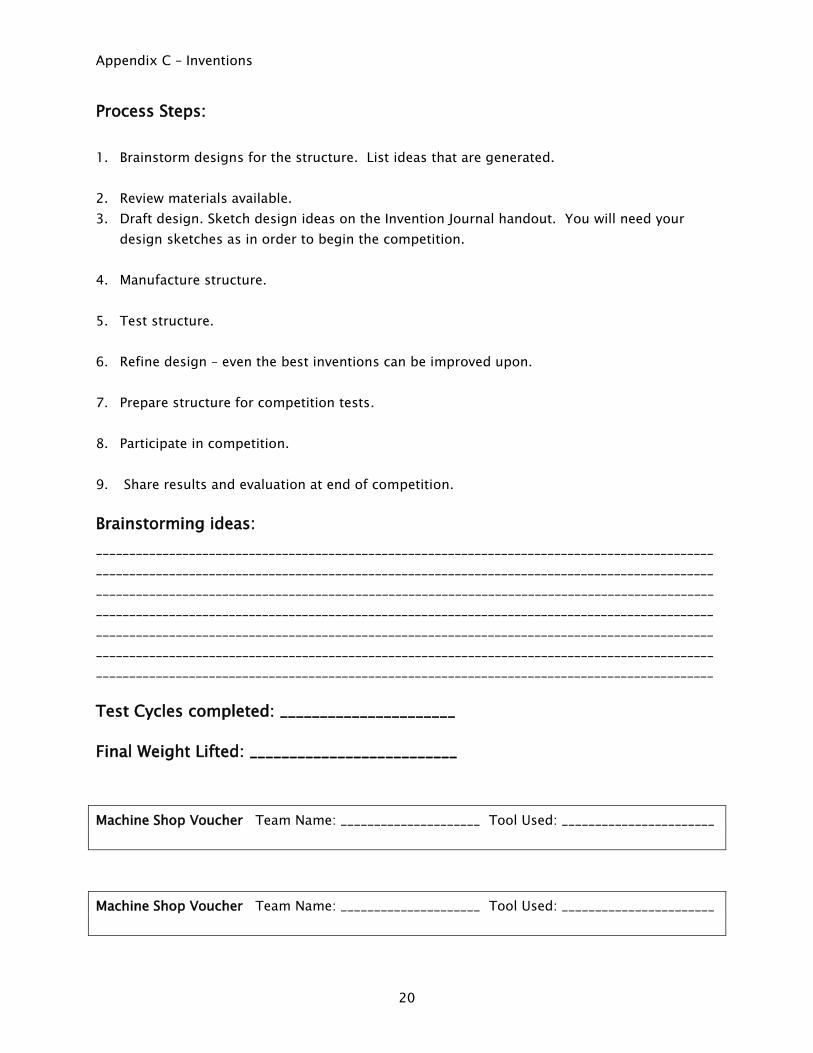
Process Steps:
1. Brainstorm designs for the structure. List ideas that are generated.
2. Review materials available.
3. Draft design. Sketch design ideas on the Invention Journal handout. You will need your
design sketches as in order to begin the competition.
4. Manufacture structure.
5. Test structure.
6. Refine design – even the best inventions can be improved upon.
7. Prepare structure for competition tests.
8. Participate in competition.
9. Share results and evaluation at end of competition.
Brainstorming ideas:
_____________________________________________________________________________________________
_____________________________________________________________________________________________
_____________________________________________________________________________________________
_____________________________________________________________________________________________
_____________________________________________________________________________________________
_____________________________________________________________________________________________
_____________________________________________________________________________________________
Test Cycles completed: ______________________
Final Weight Lifted: __________________________
Machine Shop Voucher Team Name: _____________________ Tool Used: _______________________
Machine Shop Voucher Team Name: _____________________ Tool Used: _______________________