how to use google calendar to create an event
TRANSCRIPT

How to use
Google Calendar

Go to
http://google.com/calendar


You’ll have to Sign-in with a
Google account..

…to be able to go to
Google Calendar.
Now, welcome to
Google Calendar page!


This red line denotes current
place and time.

Here, you’ll see a smaller calendar

…where you can see the current
year,

…the current month,

…and the current day you’re in.

Here, you can also control on
what week or day..

..you want to view just by
clicking that certain week.


Also, you will notice two
sections below the small
calendar.
Open those two sections by
clicking the drop-down arrow..
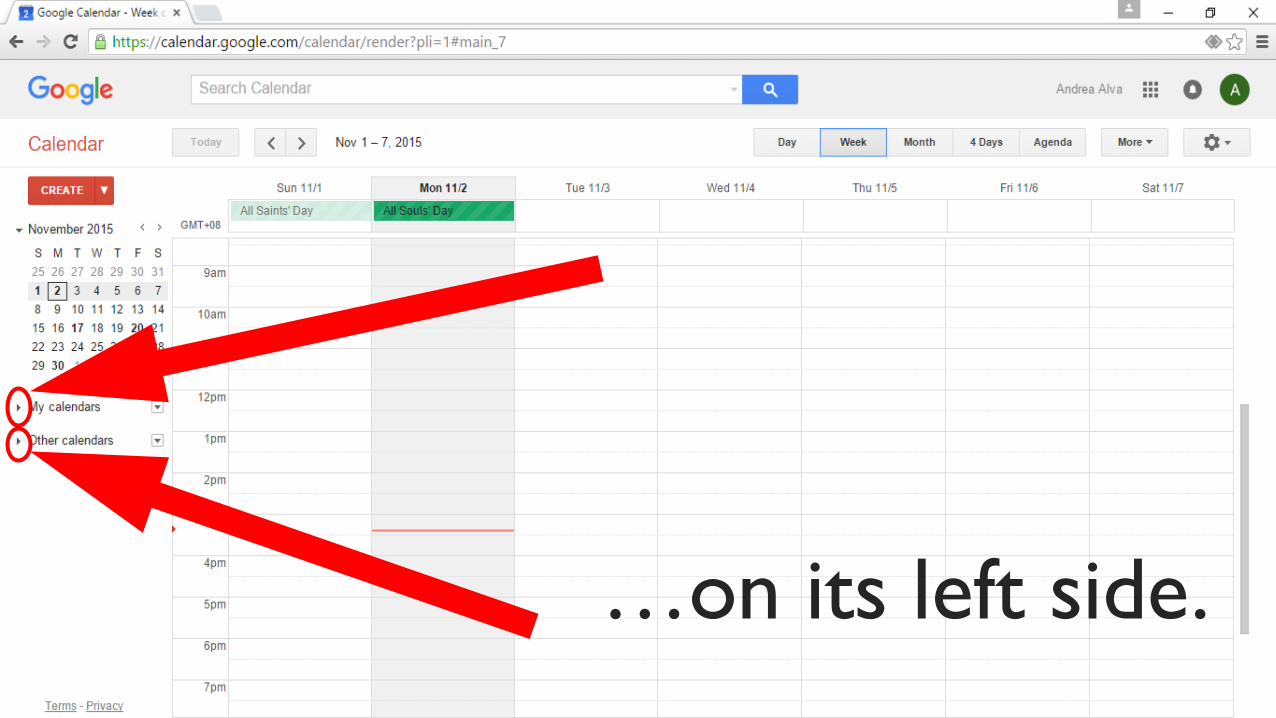
…on its left side.

You can now see the
calendars on those
sections.

Notice that one calendar is
named after me

…because I have specified my
name

…as I have Signed-up to
Google Accounts
…which automatically created
a default calendar for me.

You can create your own
different calendars

…by clicking this drop-down
arrow
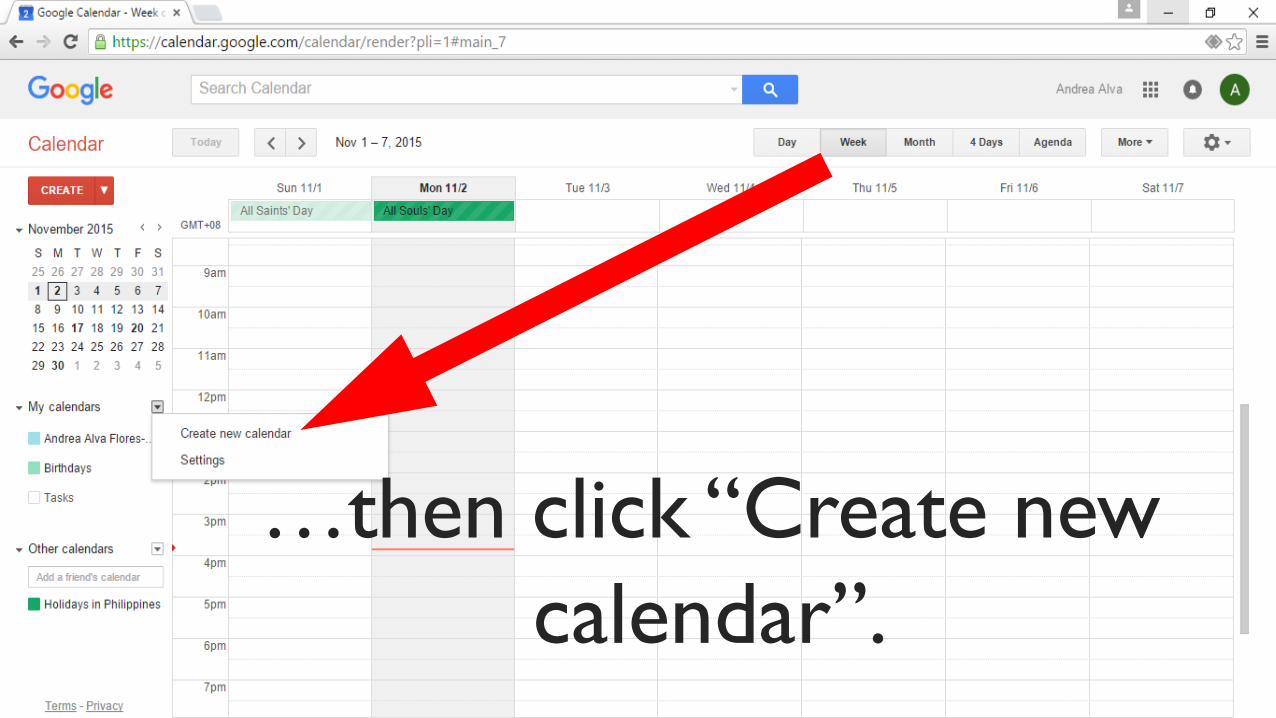
…then click “Create new
calendar”.

Just specify the calendar name,


…write a description if you
want,

…specify your location


…and check the Calendar time
zone.


You can make this calendar
public for Google search
results


…or share with specific people
by entering their email addresses.
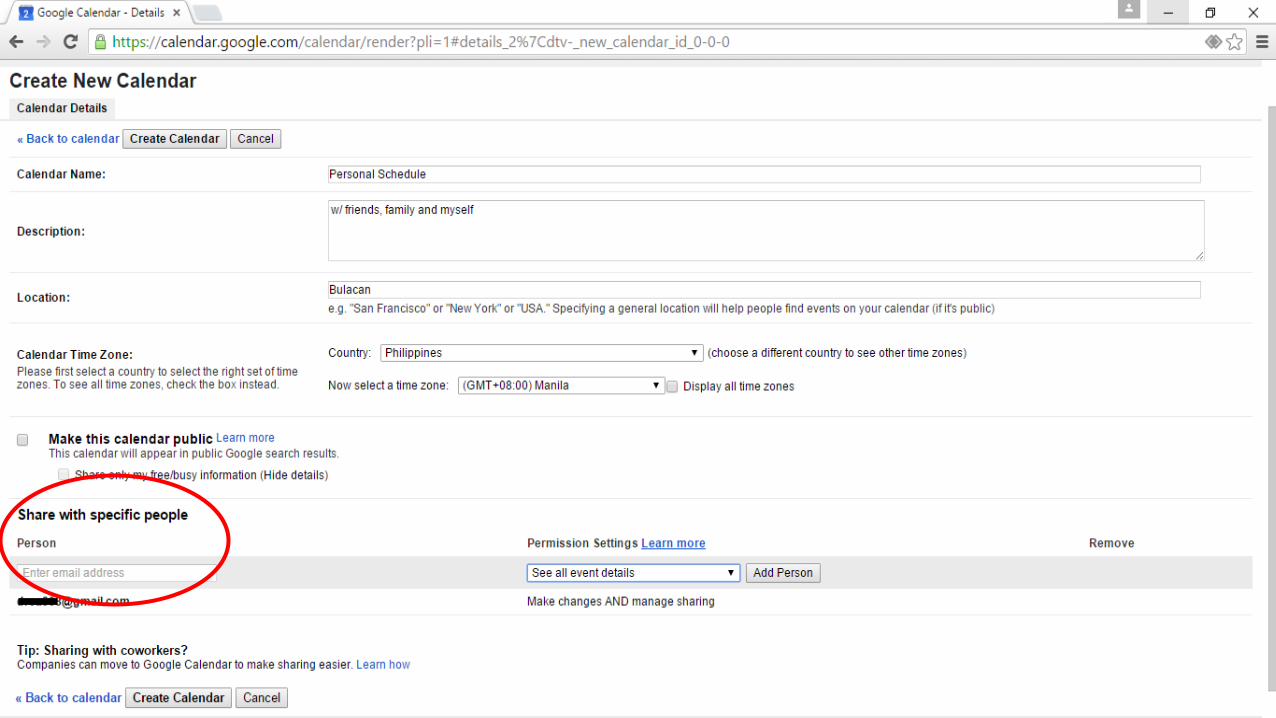

Then click “Create Calendar”

Now you can see the new
calendar we’ve made.

However, from these buttons…
…you can change the view of
your calendar to

..day view,

..month view,

..4 days view,

..and Agenda view.

There are two ways to create
an event,

First is by clicking the Create button.

…which will require you to
manually enter

…the time and date of the
event you are creating.
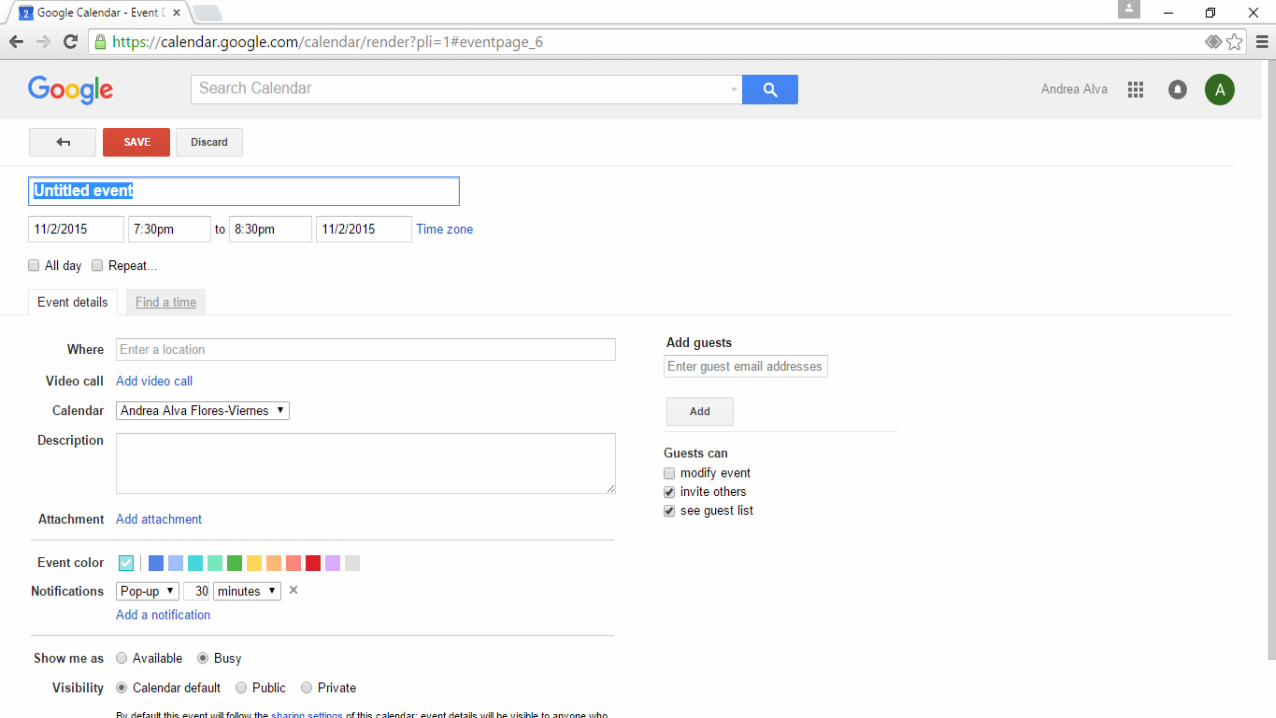

Type-in the title of the
event,

…specify the date
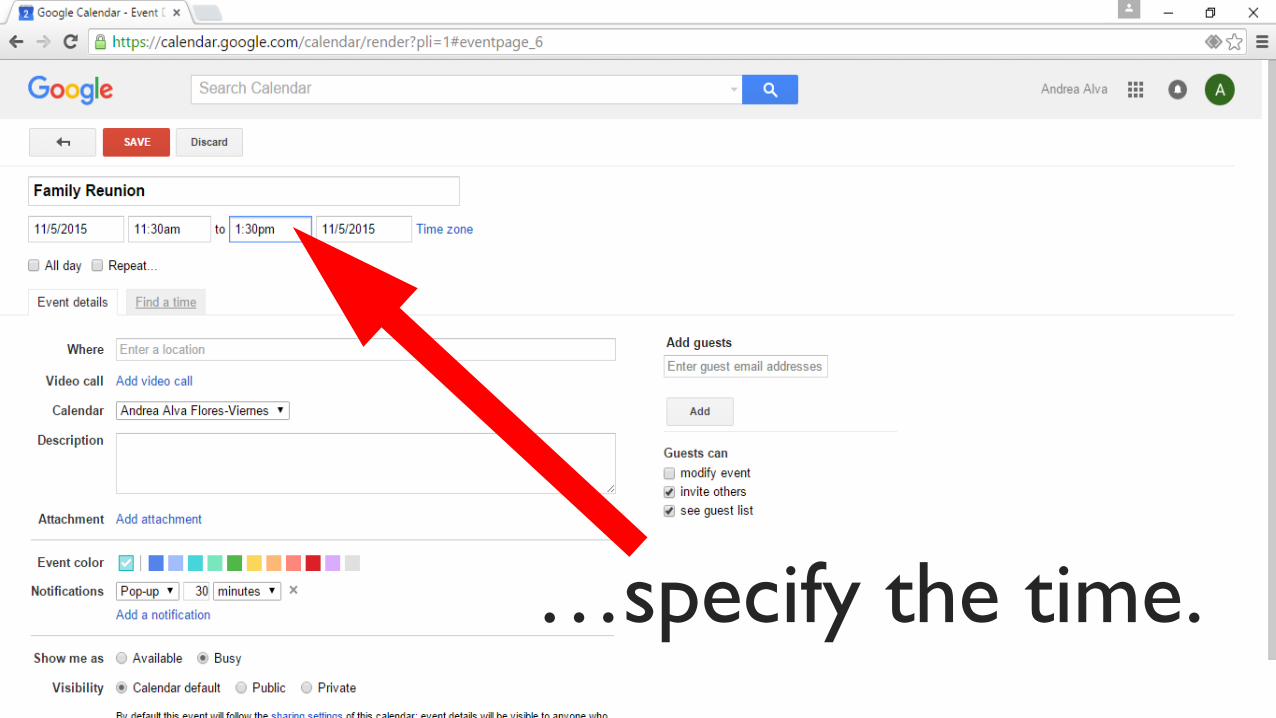
…specify the time.
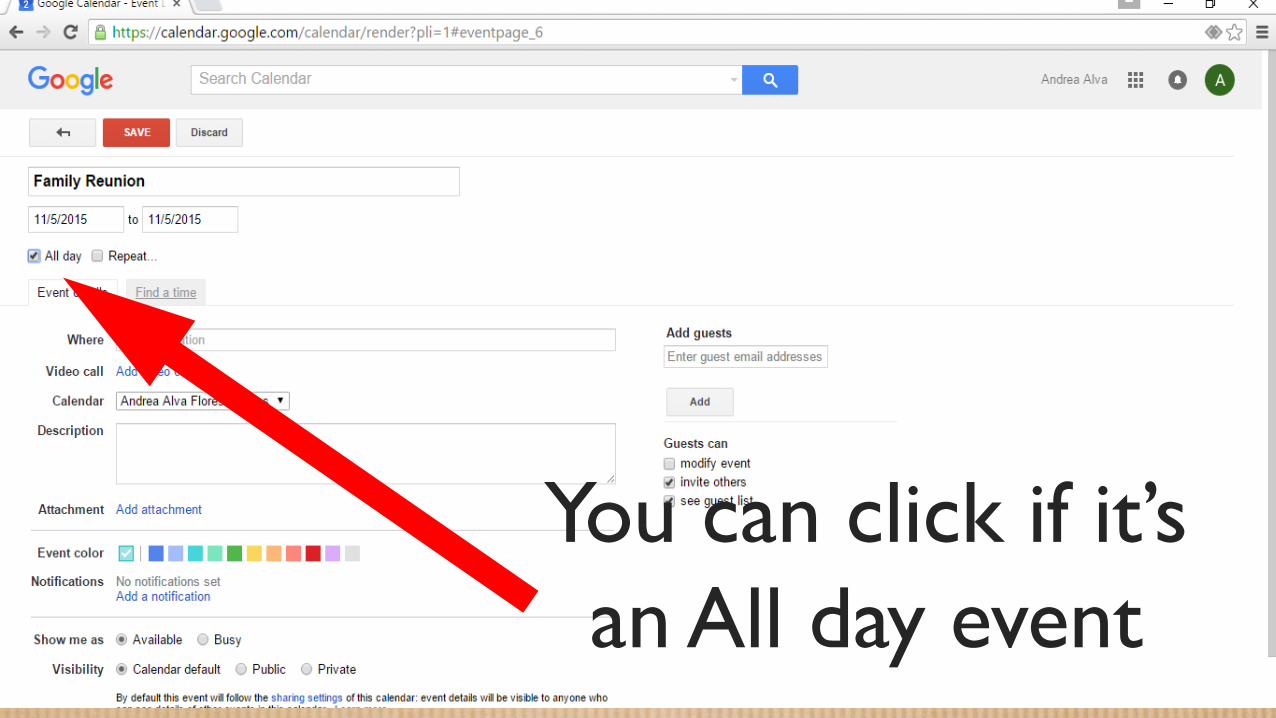
You can click if it’s
an All day event

…which will not require you
to specify the time.
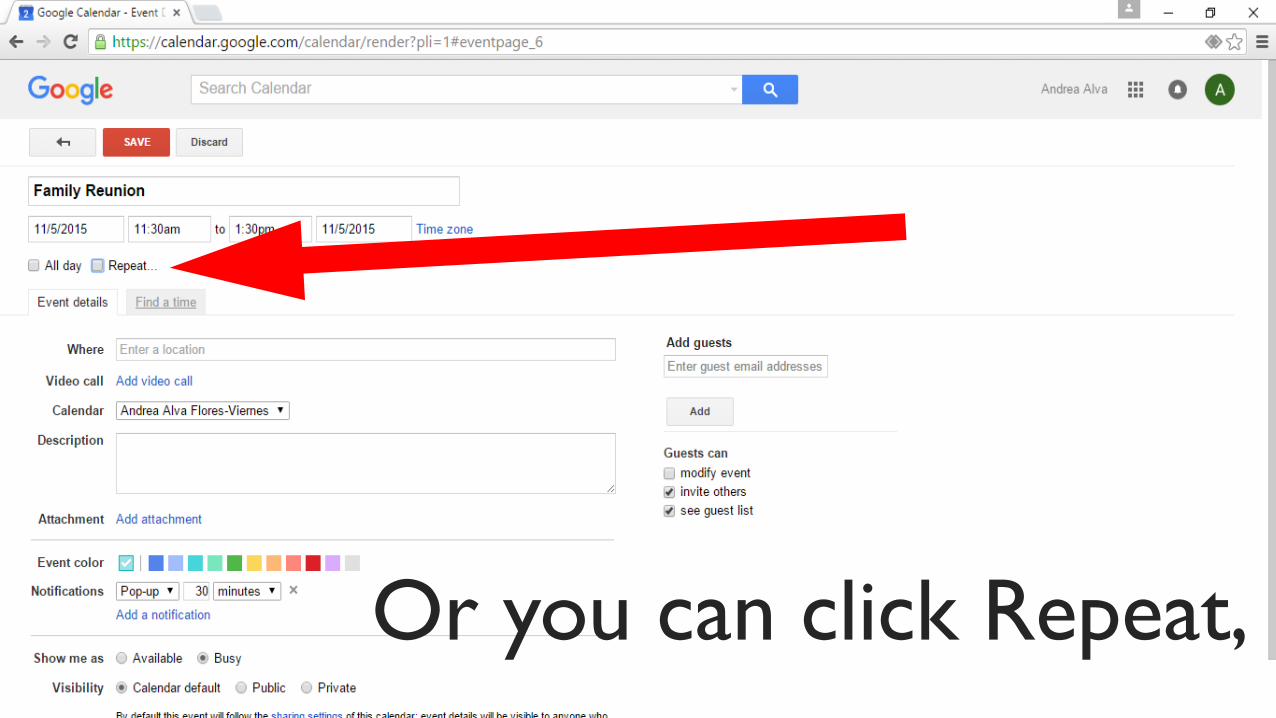
Or you can click Repeat,

…to set it all up if it’s a repeat
event.
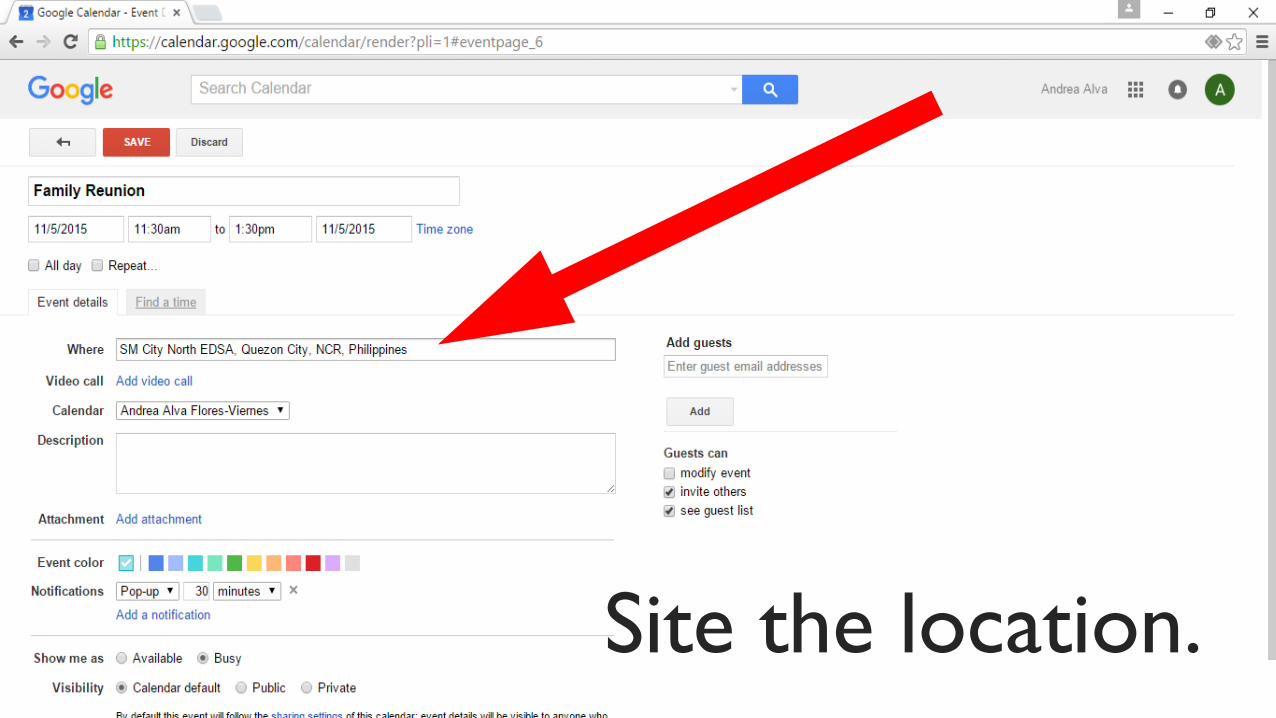
Site the location.

Choose on what calendar
the event is associated with.

Write a description (if you
want).

Add attachment/s (if
necessary).
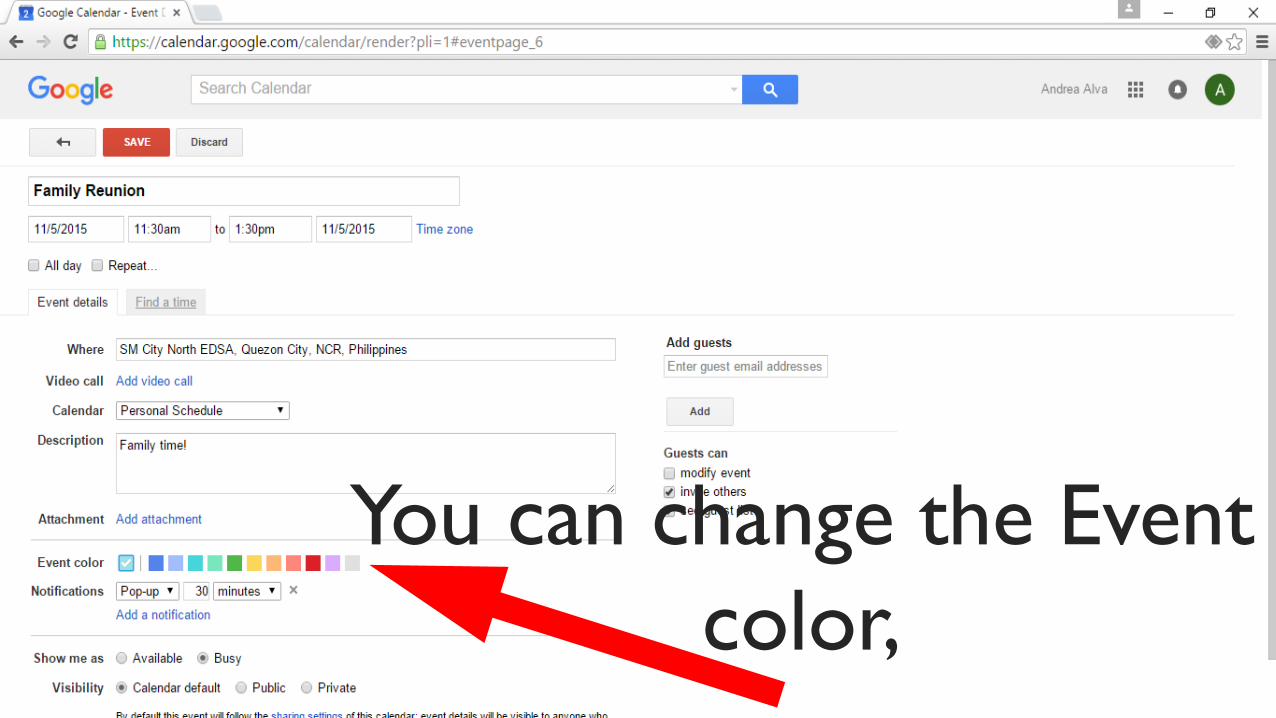
You can change the Event
color,

…but it is important to stick
with the default

…calendar color for you to
monitor your events
…on what calendar that specific
event is associated with.

You can edit on how you
will be notified

…and how many minutes,
hours, days or weeks

…you will be notified before
the event.

You can also Add a
Notification.
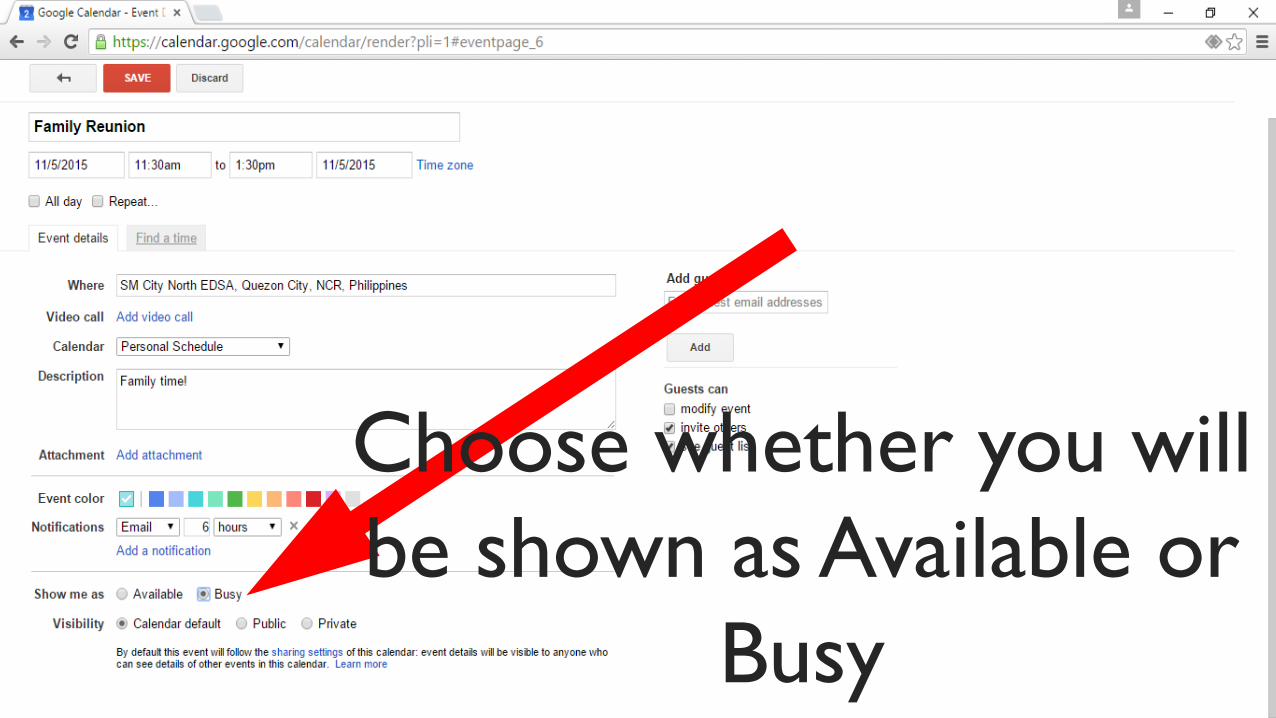
Choose whether you will
be shown as Available or
Busy
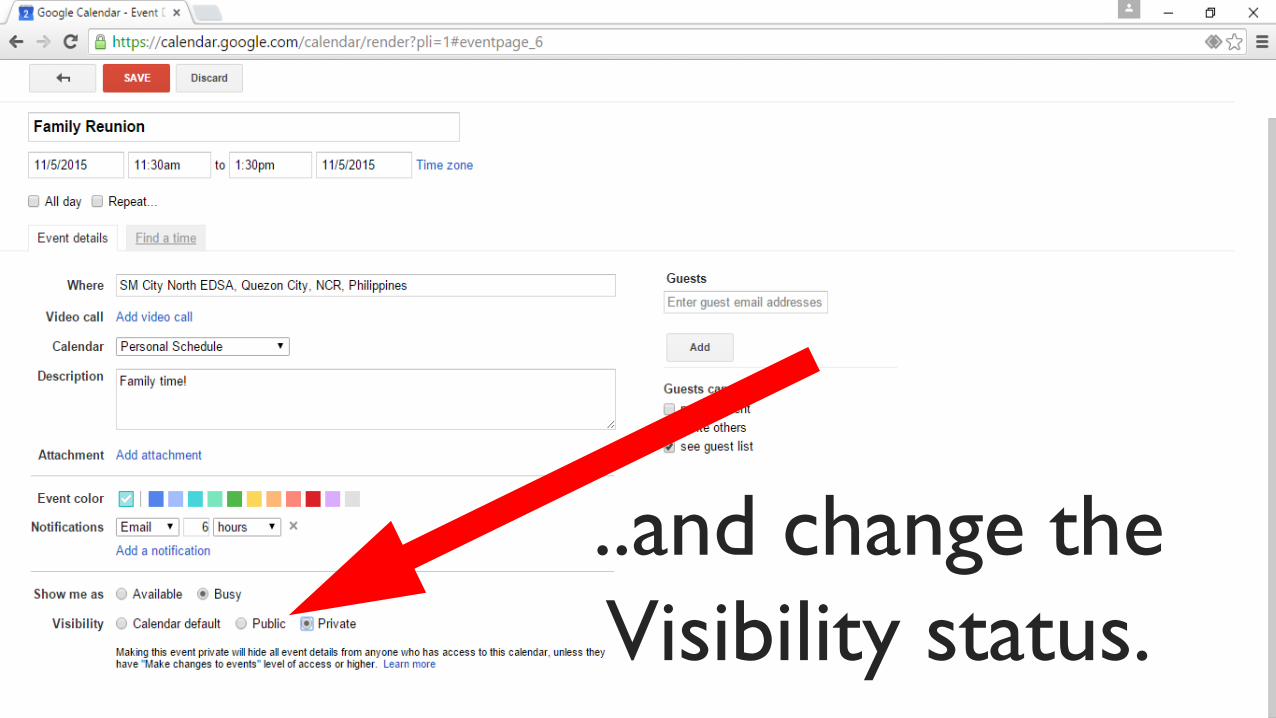
..and change the
Visibility status.

You can also add guests by
entering their email
addresses

…and specify how they
can manage your event.
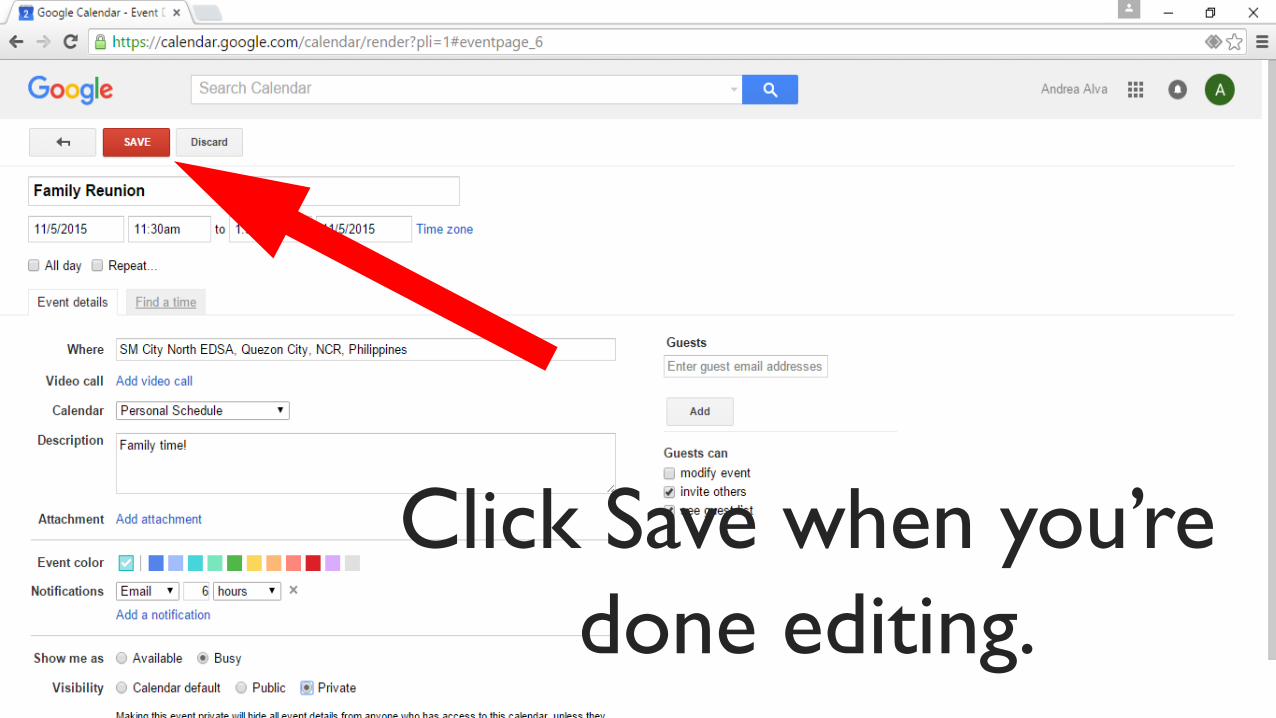
Click Save when you’re
done editing.

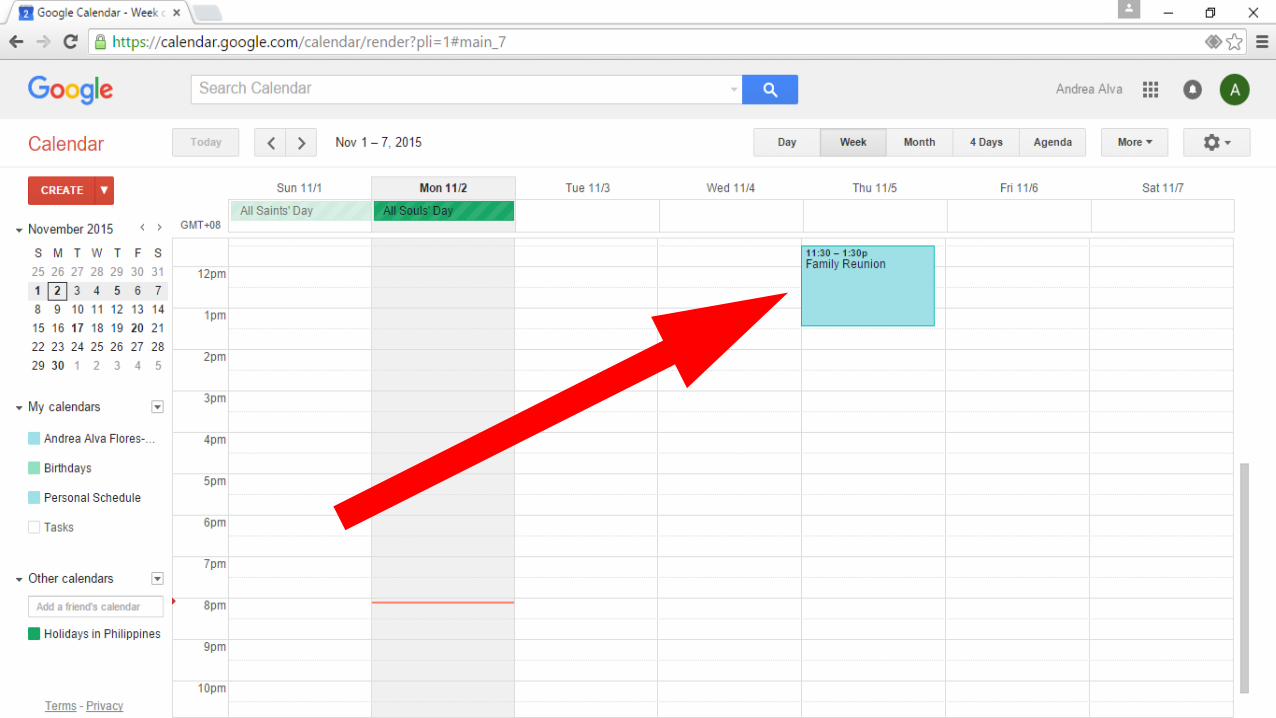
Once saved, you can now see
the event you’ve created.
Second option for creating
an event is by…

…clicking on the space where
the date and time
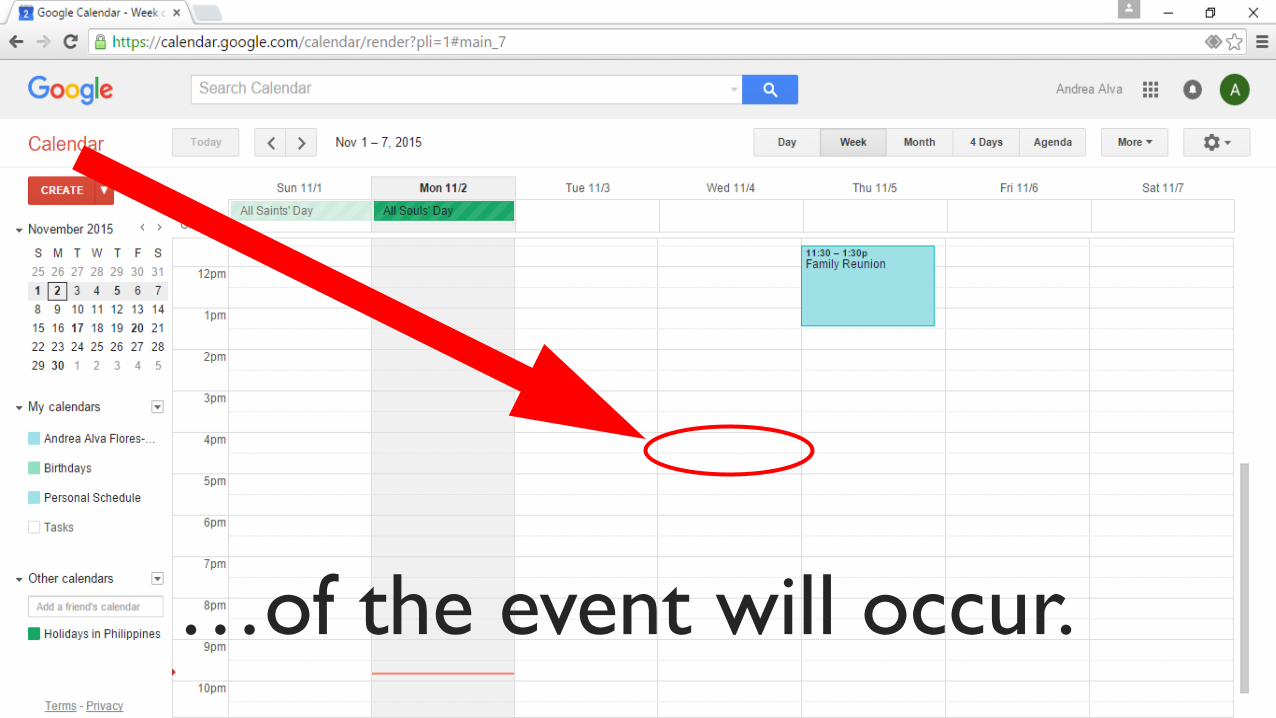
…of the event will occur.
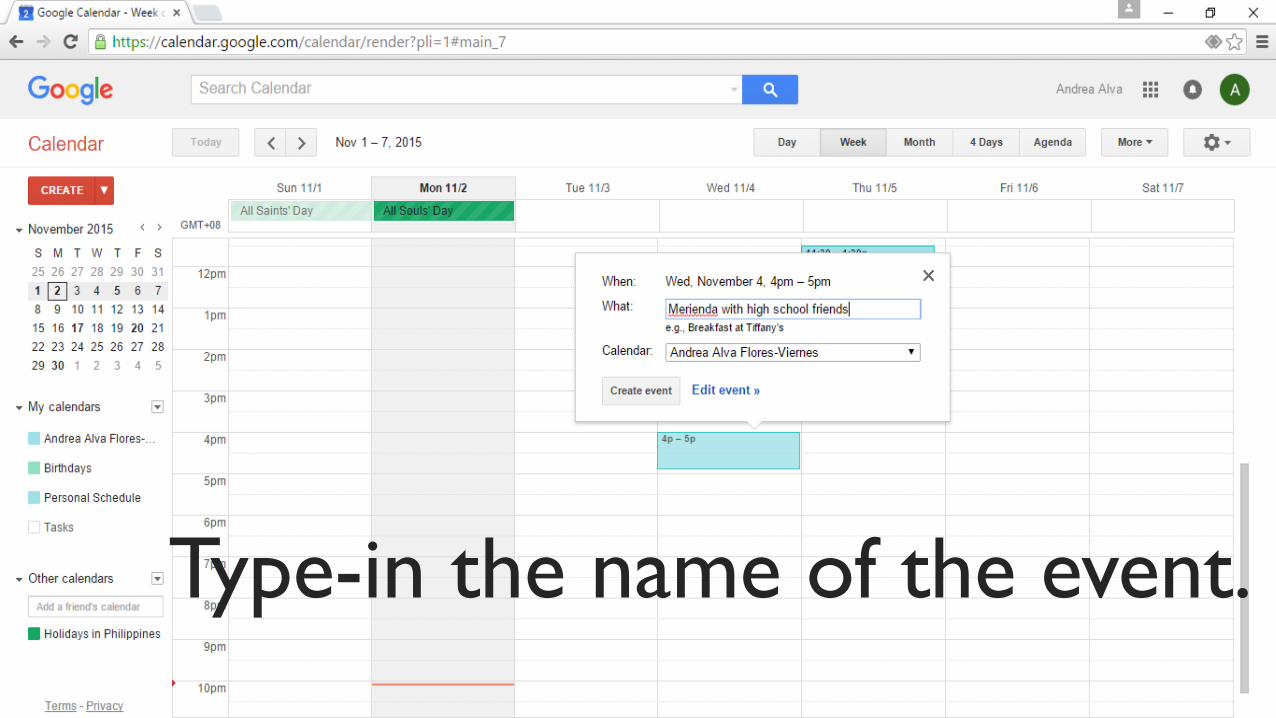
Type-in the name of the event.

Notice the range of time is
1hour,

…but you can change it by
clicking “Edit Event”.

Then change to your
scheduled time.
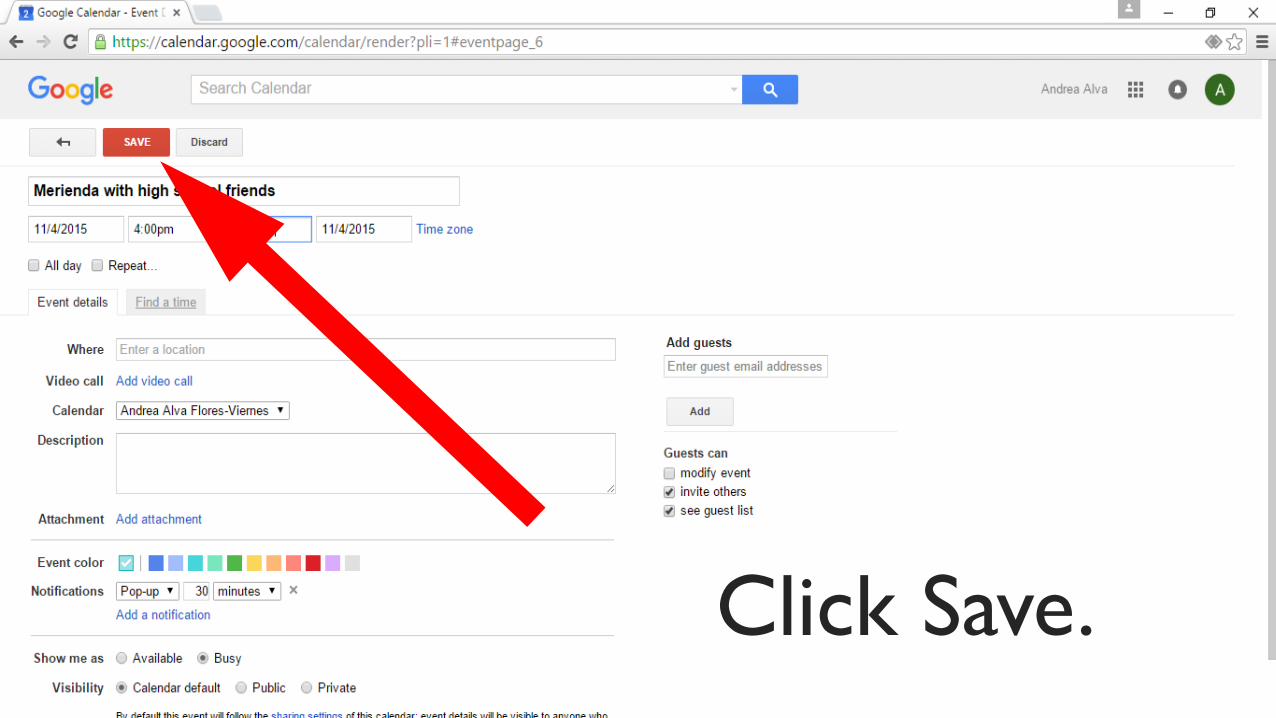
Click Save.

You now have added a new
event!

Moreover, you can choose
from different colors

…to customize your
calendars and events.

Once you’ve changed the
calendar color,

…the events under that
calendar will automatically
change its color.

Events highlighted in a bar means
…that it’s a whole-day event.
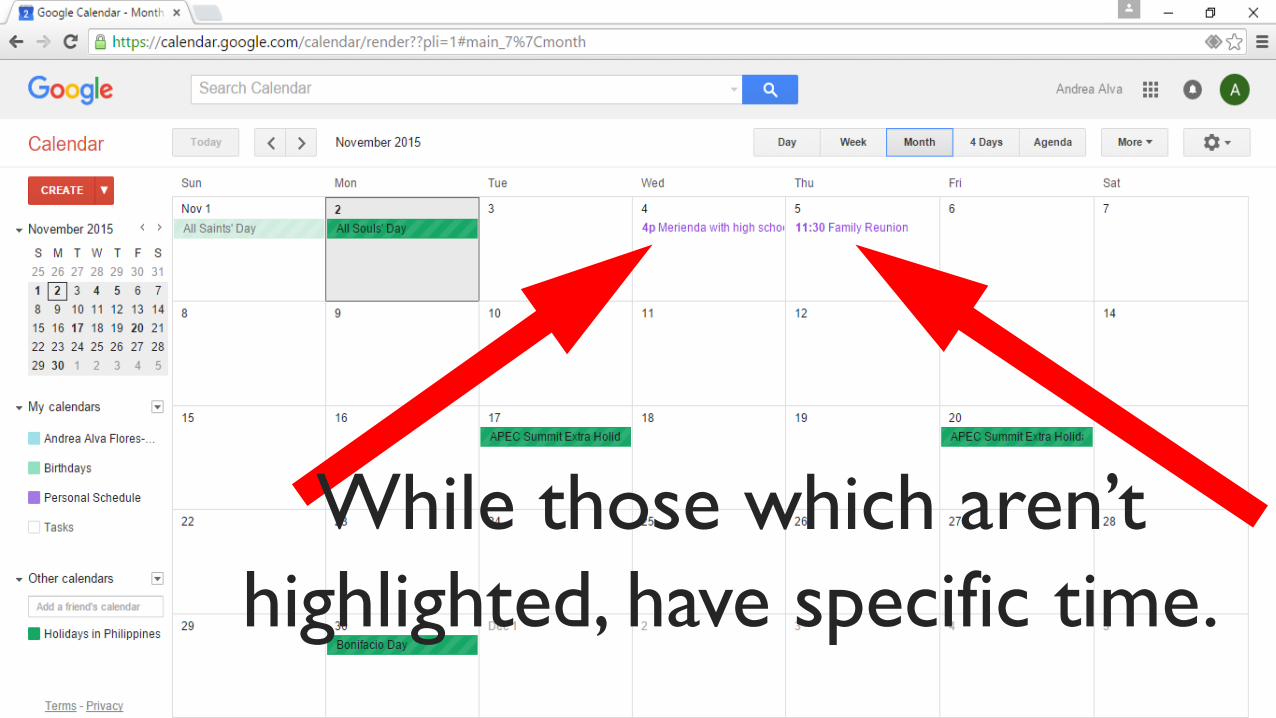
While those which aren’t
highlighted, have specific time.

To change other Google
Calendar settings, click the
gear icon.

You can also change the
Display Density.

The important part of the
Settings,

…is to set the time zone
on your location.
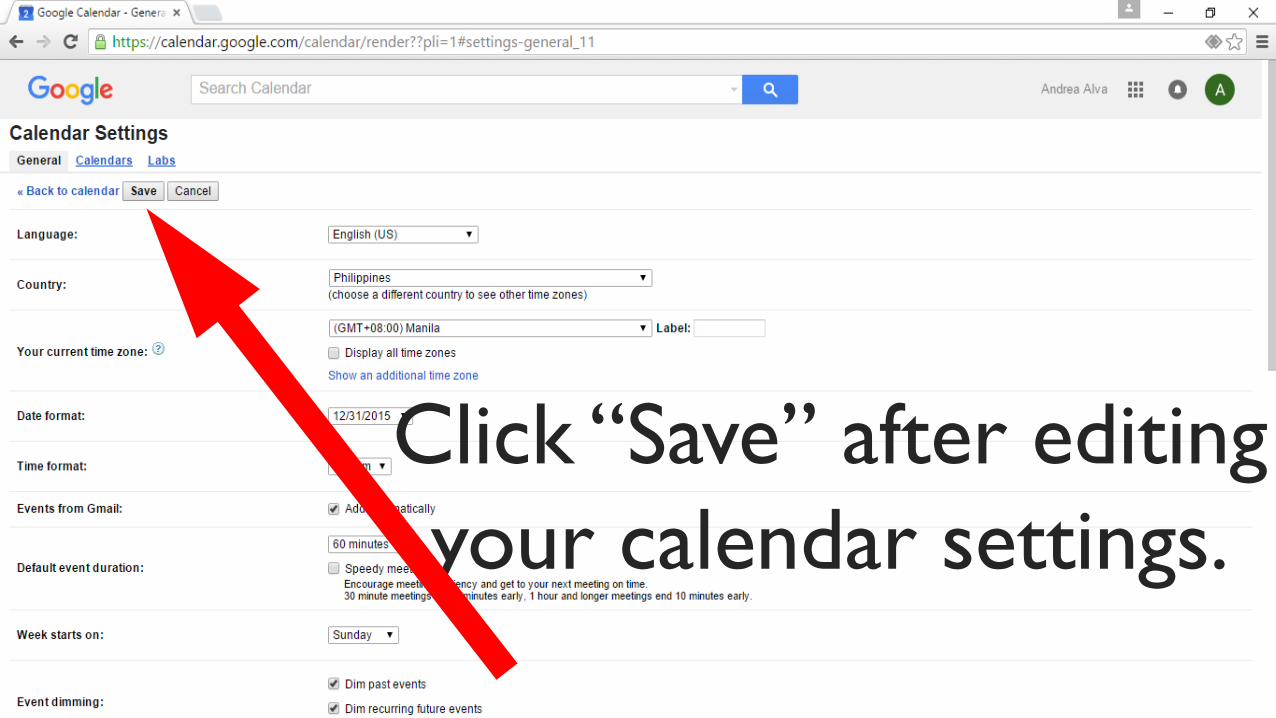
Click “Save” after editing
your calendar settings.

Done for the Google Calendar
basics!

Yesterday was not your defining moment. The calendar moved forward; why not
you?
- Dr. Steve Maraboli