getting git to work with eclipse: the least fun thing you’ll ever do by orren saltzman
TRANSCRIPT
Getting Git to work with Eclipse:
The least fun thing you’ll ever doBy Orren Saltzman
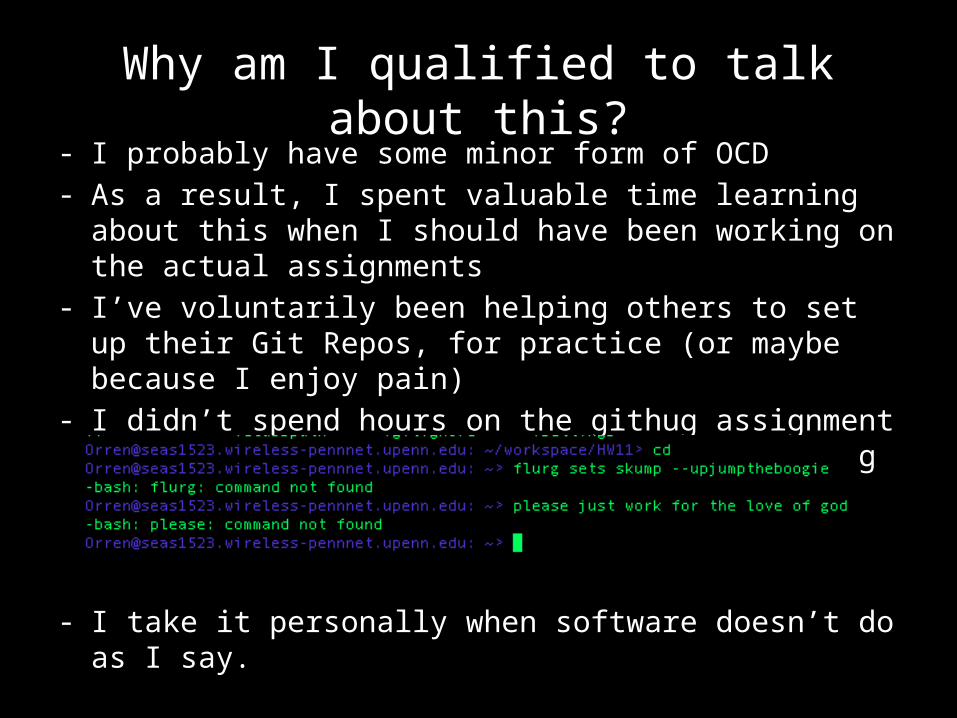
Why am I qualified to talk about this?- I probably have some minor form of OCD- As a result, I spent valuable time learning about this when I
should have been working on the actual assignments- I’ve voluntarily been helping others to set up their Git Repos,
for practice (or maybe because I enjoy pain)- I didn’t spend hours on the githug assignment typing
nonsense into a black box for nothing
- I take it personally when software doesn’t do as I say.
Where do we even start?We could start in Eclipse:- Create a new project from the package directory- Create a new local repo (git init)- Create a new empty remote repo on github.com- Connect them using (git remote add origin <url>)- Make some commits- Attempt to push to remote repo using (git push origin)

Where do we even start?We could start in Eclipse:- Create a new project from the package directory- Create a new local repo (git init)- Create a new empty remote repo on github.com- Connect them using (git remote add origin <url>)- Make some commits- Attempt to push to remote repo using (git push origin)- Receive cryptic and mysterious error messages you can do nothing about:
- Go insane, fail classes, drop out of MCIT, become a crazy hobo

Where do we even start?
We could start at github:- Create a remote repo through github.com- Download it into your eclipse workspace using- Frantically refresh your package directory for fifteen minutes
- Punch your computer in its stupid computer face
The real problem is:
Getting Eclipse to recognize git repositories as project foldersDealing with invisible folders managed by git:
- .git- .gitignore
Dealing with invisible folders managed by Eclipse:- .settings- .project- .classpath
The Eclipse ones appear to be platform specific (yay)
One possible Solution: Egit!
- A Git plugin/GUI for Eclipse. Perfect!

One possible Solution: Egit!
- A Git plugin/GUI for Eclipse. Perfect!
Actually, don’t do this

OK, so what’s the right thing to do?- It’s probably best to start the repo on github
- Allow github to create your README file (I don’t know why, just do it)- Also allow it to create a .gitignore file and set it to Java (this part is just
convenient)- When you’re done, github helps you out with a screen on what to do next:

First of all, stare at this for awhile because you’ll never get back to it without starting over
- What does the -u argument mean?- Didn’t we try this remote add nonsense once already?

Cloning
- We’ll get back to -u in a minute- For now, how about we clone rather than copy- The github native app is extremely useful for this- Install it, and all of a sudden you have this!- The same thing exists for windows- If you’re on the linux cluster, no app, but this also works:- Navigate to Eclipse workspace in terminal- git clone <url>- Just don’t use git init, it’s messier and you’ll get more network
errors

A quote:
“Eclipse is a terrible piece of software and no one should ever use it.”
- Orren Saltzman
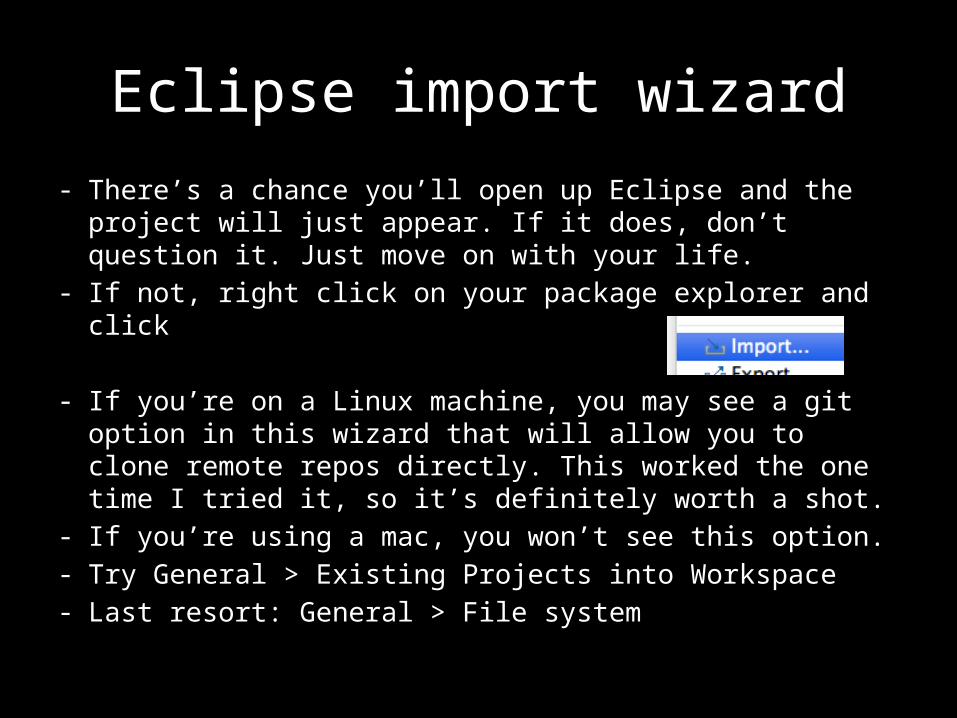
Eclipse import wizard- There’s a chance you’ll open up Eclipse and the project will
just appear. If it does, don’t question it. Just move on with your life.
- If not, right click on your package explorer and click
- If you’re on a Linux machine, you may see a git option in this wizard that will allow you to clone remote repos directly. This worked the one time I tried it, so it’s definitely worth a shot.
- If you’re using a mac, you won’t see this option.- Try General > Existing Projects into Workspace- Last resort: General > File system

Before you do anything else!
- Add the invisible Eclipse files to .gitignore- You don’t want your partner getting these,
they need to make their own- format: One ignore per line, wildcards allowed
(*)- Finally, it’s time to make our first commit….

So you want to commit…- You aren’t out of the woods yet. Your first commit from here
is a delicate process.- You can try add, commit, push like normal- If this doesn’t work, try fetch, pull, push.- This will be necessary if git thinks something has changed on
github for some reason.- Sometimes it will give you this crap:
- Just do what it says and specify ‘master’ after ‘origin’

Y U NO USE –U?!
- By the way, the -u argument in push means ‘upstream’, and defines the remote repo you specify as the default and central repo
- If you successfully use (git push origin -u) once, you never have to specify the remote name again, just (git push)
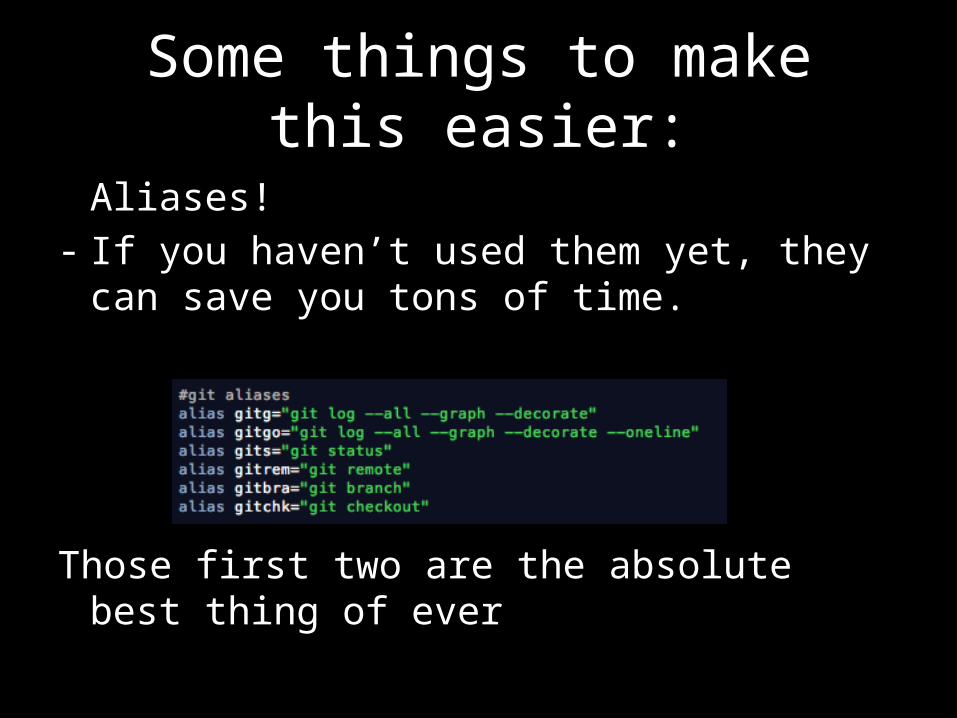
Some things to make this easier:
Aliases!- If you haven’t used them yet, they can save you
tons of time.
Those first two are the absolute best thing of ever

Aliases on Windows
• The Windows equivalent of alias is doskey• Here’s an example file:
• Name it (for example) aliases.bat, run as aliases
(Added by Dave)

Branches, tags, and remote content, all viewable from the terminal

Some source material
- Lots of info online, but none of it is well- curated
- The Tuts+ Premium video course on git essentials
- https://tutsplus.com/course/git-essentials/- Unfortunately, there’s a monthly fee, but I
would recommend paying for one month, downloading everything that interests you, and then cancelling.
Congrats, you’ve survived

A final note…
- If you would like to refer to this presentation in the future (and I can’t imagine why) I put it on the web
- But unfortunately, I placed it in a github repo, so you’ll probably never find it.
- Username: orren- Repo name: why_no_workee