everyone in the kitchen - nwt literacy council · floor. avoid foods they may choke on. ... peel a...
TRANSCRIPT

1
Everyone in the Kitchen
Recipes and activities for
all ages—cooking and
eating together
2
Acknowledgements
The NWT Literacy Council gratefully acknowledges the financial
assistance for this project from the Department of Education,
Culture and Employment, GNWT.
Project team
NWT Literacy Council: Katie Johnson
and Catriona Profit.
Consultant: Mary McCreadie
The NWT Literacy Council is a territorial non-profit group that promotes and
supports literacy in all official language of the NWT. Our program areas
include Aboriginal languages, family literacy, adult literacy and essential
skills, youth literacy, and plain language.
Box 761, Yellowknife, NT X1A 2N6
Office: 5122 – 48th Street, Yellowknife
Phone toll free: 1-866-599-6758
Phone Yellowknife: 873-9262
Fax: (867) 873-2176
Facebook: NWT Literacy Council
Instagram: nwtliteracycouncil
Twitter: NWTLiteracy
YouTube: NWTLiteracy
Email: [email protected]
Website: www.nwtliteracy.ca
August 2018
Contact the NWT Literacy Council to get copies of this resource. Or look on
the website.
3
Contents
Intro .............................................................................................................................. 4
Activities to Include Kids in the Kitchen........................................................................ 5
Basic Kitchen Safety ...................................................................................................... 8
Four Food Safety Rules ................................................................................................. 9
Whipped Fruit Ice Cream ............................................................................................ 10
Pizza Bannock .............................................................................................................. 11
Quick Three-Ingredient Pancakes ............................................................................... 13
Peach and Basil Salsa .................................................................................................. 14
Kid-Approved No-Bake Energy Bites........................................................................... 15
Honey Nutty Cereal Bars ............................................................................................. 16
Apple Sandwiches ....................................................................................................... 18
Hummus ...................................................................................................................... 19
Sauce Jars .................................................................................................................... 20
Homemade Baby Food ............................................................................................... 22
Old-Fashioned Sugar Cookie Mix in a Jar .................................................................... 24
Dry Shake and Bake Mix in a Jar ................................................................................. 26
4
Intro
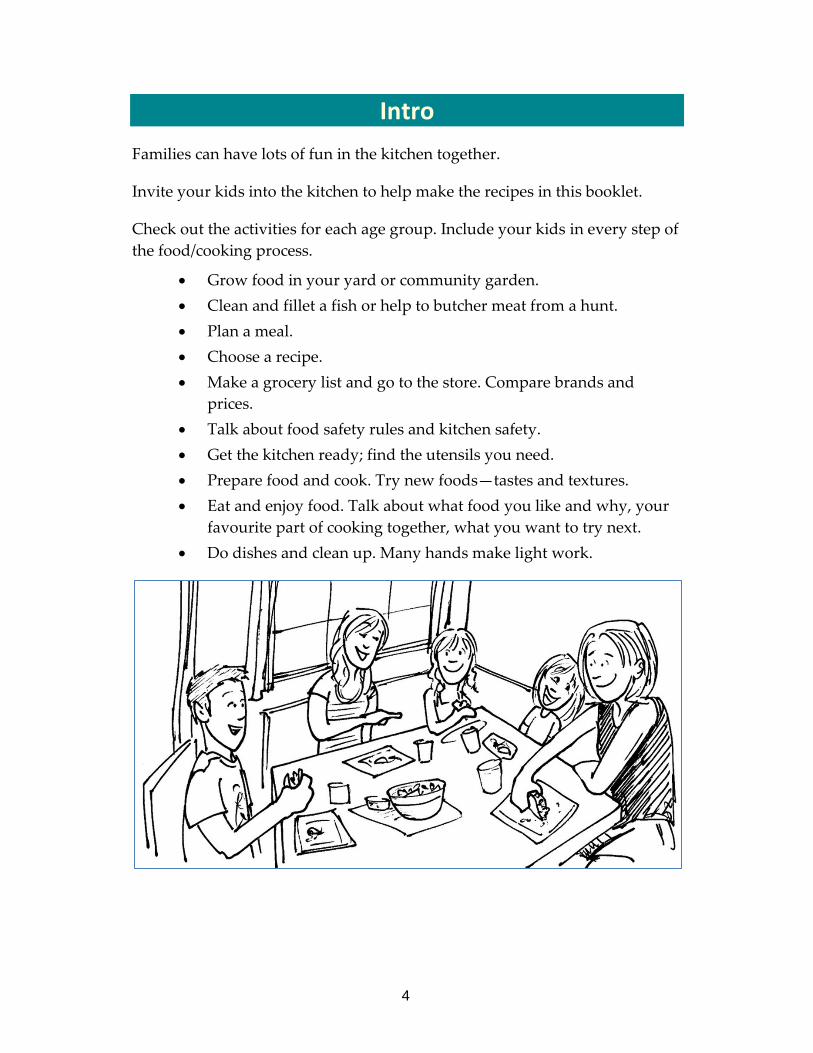
Families can have lots of fun in the kitchen together.
Invite your kids into the kitchen to help make the recipes in this booklet.
Check out the activities for each age group. Include your kids in every step of
the food/cooking process.
Grow food in your yard or community garden.
Clean and fillet a fish or help to butcher meat from a hunt.
Plan a meal.
Choose a recipe.
Make a grocery list and go to the store. Compare brands and
prices.
Talk about food safety rules and kitchen safety.
Get the kitchen ready; find the utensils you need.
Prepare food and cook. Try new foods—tastes and textures.
Eat and enjoy food. Talk about what food you like and why, your
favourite part of cooking together, what you want to try next.
Do dishes and clean up. Many hands make light work.

5
Activities to Include Kids in the Kitchen
Kids of every age can have fun in the kitchen. Cooking together helps build
different literacy skills.
Socialize and work together.
Use math skills, learn about kitchen tools, prepare and chop
different foods, cook, and share food and cooking knowledge.
Learn about kitchen and food safety.
0 to 1 year: Sit baby in a high chair in the kitchen with a snack or toy.
Act
ivit
ies
Talk to them; name foods, cooking actions, kitchen tools, etc.
Show them things; include them in the action.
Offer new foods—tastes and textures; watch their reaction.
Safe
ty Keep a safe distance from the stove.
Keep in a high chair, not moving around on the floor.
Avoid foods they may choke on.
1 to 3 years: Toddlers can help. Or set up a pretend kitchen for imaginary play.
Act
ivit
ies
Name ingredients; add pre-measured ingredients; stir things.
Try new foods—tastes and textures; describe colours, tastes, and textures
Peel bananas or mandarin oranges.
Count; talk about measuring.
With supervision, push buttons on a salad spinner, blender, or food processor.
Safe
ty
Be careful with knives, hot pots, raw meat.
Use a wide-based step stool if they need to reach something—not a ladder or chair.
Ask toddlers to talk to an adult before they eat something.

6
3 to 5 years: Preschoolers can do lots. Put some utensils where they can reach. A
ctiv
itie
s
Slice easy things: bananas, strawberries, mushrooms; tear lettuce by hand.
Measure and weigh different sizes of different ingredients; count.
Name different ingredients; look at a recipe; see foods have a written name.
Try different foods; describe tastes and textures; plan a meal.
Decorate cakes or cookies.
Hand wash dishes; unload a dishwasher.
Safe
ty
Use a child-safe knife; teach them how to use it properly.
Do not leave them alone in the kitchen.
Talk about water temperature, if they use the taps on their own.
Check sink for knives or broken glass when they wash dishes.
Do not leave pots on the stove.
5 to 11 years: Elementary kids can start to cook on their own; use the microwave.
Act
ivit
ies
Measure and weight ingredients; adjust the amount if needed; substitute and problem-solve if one ingredient isn’t available.
Make a simple breakfast: toast and peanut butter, yogurt parfait, instant oatmeal.
Make their own lunch: put together a sandwich, slice veggies or cheese, peel a hard-boiled egg, fill a water bottle.
Make after-school snacks: microwave nachos, grilled cheese, fruit salad.
Help make dinner; set the table and clean up after.

7
5 to 11 years: Elementary kids can start to cook on their own; use the microwave.
Safe
ty Talk about microwave safety: look for hot spots, stir before eating, use
oven mitts.
Decide if you’re comfortable with your child using the stove or microwave on their own.
11 to 18 years: preteens and teens can cook for themselves, unsupervised.
Activities Be responsible to cook one
meal per week for the family.
Lead the family in a cooking activity.
Find new ingredients at the store, research how to use them, cook a dish using them.
Cook with friends.
Create a weekly food budget; plan, shop, and cook within the budget.
Safety Decide at what age you’re willing to let preteens and teens work in
the kitchen when you’re not home.
Make sure they understand kitchen safety and food safety.
Encourage them to set a timer if they have to leave the kitchen—to remind them to come back; and to get rid of any distractions—e.g. turn off the TV, put down the phone.

8
Basic Kitchen Safety
Avoid Cuts Keep knives away from children.
When they are ready, show them how to use a knife safely.
Keep knives sharp. Dull knives are more dangerous.
Do not put sharp knives in dishwater.
Avoid Burns Turn pot handles away from the
edge so no one can knock them over or grab them.
Have oven mitts available and use them.
Tie long hair back.
Check that the smoke detector works. Make sure the fire extinguisher is charged, if you have one.
Keep a first aid kit nearby.
Prevent falls and shocks Clean up spills on the floor right
away so no one slips and falls.
Use a proper stool to stand on to reach things beyond reach.
Unplug electric appliances when children add ingredients—e.g. blender, food processor, and mixers and beaters.

9
Four Food Safety Rules
Clean
Separate
Cook
Chill

10
Whipped Fruit Ice Cream
(1 page)
Ready in 15 minutes
Makes enough for 2 to 3 people
Tips
Use any kind of berries or other fruit—
fresh or frozen, and any kind of fruit
juice.
To make the recipe dairy free, use ice
cubes and a bit of non-dairy milk
instead of ice cream.
Ingredients
2 cups frozen fruit
1 cup vanilla ice cream
12 cup fruit juice
Prep
1. Put all ingredients into a blender or food
processor. If the ice cream is too hard to
scoop, put the spoon in hot water for a
few seconds.
2. Blend ingredients together until they are
smooth.
3. Scoop into bowls.

11
Pizza Bannock
(2 pages)
Ready in 1 hour
Makes enough for 4 to 6 people
Tips
You do not have to make the pizza the
same day you cook the bannock.
If you don’t have time to make
bannock, use hamburger buns, bread
slices, or tortilla shells.
Everyone can choose their own
toppings for an individual pizza.
Ingredients—Bannock
4 cups flour
3 tablespoons baking powder
1 teaspoon salt
12 cup softened butter or margarine
2 12 cups milk (maybe less)
Ingredients—Pizza
Tomato sauce
Shredded cheese
Toppings
12
Pizza Bannock
Prep—Bannock
1. Preheat oven to 350° and grease a
cookie sheet.
2. In a big bowl, stir together the flour,
salt, and baking powder.
3. Add the softened butter and mix it
with a fork.
4. Add the milk slowly and mix with a
fork. Add just enough milk for the mix
to get wet. Don’t add too much.
5. Sprinkle flour over a clean, hard
surface and dump out the dough.
Knead the dough until it gets firm.
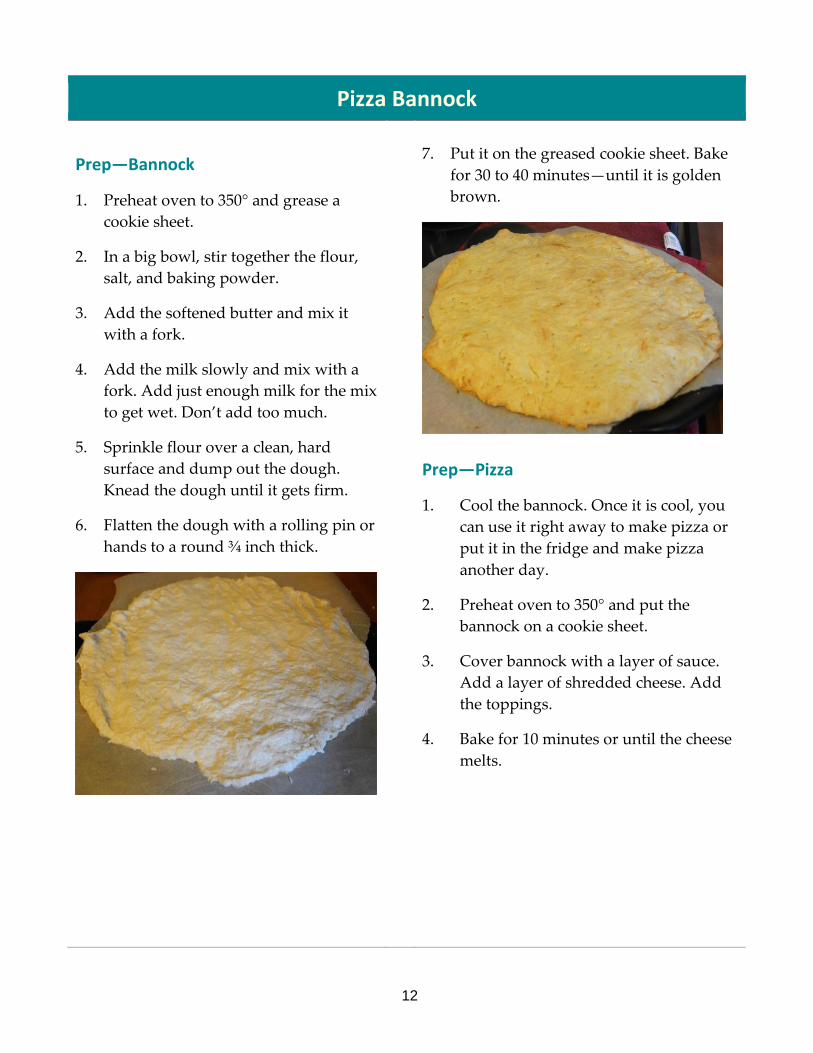
6. Flatten the dough with a rolling pin or
hands to a round ¾ inch thick.
7. Put it on the greased cookie sheet. Bake
for 30 to 40 minutes—until it is golden
brown.
Prep—Pizza
1. Cool the bannock. Once it is cool, you
can use it right away to make pizza or
put it in the fridge and make pizza
another day.
2. Preheat oven to 350° and put the
bannock on a cookie sheet.
3. Cover bannock with a layer of sauce.
Add a layer of shredded cheese. Add
the toppings.
4. Bake for 10 minutes or until the cheese
melts.
13
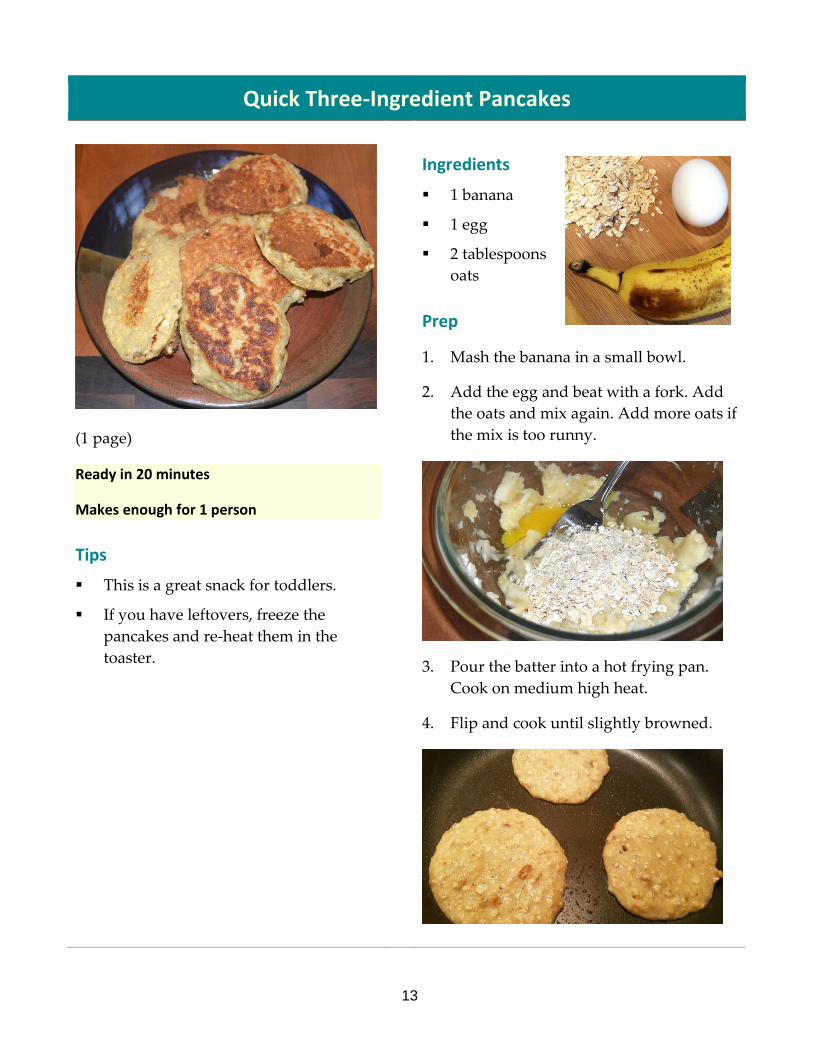
Quick Three-Ingredient Pancakes
(1 page)
Ready in 20 minutes
Makes enough for 1 person
Tips
This is a great snack for toddlers.
If you have leftovers, freeze the
pancakes and re-heat them in the
toaster.
Ingredients
1 banana
1 egg
2 tablespoons
oats
Prep
1. Mash the banana in a small bowl.
2. Add the egg and beat with a fork. Add
the oats and mix again. Add more oats if
the mix is too runny.
3. Pour the batter into a hot frying pan.
Cook on medium high heat.
4. Flip and cook until slightly browned.
14
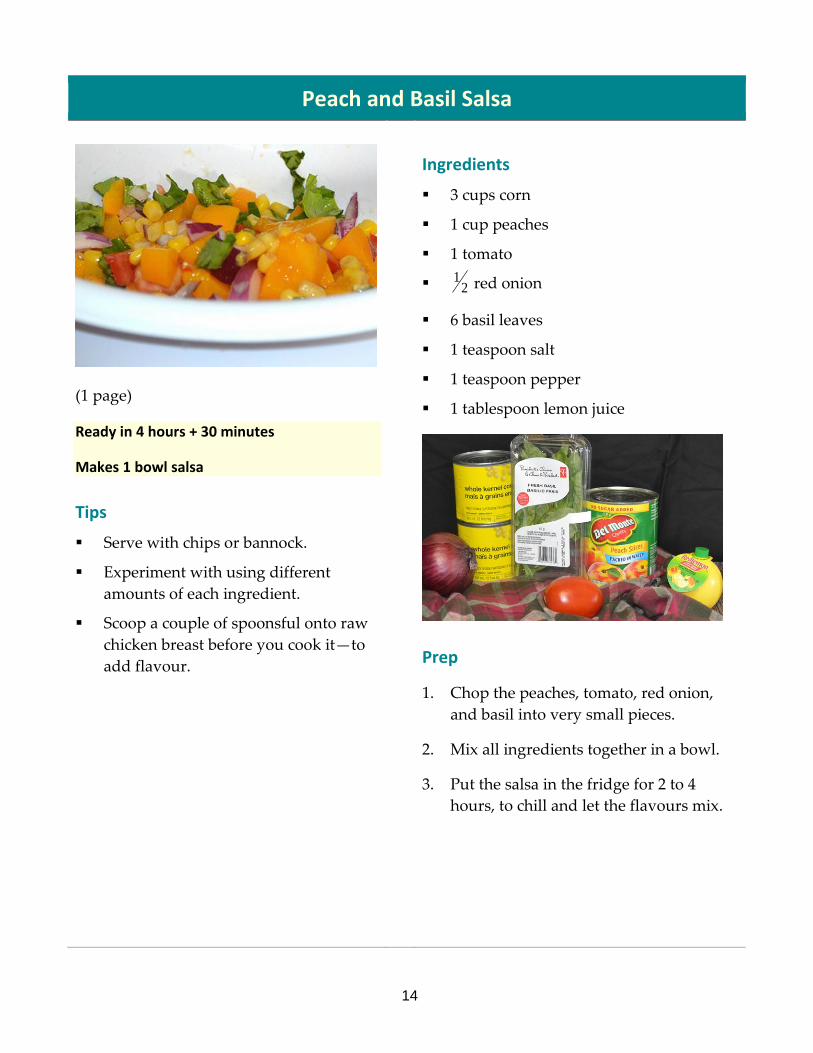
Peach and Basil Salsa
(1 page)
Ready in 4 hours + 30 minutes
Makes 1 bowl salsa
Tips
Serve with chips or bannock.
Experiment with using different
amounts of each ingredient.
Scoop a couple of spoonsful onto raw
chicken breast before you cook it—to
add flavour.
Ingredients
3 cups corn
1 cup peaches
1 tomato
12 red onion
6 basil leaves
1 teaspoon salt
1 teaspoon pepper
1 tablespoon lemon juice
Prep
1. Chop the peaches, tomato, red onion,
and basil into very small pieces.
2. Mix all ingredients together in a bowl.
3. Put the salsa in the fridge for 2 to 4
hours, to chill and let the flavours mix.

15
Kid-Approved No-Bake Energy Bites
(1 page)
Ready in 4 hours + 30 minutes
Makes 18 to 20 bites
Tips
If you keep energy bites in the fridge,
they keep for one week.
If you keep extra energy bites in the
freezer, they keep there for three
months.
Put them straight from the freezer into
your child’s lunch box. They thaw in
time for lunch.
Ingredients
12 cup peanut butter
23 cup dried fruit
13 cup honey
12 cup chocolate chips
13 cup ground almonds
1 cup raw oatmeal
Prep
1. Line a cookie sheet with wax paper.
2. Put all ingredients into a big bowl. Mix
well.
3. Cover the bowl. Put in the fridge for 1
hour.
4. Roll a tablespoon of the mix into a ball.
Place the balls on the cookie sheet. Put
in the freezer for 3 hours.

16
Honey Nutty Cereal Bars
(2 pages)
Ready in 8 hours + 45 minutes
Makes 16 squares
Tips
Make the bars in the evening and let
them sit in the fridge overnight. They
are ready in time for breakfast.
Ingredients
1 cup crunchy peanut butter
12 cup honey
12 cup coconut oil
5 cups Cheerios
1 12 cups chopped nuts
17
Honey Nutty Cereal Bars
Prep
1. Grease a square baking dish.
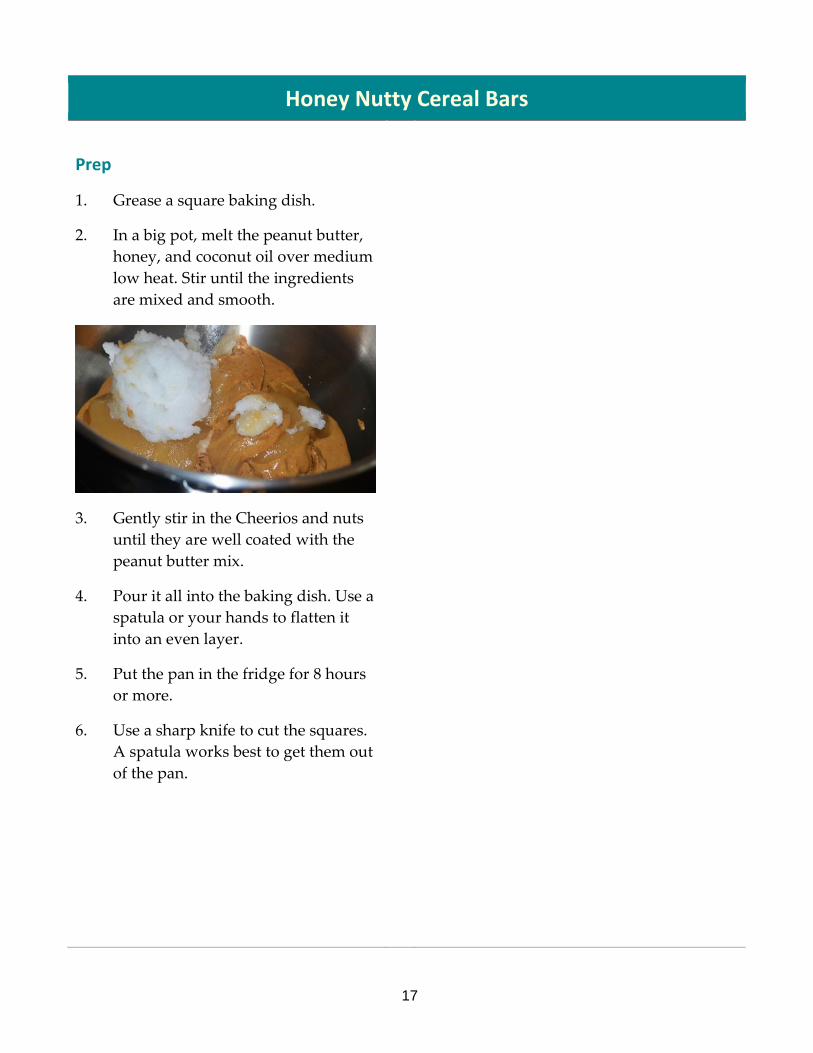
2. In a big pot, melt the peanut butter,
honey, and coconut oil over medium
low heat. Stir until the ingredients
are mixed and smooth.
3. Gently stir in the Cheerios and nuts
until they are well coated with the
peanut butter mix.
4. Pour it all into the baking dish. Use a
spatula or your hands to flatten it
into an even layer.
5. Put the pan in the fridge for 8 hours
or more.
6. Use a sharp knife to cut the squares.
A spatula works best to get them out
of the pan.

18
Apple Sandwiches
(1 page)
Ready in 10 minutes
Makes 2 to 3 sandwiches
Tips
Roll the edges of the sandwich in the
extra granola.
Ingredients
1 apple
12
cup granola
34
cup peanut butter
Prep
1. Slice the apple cross-wise and cut out
the core. The slices look like donuts.
2. Spread some peanut butter on one
apple slice. Sprinkle granola on top of
the peanut butter.
3. To close the sandwich, put another
apple slice on top.

19
Hummus
(1 page)
Ready in 10 minutes
Makes 2 to 3 sandwiches
Tips
Add the olive oil after blending.
Blending olive oil gives it a bitter taste.
Serve with pita wedges, crackers, or
cut up veggies.
Use it in a sandwich instead of meat or
cheese. Hummus has lots of protein.
Ingredients
1 cup cooked chickpeas
14 cup water
2 tablespoons tahini
12 teaspoon salt
1 clove garlic
2 tablespoons lemon juice
2 tablespoons olive oil
Paprika (optional)
Prep
1. Put all the ingredients—except olive
oil—into a food processor. Blend for
two minutes, until it is very smooth.
2. Scrape the sides and blend for another
two minutes.
3. Put it in a bowl. Add the olive oil and
stir until the oil mixes in completely.
4. Sprinkle with paprika if you want.

20
Sauce Jars
(2 pages)
Ready in 10 minutes
Makes 1 jar
Tips
Use large jars.
For each sauce, combine all
ingredients in a jar and shake well.
Keep sauces in the fridge and use
them within 5 days.
Tomato Sauce Use this sauce in Italian dishes such as pasta
or pizza.
1 cup crushed tomato
12 cup tomato paste
2 tablespoons minced garlic
1 teaspoon salt
1 teaspoon pepper
1 tablespoon dried basil
1 tablespoon dried oregano
1 tablespoon dried parsley

21
Sauce Jars
Honey BBQ Sauce
Use this as a dipping sauce for chicken
fingers, burger topping, or marinade.
12 cup honey
14 cup molasses
1 tablespoon onion powder
1 tablespoon garlic powder
2 tablespoons smoked paprika
1 teaspoon salt
1 teaspoon pepper
1 tablespoon Worcestershire sauce
1 tablespoon Dijon mustard
1 tablespoon apple cider vinegar
Balsamic Dijon Sauce Use this as a salad dressing or marinade.
1 cup olive oil
1 cup balsamic vinegar
1 teaspoon salt
1 teaspoon pepper
3 tablespoons Dijon mustard
3 tablespoons honey
Alfredo sauce Use this sauce on pasta, chicken, or pork.
12 cup melted butter
2 tablespoons minced garlic
2 cups grated parmesan
1 teaspoon salt
12 cup sour cream
1 cup heavy cream

22
Homemade Baby Food
(2 pages)
Ready in 30 minutes
Makes 8 baby meals
Tips
Once you make the baby food, pour it
into ice cube trays to make baby-sized
servings.
Keep in the freezer for up to 1 month.
Replace the water in any recipe with
breast milk or formula.
Use more or less liquid to make the
food more or less runny.
Tree Fruit—Ingredients
1 banana
2 apples
1 cup cooked oats, rice, quinoa, or baby
cereal
Water
Tree Fruit—Prep
1. Chop the apples and take the cores out
of them.
2. Boil or steam the apples.
3. Add everything to a blender or food
processor. Blend it until it is smooth.
23
Homemade Baby Food
Summer Fruit—Ingredients 1 cup canned or frozen peaches
12 cup fresh or frozen raspberries
1 cup cooked oats, rice, quinoa, or
baby cereal
Water
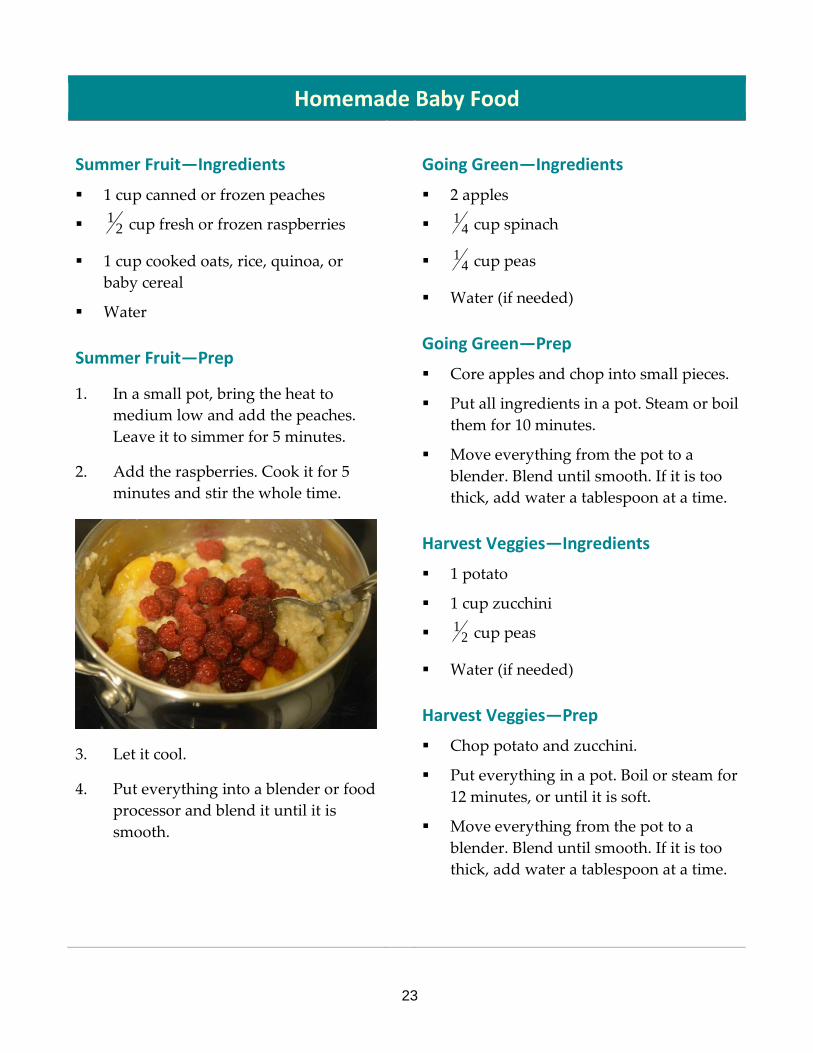
Summer Fruit—Prep
1. In a small pot, bring the heat to
medium low and add the peaches.
Leave it to simmer for 5 minutes.
2. Add the raspberries. Cook it for 5
minutes and stir the whole time.
3. Let it cool.
4. Put everything into a blender or food
processor and blend it until it is
smooth.
Going Green—Ingredients
2 apples
14 cup spinach
14 cup peas
Water (if needed)
Going Green—Prep
Core apples and chop into small pieces.
Put all ingredients in a pot. Steam or boil
them for 10 minutes.
Move everything from the pot to a
blender. Blend until smooth. If it is too
thick, add water a tablespoon at a time.
Harvest Veggies—Ingredients
1 potato
1 cup zucchini
12 cup peas
Water (if needed)
Harvest Veggies—Prep
Chop potato and zucchini.
Put everything in a pot. Boil or steam for
12 minutes, or until it is soft.
Move everything from the pot to a
blender. Blend until smooth. If it is too
thick, add water a tablespoon at a time.
24
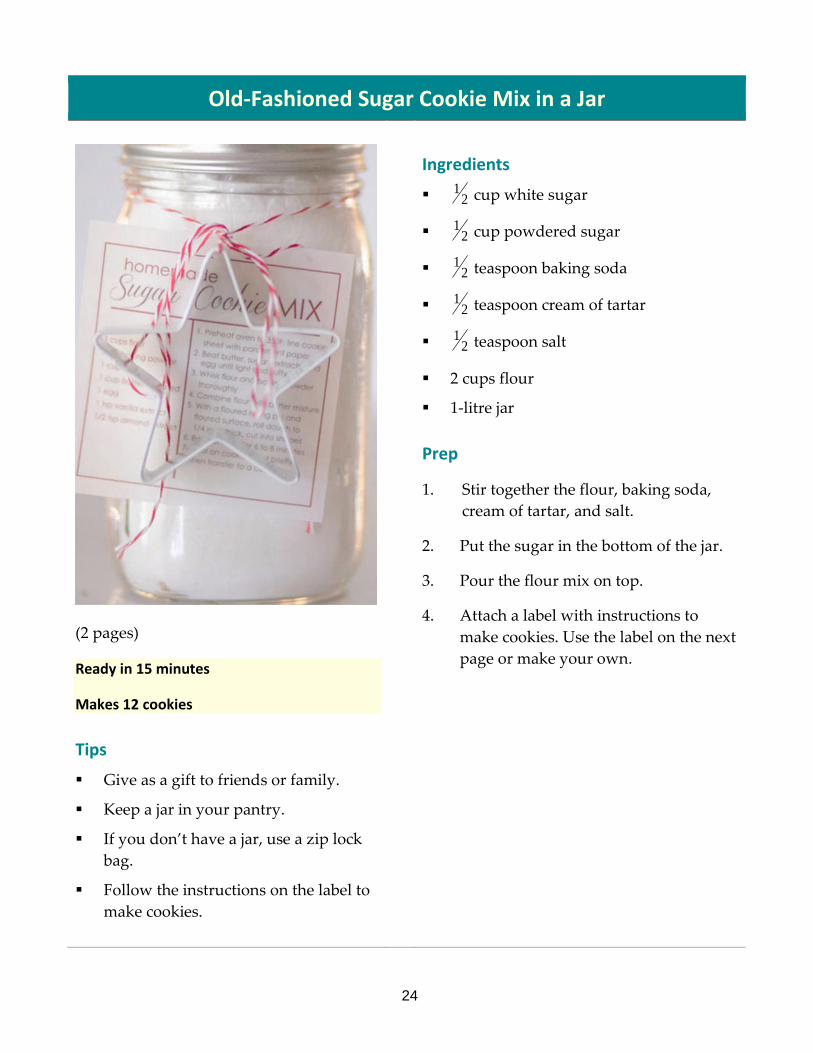
Old-Fashioned Sugar Cookie Mix in a Jar
(2 pages)
Ready in 15 minutes
Makes 12 cookies
Tips
Give as a gift to friends or family.
Keep a jar in your pantry.
If you don’t have a jar, use a zip lock
bag.
Follow the instructions on the label to
make cookies.
Ingredients
12
cup white sugar
12 cup powdered sugar
12 teaspoon baking soda
12 teaspoon cream of tartar
12 teaspoon salt
2 cups flour
1-litre jar
Prep
1. Stir together the flour, baking soda,
cream of tartar, and salt.
2. Put the sugar in the bottom of the jar.
3. Pour the flour mix on top.
4. Attach a label with instructions to
make cookies. Use the label on the next
page or make your own.

25
Old-Fashioned Sugar Cookies Old-Fashioned Sugar Cookies
Made for you by: Made for you by:
1. In a bowl, beat together until smooth:
1/2 cup butter
1/2 cup oil
1/2 cup regular sugar
1/2 cup powdered sugar
1 egg
1 teaspoon vanilla
2. Add the mix from the jar. Mix well to form soft dough. Put the dough in the fridge for at least two hours.
3. Preheat oven to 350°. Prepare a cookie sheet (spray, grease, paper liner).
4. Roll tablespoons of dough into balls. Then roll in sugar. Place two inches apart on cookie sheet.
5. Bake for 9 to 11 minutes, until they start to brown. Cool before eating.
26
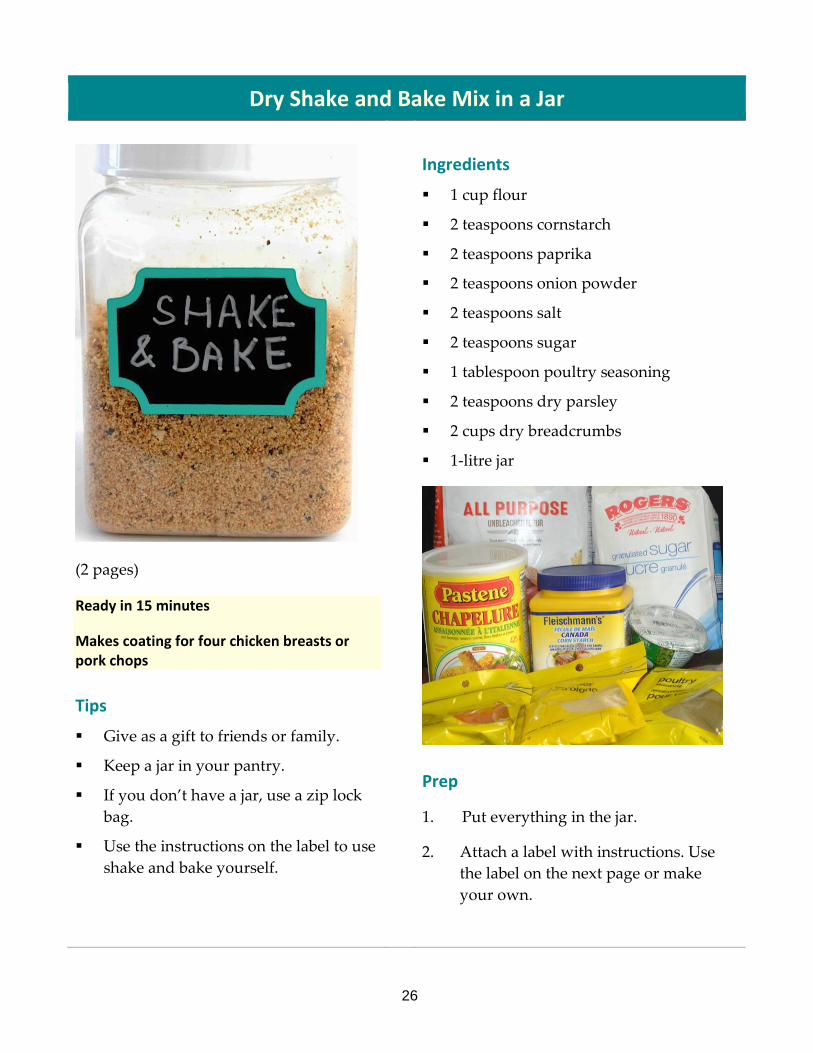
Dry Shake and Bake Mix in a Jar
(2 pages)
Ready in 15 minutes
Makes coating for four chicken breasts or pork chops
Tips
Give as a gift to friends or family.
Keep a jar in your pantry.
If you don’t have a jar, use a zip lock
bag.
Use the instructions on the label to use
shake and bake yourself.
Ingredients
1 cup flour
2 teaspoons cornstarch
2 teaspoons paprika
2 teaspoons onion powder
2 teaspoons salt
2 teaspoons sugar
1 tablespoon poultry seasoning
2 teaspoons dry parsley
2 cups dry breadcrumbs
1-litre jar
Prep
1. Put everything in the jar.
2. Attach a label with instructions. Use
the label on the next page or make
your own.

27
Shake and Bake Mix Shake and Bake Mix
Made for you by: Made for you by:
1. Preheat oven to 400°. Grease a pan or line it with foil.
2. Pour the mix from the jar into a big bowl. Add 3 tablespoons cooking oil. Stir the oil in well.
3. Place four pieces of chicken or pork chops into the mix. Roll them around until they are well coated.
4. Place the meat on the pan. Bake 30 to 40 minutes—until cooked through.