
Foundations of Technology
PotentiometerPotentiometer
© 2013 International Technology and Engineering Educators Association, STEMCenter for Teaching and Learning™ Foundations of Technology
Teacher Resource Unit 4 Lesson 4
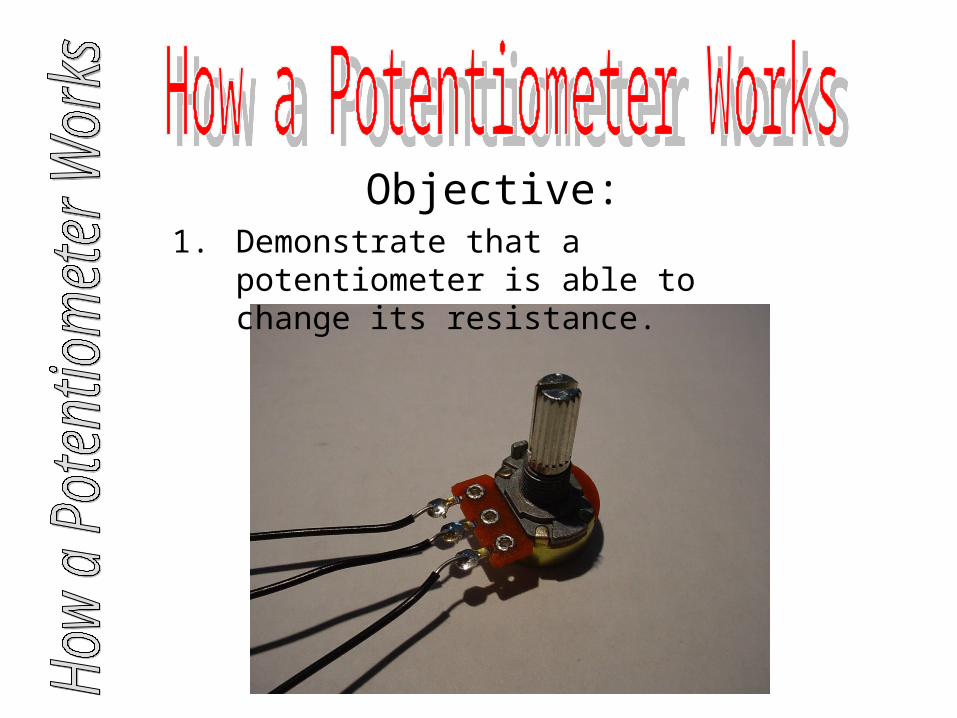
Objective:1. Demonstrate that a potentiometer is able
to change its resistance.
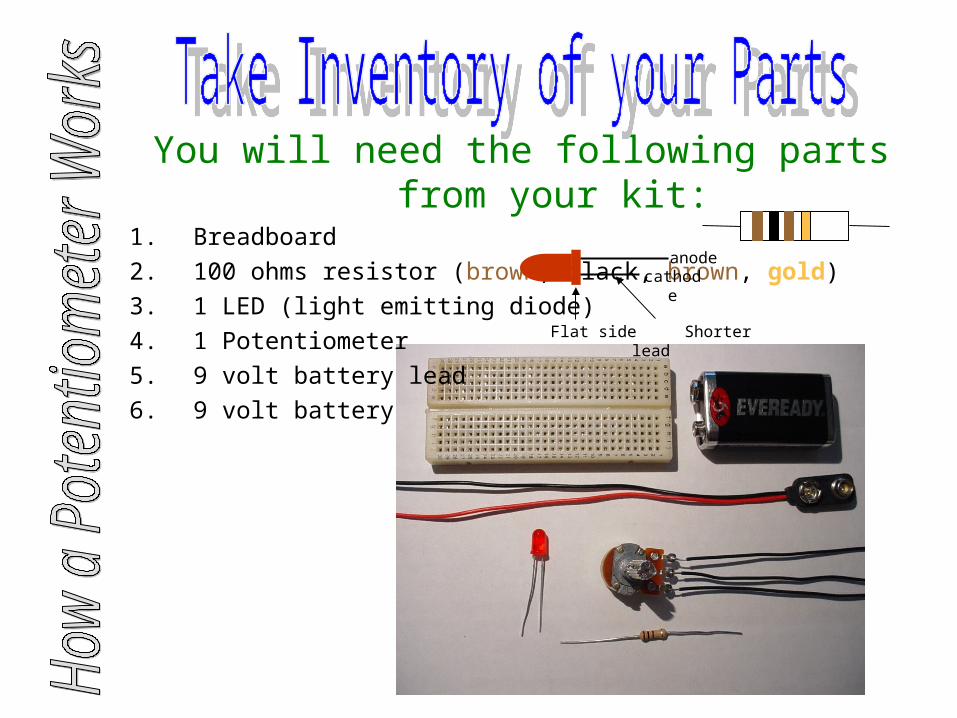
You will need the following parts from your kit:1. Breadboard
2. 100 ohms resistor (brown, black, brown, gold)
3. 1 LED (light emitting diode)
4. 1 Potentiometer
5. 9 volt battery lead
6. 9 volt battery
anodecathode
Flat side Shorter lead
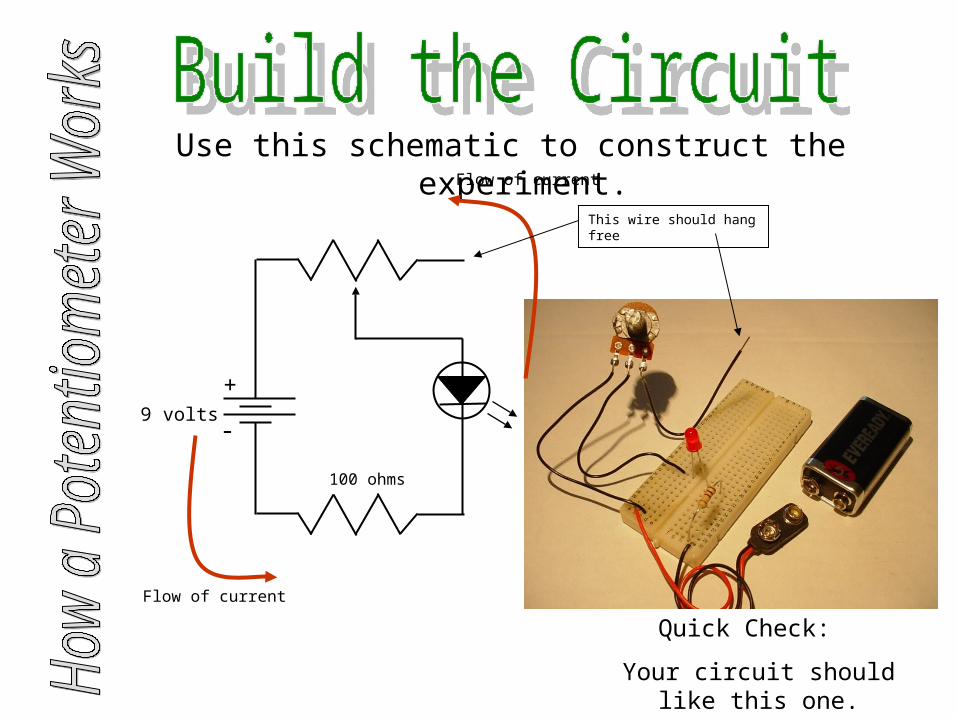
Use this schematic to construct the experiment.
100 ohms
+
-
Flow of current
Flow of current
9 volts
Quick Check:
Your circuit should like this one.
This wire should hang free
This circuit will light the LED.
1. The 100 ohm resistor is put in this circuit to keep the LED from burning out.
2. The potentiometer is a device that when adjusted will change its resistance.
3. The greater the resistance, the dimmer the LED will be.
4. You may find a potentiometer on your CD-player to adjust the volume from the speakers.
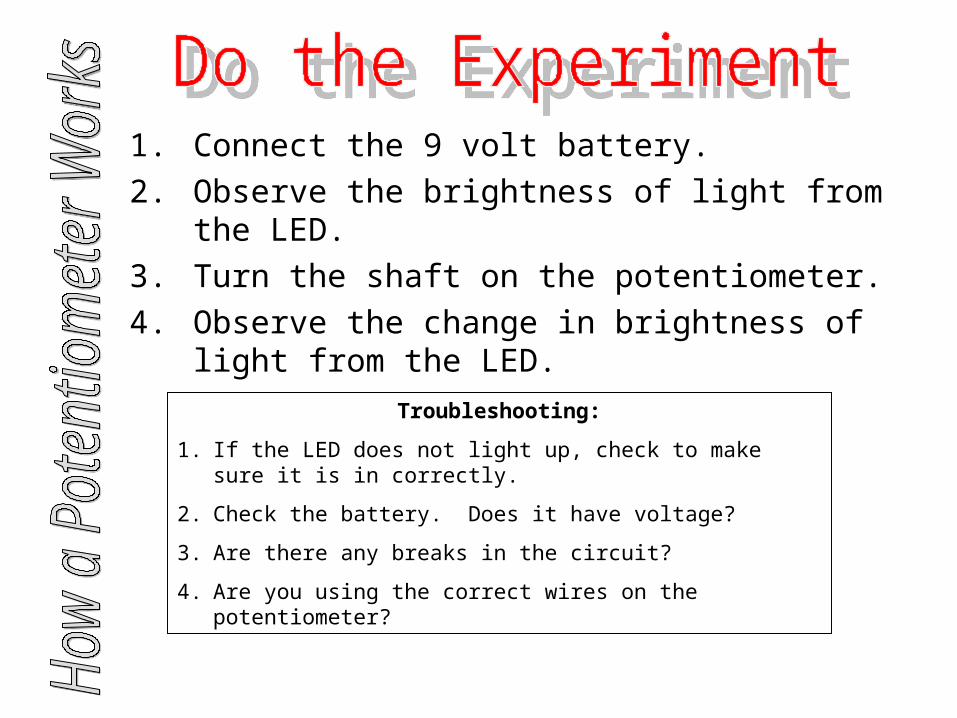
1. Connect the 9 volt battery.
2. Observe the brightness of light from the LED.
3. Turn the shaft on the potentiometer.
4. Observe the change in brightness of light from the LED.
Troubleshooting:
1. If the LED does not light up, check to make sure it is in correctly.
2. Check the battery. Does it have voltage?
3. Are there any breaks in the circuit?
4. Are you using the correct wires on the potentiometer?
By completing this experiment, you should have noticed the light from the LED grew dimmer as you
increased the value of the resistance in potentiometer.
In complete sentences, write what you learned about a potentiometer in a circuit.


