dollõs hair from satin ribbon - · pdf fileto create dollõs hair from satin...
TRANSCRIPT
Copyright © by Vanja Grundmann 2014 @ AmigurumiBB 1
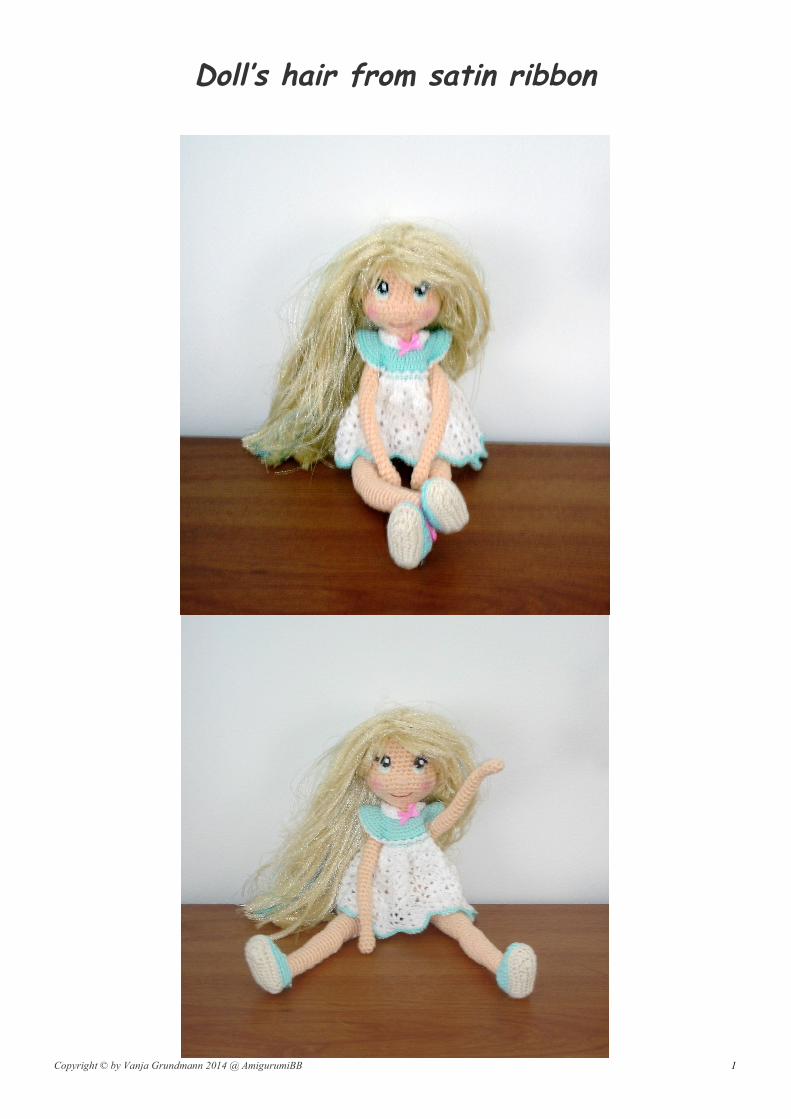
Doll’s hair from satin ribbon

Copyright © by Vanja Grundmann 2014 @ AmigurumiBB 2
To create doll’s hair from satin ribbon number one thing we need is satin ribbon
For tutorial purposes I have chosen basic hair color in beige and blue satin ribbon I will use to make
side pony tails (we’ll see how this will work :) )
In order to make satin ribbon look like hair, we have to tear it apart. We need to take the
horizontal threads out of the ribbon (so only vertical stay). There are two ways to do that. You can
pick horizontal threads one by one, using needle or any other sharp object (that is hard work and
might take you hours if you decide to make very long hair or working on bug doll’s head).
There is also a simple way and I really hope you will find the ribbons that have some kind of sewed,
worked edge on each side. When you cut your ribbon to desired length pieces (those you see above and those I have used for
this tutorial were about 15 cm long), on one of the corners try to find tiny, tiny thread that was
used to hold the side nice and even. To find this tiny thread you will need to pick on very edge of
each corner and once you see curly elastic thread ripping from the ribbon that is the one you need
to take out. Once you find it, pull it all the way. Once this one is gone, you will be able to take all
horizontal threads out in one single piece of thread.
Photo below is showing you this tiny thread I found and pulled a little

Copyright © by Vanja Grundmann 2014 @ AmigurumiBB 3
As said, once this tiny thread is pulled out, the rest of tearing the ribbon down is peace of cake.
Photo below shows how it goes
Below photo is showing two pieces of ribbon torn apart. Already looking as hair, right? !

Copyright © by Vanja Grundmann 2014 @ AmigurumiBB 4
Here are all 12 pieces of ribbon finished. Extensions are ready to be glued on the head.
Before we go to process of gluing and creating doll’s hair, let me tell you more about straight and
curly hair you can make.

Copyright © by Vanja Grundmann 2014 @ AmigurumiBB 5
To create curly looking hair (and all ribbons are straight) after you finish steps mentioned above
you will need to curl your extensions. For that you will need: Torn apart or ready to use straight ribbon extension, plastic straws or wooden sticks or anything
you find handy and can be cooked, alluminium foil.
Take one of you ready to use straight extensions and wrap it on something you have chosen to
imitate your hair curler. In my case I used plastic straws.
Copyright © by Vanja Grundmann 2014 @ AmigurumiBB 6
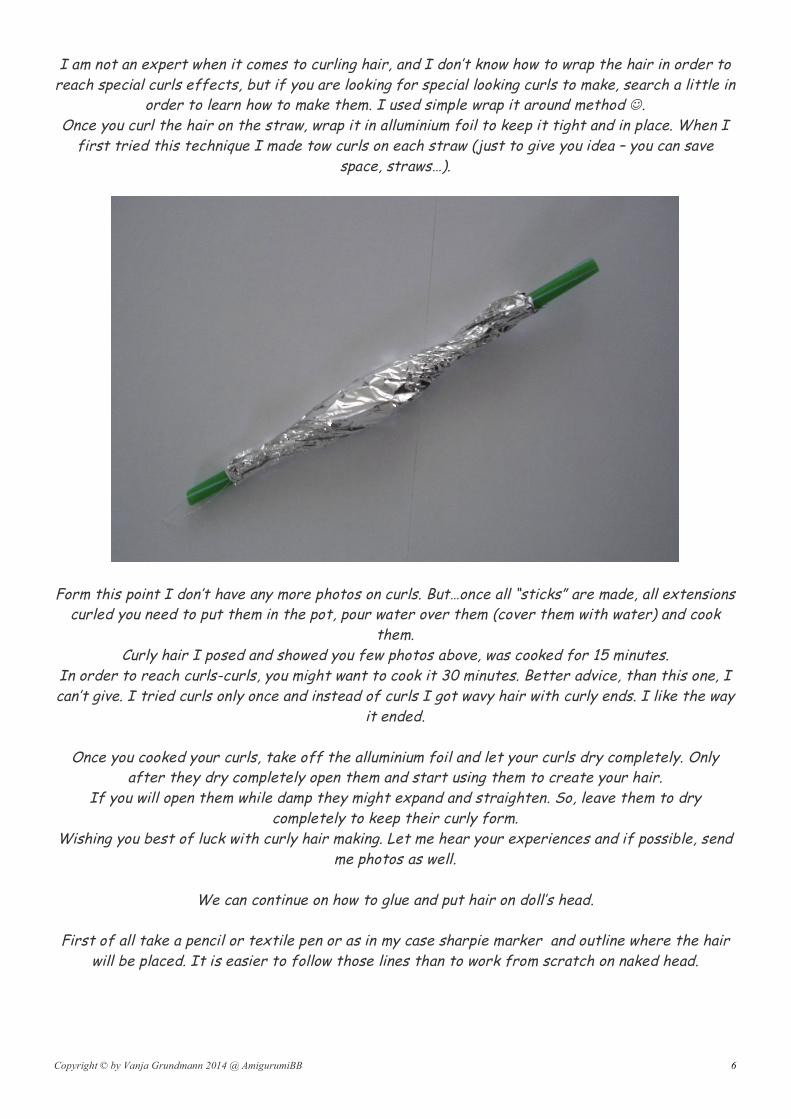
I am not an expert when it comes to curling hair, and I don’t know how to wrap the hair in order to
reach special curls effects, but if you are looking for special looking curls to make, search a little in order to learn how to make them. I used simple wrap it around method !.
Once you curl the hair on the straw, wrap it in alluminium foil to keep it tight and in place. When I
first tried this technique I made tow curls on each straw (just to give you idea – you can save
space, straws…).
Form this point I don’t have any more photos on curls. But…once all “sticks” are made, all extensions curled you need to put them in the pot, pour water over them (cover them with water) and cook
them.
Curly hair I posed and showed you few photos above, was cooked for 15 minutes.
In order to reach curls-curls, you might want to cook it 30 minutes. Better advice, than this one, I
can’t give. I tried curls only once and instead of curls I got wavy hair with curly ends. I like the way
it ended.
Once you cooked your curls, take off the alluminium foil and let your curls dry completely. Only after they dry completely open them and start using them to create your hair.
If you will open them while damp they might expand and straighten. So, leave them to dry
completely to keep their curly form.
Wishing you best of luck with curly hair making. Let me hear your experiences and if possible, send
me photos as well.
We can continue on how to glue and put hair on doll’s head.
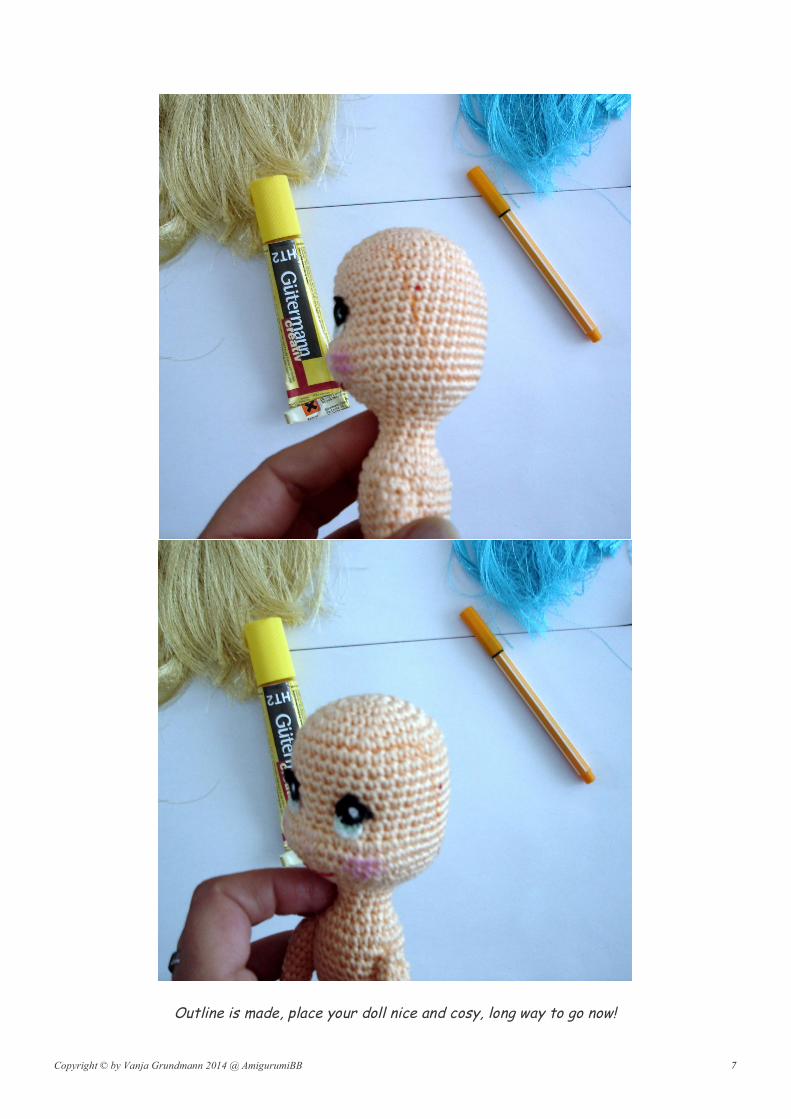
First of all take a pencil or textile pen or as in my case sharpie marker and outline where the hair
will be placed. It is easier to follow those lines than to work from scratch on naked head.
Copyright © by Vanja Grundmann 2014 @ AmigurumiBB 7
Outline is made, place your doll nice and cosy, long way to go now!

Copyright © by Vanja Grundmann 2014 @ AmigurumiBB 8
We will start gluing from the lower back of the head. I forgot to mention in the beginning. The ribbons I used here were 6 cm wide. Use ones you can find. They can be narrow or wide. If narrow
you will add one next to another, if too wide, you will cut to fit the size… In my case 6 cm one fit
perfectly the first bottom line. Take your extension(s) put the glue on whole part of the ribbon and
glue it on the head, spreading it nicely.
On the photo below, second row is added. As you can see it is glued right above the first extension.
Important is to cover the head so no stitches are poking out. If you will glue it close one on another
extension, you will get more hair on the end. Gluing it sparingly, just to cover the head, you will end
up with thin hair (what might be better when curly, curly hair is made)…. In any case, you can’t do anything wrong. Just try to relax and enjoy what you are doing. That is the most important! If you
are not enjoying then no matter what you won’t be satisfied with the result.
If you can see, on the second row I had to cut the ribbon and add it in three smaller pieces
(this photo shows first piece)

Copyright © by Vanja Grundmann 2014 @ AmigurumiBB 9
Second row other side:
Copyright © by Vanja Grundmann 2014 @ AmigurumiBB 10
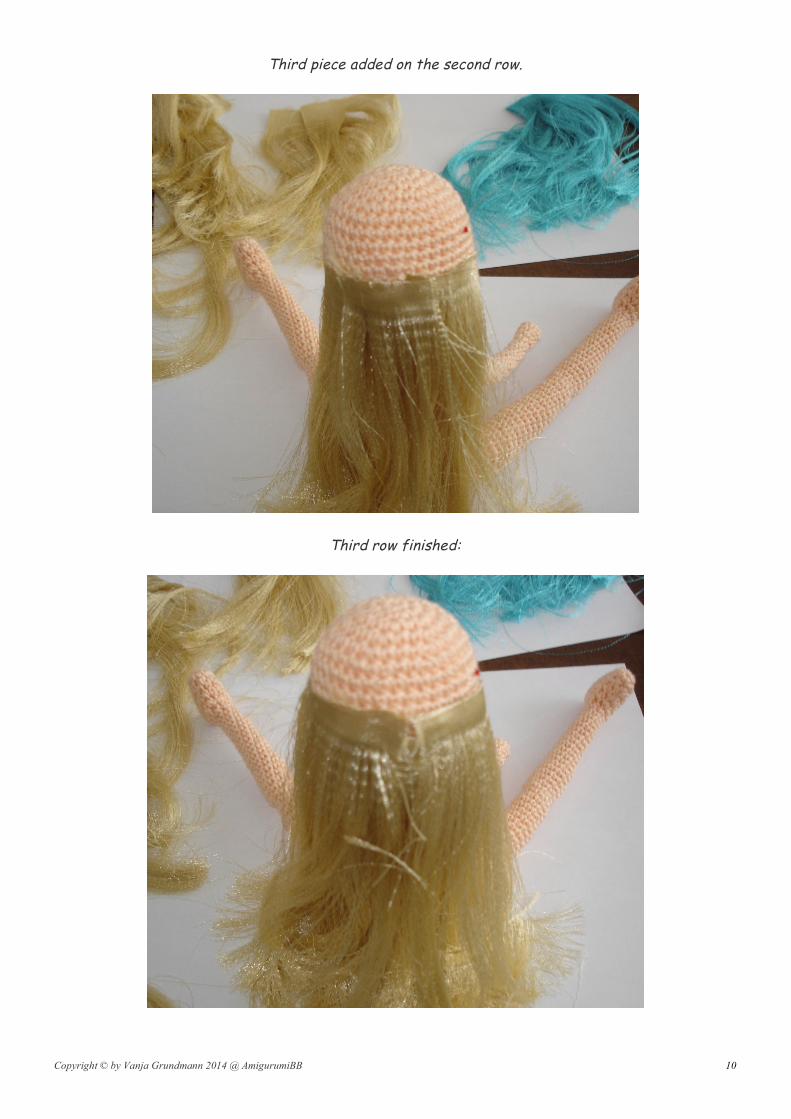
Third piece added on the second row.
Third row finished:

Copyright © by Vanja Grundmann 2014 @ AmigurumiBB 11
I added 1 more row (as second and third one). And then added row where on sided I glued blue
ribbon extensions and back covered with beige. Photo below is showing fringes added. Instructions on how to make fringes or combed hair (side or
middle) effect is following. Every row except fringes and combed hair (folded on side or in the
middle of the head) is done the same. You glue extension on the head; hair pointing down, ribbon
glued and up on the head.
Take apiece of ribbon extension and measure how long you need it to fit the top of the head (from ribbon to ribbon – those that are glued on the head).

Copyright © by Vanja Grundmann 2014 @ AmigurumiBB 12
Take the measured and trimmed piece of ribbon, glue it but this time glue it opposite from the way you glued by now. Look at the photo.
By now we glued hairs pointing downwards. This extension we glued with hair pointing completely
opposite direction. Why is that?
We have to create middle of the head. In order to reach that we have to create as the hair is
falling that way naturally, or as if it combed that way.
If we would have glued the way we did the rest, the glued piece of the ribbon end would be seen,
and it would look very ugly on the doll. So glue the extension opposite from the rest of them as
shown on the photo.
Now add glue to the top of the ribbon (one facing you). Look on the photo to get the picture if I am
expressing myself badly. The glue I added is darker color (keep looking the extension we just
added as it is the one we are still working on).
Copyright © by Vanja Grundmann 2014 @ AmigurumiBB 13
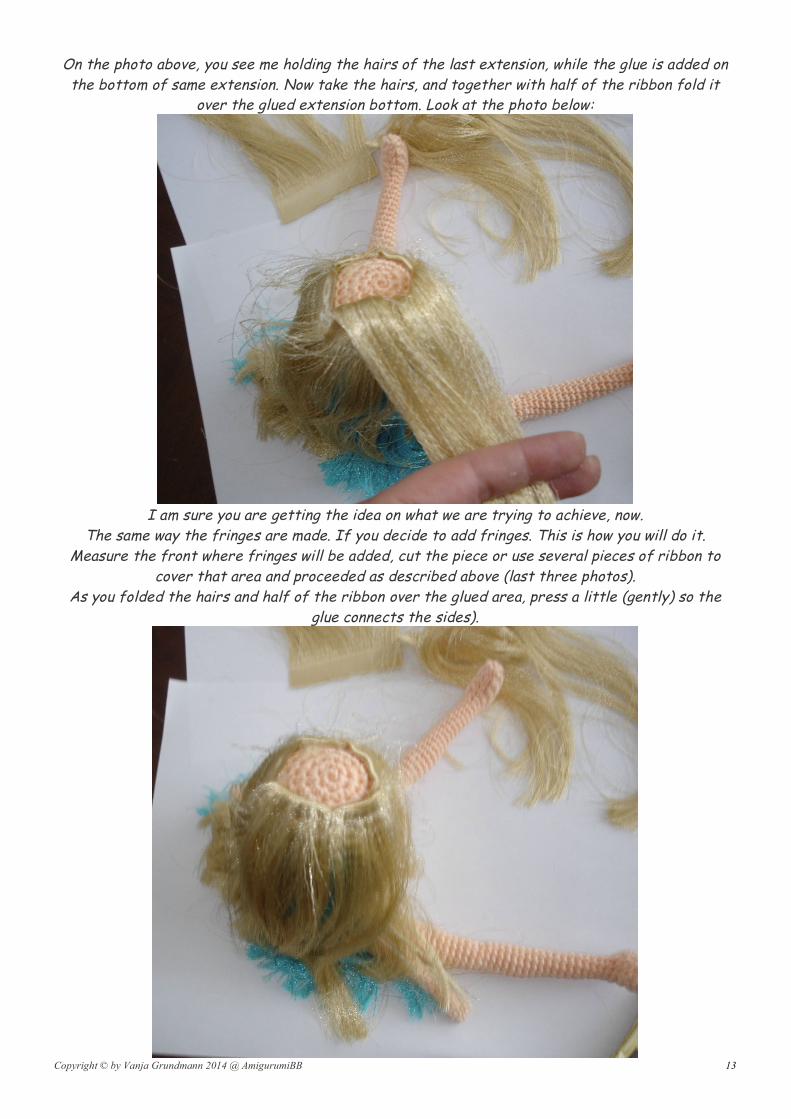
On the photo above, you see me holding the hairs of the last extension, while the glue is added on
the bottom of same extension. Now take the hairs, and together with half of the ribbon fold it over the glued extension bottom. Look at the photo below:
I am sure you are getting the idea on what we are trying to achieve, now.
The same way the fringes are made. If you decide to add fringes. This is how you will do it.
Measure the front where fringes will be added, cut the piece or use several pieces of ribbon to
cover that area and proceeded as described above (last three photos).
As you folded the hairs and half of the ribbon over the glued area, press a little (gently) so the
glue connects the sides).

Copyright © by Vanja Grundmann 2014 @ AmigurumiBB 14
Repeat the same for the other side of the head. Photo below shows both sides finished. Now only
middle is missing
Middle will be done same way as this, previous round.
Here is one side worked on:

Copyright © by Vanja Grundmann 2014 @ AmigurumiBB 15
One side finished:
Second side worked on and finished.

Copyright © by Vanja Grundmann 2014 @ AmigurumiBB 16
Our doll and her hair is done. Lets see what we have done so far:
Messy looking now! Little bit of hair cut is required. That I will do later. The same you will do with
your doll. I have to look at her all the way around. Glue needs to dry completely and then will decide
on her hair.
This hair you can’t comb. At least I am not familiar with what comb or brush it could be done.
Instead I shake her or pat her to reach desired hair look. One below was shaken !
Copyright © by Vanja Grundmann 2014 @ AmigurumiBB 17
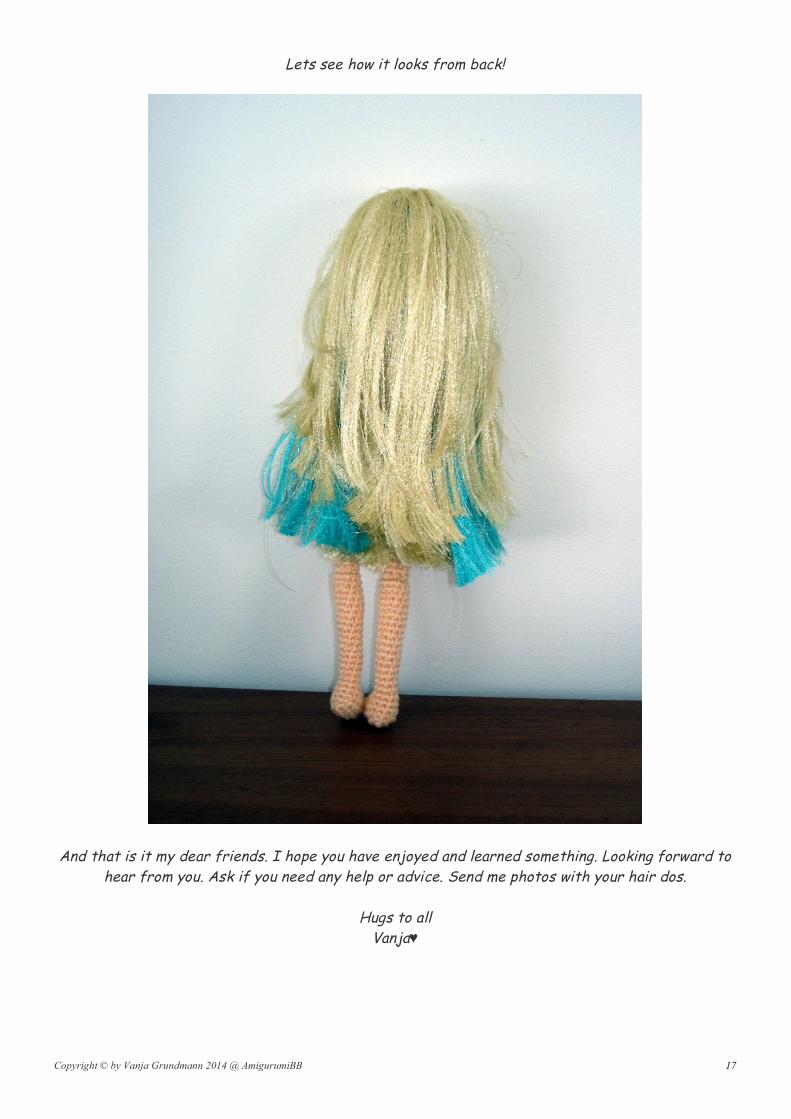
Lets see how it looks from back!
And that is it my dear friends. I hope you have enjoyed and learned something. Looking forward to
hear from you. Ask if you need any help or advice. Send me photos with your hair dos.
Hugs to all
Vanja!