digital photography - s. i. inc · pdf filedigital photography how to take and display ......
TRANSCRIPT
1
Digital Photography
How to Take and DisplayGreat Photographs
Course Objective
• As the name of the course implies:• Learn how to take great photographs.
– Composition.– People & nature.– Lighting & color.
• Learn how to display your pictures.• Understand the mechanics of imaging.• Unleash your creative potential.
Lesson 1An Introduction to Photography
• Introduce instructor.• Meet the students.• Approach, book, homework, & equipment.• Course outline.• Objectives for lesson 1.• From vision to final print, a demonstration.• This is photography.
2
Robert Schuldenfrei
• Retired programmer & company owner.• Life long serious amateur photographer.• Educator.
– Night school (mid 1960s).– University of Rhode Island.– S. I. Inc.
• Student & observer.
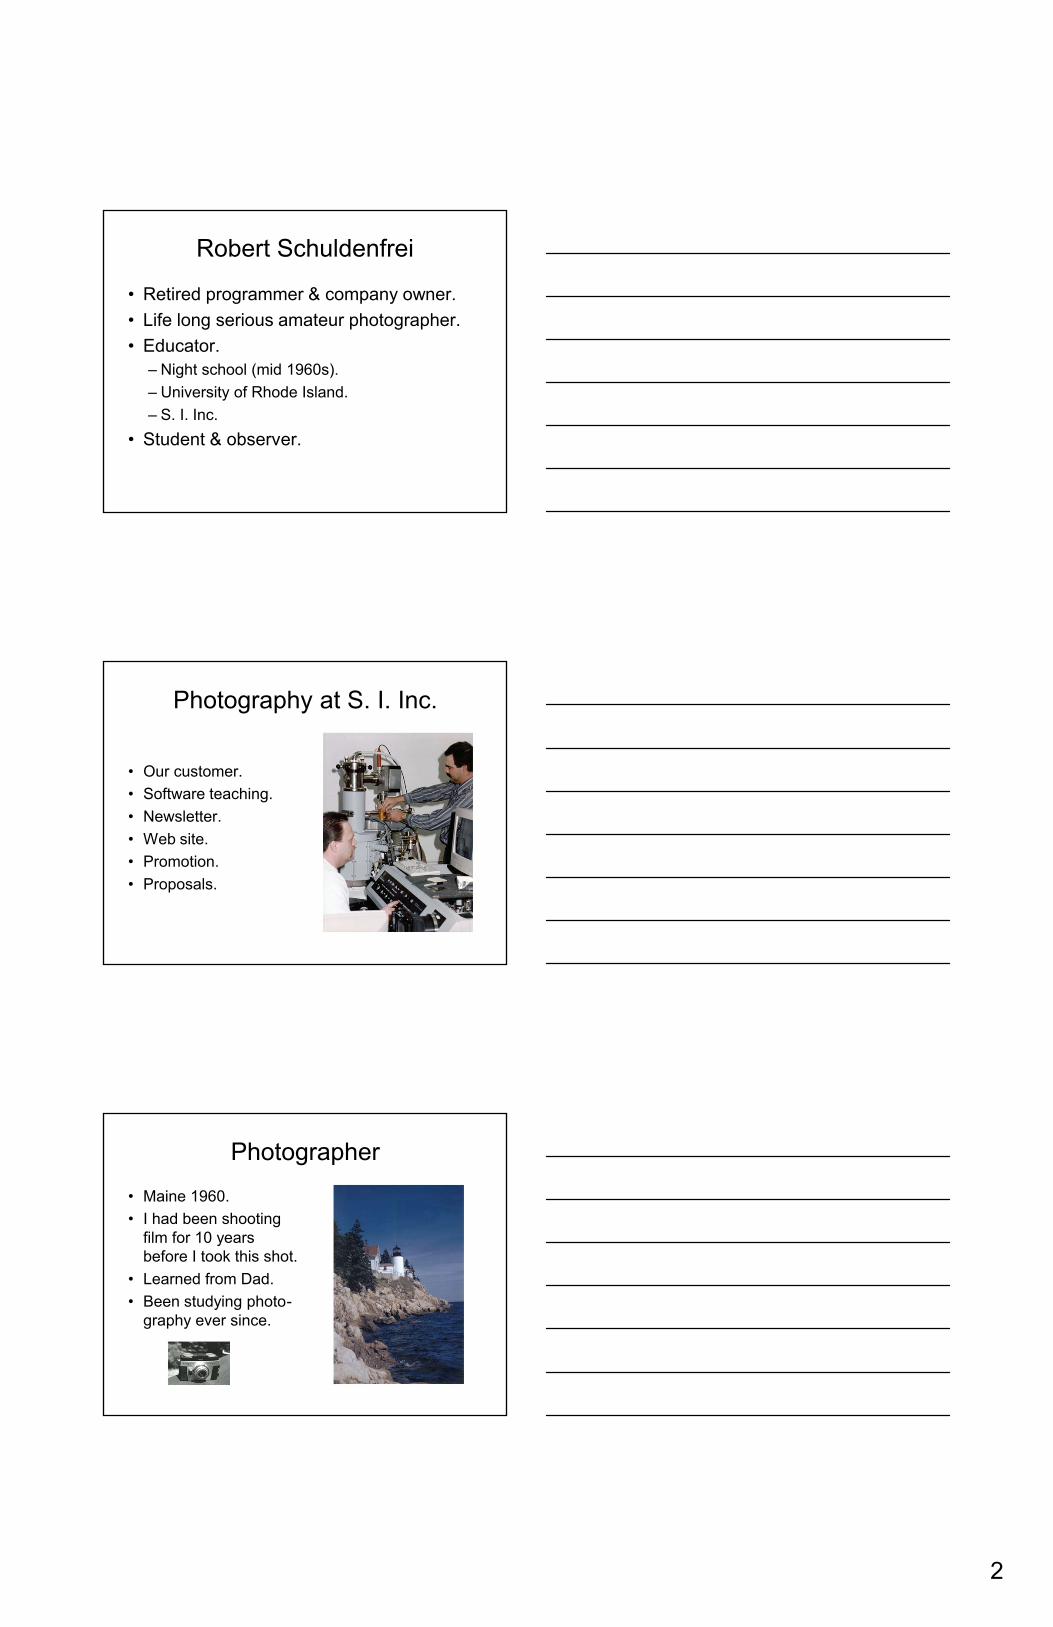
Photography at S. I. Inc.
• Our customer.• Software teaching.• Newsletter.• Web site.• Promotion.• Proposals.
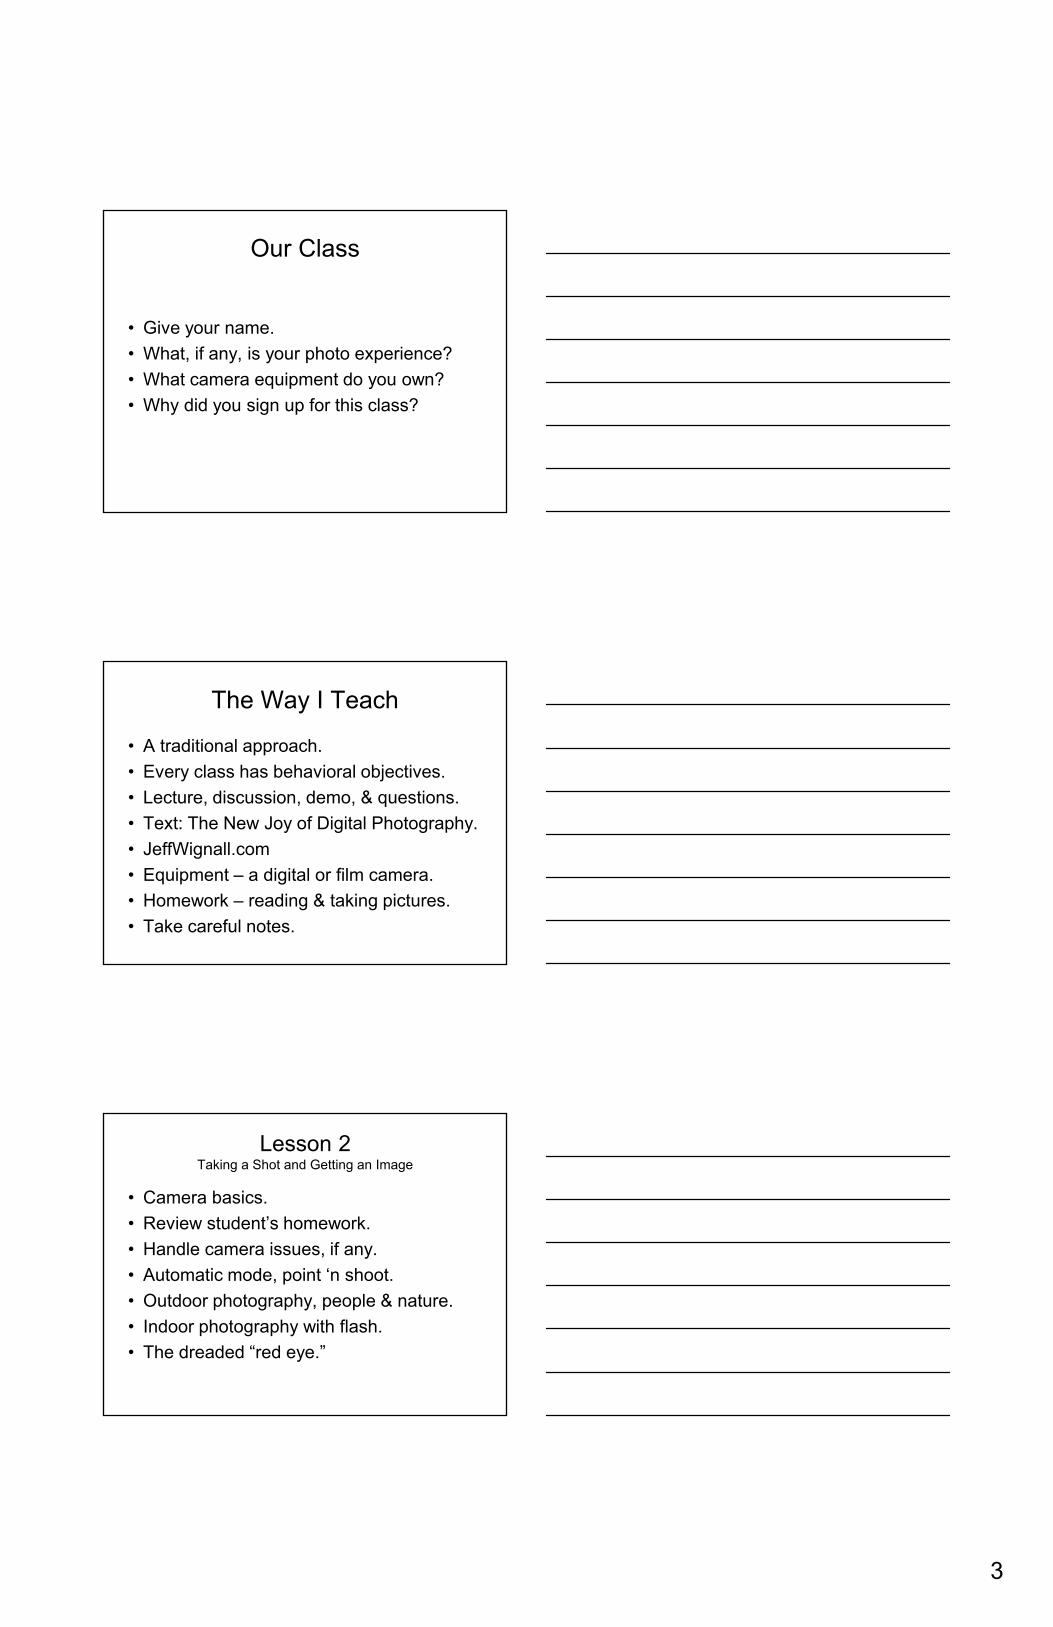
Photographer
• Maine 1960.• I had been shooting
film for 10 years before I took this shot.
• Learned from Dad.• Been studying photo-
graphy ever since.
3
Our Class
• Give your name.• What, if any, is your photo experience?• What camera equipment do you own?• Why did you sign up for this class?
The Way I Teach
• A traditional approach.• Every class has behavioral objectives.• Lecture, discussion, demo, & questions.• Text: The New Joy of Digital Photography.• JeffWignall.com• Equipment – a digital or film camera.• Homework – reading & taking pictures.• Take careful notes.
Lesson 2Taking a Shot and Getting an Image
• Camera basics.• Review student’s homework.• Handle camera issues, if any.• Automatic mode, point ‘n shoot.• Outdoor photography, people & nature.• Indoor photography with flash.• The dreaded “red eye.”
4
Lesson 3Photographing People
• Critique the homework.• How images are made (film & digital).• Family photography.• Brief history of photography.• The group.• Travel photography.
Lesson 4Design & Composition
• Discuss the people shots from last week.• Wignall’s elements of design.• The elusive “great shot.”• Beaches of South Florida.• Local animals.• Weather and your pictures.• Abstract photography.
Lesson 5Light and Color
• Review of homework images.• What you can and can not control.• Direction of light and time of day.• Indoor lighting, natural and artificial.• Color that is given to you.• Color that you can control.
5
Lesson 6Showing Your Pictures
• Critique the light & color images.• Printing with your computer.• Printing from an outside service.
– Simple drugstore.– Photographic labs.
• Variety of presentation.• Organizing your prints.• Doing a slide show on the computer.• Sending your images: e.mail & CDs.
Lesson 1 Objectives
• Know the instructor and other students.• Understand the approach, the text, and
the equipment used.• Learn what the course will cover.• See the total image making process.• Get an overview of photography.
Vision to Final PrintDemonstration

6
Taking the Shot
• Ansel Adams: “Making Images.”
• Turn the camera on.• Set to automatic.• Flash, if necessary.• Expose the “film.”• Take “film” to finisher
or download to your computer.
Downloading
• First time you must install the software.
• Connect the cable with the camera off.
• Turn the camera to playback and turn on.
• Start the software.• Transfer images.
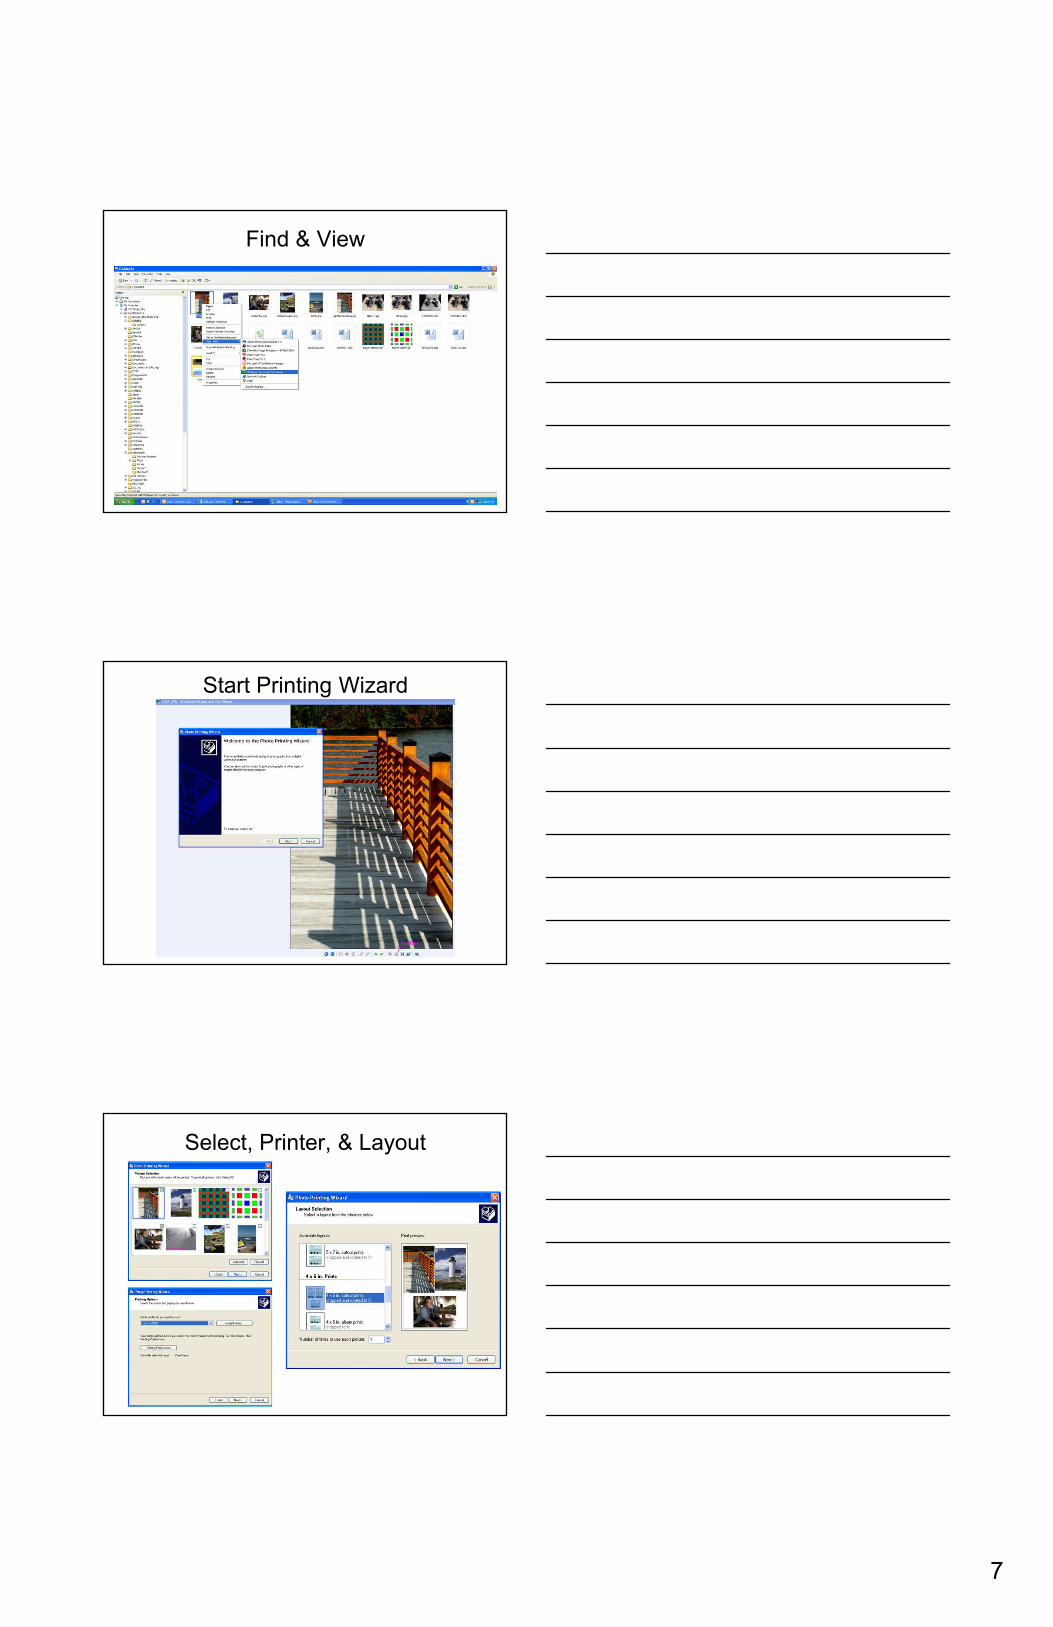
Printing
• Find the picture.• Windows Picture and
Fax Viewer.• Start Photo Printing
Wizard.• Select photos.• Printer preference if
desired.
• Choose layout.• Printer speed is a
consideration.• Hit “Next” and your
images will print.• To keep expenses low
I would do many small images.
7
Find & View
Start Printing Wizard
Select, Printer, & Layout
8
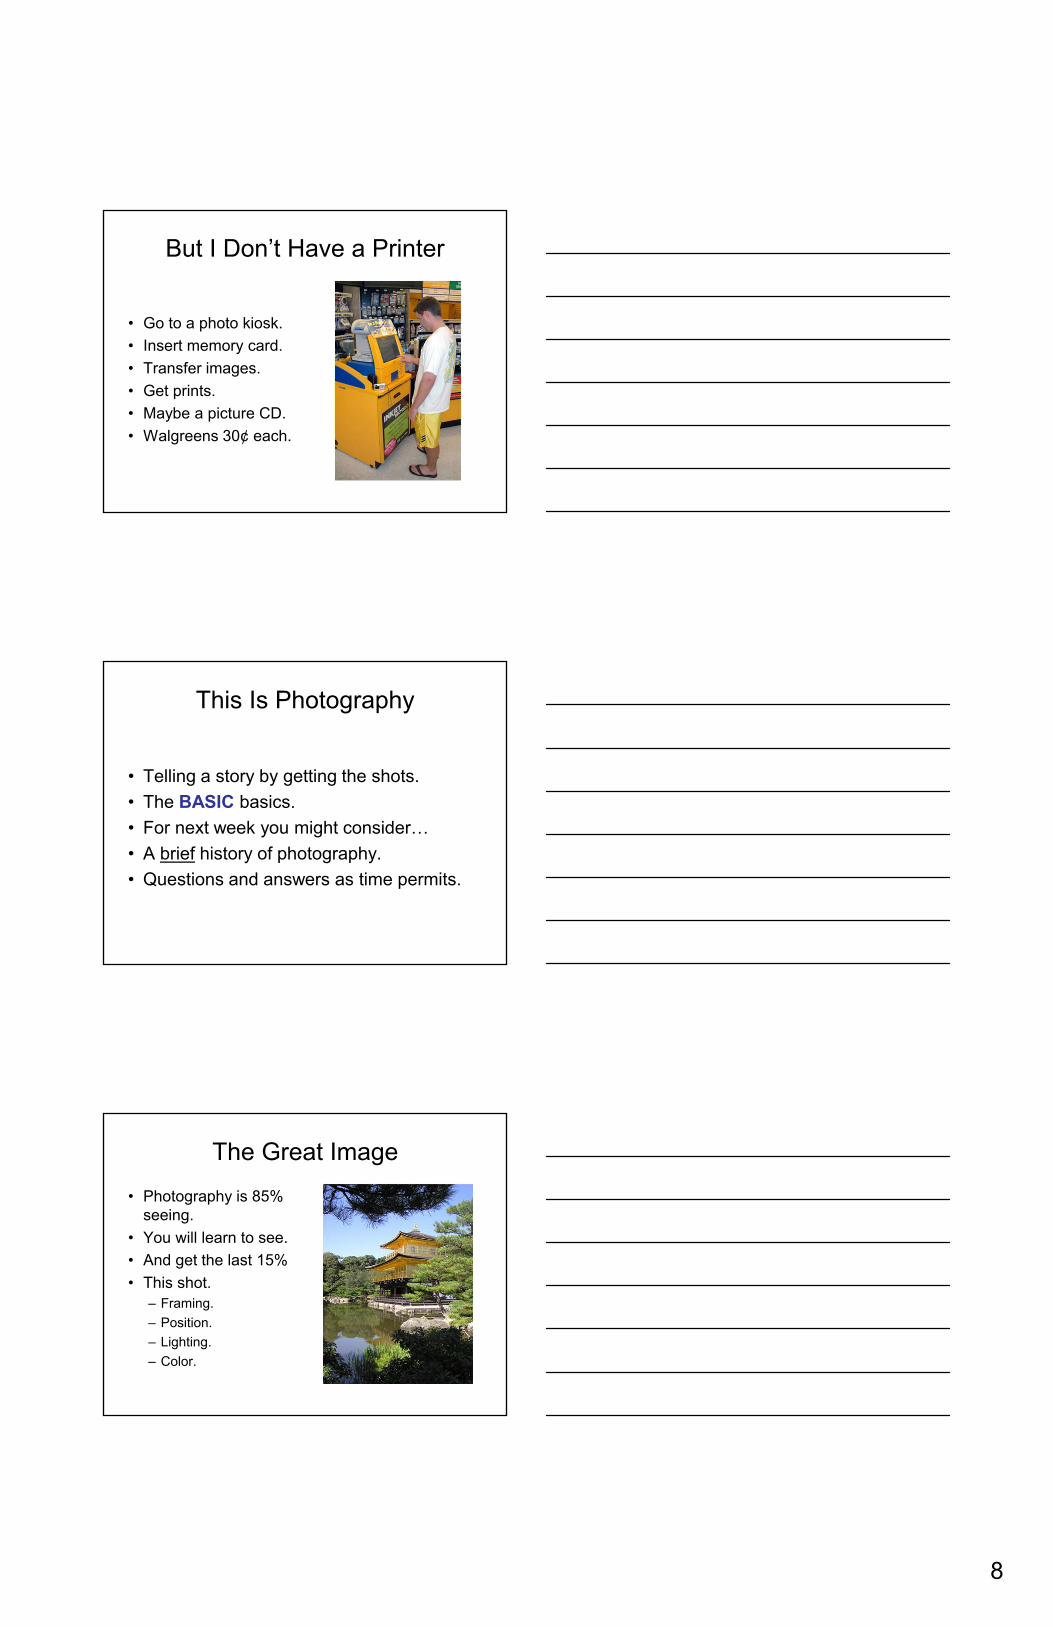
But I Don’t Have a Printer
• Go to a photo kiosk.• Insert memory card.• Transfer images.• Get prints.• Maybe a picture CD.• Walgreens 30¢ each.
This Is Photography
• Telling a story by getting the shots.• The BASIC basics.• For next week you might consider…• A brief history of photography.• Questions and answers as time permits.
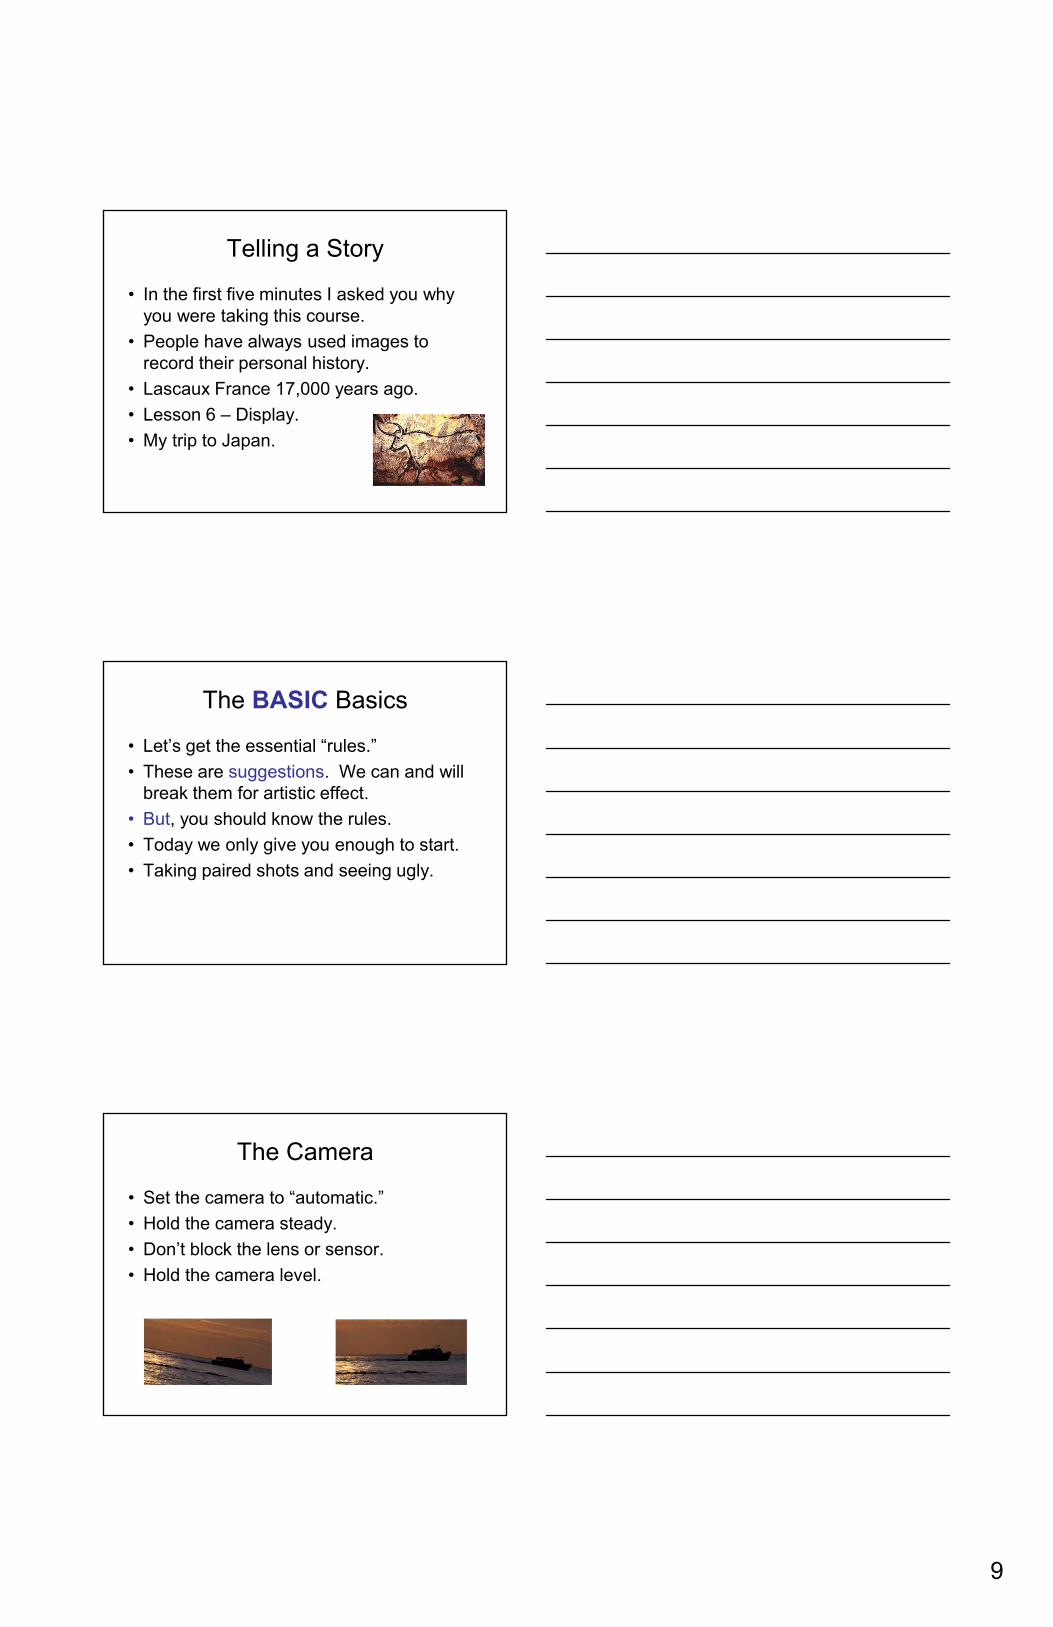
The Great Image
• Photography is 85% seeing.
• You will learn to see.• And get the last 15%• This shot.
– Framing.– Position.– Lighting.– Color.
9
Telling a Story
• In the first five minutes I asked you why you were taking this course.
• People have always used images to record their personal history.
• Lascaux France 17,000 years ago.• Lesson 6 – Display.• My trip to Japan.
The BASIC Basics
• Let’s get the essential “rules.”• These are suggestions. We can and will
break them for artistic effect.• But, you should know the rules.• Today we only give you enough to start.• Taking paired shots and seeing ugly.
The Camera
• Set the camera to “automatic.”• Hold the camera steady.• Don’t block the lens or sensor.• Hold the camera level.
10
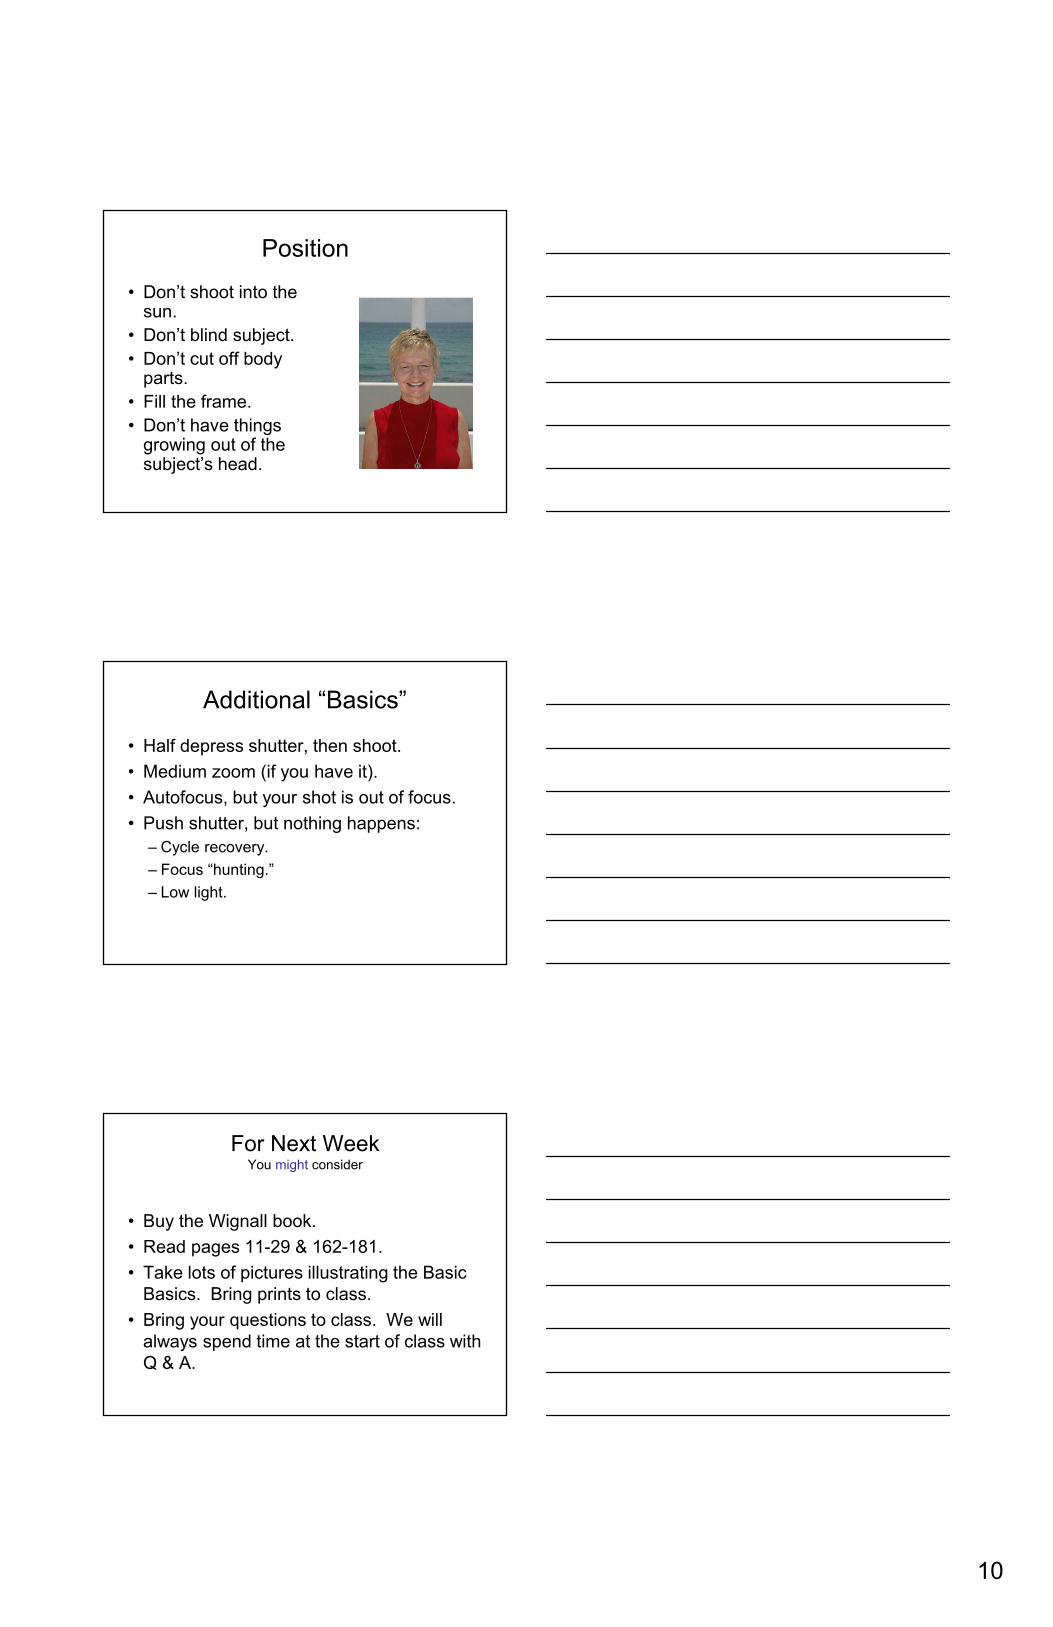
Position
• Don’t shoot into the sun.
• Don’t blind subject.• Don’t cut off body
parts.• Fill the frame.• Don’t have things
growing out of the subject’s head.
Additional “Basics”
• Half depress shutter, then shoot.• Medium zoom (if you have it).• Autofocus, but your shot is out of focus.• Push shutter, but nothing happens:
– Cycle recovery.– Focus “hunting.”– Low light.
For Next WeekYou might consider
• Buy the Wignall book.• Read pages 11-29 & 162-181.• Take lots of pictures illustrating the Basic
Basics. Bring prints to class.• Bring your questions to class. We will
always spend time at the start of class with Q & A.
11
Brief History of PhotographyGadgets, time, & peopleImage history in lesson 3
• 4th Century BC• 1820s & 30s Niepce, Daguerre, & Talbot.• 1840 – 1880 Wet plate photography.• 1878 Dry plate photograph is selling.• 1888 George Eastman and Kodak.• 1939 Kodachrome.• 1947 Instant photography. • 1990s – Present Digital photography.
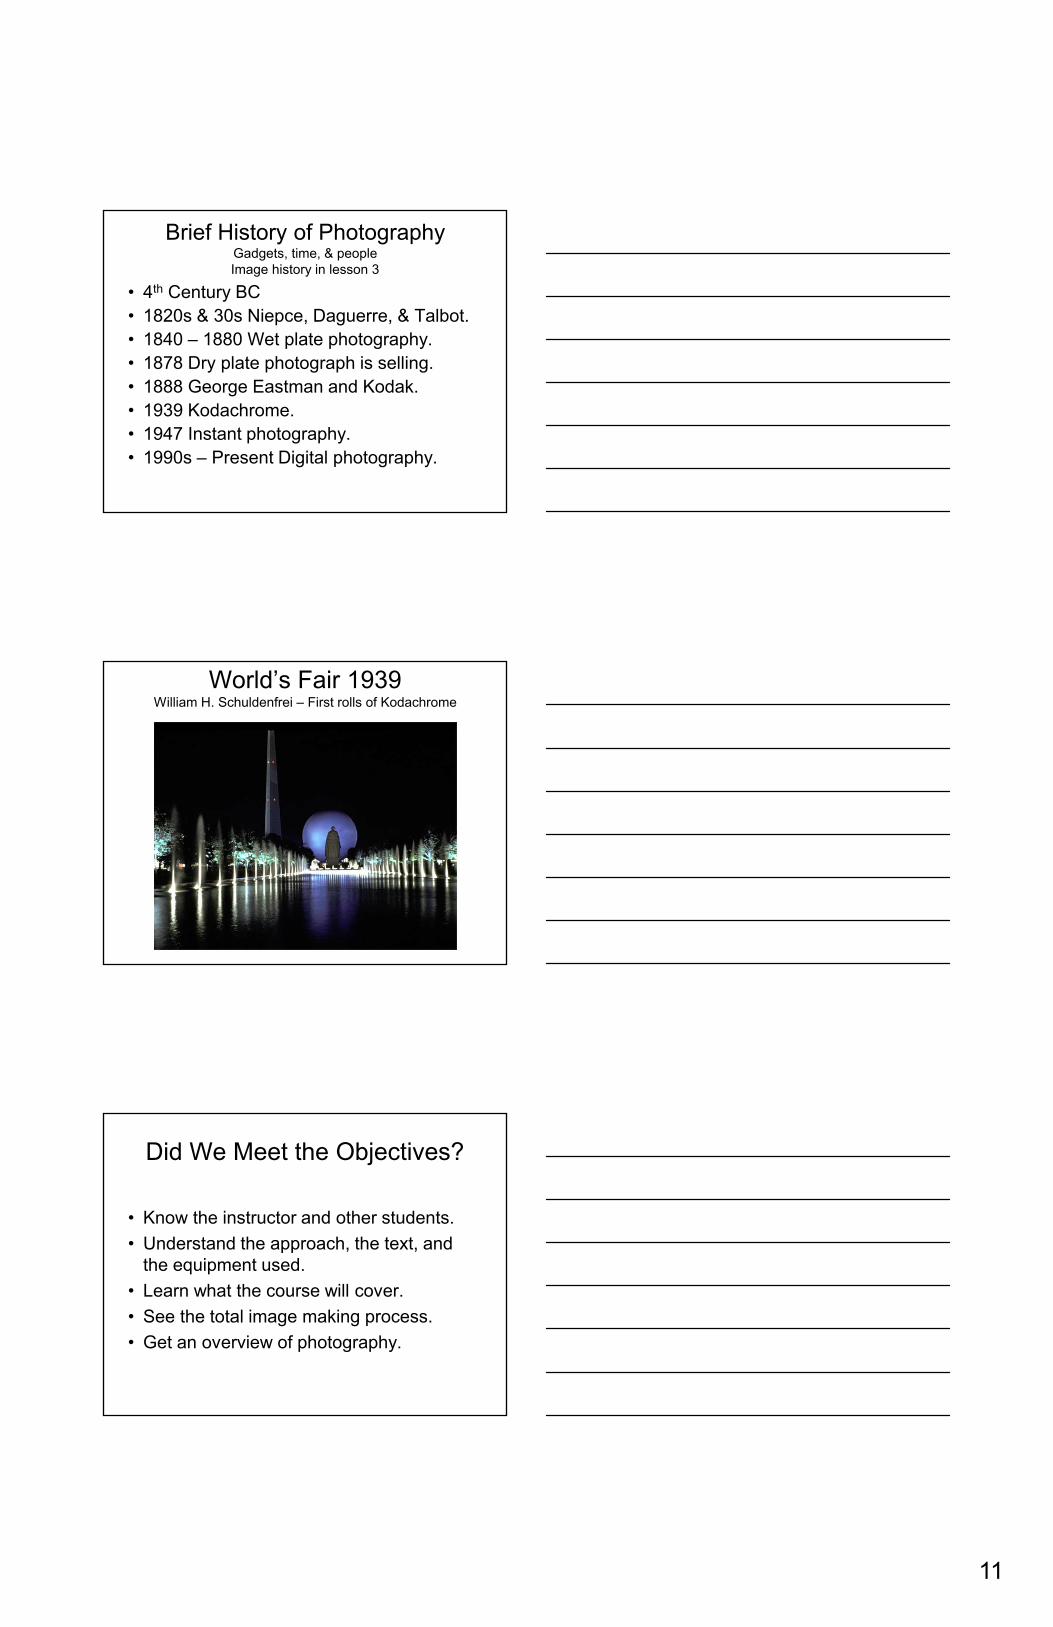
World’s Fair 1939William H. Schuldenfrei – First rolls of Kodachrome
Did We Meet the Objectives?
• Know the instructor and other students.• Understand the approach, the text, and
the equipment used.• Learn what the course will cover.• See the total image making process.• Get an overview of photography.

12
Buying a Camera
• We will only discuss this if someone needs a camera.
• In lesson 6 we will discuss your next camera.
• Q & A as time permits.