diaper bag tutorial with changing pad - fleece fun · instructions - diaper bag making the outside...
TRANSCRIPT
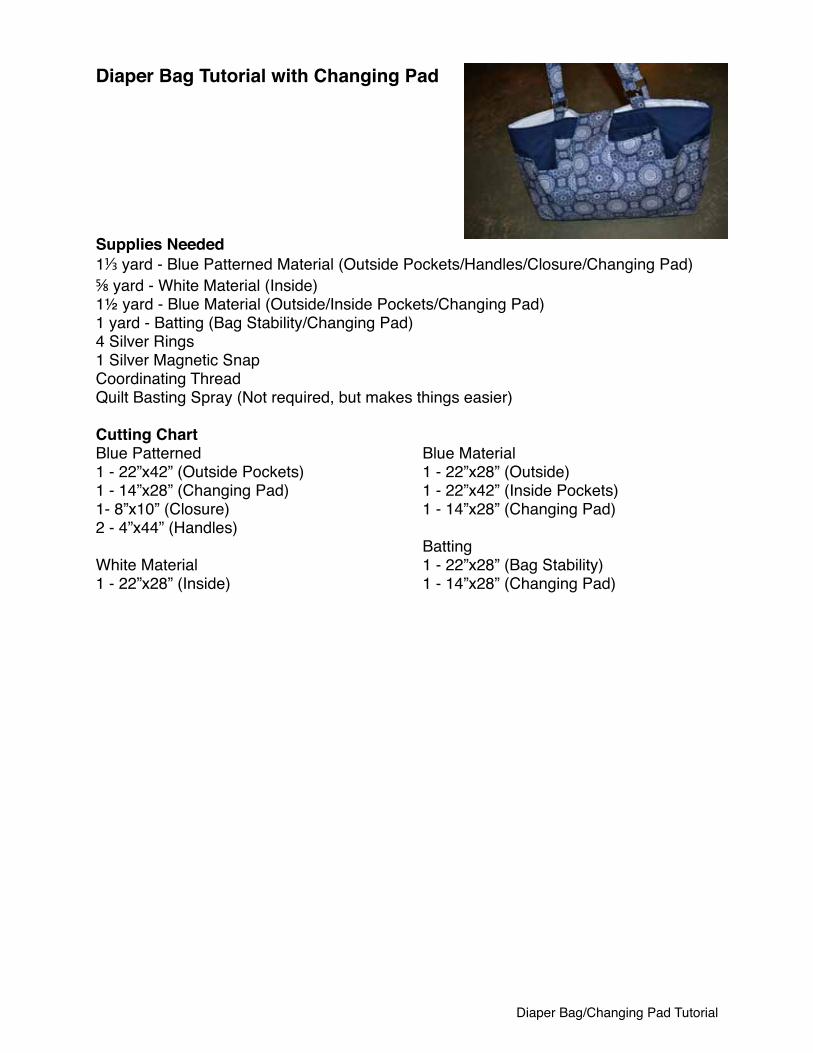
Diaper Bag Tutorial with Changing Pad
Supplies Needed1⅓ yard - Blue Patterned Material (Outside Pockets/Handles/Closure/Changing Pad)⅝ yard - White Material (Inside)1½ yard - Blue Material (Outside/Inside Pockets/Changing Pad)1 yard - Batting (Bag Stability/Changing Pad)4 Silver Rings1 Silver Magnetic SnapCoordinating ThreadQuilt Basting Spray (Not required, but makes things easier)
Cutting ChartBlue Patterned1 - 22”x42” (Outside Pockets)1 - 14”x28” (Changing Pad)1- 8”x10” (Closure)2 - 4”x44” (Handles)
White Material1 - 22”x28” (Inside)
Blue Material1 - 22”x28” (Outside)1 - 22”x42” (Inside Pockets)1 - 14”x28” (Changing Pad)
Batting1 - 22”x28” (Bag Stability)1 - 14”x28” (Changing Pad)
Diaper Bag/Changing Pad Tutorial
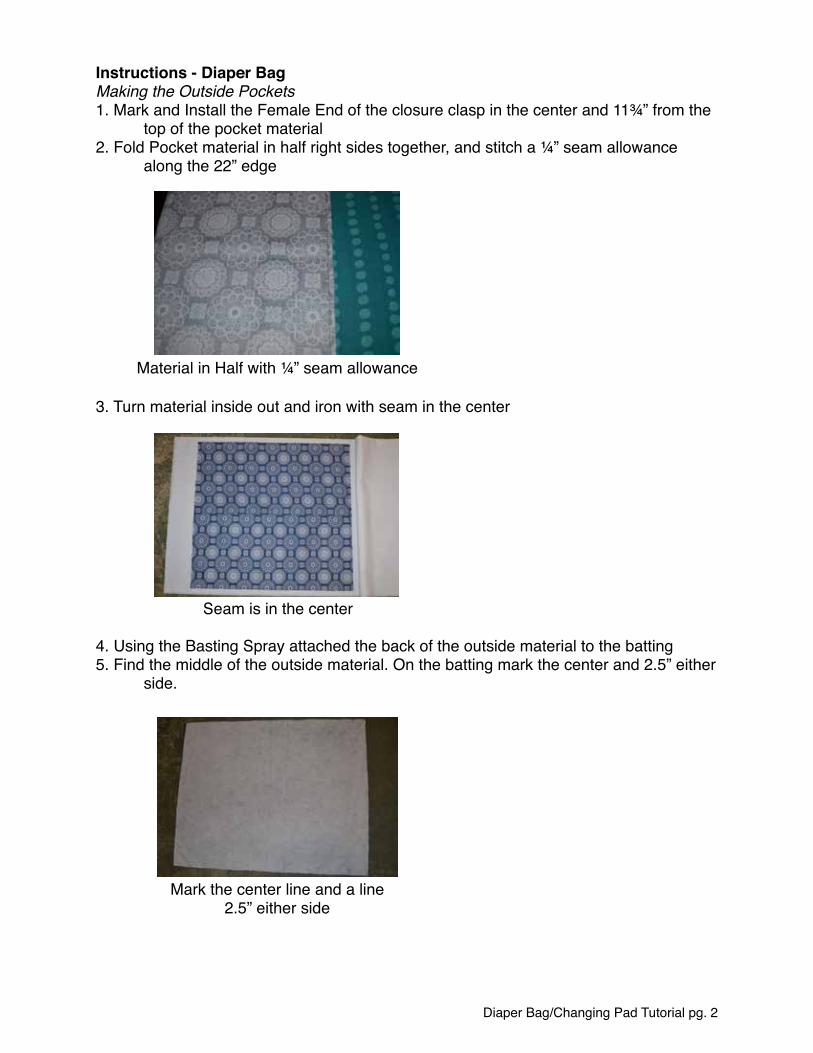
Instructions - Diaper BagMaking the Outside Pockets1. Mark and Install the Female End of the closure clasp in the center and 11¾” from the # top of the pocket material2. Fold Pocket material in half right sides together, and stitch a ¼” seam allowance # along the 22” edge
3. Turn material inside out and iron with seam in the center
4. Using the Basting Spray attached the back of the outside material to the batting5. Find the middle of the outside material. On the batting mark the center and 2.5” either # side.
Diaper Bag/Changing Pad Tutorial pg. 2
Material in Half with ¼” seam allowance
Seam is in the center
Mark the center line and a line 2.5” either side
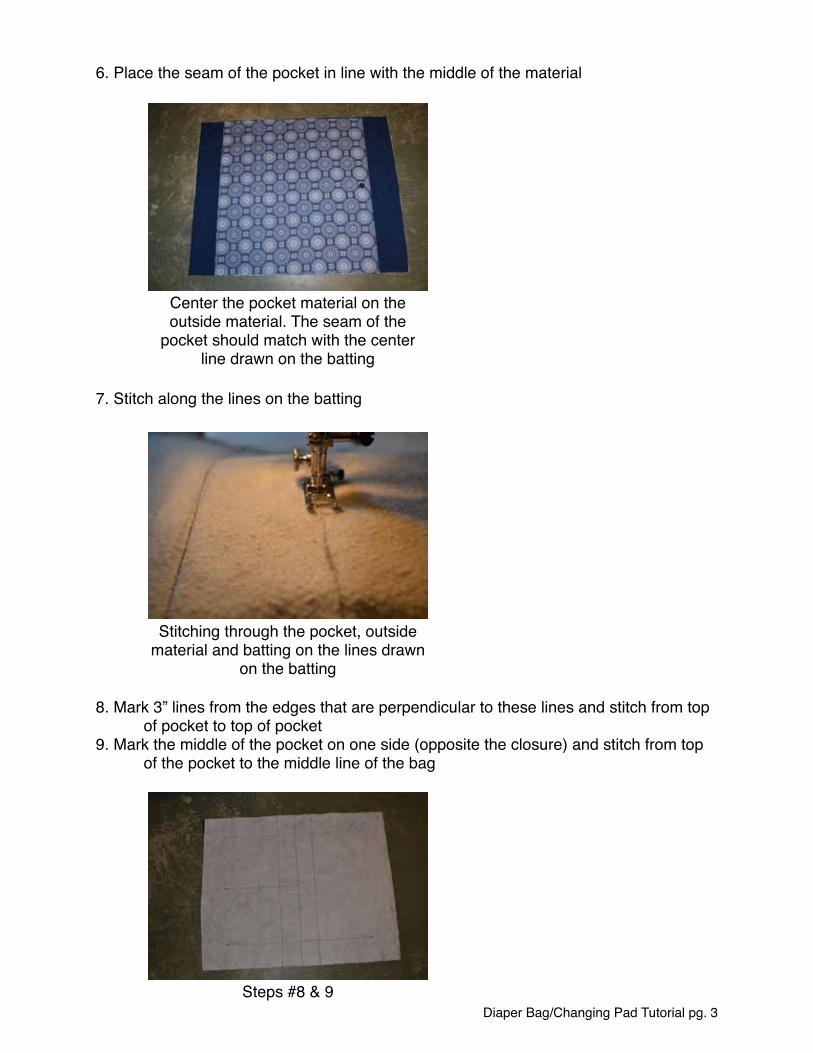
6. Place the seam of the pocket in line with the middle of the material
7. Stitch along the lines on the batting
8. Mark 3” lines from the edges that are perpendicular to these lines and stitch from top # of pocket to top of pocket9. Mark the middle of the pocket on one side (opposite the closure) and stitch from top # of the pocket to the middle line of the bag
Diaper Bag/Changing Pad Tutorial pg. 3
Center the pocket material on the outside material. The seam of the
pocket should match with the center line drawn on the batting
Stitching through the pocket, outside material and batting on the lines drawn
on the batting
Steps #8 & 9
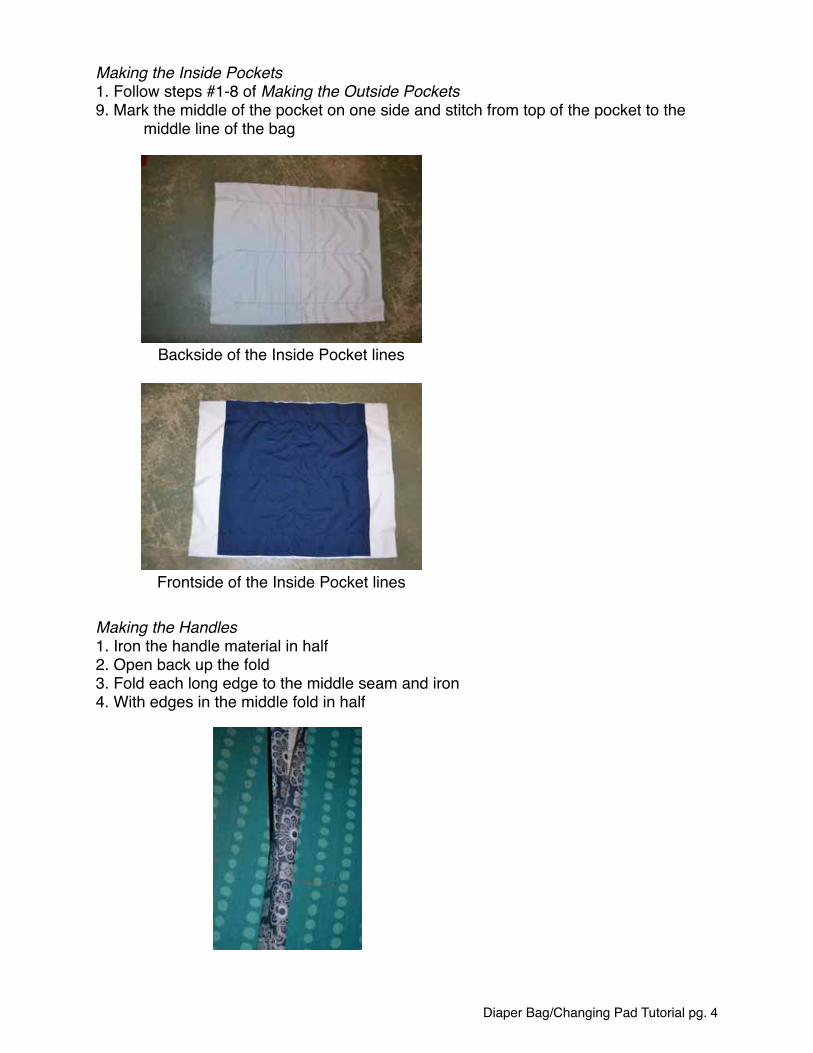
Making the Inside Pockets1. Follow steps #1-8 of Making the Outside Pockets9. Mark the middle of the pocket on one side and stitch from top of the pocket to the # middle line of the bag
Making the Handles1. Iron the handle material in half2. Open back up the fold3. Fold each long edge to the middle seam and iron4. With edges in the middle fold in half
Diaper Bag/Changing Pad Tutorial pg. 4
Backside of the Inside Pocket lines
Frontside of the Inside Pocket lines
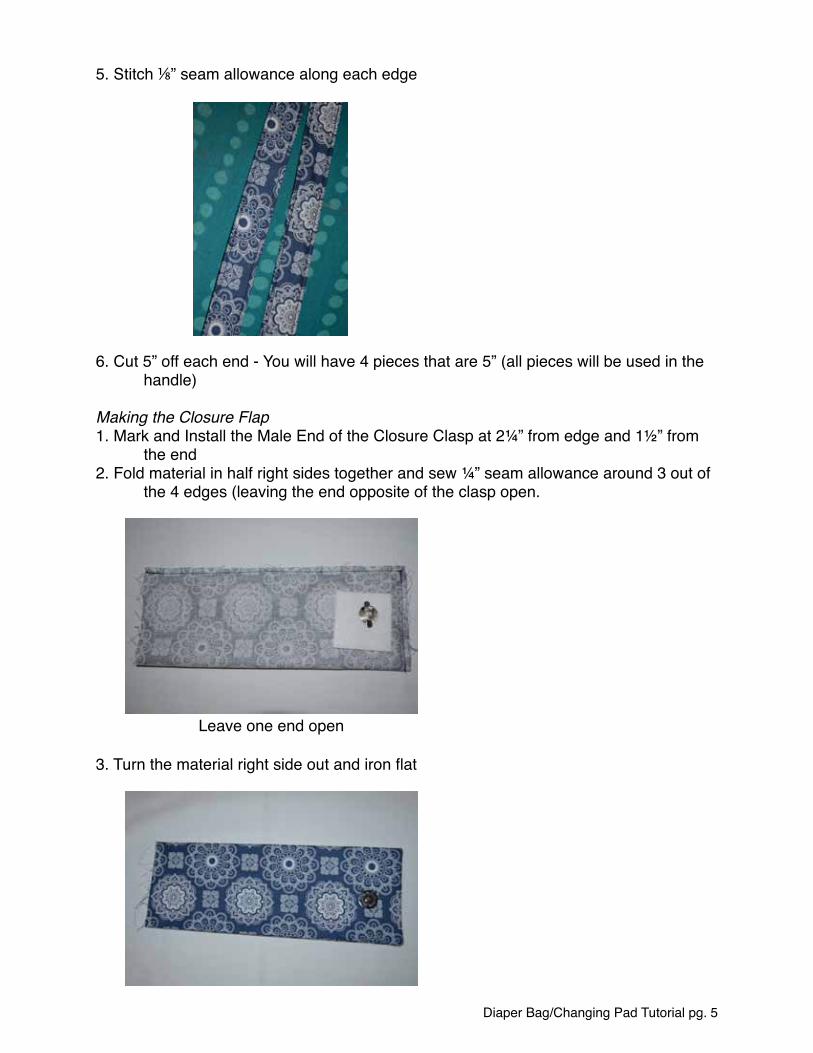
5. Stitch ⅛” seam allowance along each edge
6. Cut 5” off each end - You will have 4 pieces that are 5” (all pieces will be used in the # handle)
Making the Closure Flap1. Mark and Install the Male End of the Closure Clasp at 2¼” from edge and 1½” from # the end2. Fold material in half right sides together and sew ¼” seam allowance around 3 out of # the 4 edges (leaving the end opposite of the clasp open.
3. Turn the material right side out and iron ßat
Diaper Bag/Changing Pad Tutorial pg. 5
Leave one end open
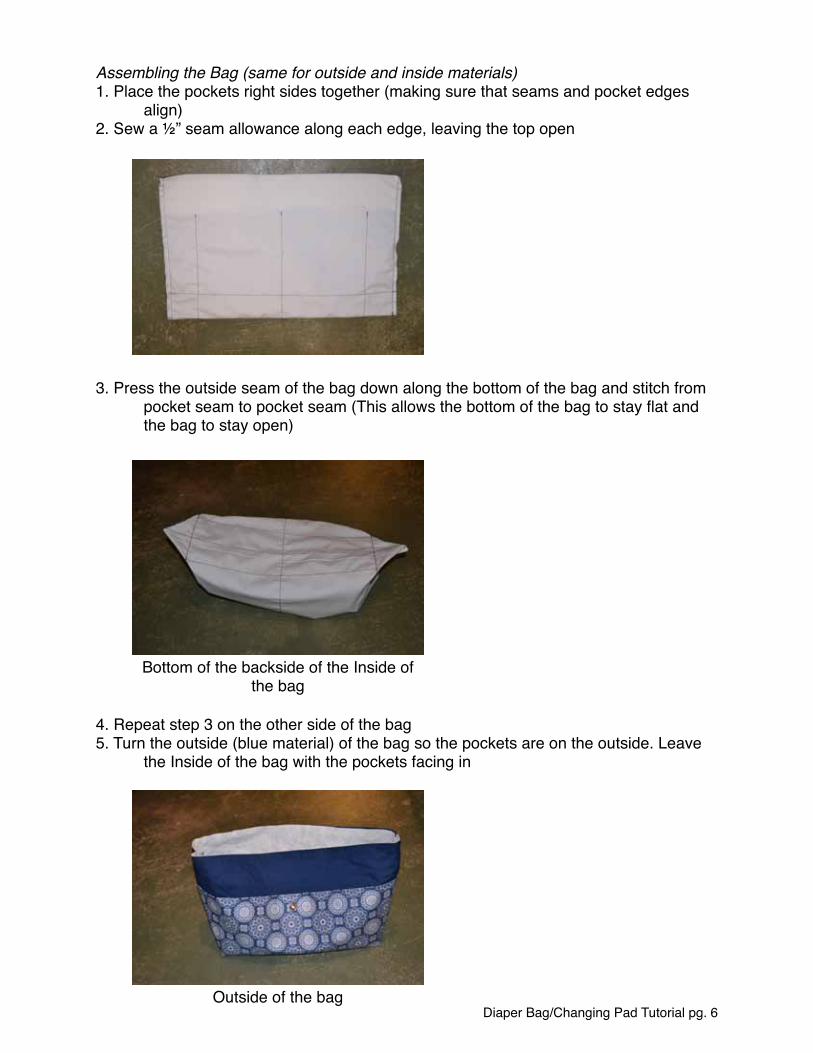
Assembling the Bag (same for outside and inside materials)1. Place the pockets right sides together (making sure that seams and pocket edges # align)2. Sew a ½” seam allowance along each edge, leaving the top open
3. Press the outside seam of the bag down along the bottom of the bag and stitch from # pocket seam to pocket seam (This allows the bottom of the bag to stay ßat and # the bag to stay open)
4. Repeat step 3 on the other side of the bag5. Turn the outside (blue material) of the bag so the pockets are on the outside. Leave # the Inside of the bag with the pockets facing in
Diaper Bag/Changing Pad Tutorial pg. 6
Bottom of the backside of the Inside of the bag
Outside of the bag
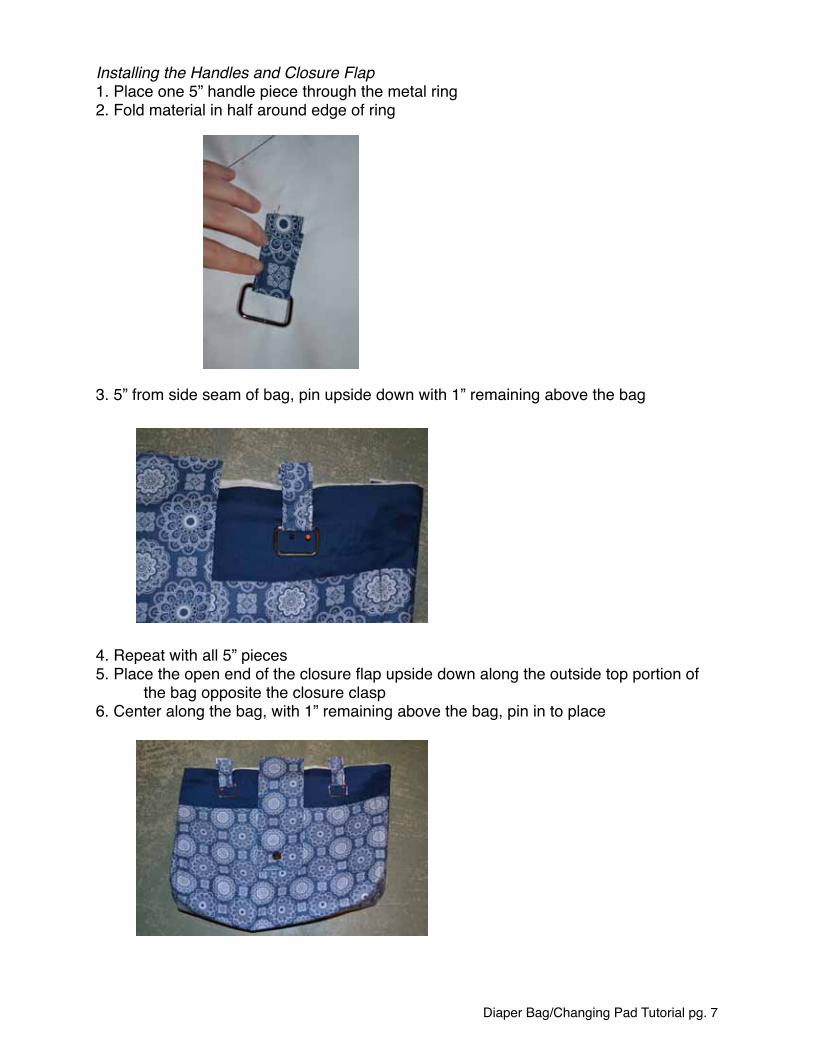
Installing the Handles and Closure Flap1. Place one 5” handle piece through the metal ring2. Fold material in half around edge of ring
3. 5” from side seam of bag, pin upside down with 1” remaining above the bag
4. Repeat with all 5” pieces5. Place the open end of the closure ßap upside down along the outside top portion of # the bag opposite the closure clasp6. Center along the bag, with 1” remaining above the bag, pin in to place
Diaper Bag/Changing Pad Tutorial pg. 7
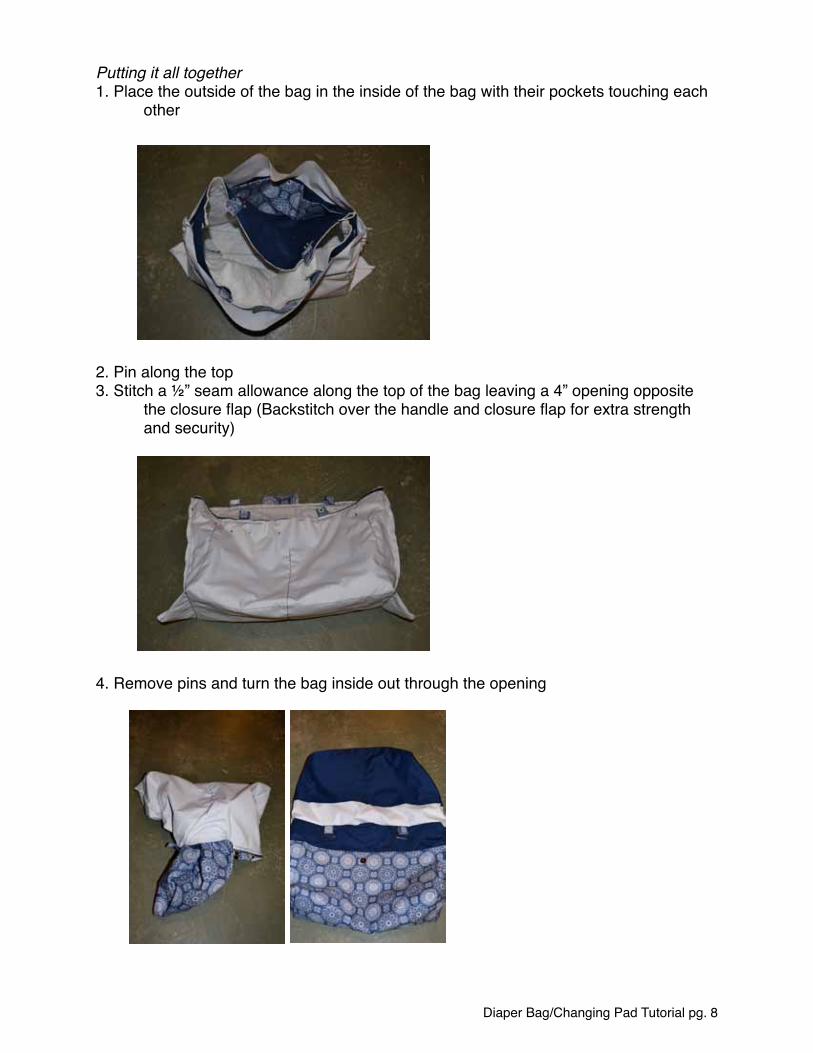
Putting it all together1. Place the outside of the bag in the inside of the bag with their pockets touching each # other
2. Pin along the top3. Stitch a ½” seam allowance along the top of the bag leaving a 4” opening opposite # the closure ßap (Backstitch over the handle and closure ßap for extra strength # and security)
4. Remove pins and turn the bag inside out through the opening
Diaper Bag/Changing Pad Tutorial pg. 8
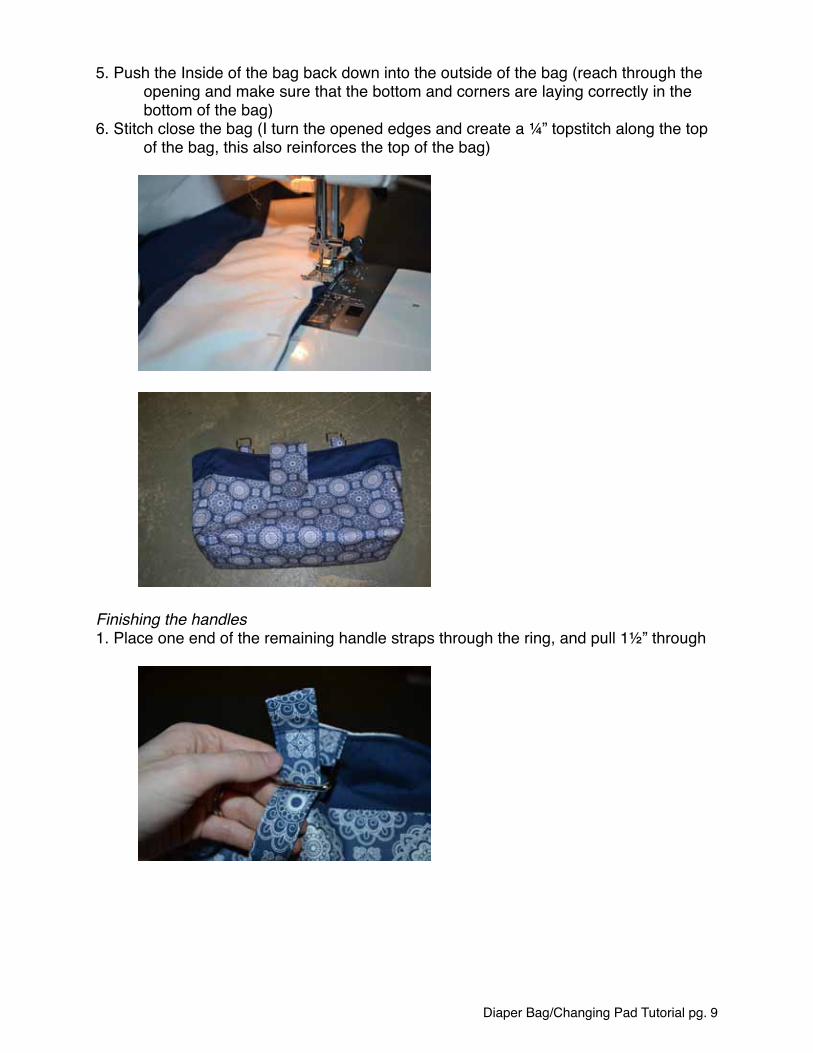
5. Push the Inside of the bag back down into the outside of the bag (reach through the # opening and make sure that the bottom and corners are laying correctly in the # bottom of the bag)6. Stitch close the bag (I turn the opened edges and create a ¼” topstitch along the top # of the bag, this also reinforces the top of the bag)
Finishing the handles1. Place one end of the remaining handle straps through the ring, and pull 1½” through
Diaper Bag/Changing Pad Tutorial pg. 9
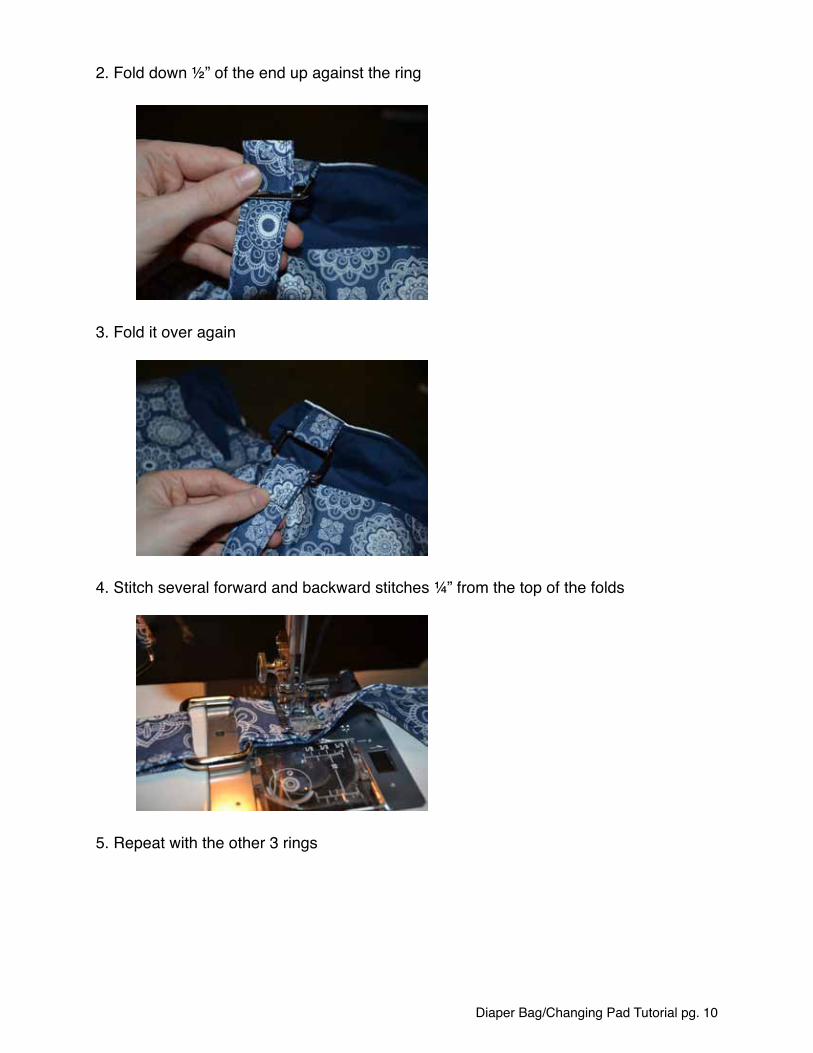
2. Fold down ½” of the end up against the ring
3. Fold it over again
4. Stitch several forward and backward stitches ¼” from the top of the folds
5. Repeat with the other 3 rings
Diaper Bag/Changing Pad Tutorial pg. 10
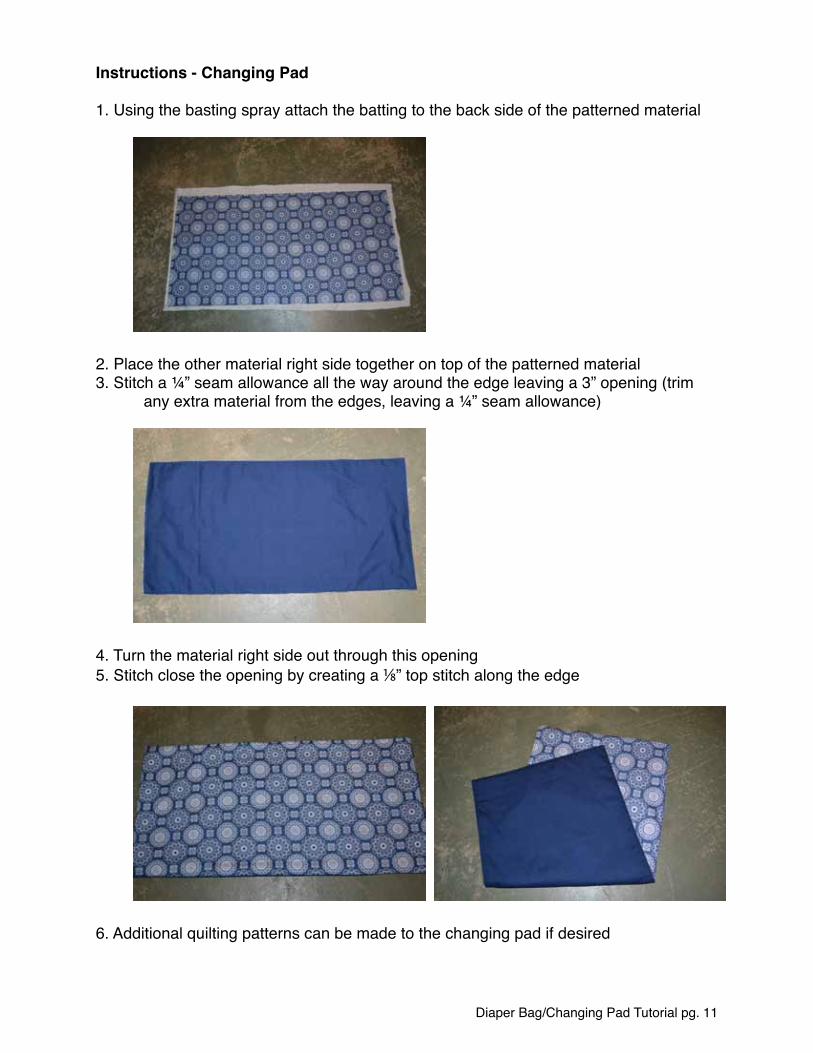
Instructions - Changing Pad
1. Using the basting spray attach the batting to the back side of the patterned material
2. Place the other material right side together on top of the patterned material3. Stitch a ¼” seam allowance all the way around the edge leaving a 3” opening (trim # any extra material from the edges, leaving a ¼” seam allowance)
4. Turn the material right side out through this opening5. Stitch close the opening by creating a ⅛” top stitch along the edge
6. Additional quilting patterns can be made to the changing pad if desired
Diaper Bag/Changing Pad Tutorial pg. 11

FINISHED PRODUCT
Diaper Bag/Changing Pad Tutorial pg. 12
You Can visit Jill’s Etsy shop here - http://www.etsy.com/shop/creativeseamsJill Provided this tutorial as a guest post on Fleece Fun - http://www.fleecefun.com/This tutorial is for personal use only.