deploy ghost in a docker container through elasticbox in 6 easy steps
DESCRIPTION
Tutorial - Deploy the Ghost blogging platform in a Docker Container on any cloud using ElasticBox. To demonstrate this integration, let’s launch an instance of Ghost, a simple but powerful publishing platform, in a Docker Container on the Cloud Provider of your choice. By the end, you will have built a Ghost / Docker Box in ElasticBox that can be deployed, versioned and shared. For step by step instructions, click through the Slideshare.TRANSCRIPT
Deploying Ghost in a Docker Container through ElasticBox in 6
Easy StepsBy Cesar Luis Alvargonzalez

1) Setting up Dockerfile: As a first step, we need to get the Dockerfile required to deploy the Ghost service in a Docker Container. You can find the required commands and information on the Ghost Repository on Docker Hub.Download the trusted Build Bundle from the Docker Ghost Repository, you’ll be needing that file in just a few minutes.
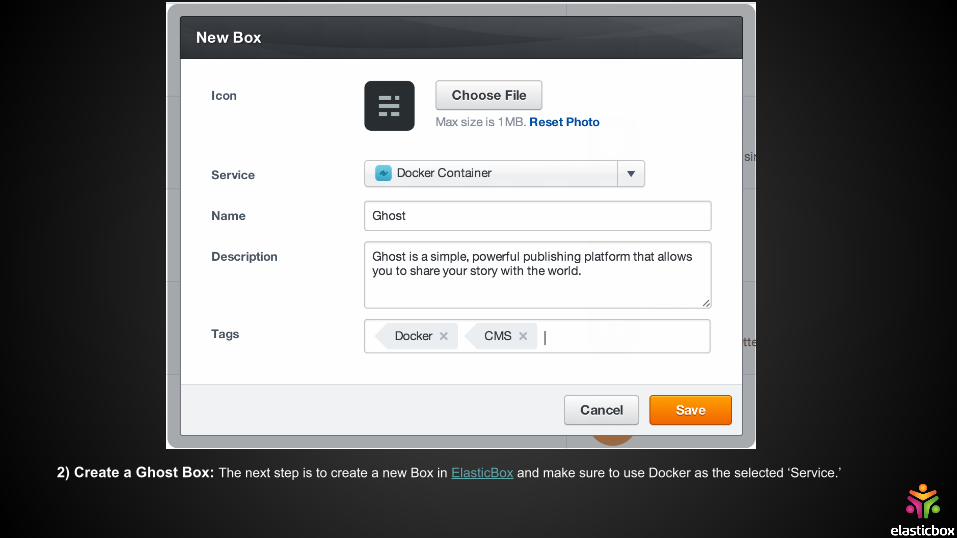
2) Create a Ghost Box: The next step is to create a new Box in ElasticBox and make sure to use Docker as the selected ‘Service.’
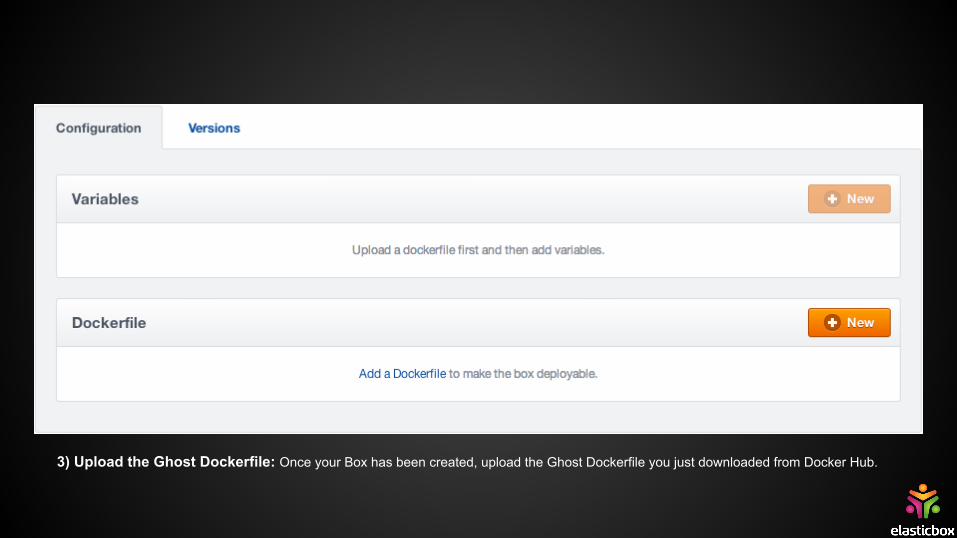
3) Upload the Ghost Dockerfile: Once your Box has been created, upload the Ghost Dockerfile you just downloaded from Docker Hub.
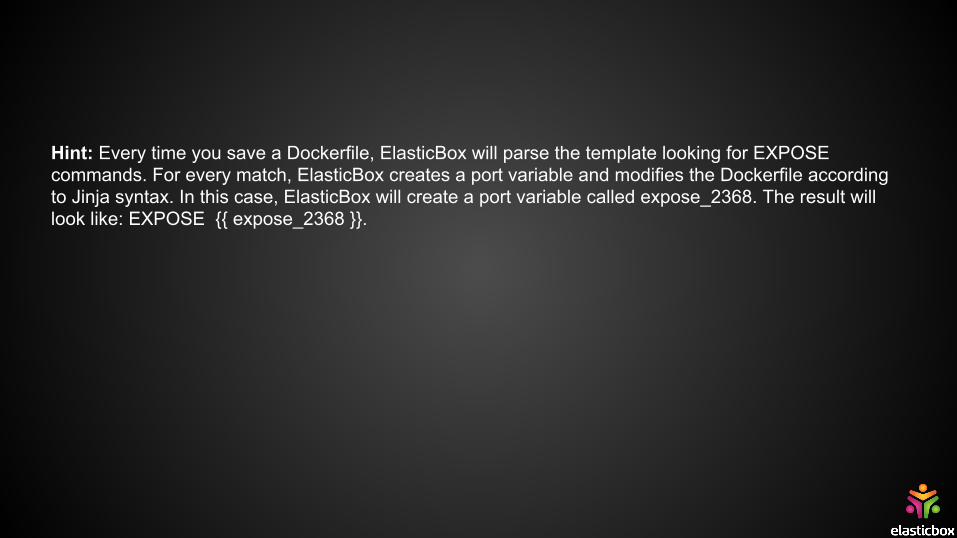
Hint: Every time you save a Dockerfile, ElasticBox will parse the template looking for EXPOSE commands. For every match, ElasticBox creates a port variable and modifies the Dockerfile according to Jinja syntax. In this case, ElasticBox will create a port variable called expose_2368. The result will look like: EXPOSE {{ expose_2368 }}.
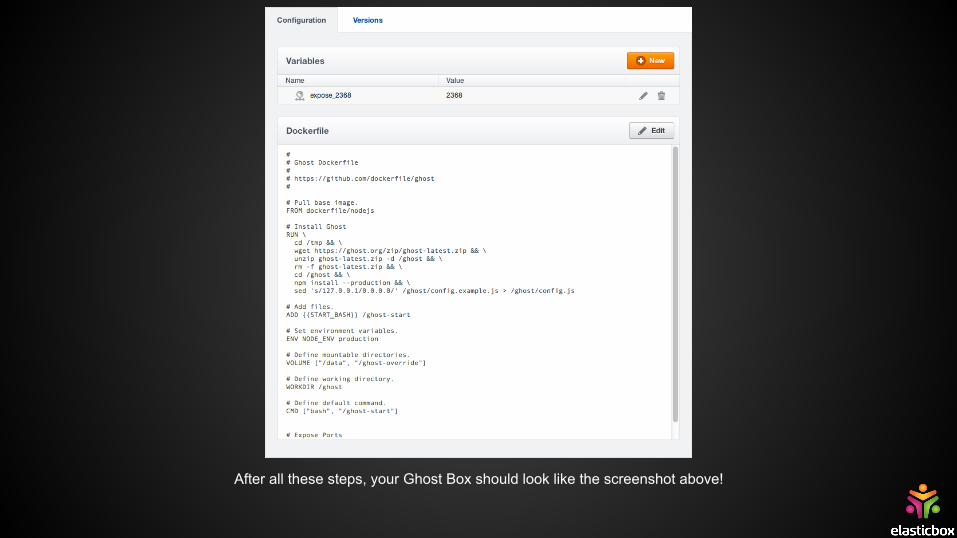
After all these steps, your Ghost Box should look like the screenshot above!
Hint: You won’t be able to deploy the Box just yet because it doesn’t have access to the files included with the ADD commands in the Dockerfile.

4) Add Additional Scripts: Add all the additional files as file variables. In the current case add the file ‘start.bash’ and call it START_BASH (the file is located within the Build Bundle). We also marked the file variable as required because it has to be included during the deployment phase.Click the ‘New Variable’ button in the Box view and select the ‘File’ option from the dialog that pops up. Name the file ‘START_BASH’. Then, upload the start.bash file from the Docker Build Bundle you just downloaded.
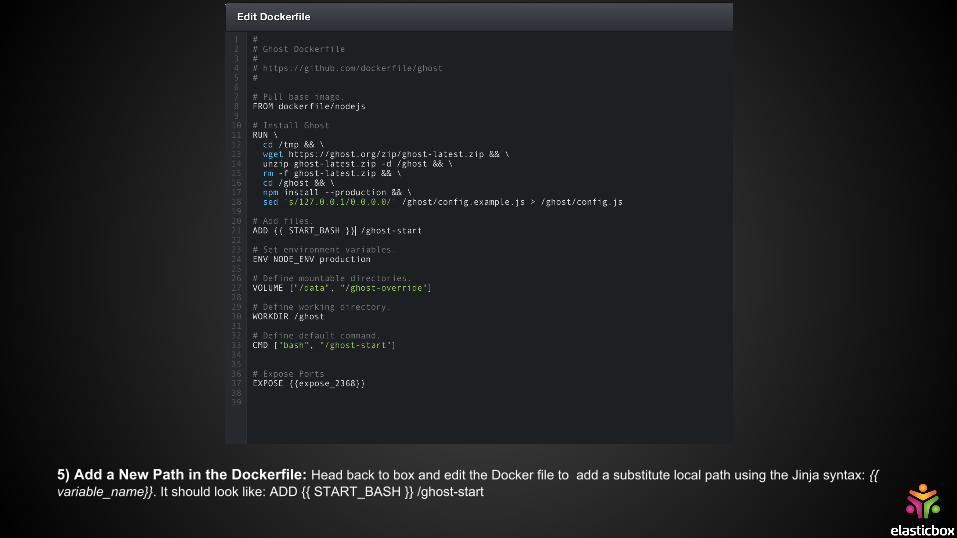
5) Add a New Path in the Dockerfile: Head back to box and edit the Docker file to add a substitute local path using the Jinja syntax: {{ variable_name}}. It should look like: ADD {{ START_BASH }} /ghost-start
6) Deploy the Box on any Provider! Congrats! You’ve built a Ghost Docker Box which you can now deploy on any provider that you’ve added in ElasticBox. For more information on deploying instances in ElasticBox, please visit our documentation.
How do I build my own box?
Sign up for ElasticBox for free and start building your own Boxes. Follow the step-by-step instructions in this blog post or just email Cesar at [email protected]. We have Boxes of the most popular Dockerfiles from Dockerhub and we’re more than happy to share them with you via ElasticBox’s collaboration features!