creating the excel patron file
DESCRIPTION
Creating the Excel patron file. For Non-member school districts who want to submit a patron file. Open Excel from the Start Button or the Office Shortcut bar. Enter the Patron Data. The 1 st Row should be your field titles: A=Student ID; Start with 1000 B=Student Last Name - PowerPoint PPT PresentationTRANSCRIPT
Creating the Excel patron file
For Non-member school districts who want to submit a patron file

Open Excel from the Start Button or the Office Shortcut bar

Enter the Patron Data
The 1st Row should be your field titles:A=Student ID; Start with 1000 B=Student Last NameC=Student First Name; no comma after Jr. or II, III, etc.D=Street Address of studentE=CityF=StateG=Zip codeH=GenderI=Homeroom Teacher Last NameJ=Homeroom Teacher First Name
Enter Patron Data Cont’d
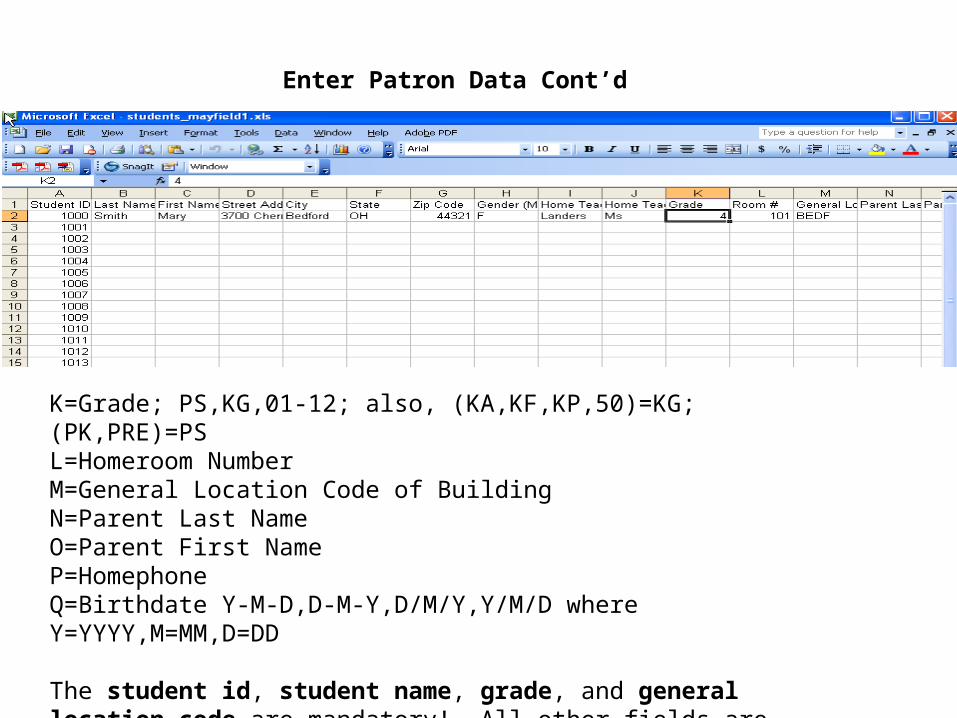
K=Grade; PS,KG,01-12; also, (KA,KF,KP,50)=KG;(PK,PRE)=PSL=Homeroom NumberM=General Location Code of BuildingN=Parent Last NameO=Parent First NameP=HomephoneQ=Birthdate Y-M-D,D-M-Y,D/M/Y,Y/M/D where Y=YYYY,M=MM,D=DD
The student id, student name, grade, and general location code are mandatory! All other fields are optional.
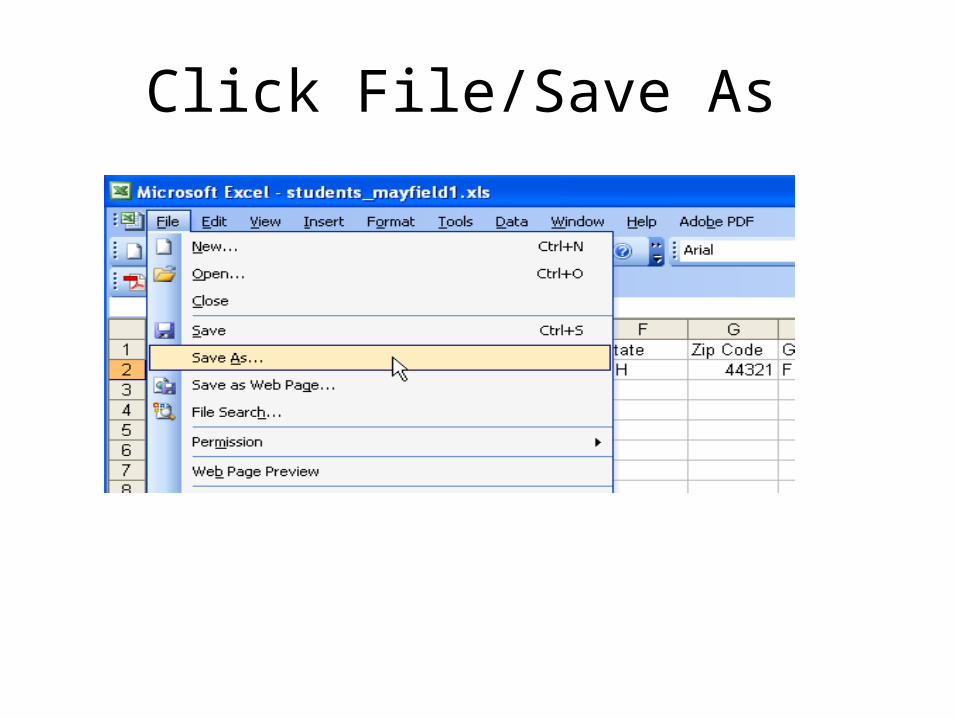
Click File/Save As
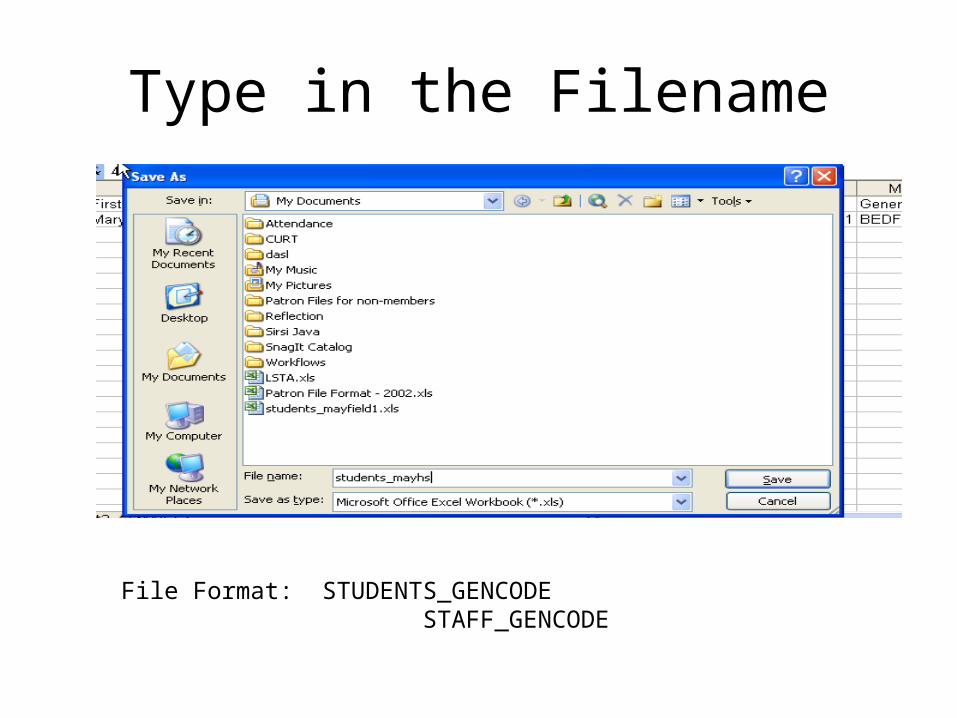
Type in the Filename
File Format: STUDENTS_GENCODE STAFF_GENCODE
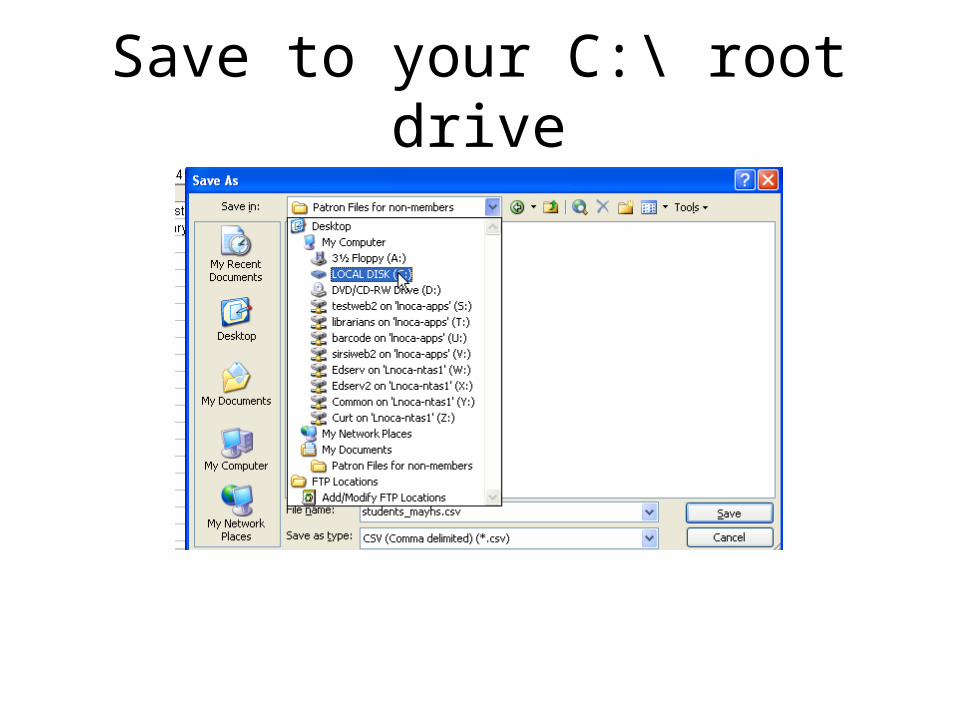
Save to your C:\ root drive
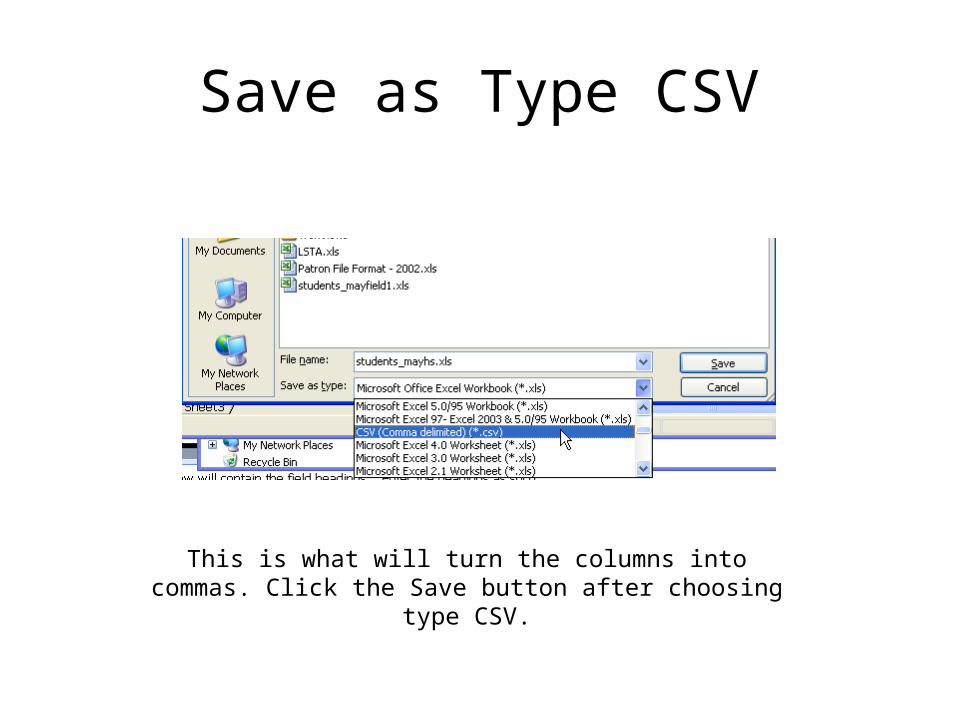
Save as Type CSV
This is what will turn the columns into commas. Click the Save button after choosing type CSV.
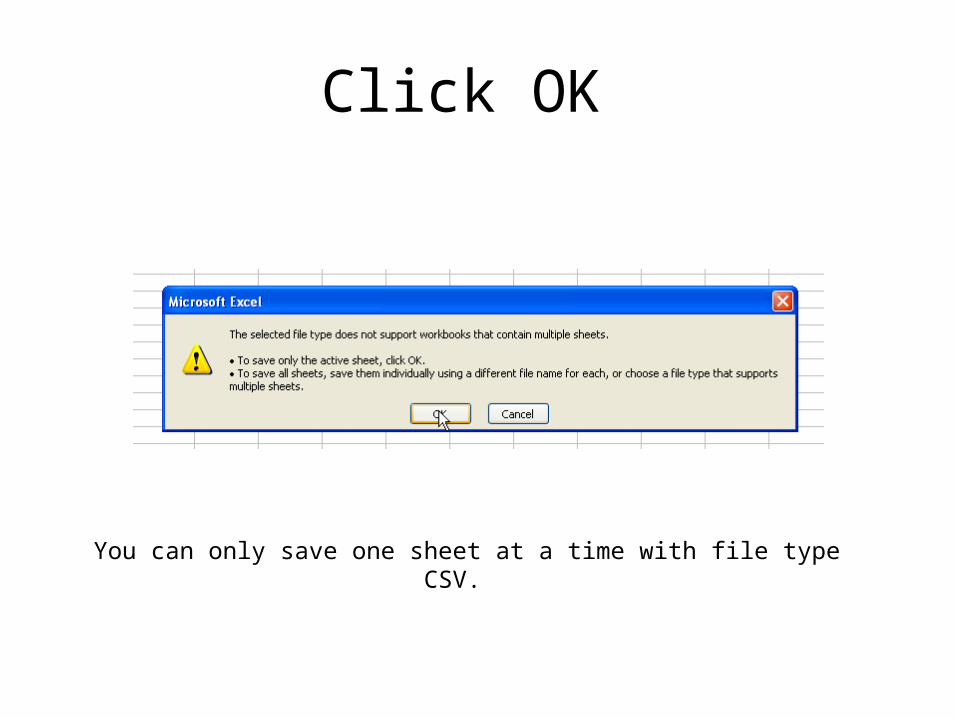
Click OK
You can only save one sheet at a time with file type CSV.
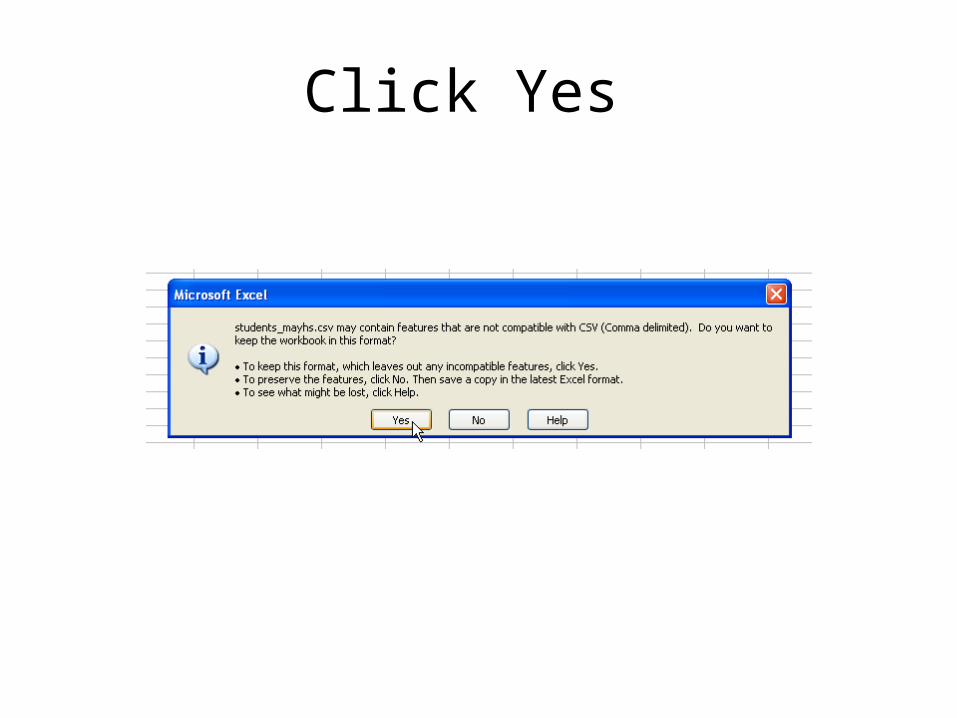
Click Yes
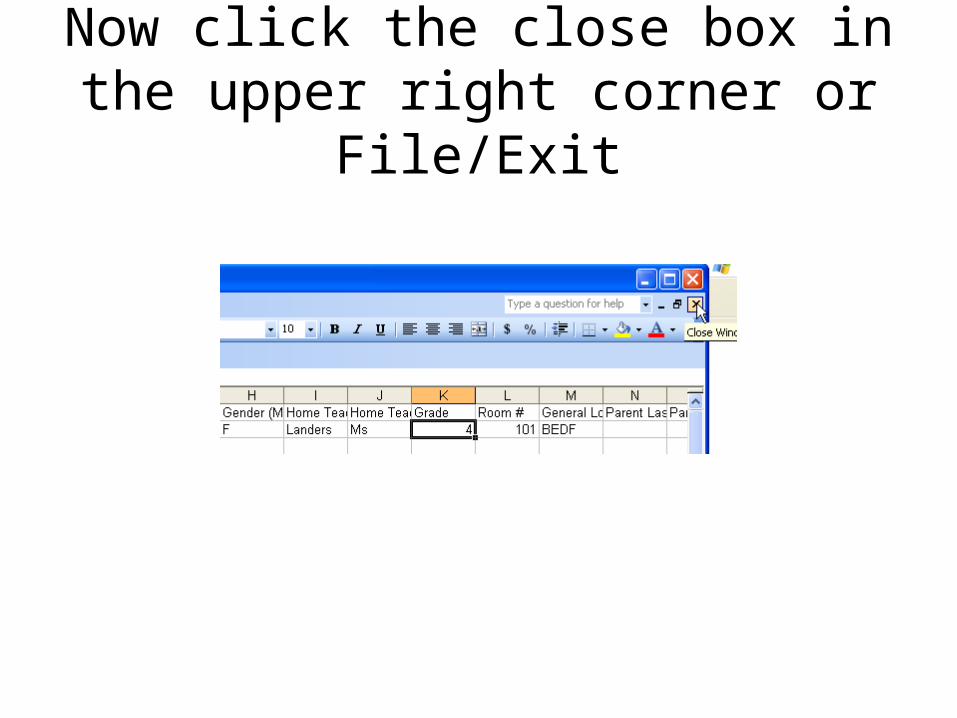
Now click the close box in the upper right corner or File/Exit
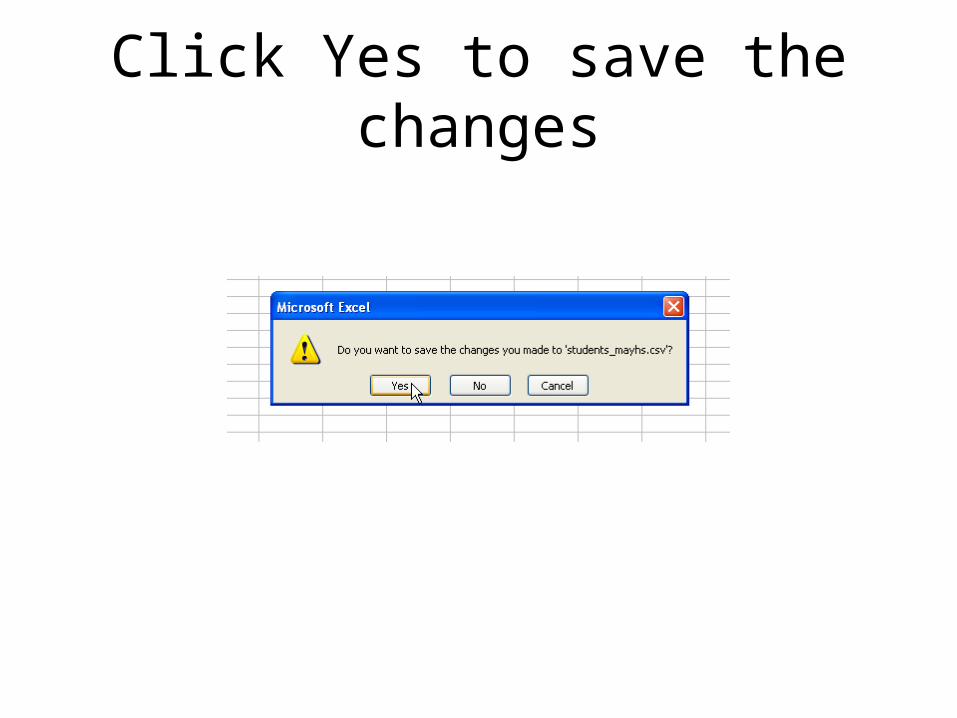
Click Yes to save the changes
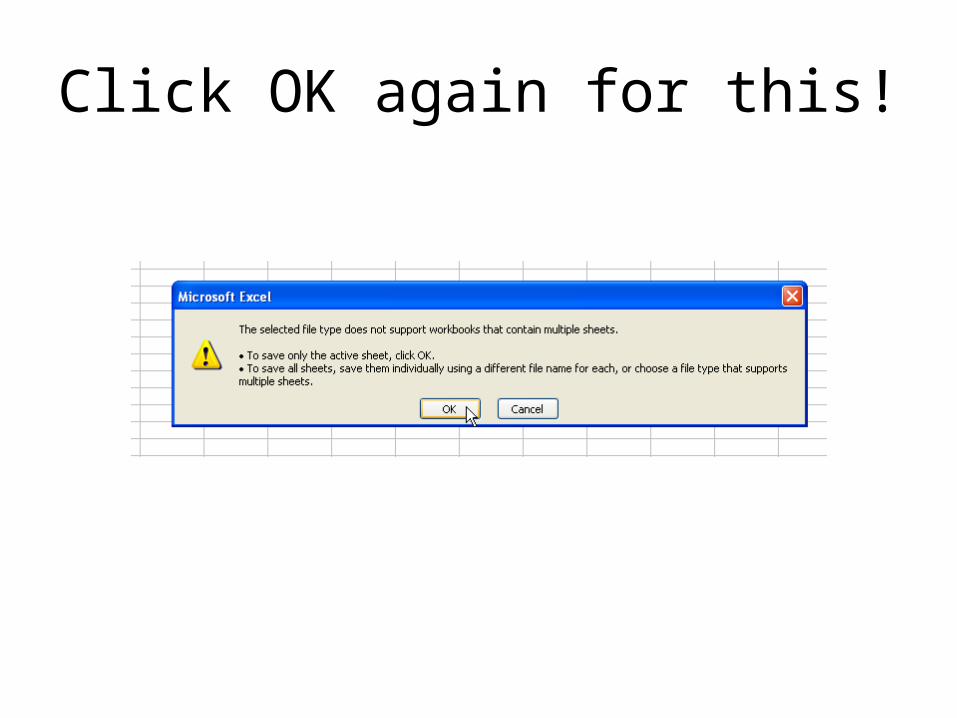
Click OK again for this!
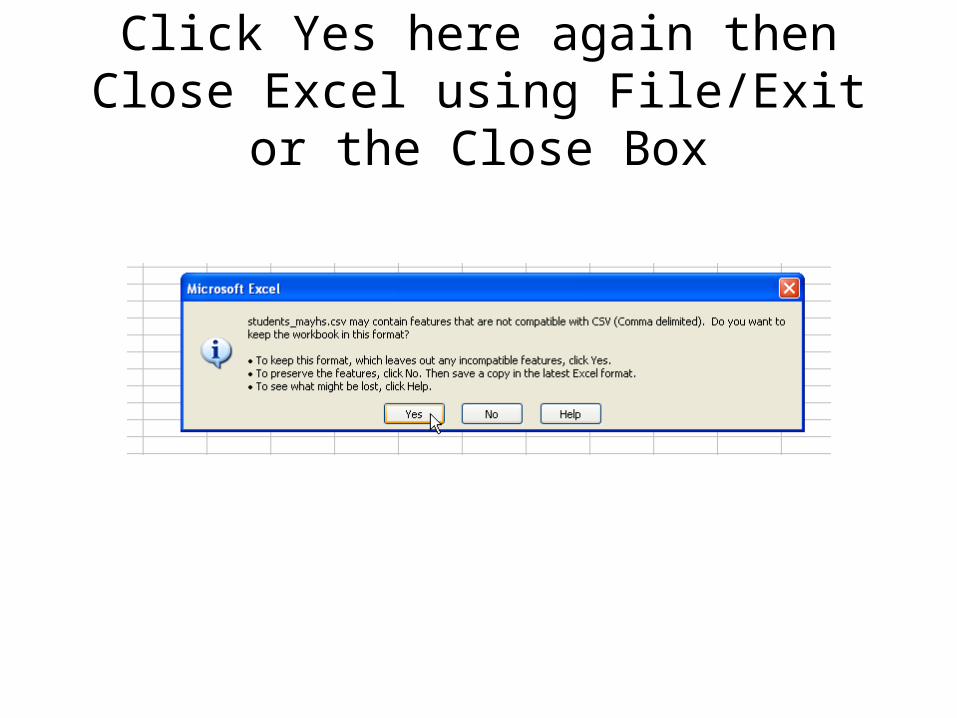
Click Yes here again then Close Excel using File/Exit or the Close Box

The process for entering staff/employee records is similar, and there are fewer fields.
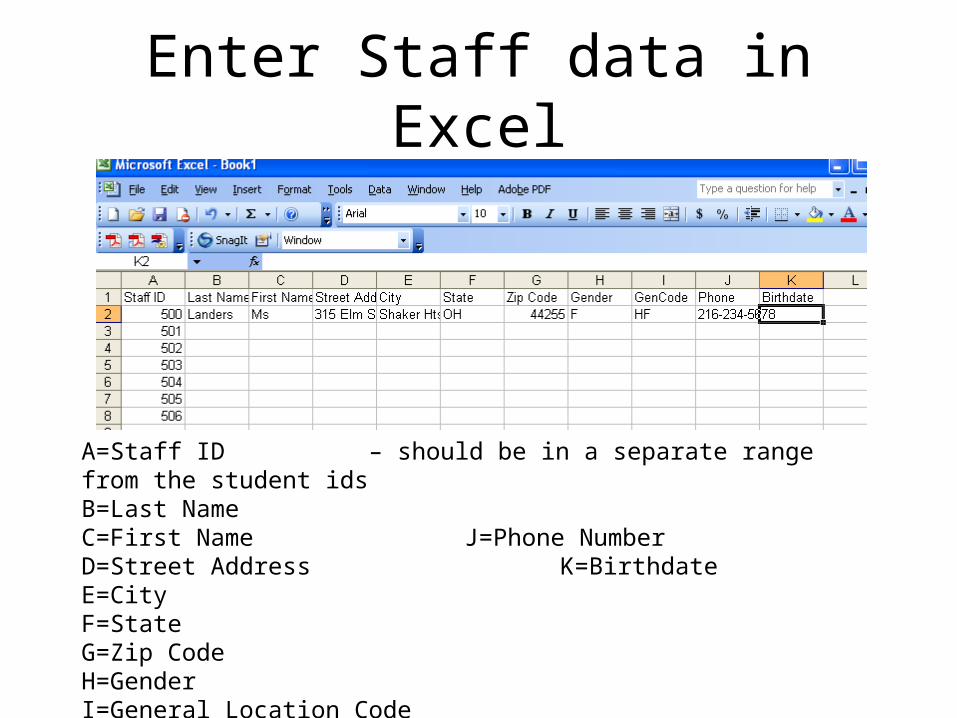
Enter Staff data in Excel
A=Staff ID – should be in a separate range from the student idsB=Last NameC=First Name J=Phone NumberD=Street Address K=BirthdateE=CityF=StateG=Zip CodeH=GenderI=General Location Code
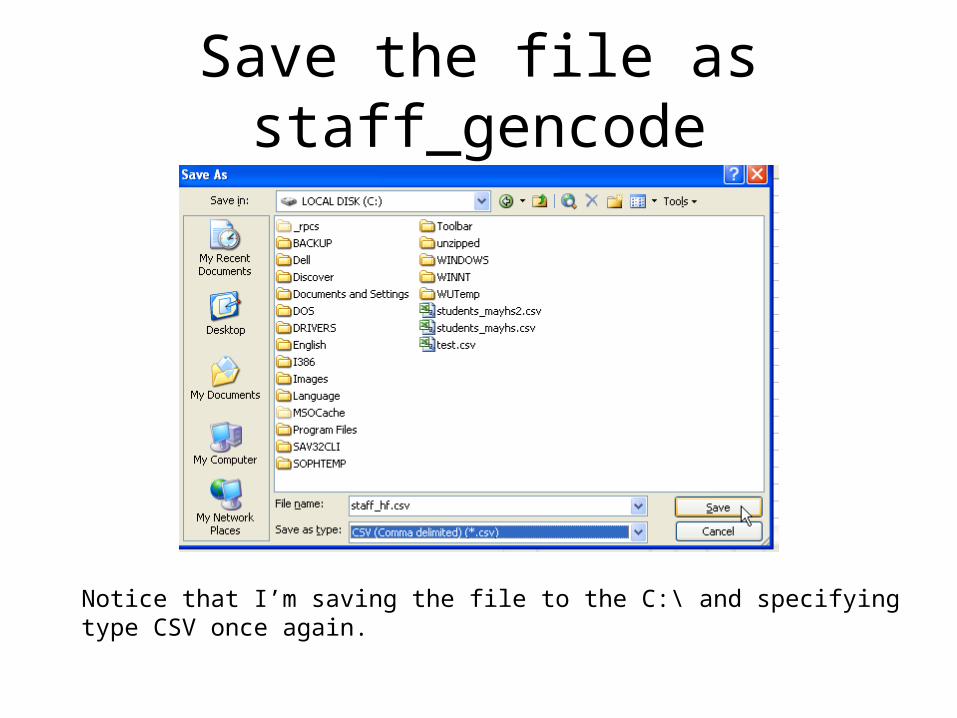
Save the file as staff_gencode
Notice that I’m saving the file to the C:\ and specifying type CSV once again.
All the files you transfer get saved on NCC’s server, but you’ll want to keep your files so that you can continue to add records as more new students come to your schools.
Also, each year, you will want to delete last year’s seniors or 8th graders so that you don’t keep sending NCC the same records for students that have left the district.
You should not reuse those ids, since the transactions on the Sirsi system remain in the database. Meaning, do not assign a new student to an old id, or else that new student will inherit the transactions of the former student.
If you want, you can just send a file of new students. In the yearly patron update form you receive at the year-end LLIS meeting, specify that you want us to delete your graduating students and bump up the grade levels. That way, all you need to do is send a list of new incoming students.
You will need to keep track of your student id numbers, however!
You may want to keep a separate folder of your CSV files. You can rename them if you want to keep them separate for each year. Example: students_mayhs_090106.csv

The End