black vulture effigy directions - forestry.ca.uky.edu · • 3x4 foot rubber stall mat (3/4 inch...
TRANSCRIPT
Cooperative Extension Service | Agriculture and Natural Resources | Family and Consumer Sciences | 4-H Youth Development | Community and Economic Development
University of KentuckyCollege of Agriculture,Food and EnvironmentCooperative Extension Service
Black Vulture Effigy Directions
FORFS 18-03
Vultures are protected by the federal Migratory Bird Treaty Act of 1918. Under this act, the birds,
their nests, and their eggs cannot be killed or destroyed without a Migratory Bird Depredation Permit. It is perfectly legal, however, to harass vultures and use effigies to scare them away. An effigy is a dead or fake dead animal that is hung in an area to deter that specific species from congregating. When displayed properly, effigies are extremely effective at deterring black vultures from using an area. Below are directions to create a black vulture effigy. See references.
Materials Needed for 1 Vulture Effigy:• 3x4 foot rubber stall mat (3/4 inch thick)• Print outs of schematics• Power drill with 5/16 and 1/4 bits• 15 Zip ties (~15 inch long and 50lb strength
minimum)• Gray paint• Sharp knife, box cutters, or carpet knife• 2 inch U-bolt• Rope• Stapler• Bench press or clamp is extremely helpful for
forming the body• Proper safety equipment (eye protection, gloves)
This process can be completed by one person but a second person helps during the mat cutting steps. Anticipate this process taking about 1 ½- 2 hours from start to finish.
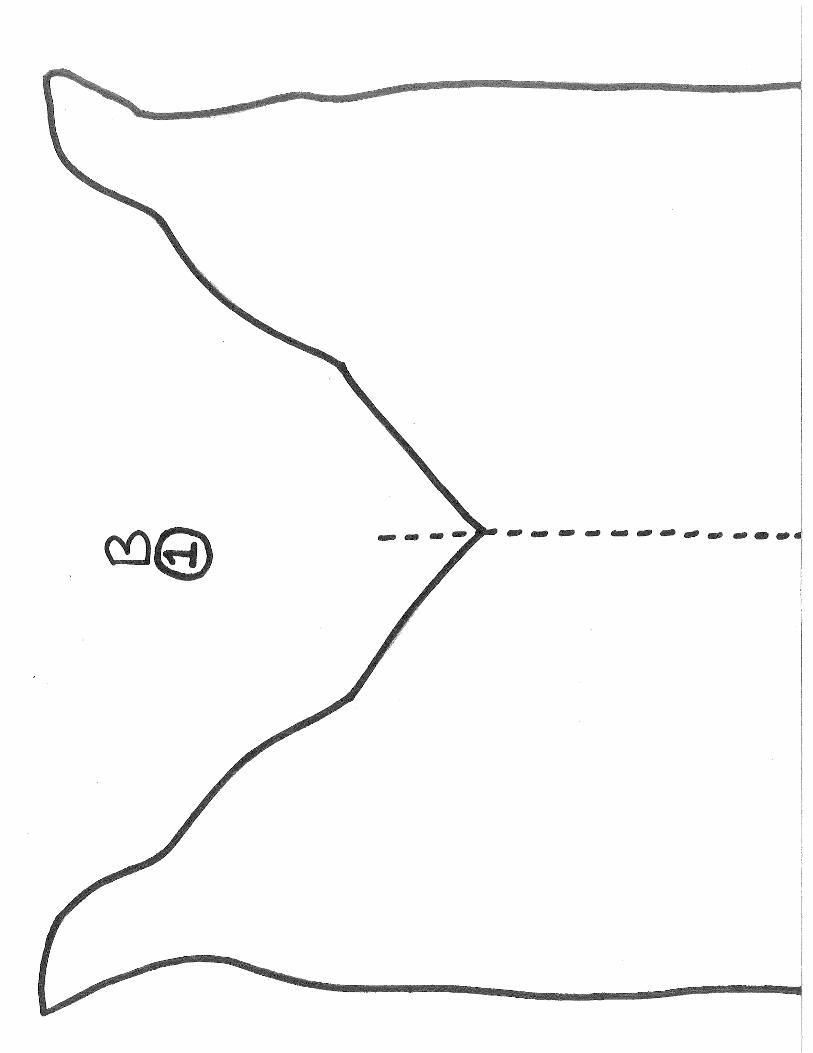
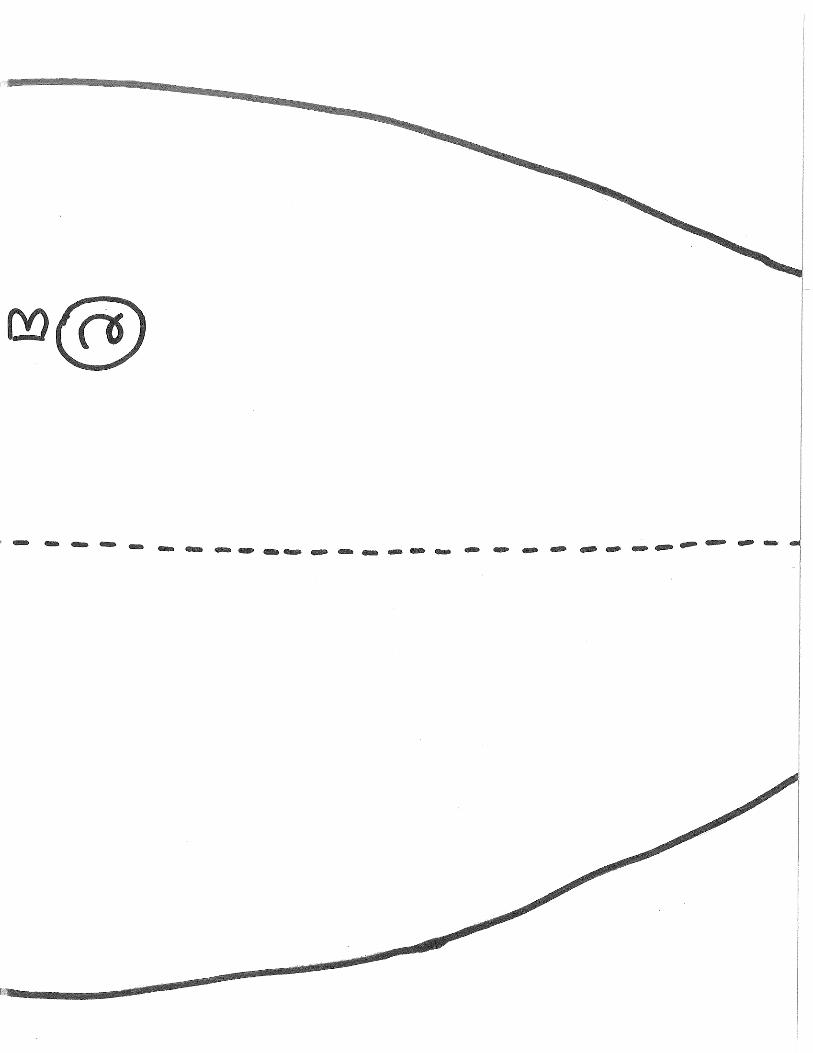
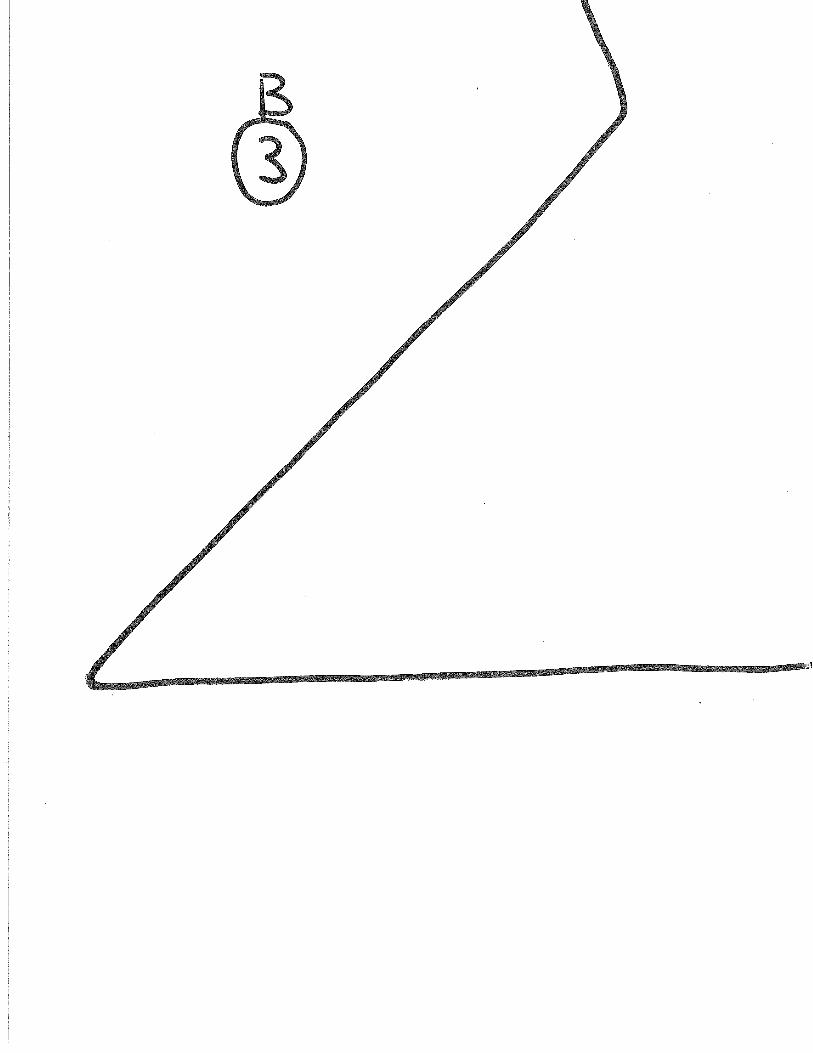
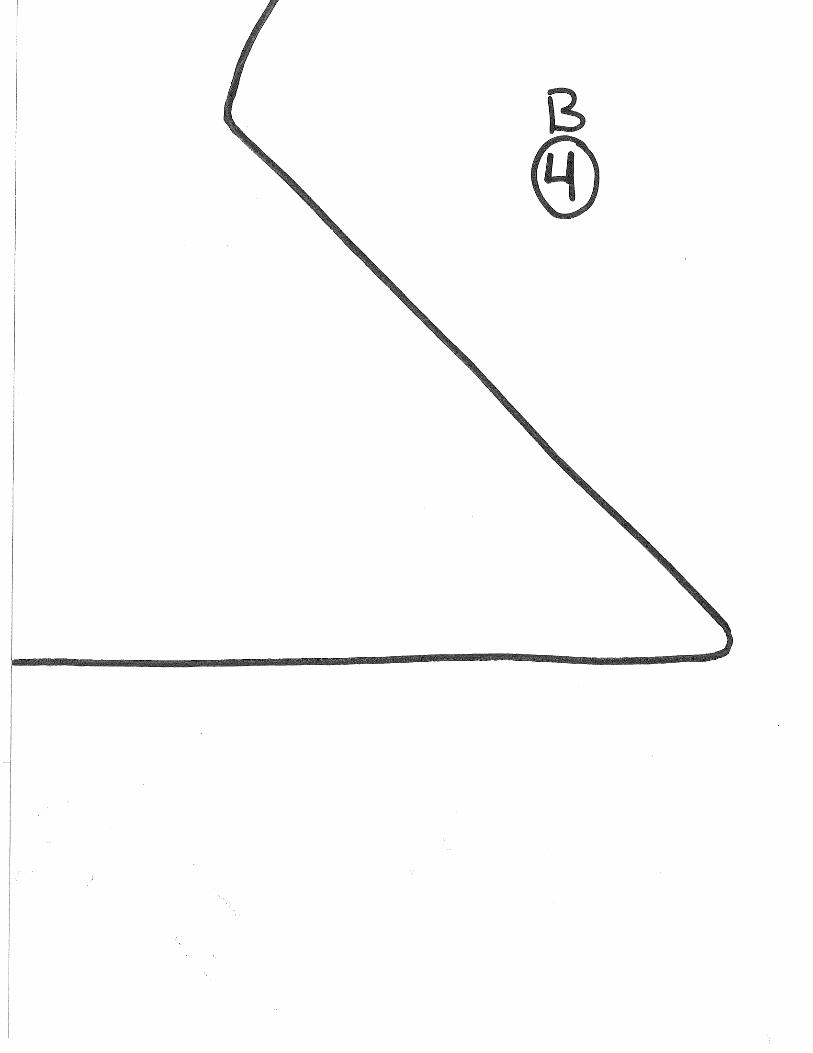
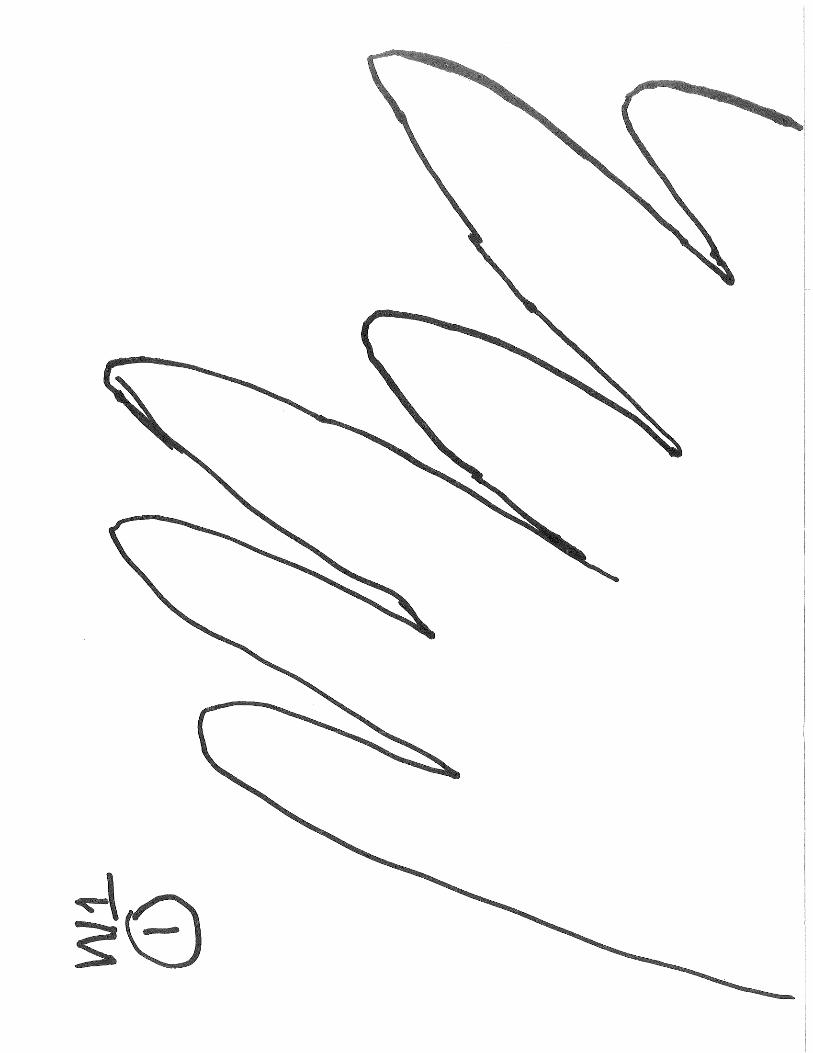
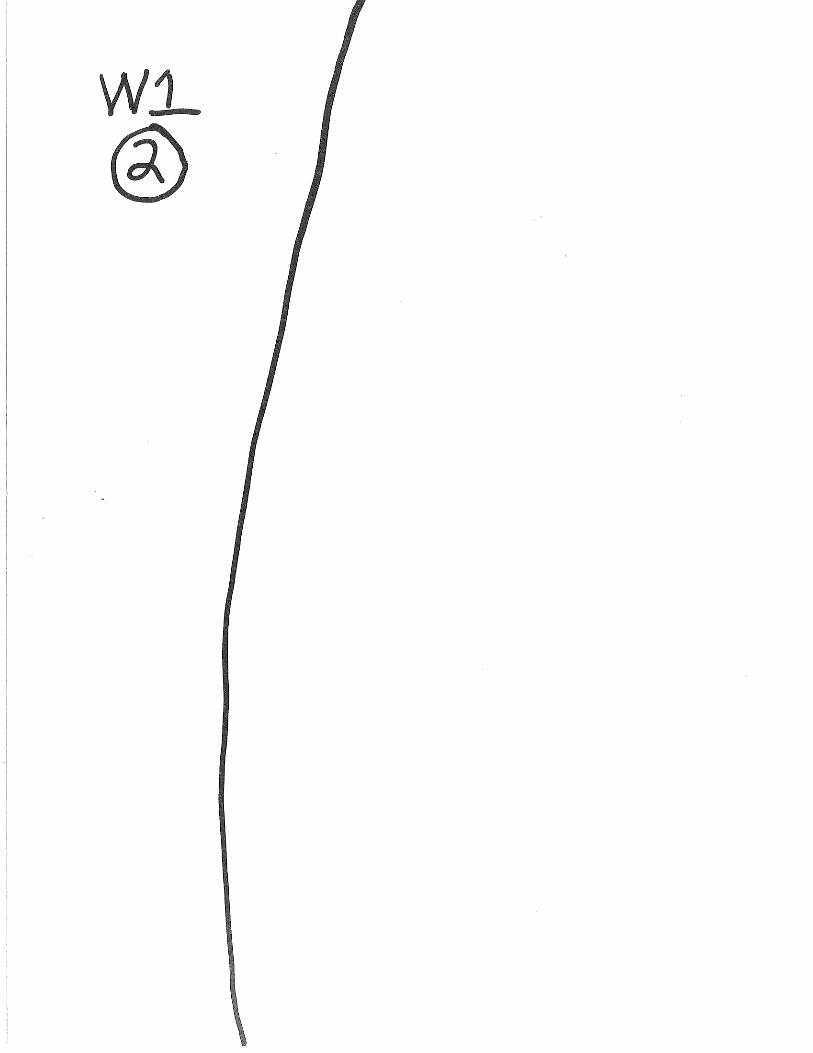
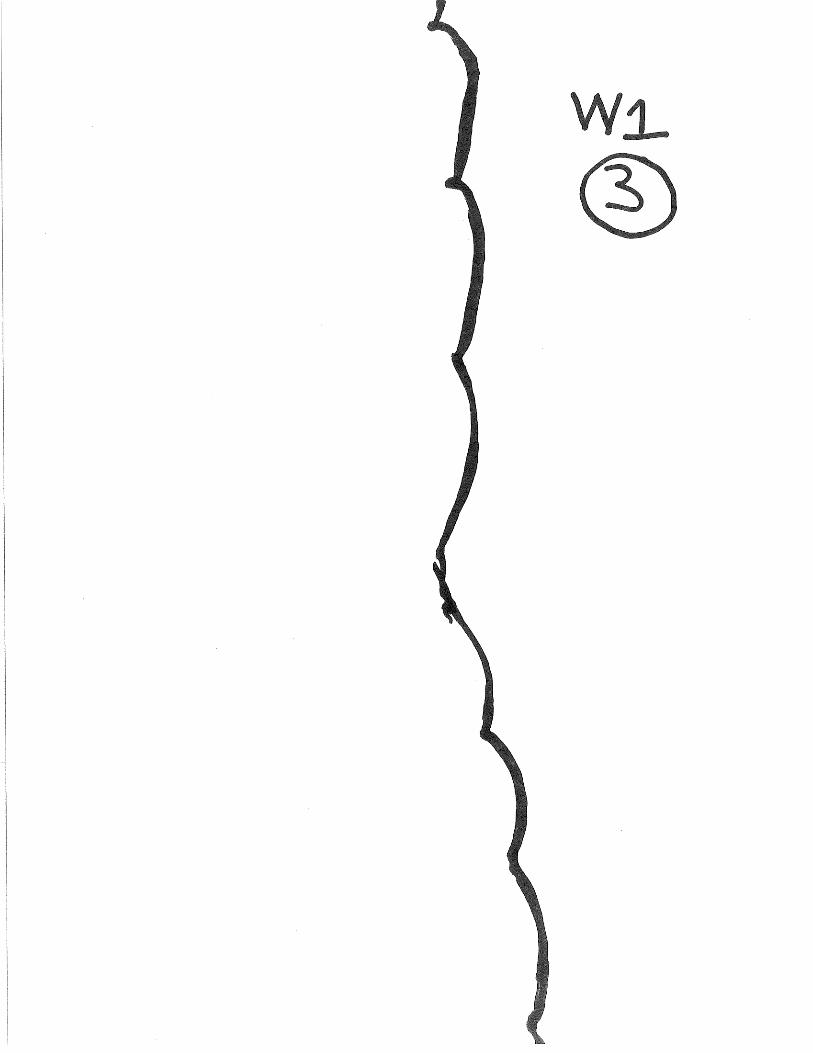
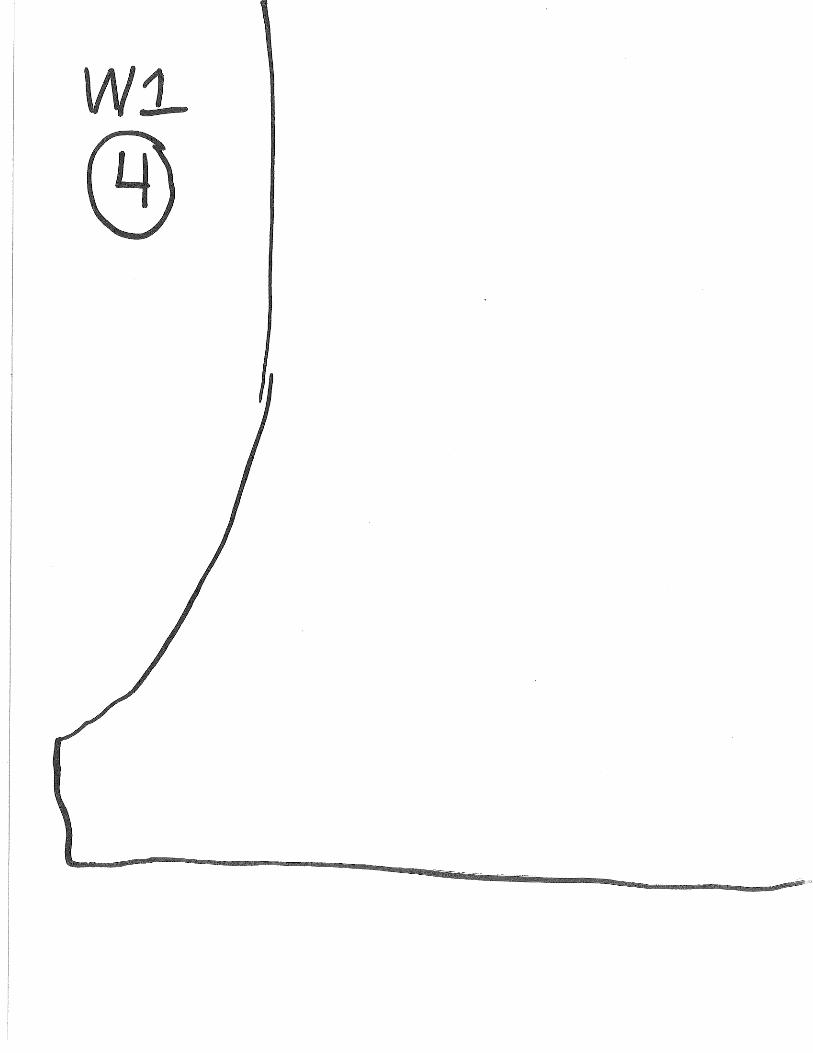
Step 1: Layout the Schematics on the MatAfter printing out schematics, lay rubber mat out on a large working bench or table. Start with laying out the wings at a diagonal across the mat. You will want/need to overlap the wings schematics by about one inch in order to fit the wings onto the mat. Some adjusting may be necessary as the wings will need to be on the very edge in some places in order to fit. Next, layout the body
Matthew T. Springer and Jonathan A. Matthews, University of Kentucky Department of Forestry and Natural Resources
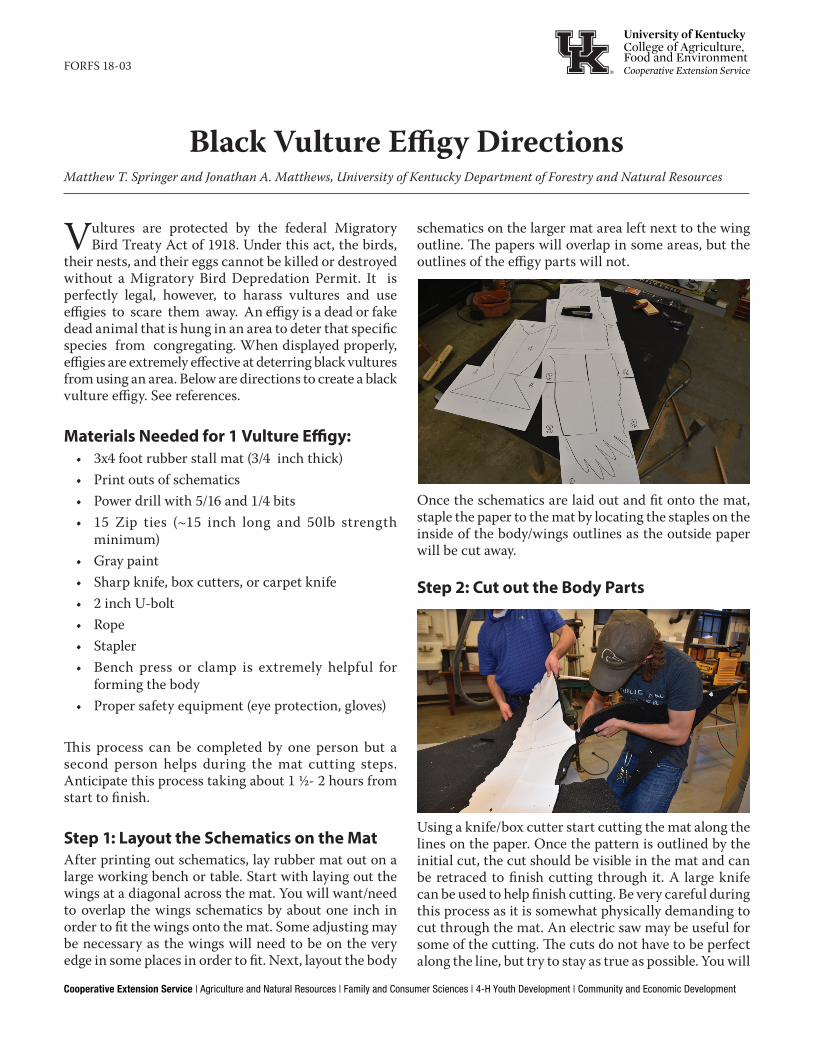
schematics on the larger mat area left next to the wing outline. The papers will overlap in some areas, but the outlines of the effigy parts will not.
Once the schematics are laid out and fit onto the mat, staple the paper to the mat by locating the staples on the inside of the body/wings outlines as the outside paper will be cut away.
Step 2: Cut out the Body Parts
Using a knife/box cutter start cutting the mat along the lines on the paper. Once the pattern is outlined by the initial cut, the cut should be visible in the mat and can be retraced to finish cutting through it. A large knife can be used to help finish cutting. Be very careful during this process as it is somewhat physically demanding to cut through the mat. An electric saw may be useful for some of the cutting. The cuts do not have to be perfect along the line, but try to stay as true as possible. You will
Issued 3-2018
Educational programs of Kentucky Cooperative Extension serve all people regardless of race, color, age, sex, religion, disability, or national origin. Issued in furtherance of Cooperative Extension work, Acts of May 8 and June 30, 1914, in cooperation with the U.S. Department of Agriculture, Nancy M. Cox, Director, Land Grant Programs, University of Kentucky College of Agriculture, Food and Environment, Lexington, and Kentucky State University, Frankfort. Copyright © 2018 for materials developed by University of Kentucky Cooperative Extension. This publication may be reproduced in portions or its entirety for educational or nonprofit purposes only. Permitted users shall give credit to the author(s) and include this copyright notice. Publications are also available on the World Wide Web at www.ca.uky.edu.
ReferencesBlack Vulture Damage Control. FOR-129. UK
Department of Forestry and Natural Resources. http://forestry.ca.uky.edu/sites/forestry.ca.uky.edu/files/for129.pdf
have two distinct parts, the body and the wings, when finished cutting.
Step 3: Form the Body
Taking the smaller cutout, which is meant to form the body of the effigy, fold it in half the long way to line up the “beak”. When folded, place the mat into a bench press to hold the fold while you drill holes in the mat for the zip ties. Using the ¼” bit, drill 5-7 paired holes from the beak to the tail of the body along the “belly” of the vulture effigy. Make sure you have 2-3 holes located around the head area of the effigy, then space them equally along the rest of the body. Once drilled, begin to run the zip ties through the holes and tighten to hold the form of the body. Be careful not to tighten them too far as this may cause the mat to rip. The zip ties need to be completely tight toward the head/beak area, but significantly looser around the chest to tail. A good rule is to leave enough space in the body so you could place a softball sized object into the middle, or belly area, of the body.
Step 4: Attach Body to Wings
Take the newly formed body and lay the wings on top of the body cut out. Make sure the beak is facing the correct direction. The tail should be on the side that when you look at the tip of the wings, the “feather tips” are pointed downward toward the tail. Once you are sure the body is
facing the correct way, use the ¼” drill bit to drill paired holes through both the wing and body section so that you can run a zip tie through both parts to secure them together. To ensure it is connected completely, repeat this up the length of the body about 5 times, spacing them equally. After they are drilled, run the zip ties through the holes and tighten them so the body and wings are secured together.
Step 5: Attach U-bolt to Effigy
Using the 5/16” bit, or the appropriate size bit for the U-bolt you are going to use, drill two holes just below where the wings and tail meet. Attach the bolt to the effigy and make sure it is tightened down. This will be your attachment point for the rope to hang the effigy upside down.
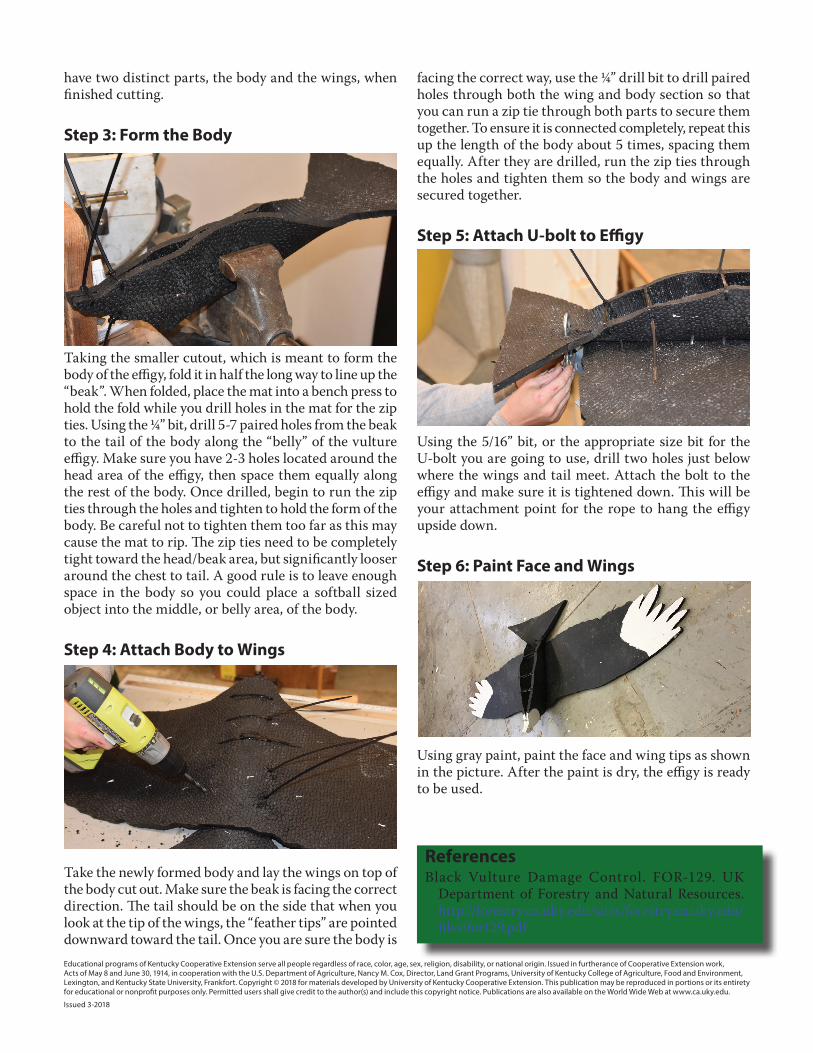
Step 6: Paint Face and Wings
Using gray paint, paint the face and wing tips as shown in the picture. After the paint is dry, the effigy is ready to be used.