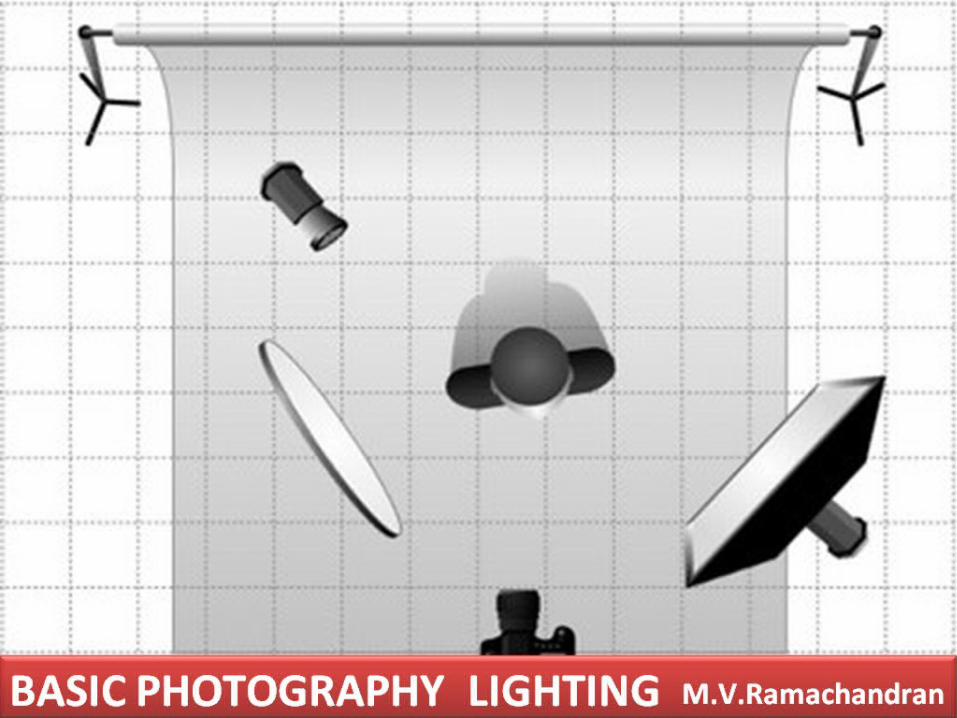
basic photography lighting
TRANSCRIPT
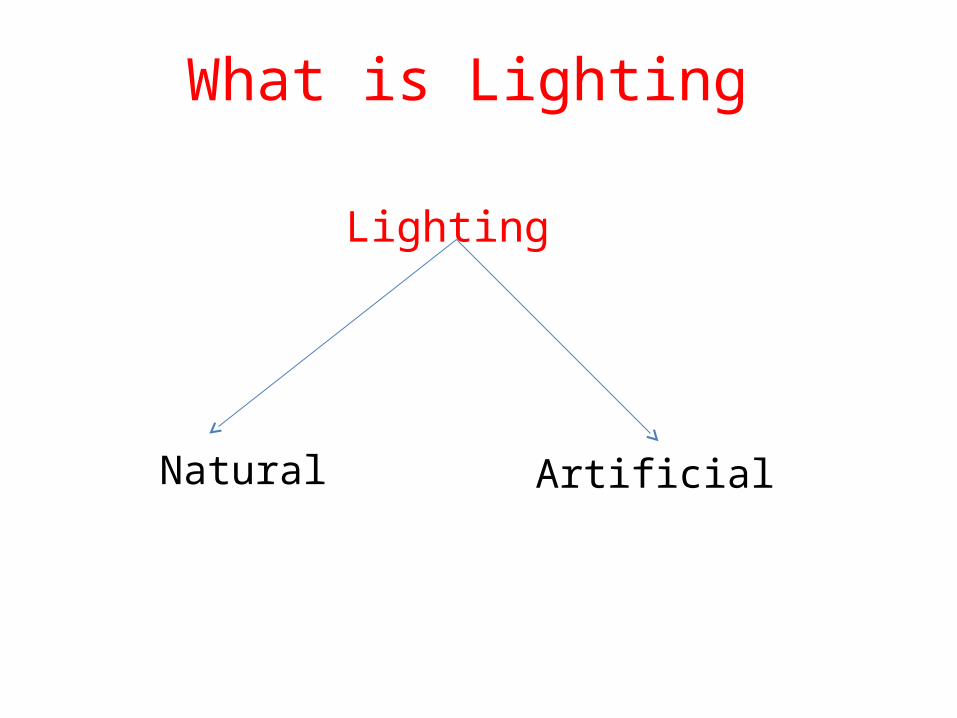
What is Lighting
Lighting
Natural Artificial
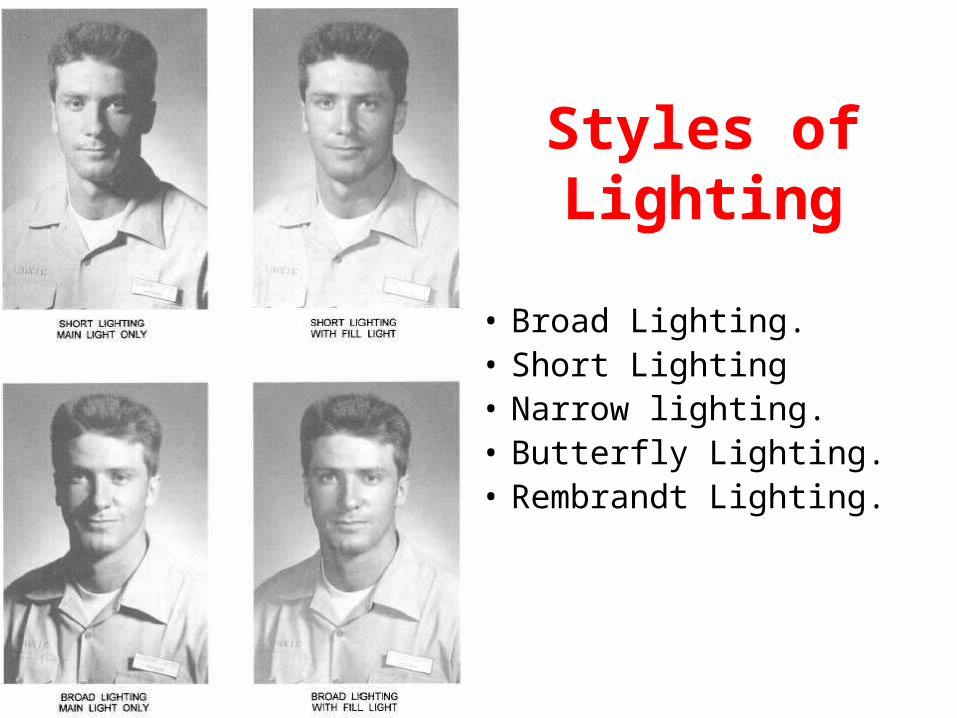
Styles of Lighting
• Broad Lighting. • Short Lighting• Narrow lighting.• Butterfly Lighting.• Rembrandt Lighting.
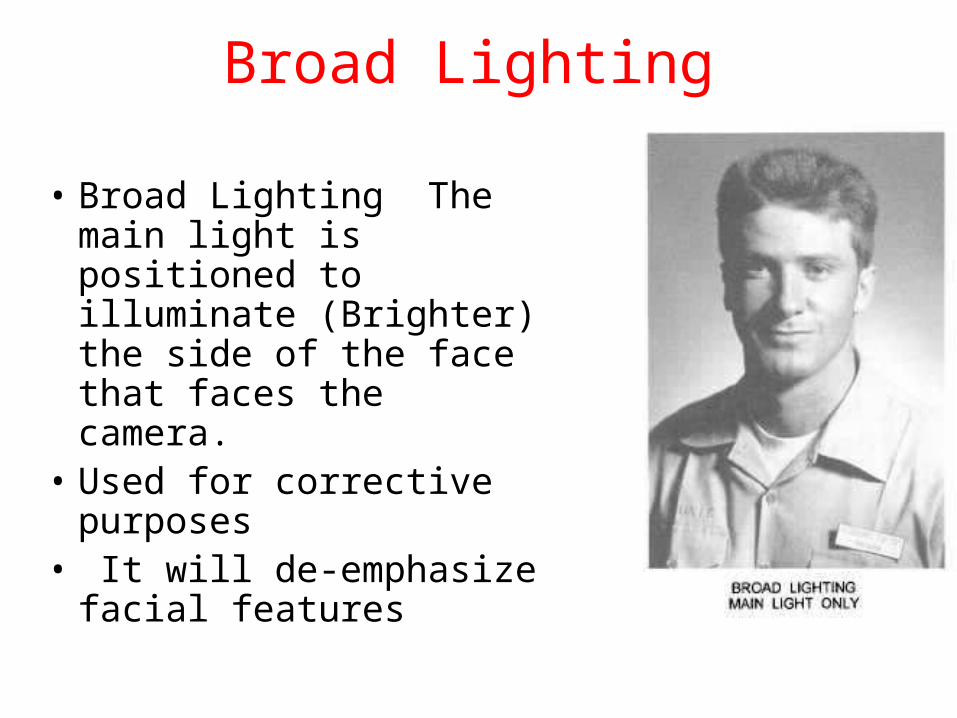
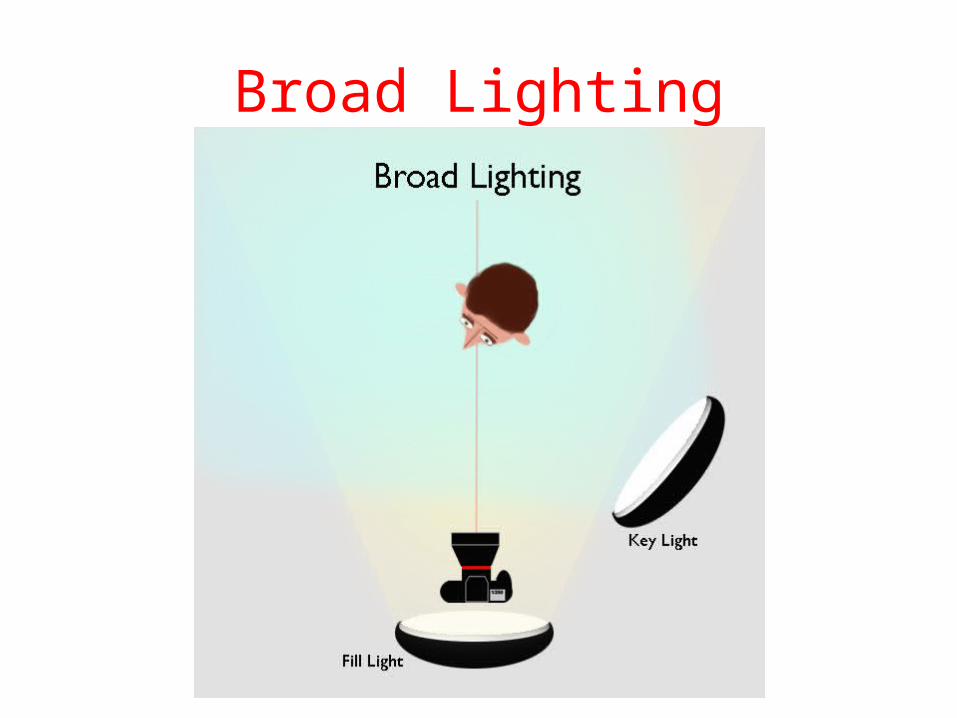
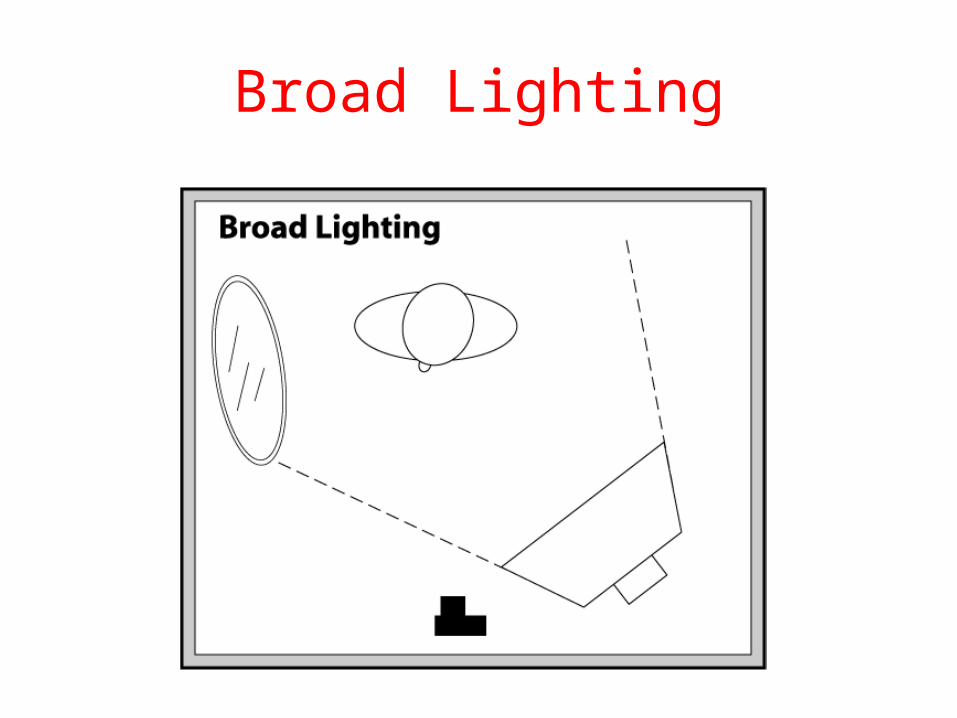
Broad Lighting
• Broad Lighting The main light is positioned to illuminate (Brighter) the side of the face that faces the camera.
• Used for corrective purposes
• It will de-emphasize facial features
Broad Lighting
Broad Lighting
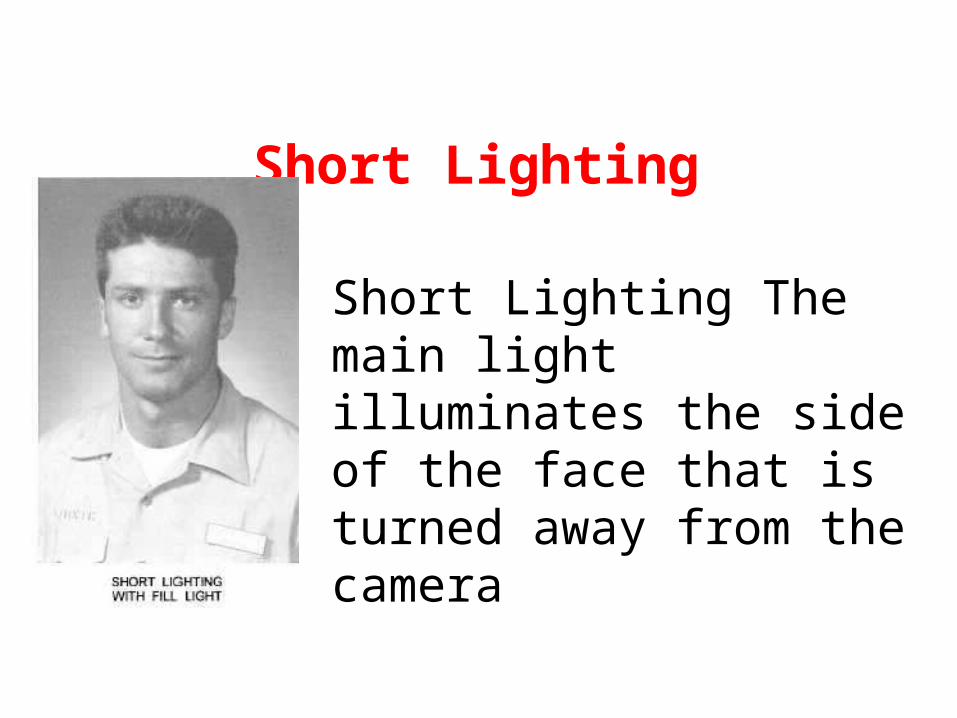
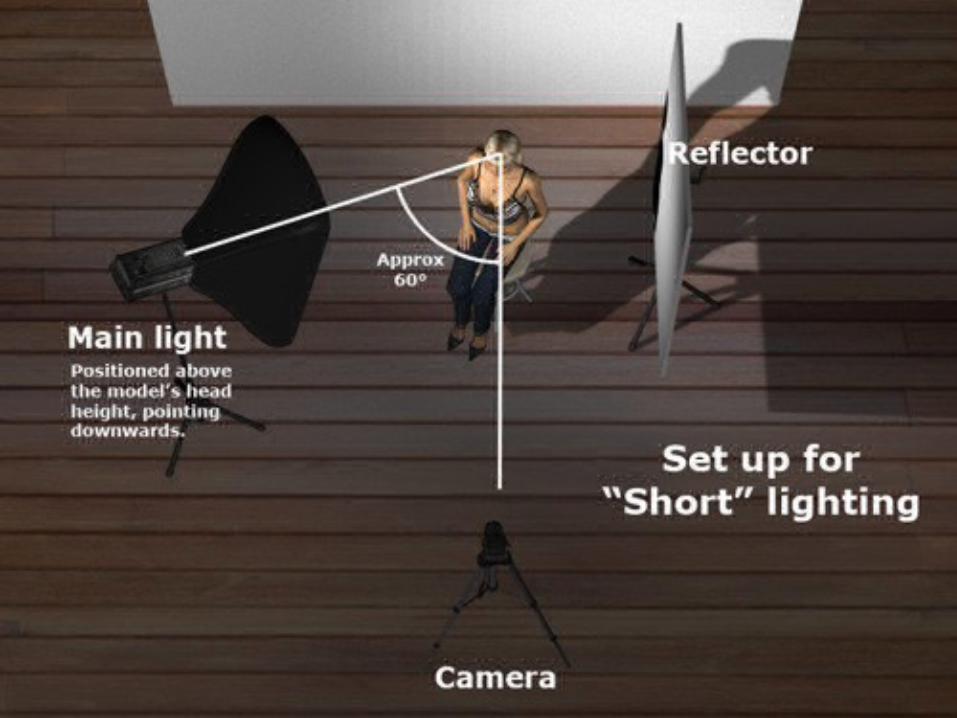
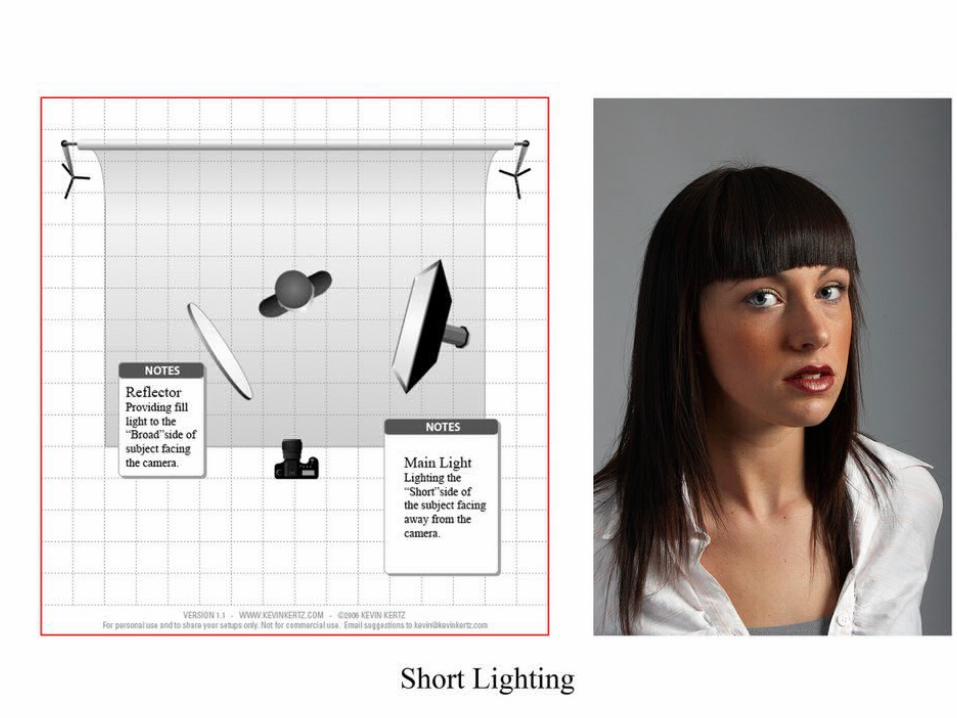
Short Lighting
Short Lighting The main light illuminates the side of the face that is turned away from the camera
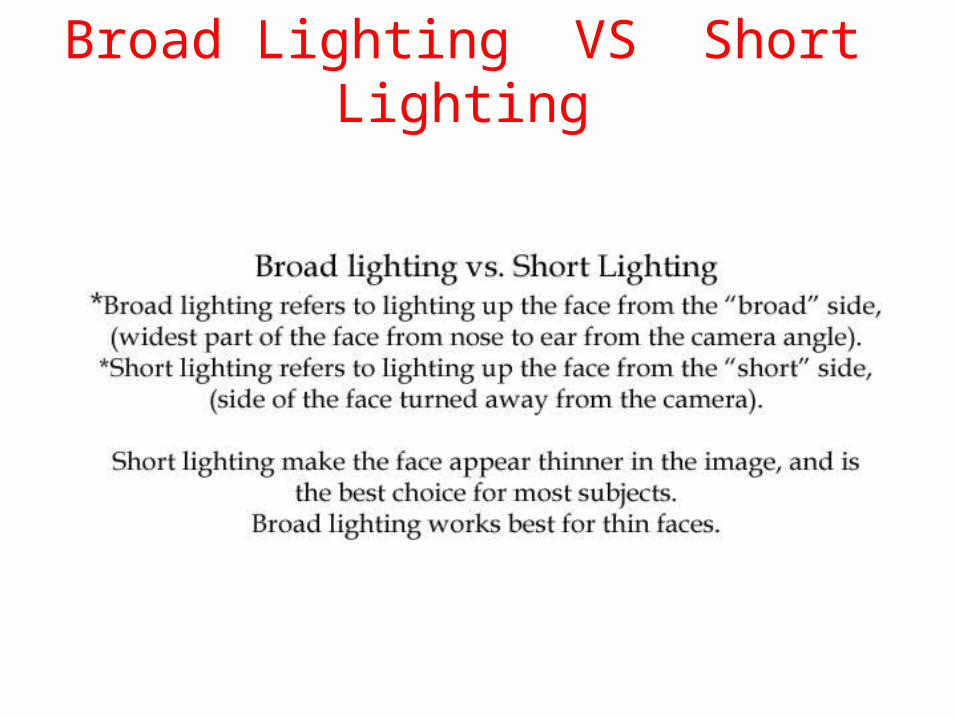
Broad Lighting VS Short Lighting

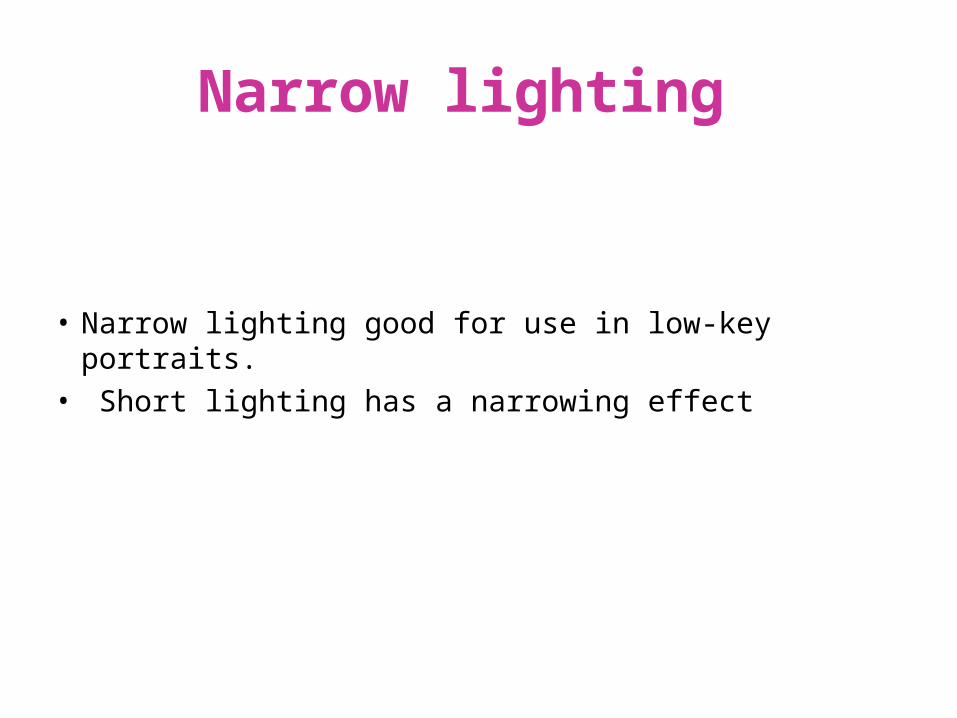
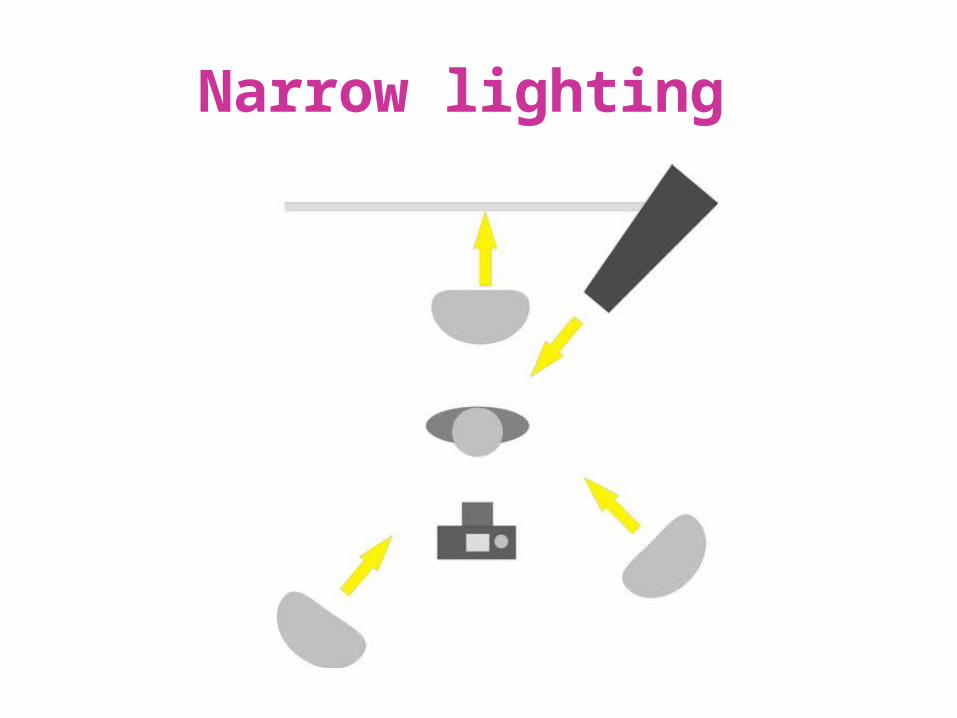
Narrow lighting
• Narrow lighting good for use in low-key portraits.• Short lighting has a narrowing effect
Narrow lighting
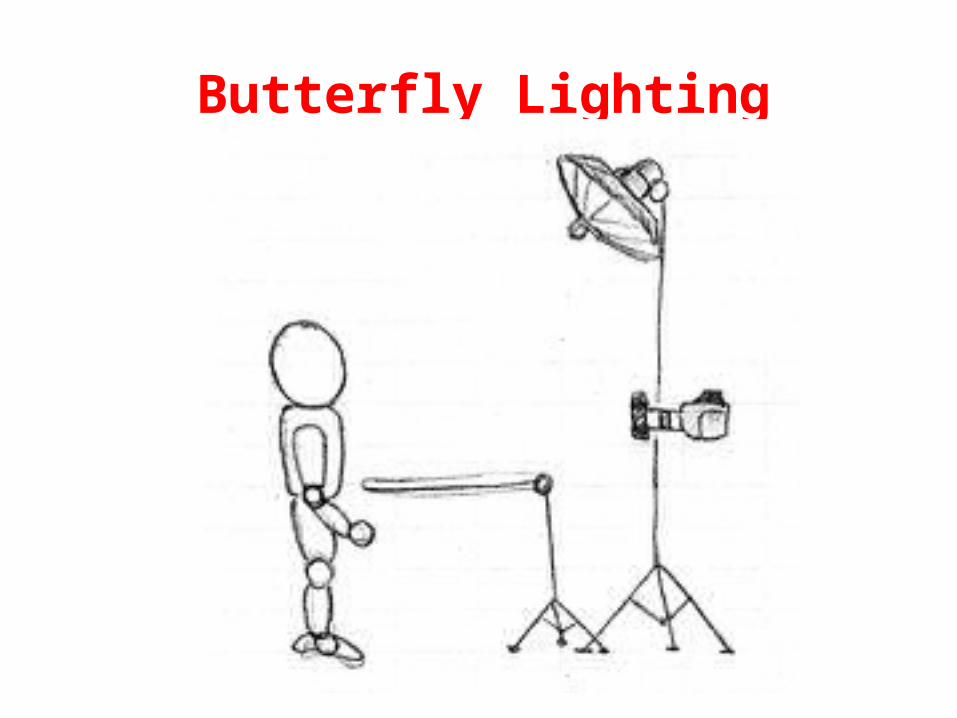
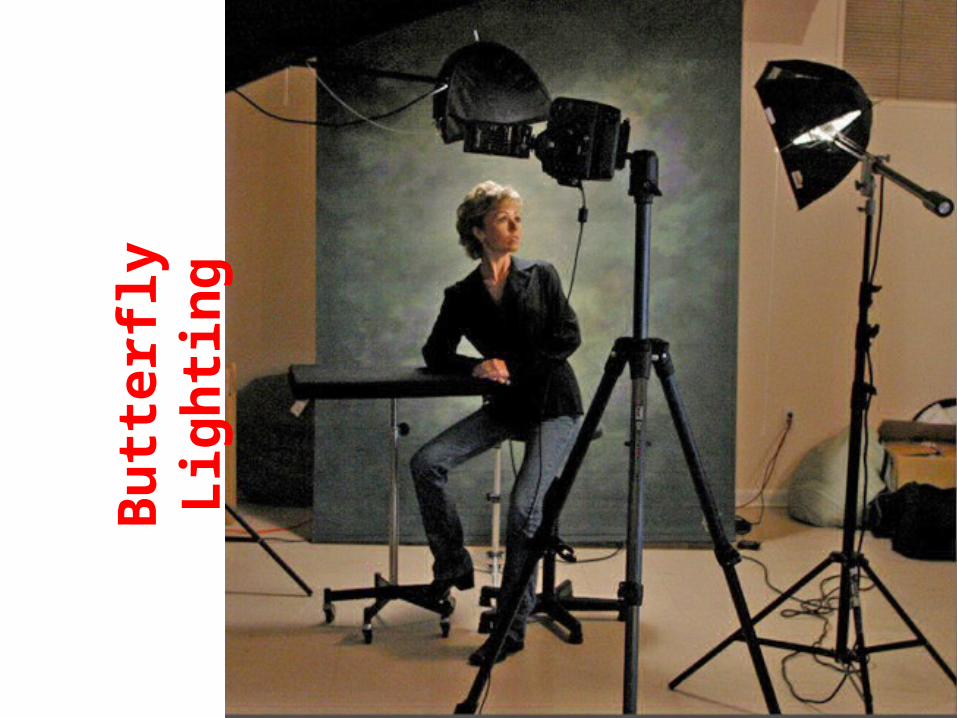
Butterfly Lighting
• Butterfly Lighting Position the main light directly in front of the subjects face.
• And adjusting the height to create a shadow directly under, and in line with, the nose.
• Suited best for women. Not recommended for men since it tends to highlight the ears.
Butterfly Lighting
Butt
erfly
Lig
hting
Rembrandt Lighting
• Rembrandt - Influential Dutch artist (1606-1669)
• Rembrandt Lighting Obtained by combining short lighting and butterfly lighting.
• The main light is positioned high and on the side of the face that is away from the camera

Rembrandt Lighting
Rembrandt lighting
• This lighting technique is used in studio portraiture.• The key in Rembrandt lighting is creating the triangle
or diamond shape of light underneath the eye.• One side of the face is lit well from the main light
source while the other side of the face uses the interaction of shadows and light

Rembrandt Lighting
• Rembrandt Lighting The triangle will illuminate just under the eye and not below the nose.
• The positioning of the main light is usually about 45 degrees from the camera-subject axis and should be slightly higher than the subject.
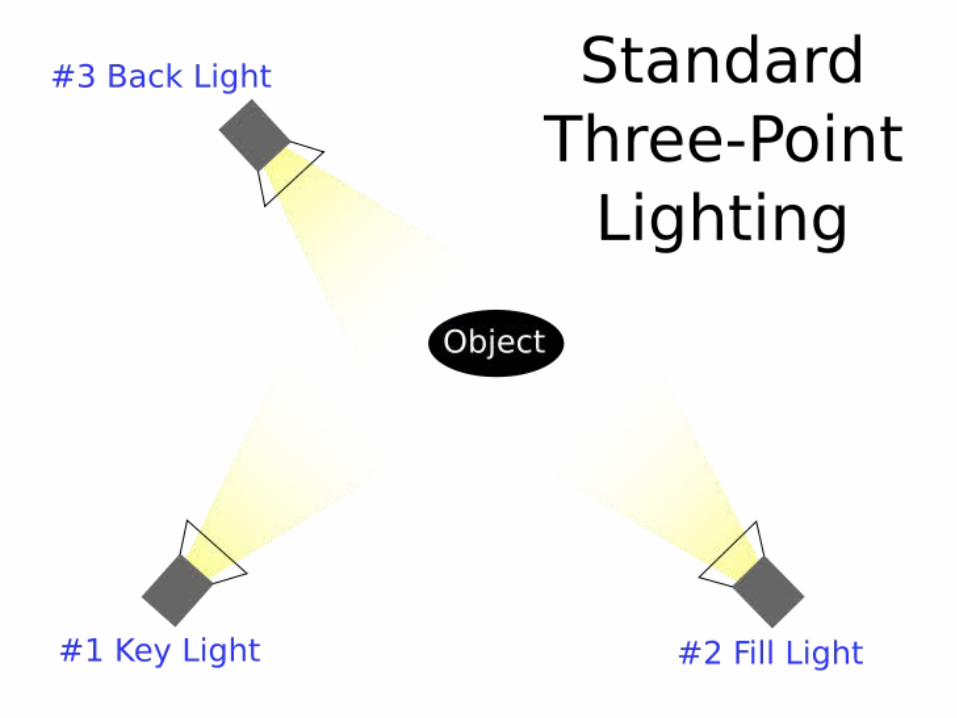
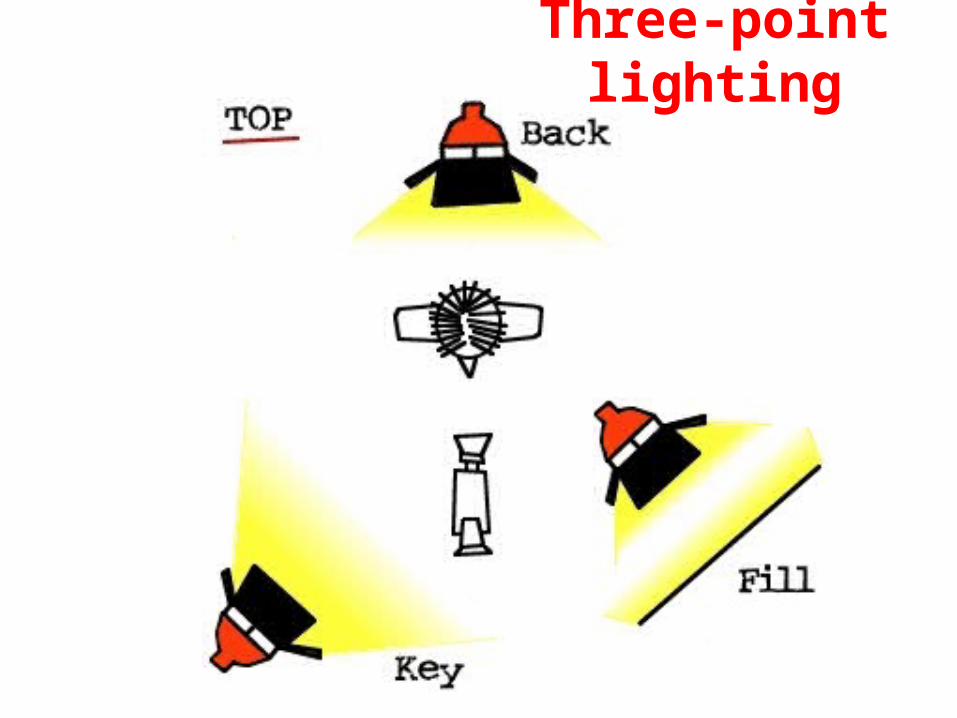
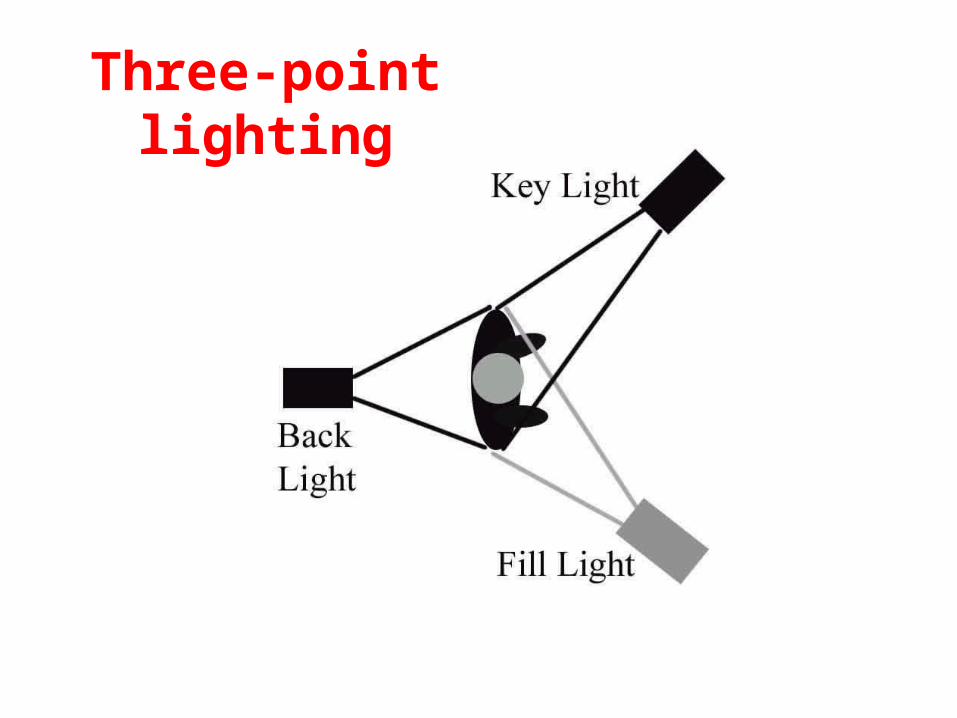
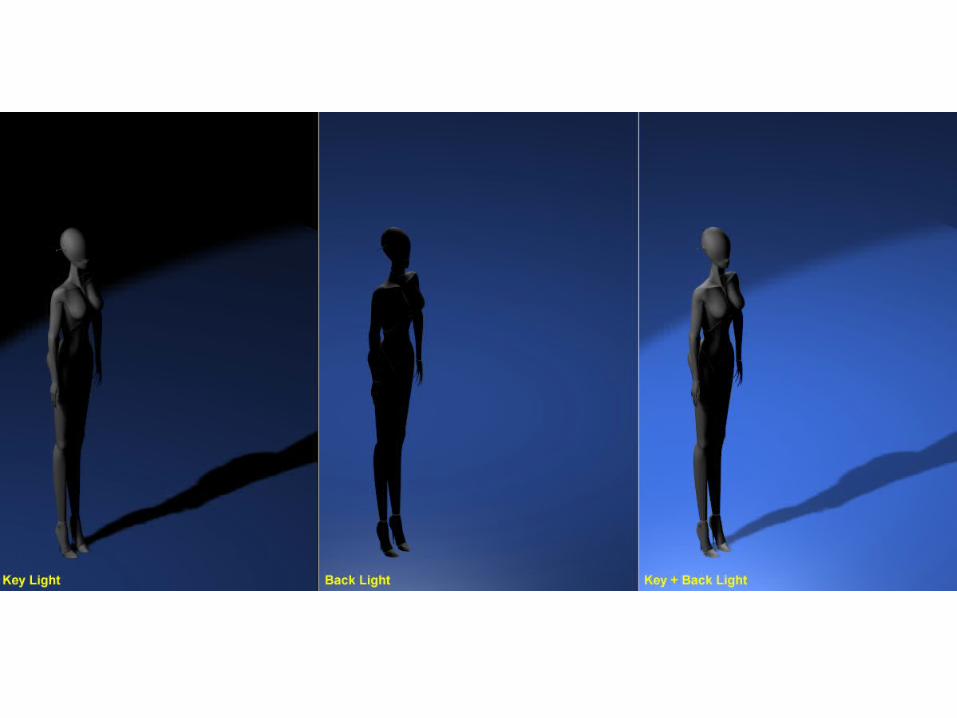
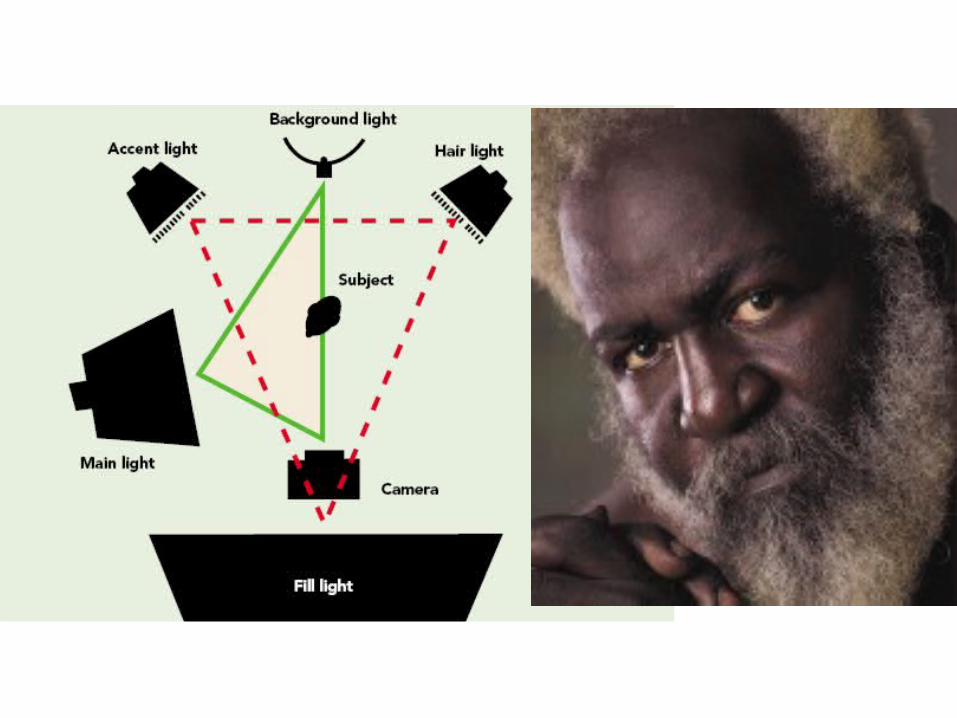
Three-point lighting
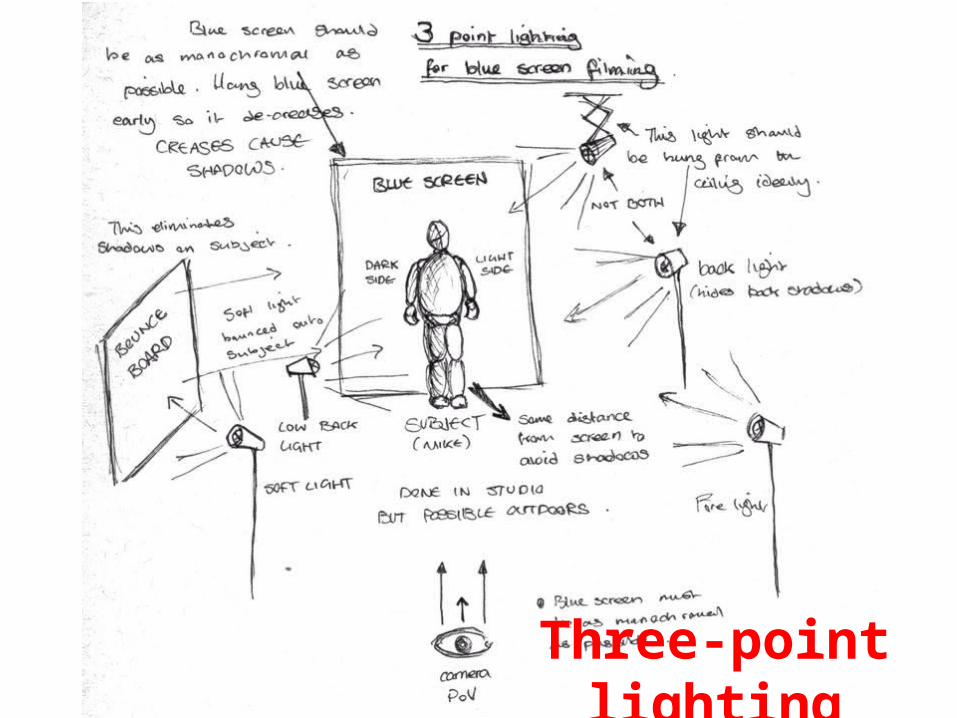
• It is a standard method used in visual media such as video, film, still photography
• A typical three point setup with a shoulder or back-side lamp to create contrast between the background and center object so as to give a three dimensional appearance.
Three-point lighting
Three-point lighting
Three-point lighting
Key light
• The key light, as the name suggests, shines directly upon the subject and serves as its principal illuminator; more than anything else.
• The strength, color and angle of the key determines the shot's overall lighting design.
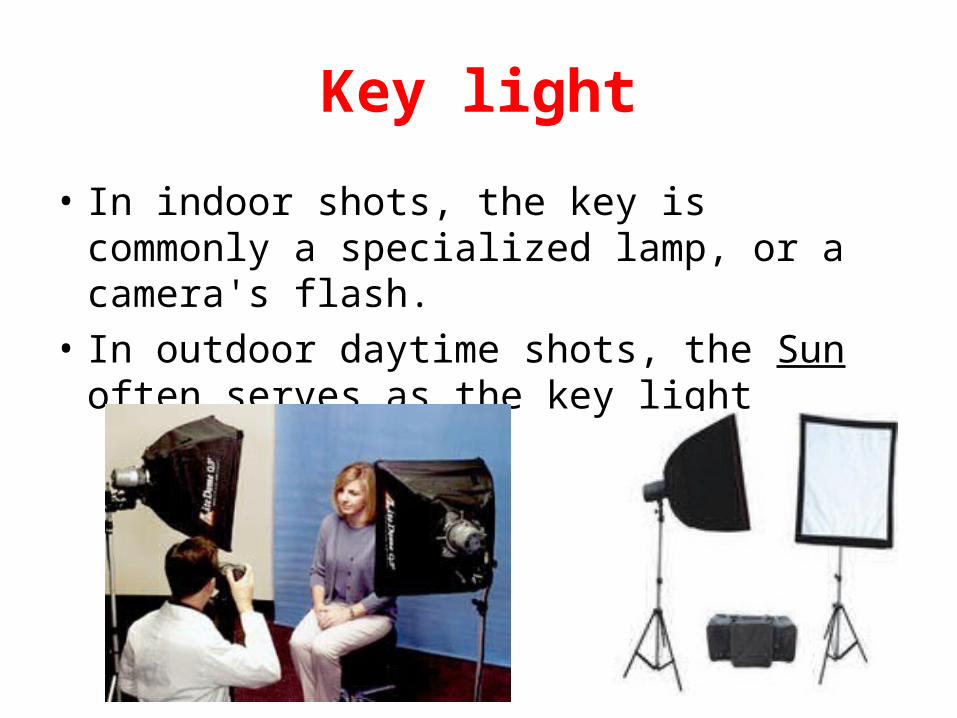
Key light
• In indoor shots, the key is commonly a specialized lamp, or a camera's flash.
• In outdoor daytime shots, the Sun often serves as the key light
Tungsten lights
• tungsten lights have a filament and the filament is inside a bulb; the light bulbs in your house are tungsten lights.
• When these bulbs were made specifically for still and movie
• Use they were made to run at very high temperatures so there would be more blue in the light and so the light would be brighter.

Lights
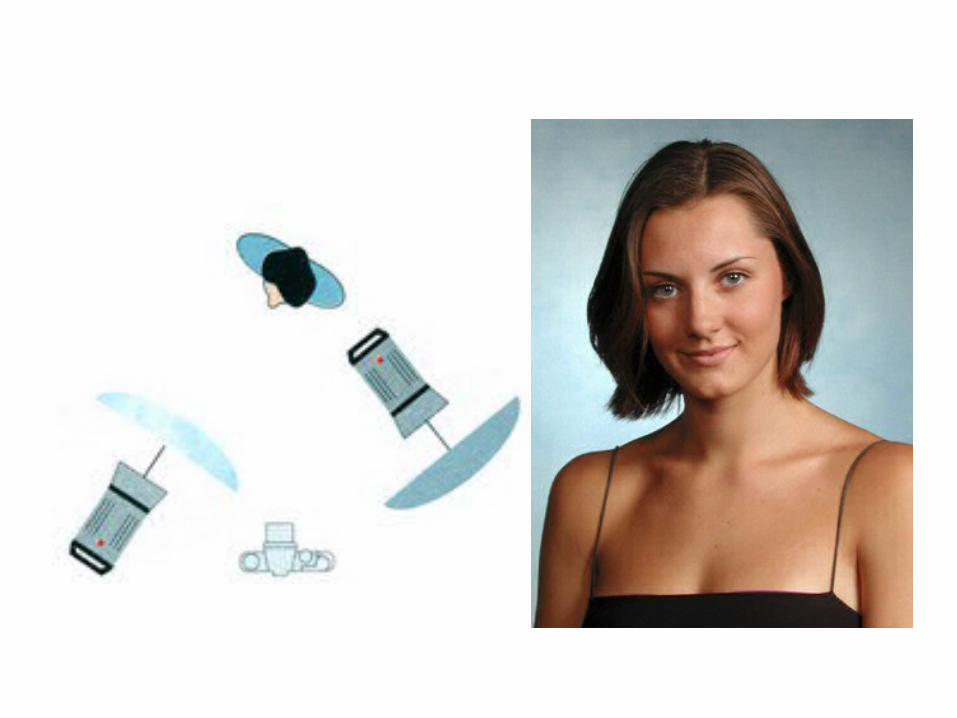
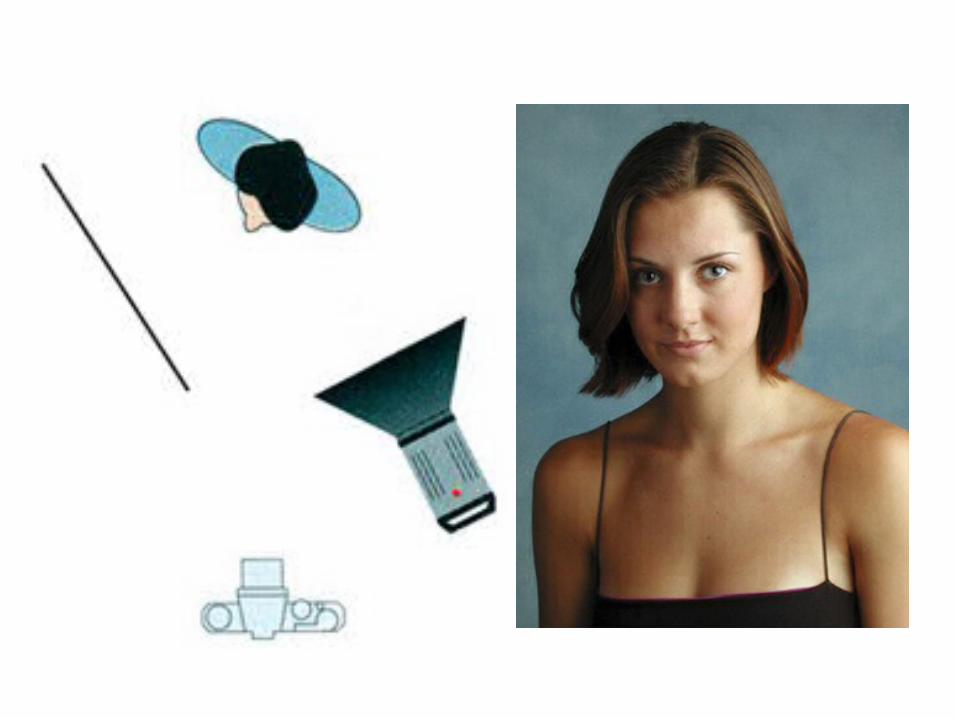
• Main light: One bright light is used to illuminate the front of the subject. This light is the brightest one used. It is angled from the side of the subject.
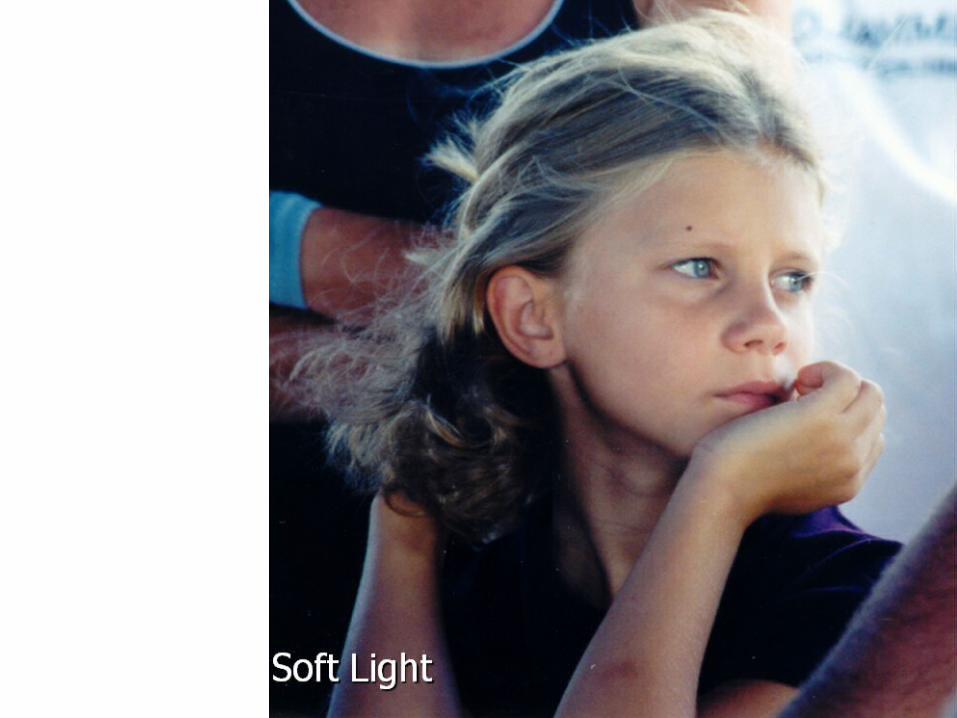
• Diffuser: A diffuser is used to soften the light. Harsh light does not look good and it makes the subject squint. A diffuser is placed between the light and the person.
Lights
• Reflector: A reflector is used to lighten the opposite side of the person’s face and fill in shadows.
• Hair light: Often, a light from the opposite side of the main light and up high is used to highlight the subject’s hair.
• Background light: Sometimes a light is shined on the background.
• Fill lights: Sometimes dimmer lights are used to fill in shadows or brighten up certain parts of the picture.
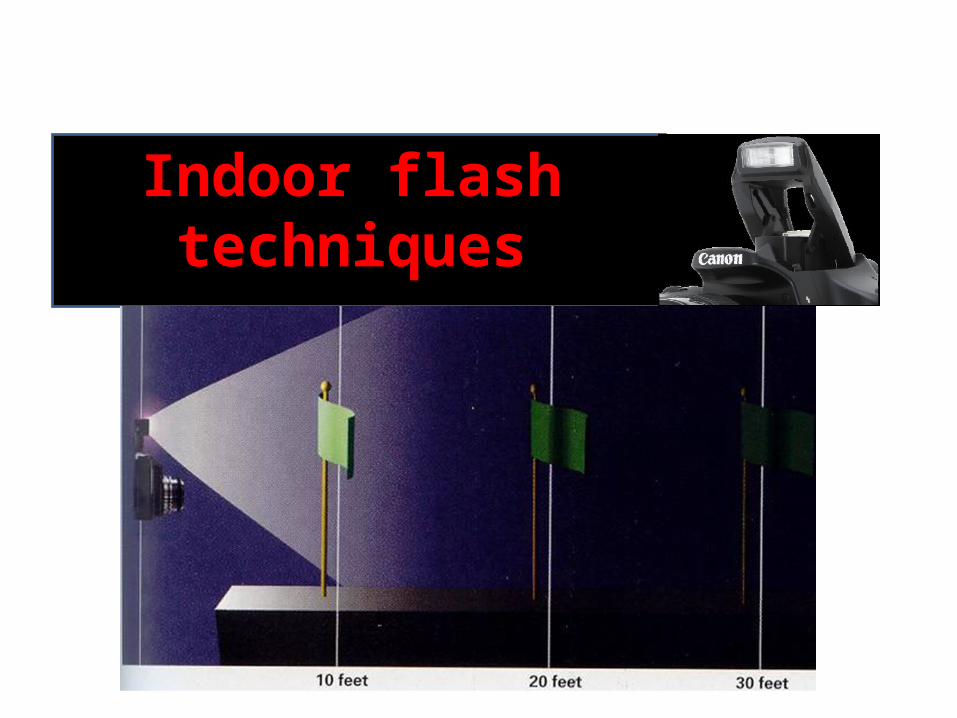
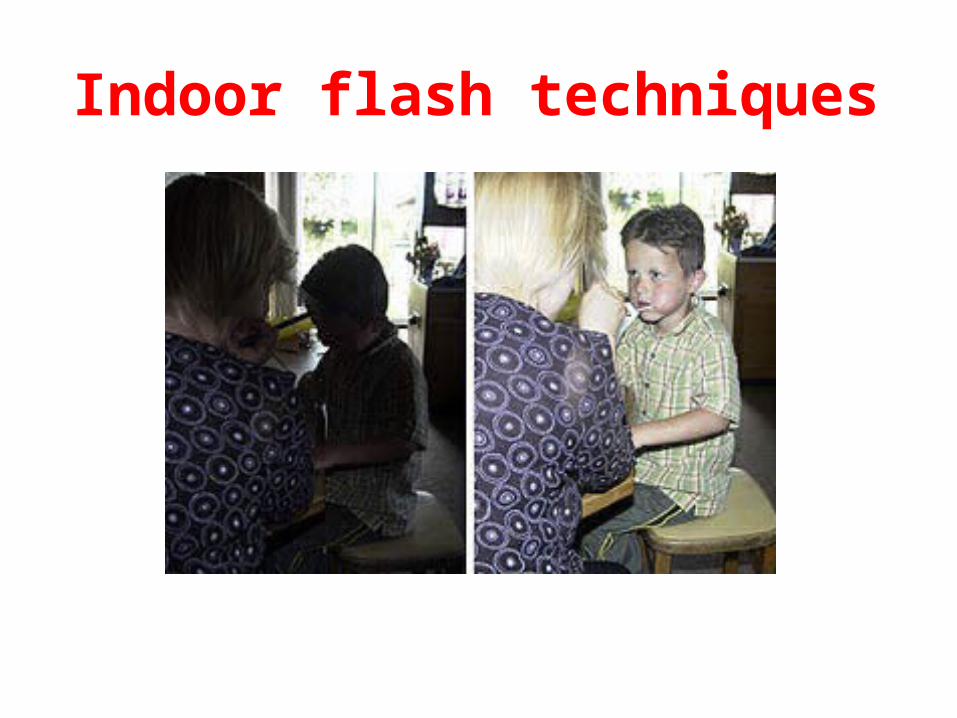
Indoor flash techniques
Indoor flash techniques
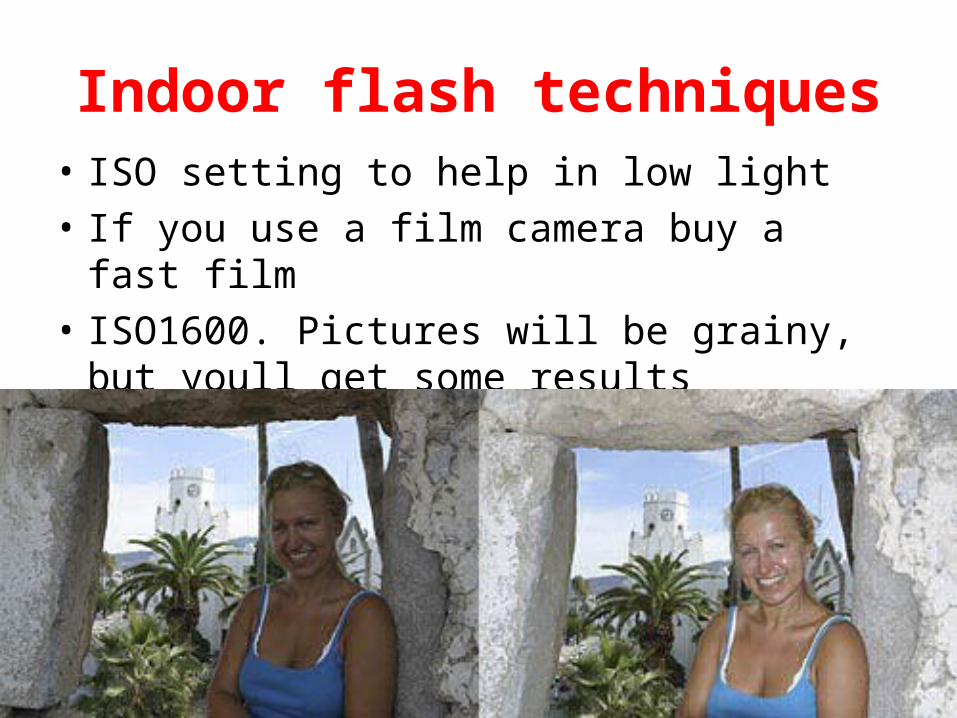
• ISO setting to help in low light• If you use a film camera buy a fast film• ISO1600. Pictures will be grainy, but youll get
some results
Indoor flash techniques
Indoor flash techniques
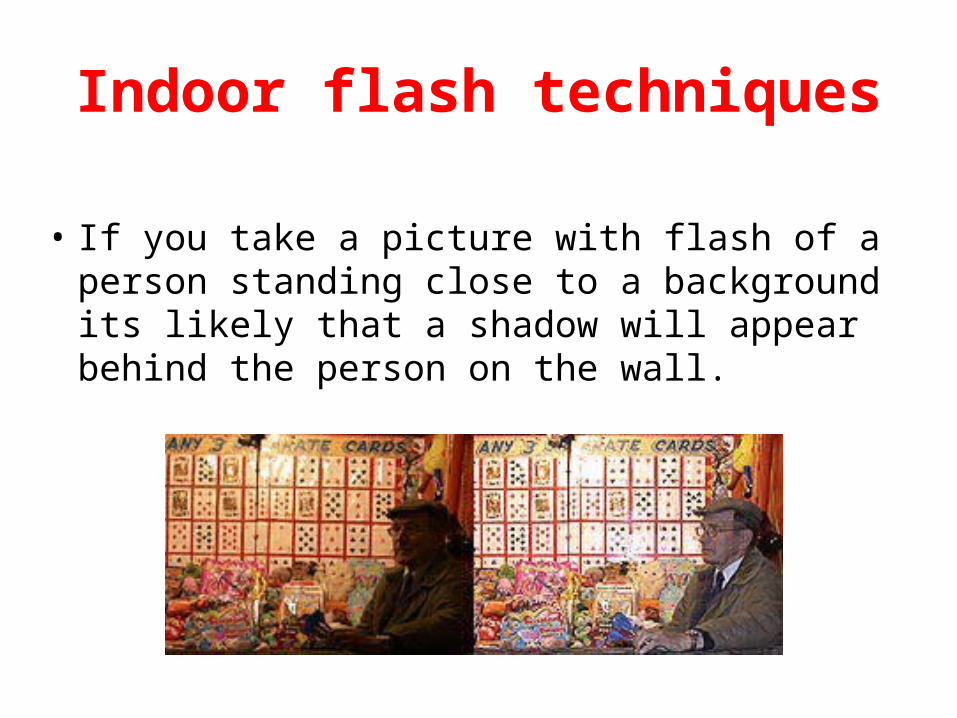
• If you take a picture with flash of a person standing close to a background its likely that a shadow will appear behind the person on the wall.
• Flash Technique• bounce flash• eliminates red-eye• more natural looking• fill flash• reduce shadows• control contrast
Indoor flash techniques
Photography in Sunlight
• Photography is all about light, the direction of the light falling on your subject is most important
• You need to look at your subject carefully and watch how the shadows fall.
• If you are able to choose the time of day to shoot your pictures, try to pick a time when the sun is low in the sky.

Photography in Sunlight
• shoot in the early morning or late afternoon• Shooting pictures of people with the sun too
high in the sky, tends to mean the subject's eyes will be in shadow.
• If you are photographing in sunlight, try to position yourself so that the sun hits your subject from the side, this will give you nice 'modelling' and help create a 3D effect in the picture
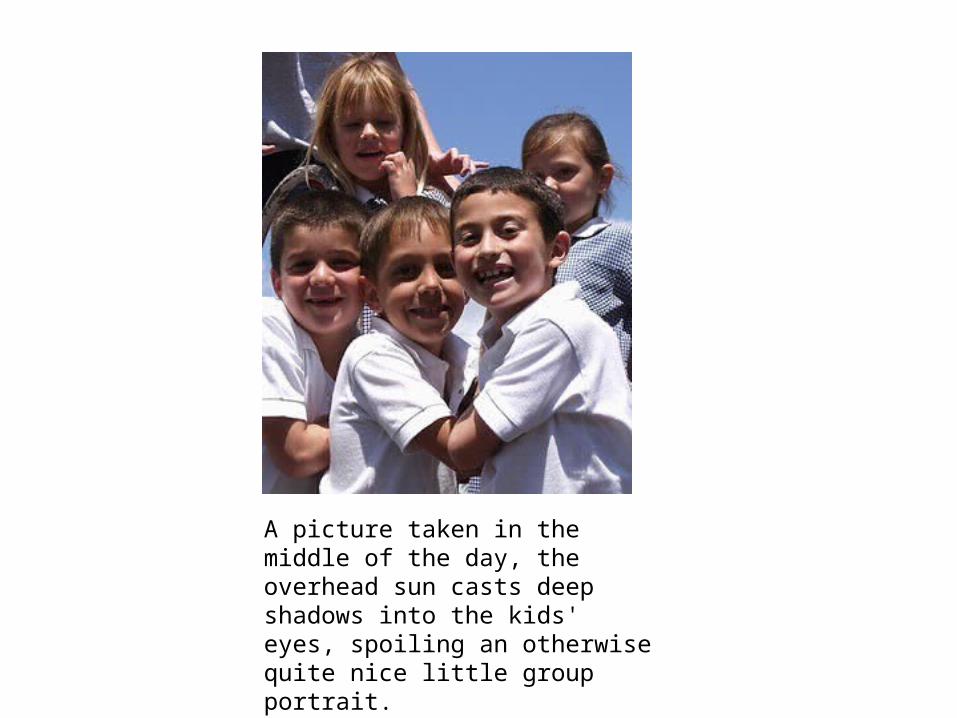
A picture taken in the middle of the day, the overhead sun casts deep shadows into the kids' eyes, spoiling an otherwise quite nice little group portrait.

Side lighting• An example of
side lighting, taken late in the afternoon the side lighting 'models' the surfer well and pulls him away from the background.
• Also the late sun gives a warmer
light.