astrophotography with a dslr - nasa with a dslr-- kevin hartnett to photo club, 6-10-15-- k.hartnett...
TRANSCRIPT
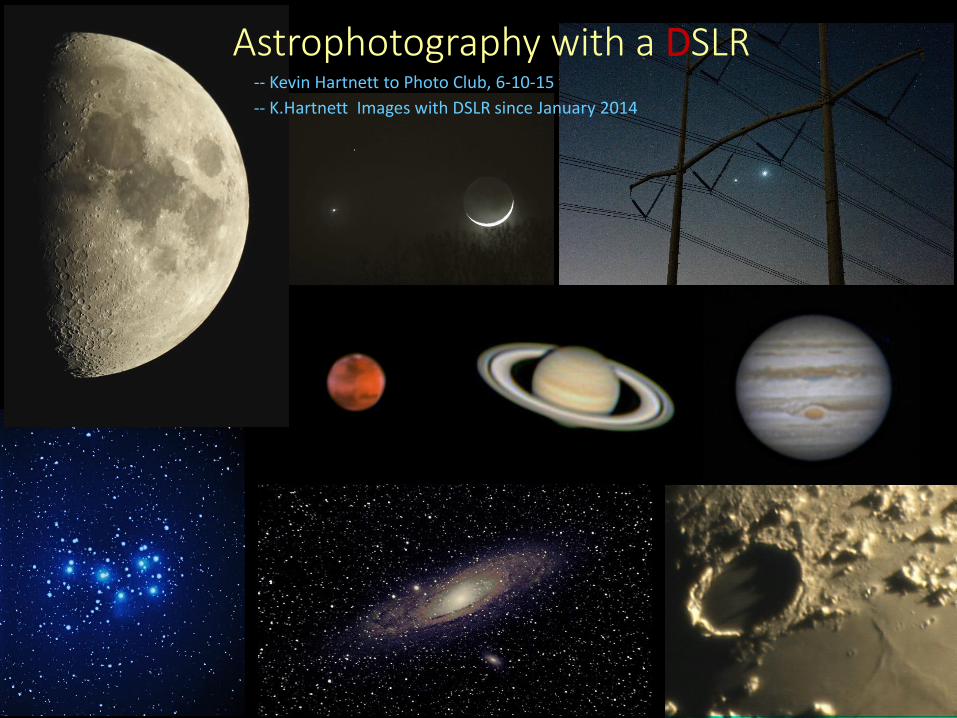
Astrophotography with a DSLR-- Kevin Hartnett to Photo Club, 6-10-15
-- K.Hartnett Images with DSLR since January 2014
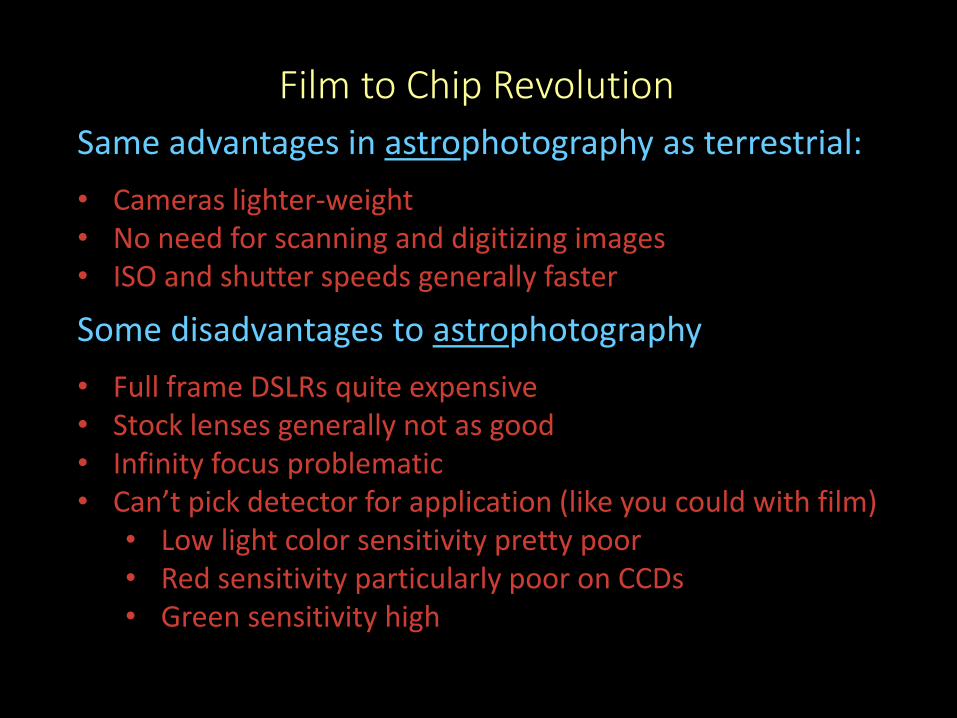
Film to Chip Revolution
Same advantages in astrophotography as terrestrial:
• Cameras lighter-weight• No need for scanning and digitizing images• ISO and shutter speeds generally faster
Some disadvantages to astrophotography
• Full frame DSLRs quite expensive• Stock lenses generally not as good• Infinity focus problematic• Can’t pick detector for application (like you could with film)
• Low light color sensitivity pretty poor• Red sensitivity particularly poor on CCDs• Green sensitivity high
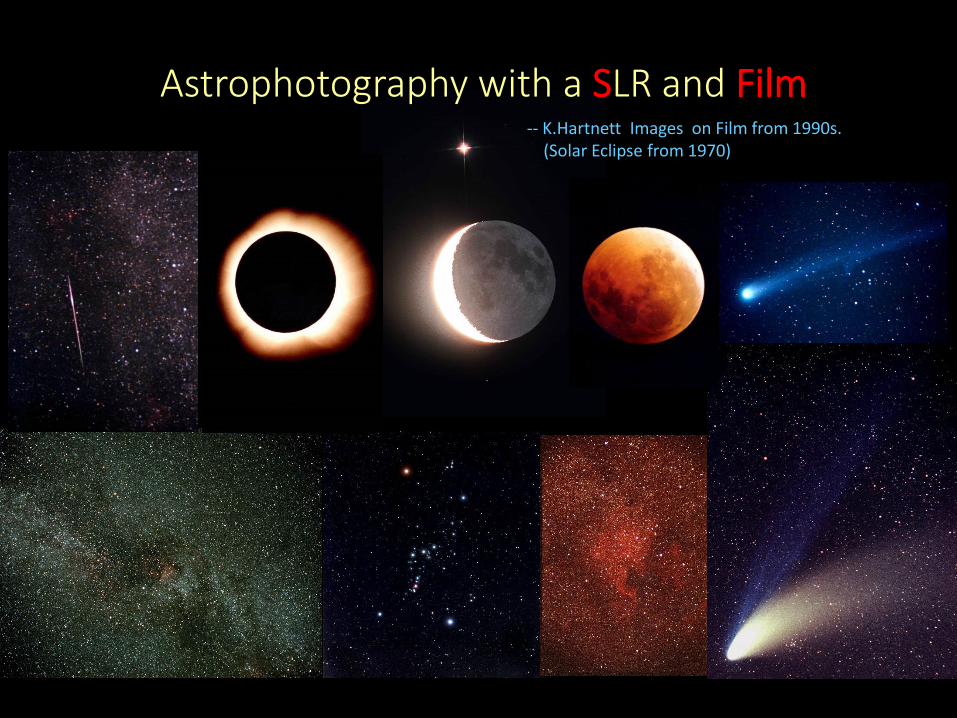
Astrophotography with a SLR and Film-- K.Hartnett Images on Film from 1990s.
(Solar Eclipse from 1970)
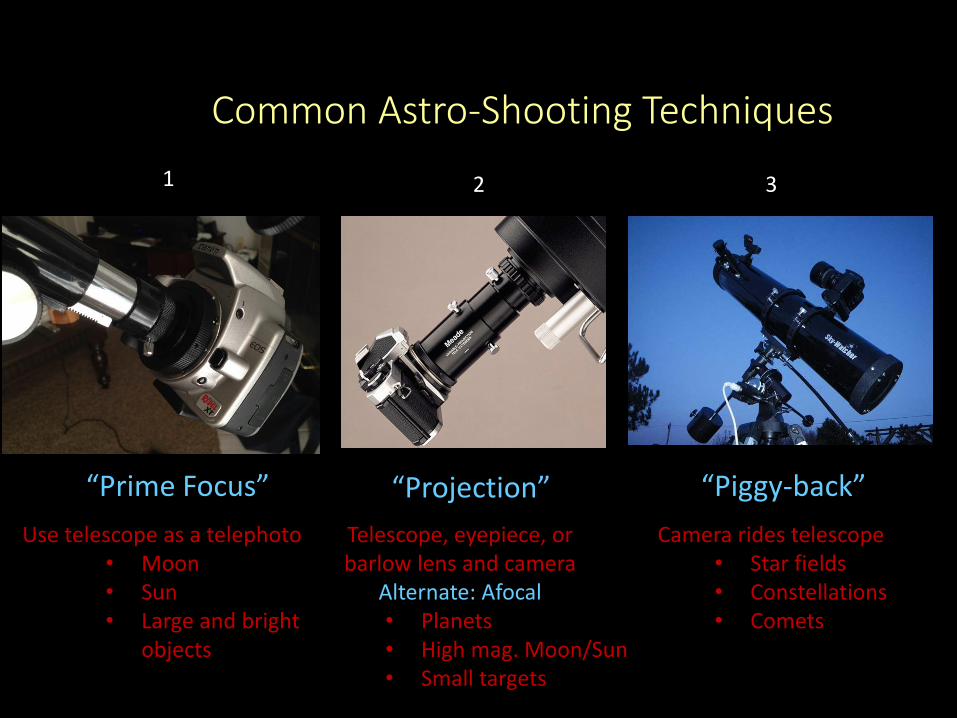
Common Astro-Shooting Techniques
“Piggy-back”
1 2 3
“Prime Focus” “Projection”
Use telescope as a telephoto• Moon• Sun• Large and bright
objects
Telescope, eyepiece, or barlow lens and camera
Alternate: Afocal• Planets• High mag. Moon/Sun• Small targets
Camera rides telescope• Star fields• Constellations • Comets
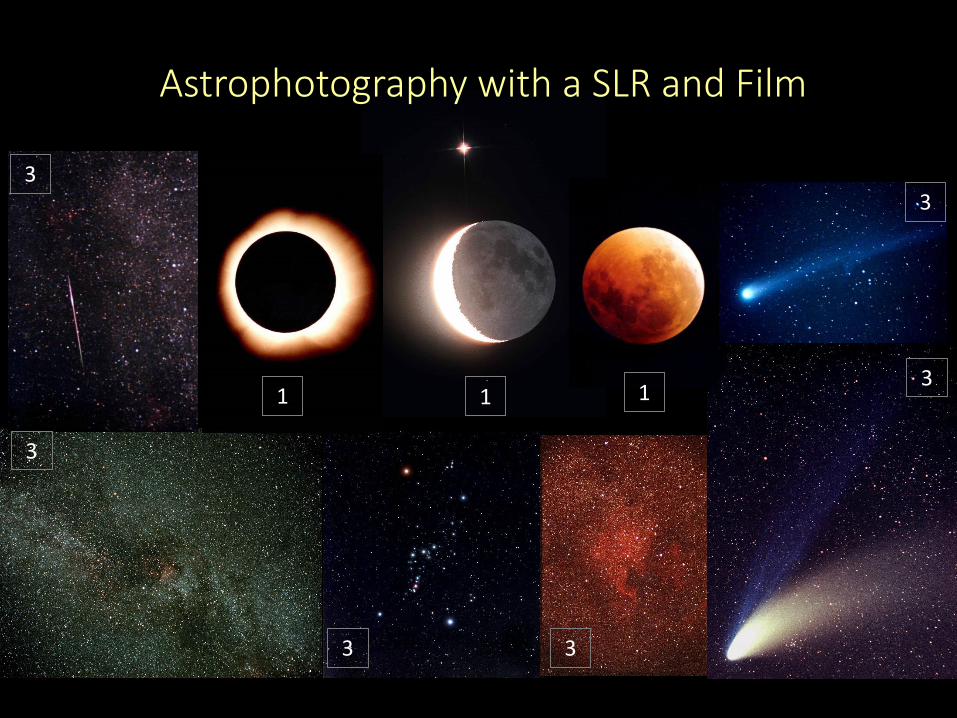
Astrophotography with a SLR and Film
11 1
3
3
3 3
3
3
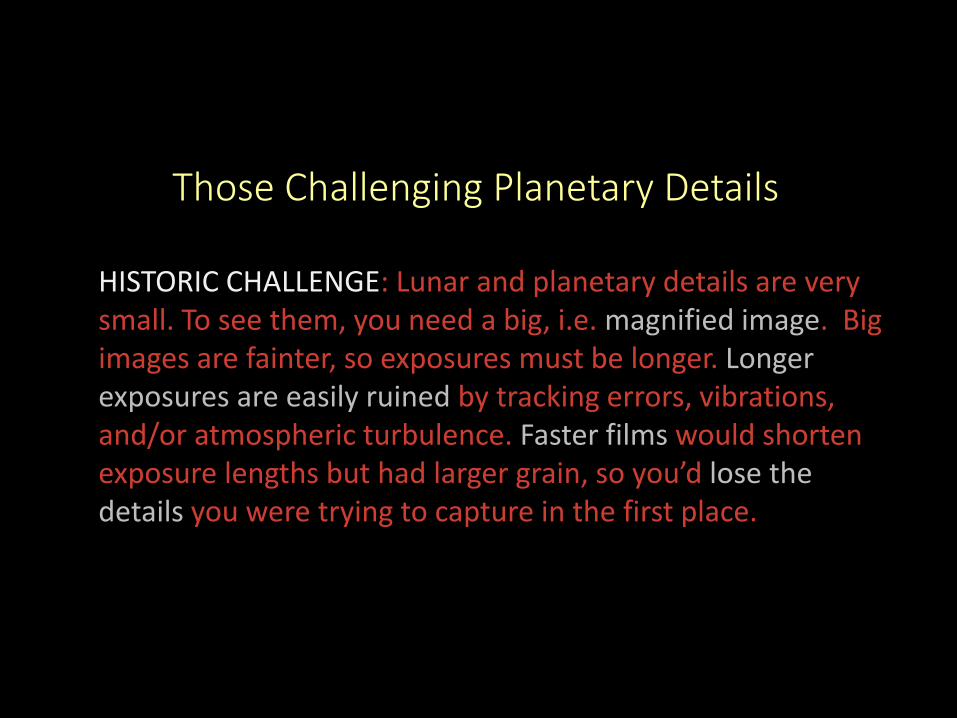
Those Challenging Planetary Details
HISTORIC CHALLENGE: Lunar and planetary details are very small. To see them, you need a big, i.e. magnified image. Big images are fainter, so exposures must be longer. Longer exposures are easily ruined by tracking errors, vibrations, and/or atmospheric turbulence. Faster films would shorten exposure lengths but had larger grain, so you’d lose the details you were trying to capture in the first place.
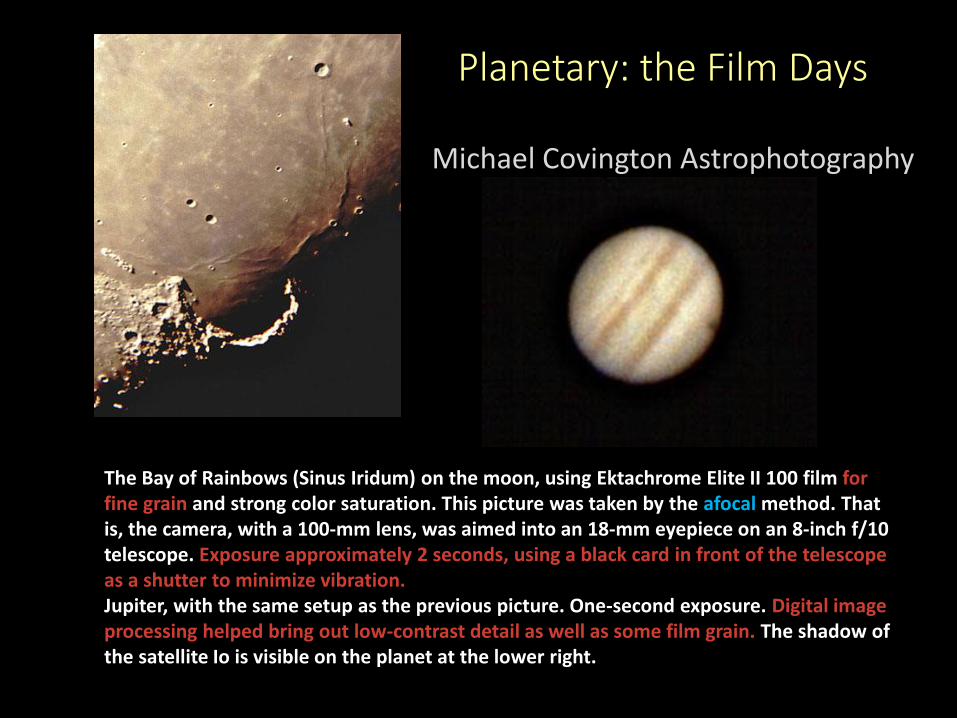
The Bay of Rainbows (Sinus Iridum) on the moon, using Ektachrome Elite II 100 film for fine grain and strong color saturation. This picture was taken by the afocal method. That is, the camera, with a 100-mm lens, was aimed into an 18-mm eyepiece on an 8-inch f/10 telescope. Exposure approximately 2 seconds, using a black card in front of the telescope as a shutter to minimize vibration. Jupiter, with the same setup as the previous picture. One-second exposure. Digital image processing helped bring out low-contrast detail as well as some film grain. The shadow of the satellite Io is visible on the planet at the lower right.
Michael Covington Astrophotography
Planetary: the Film Days
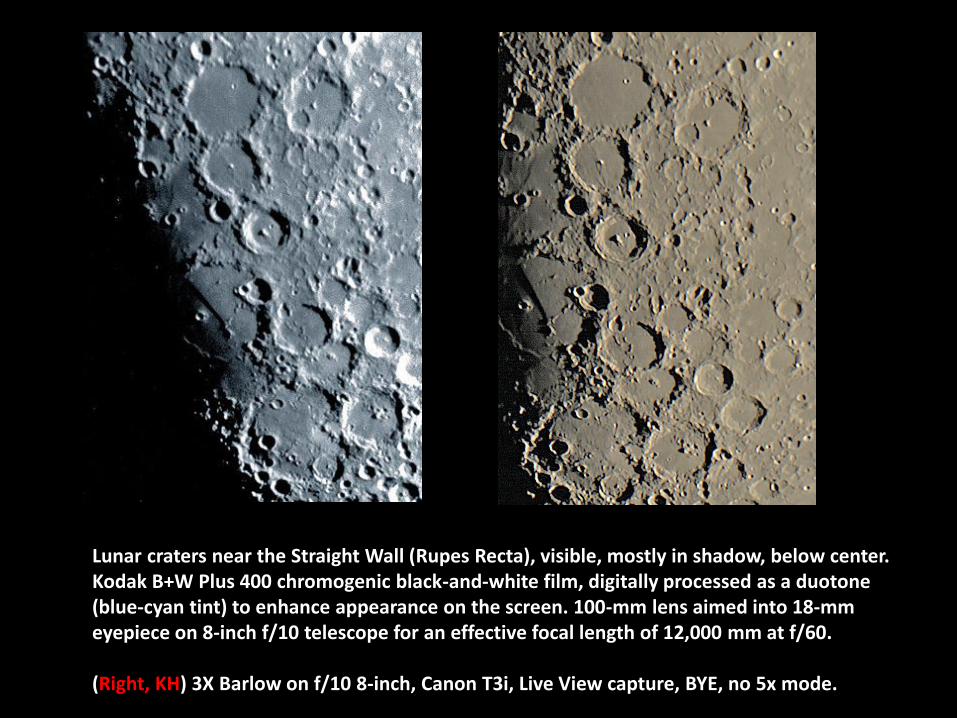
Lunar craters near the Straight Wall (Rupes Recta), visible, mostly in shadow, below center. Kodak B+W Plus 400 chromogenic black-and-white film, digitally processed as a duotone (blue-cyan tint) to enhance appearance on the screen. 100-mm lens aimed into 18-mm eyepiece on 8-inch f/10 telescope for an effective focal length of 12,000 mm at f/60.
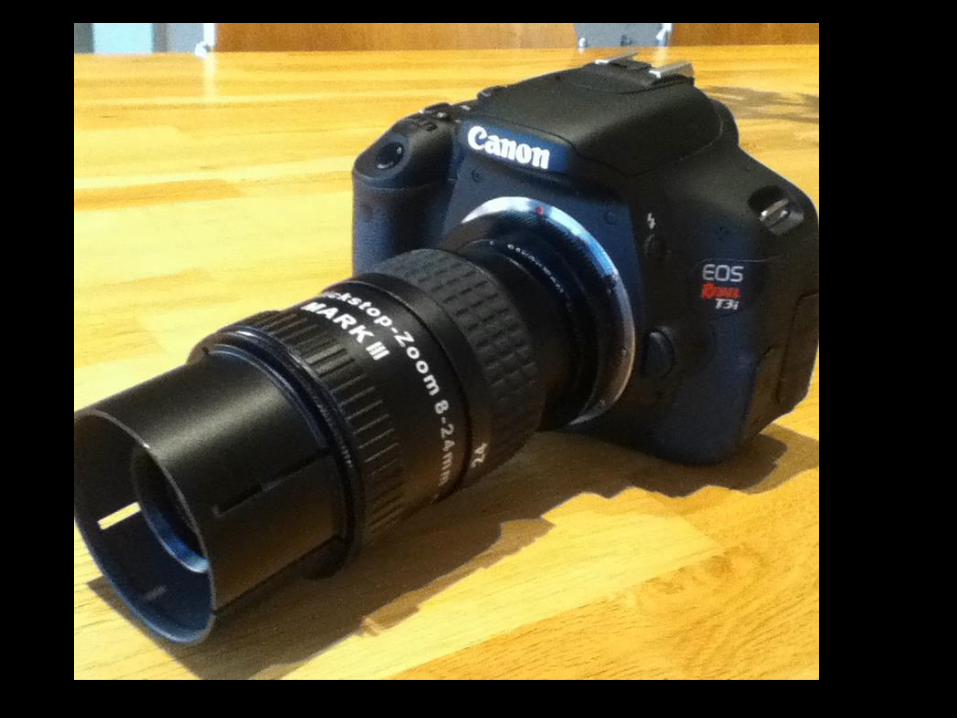
(Right, KH) 3X Barlow on f/10 8-inch, Canon T3i, Live View capture, BYE, no 5x mode.
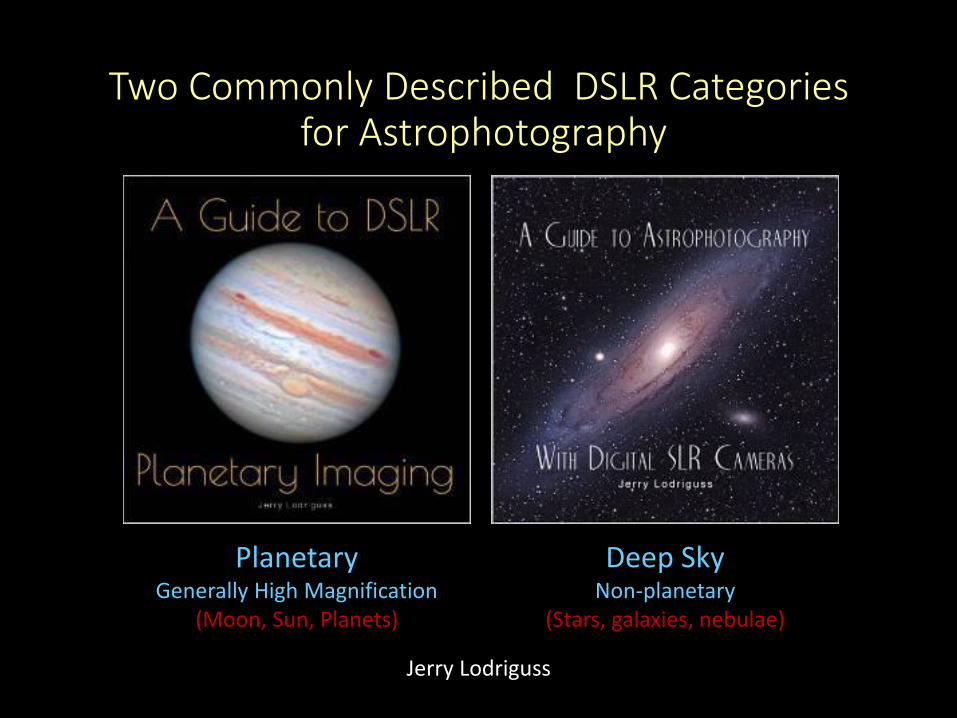
Two Commonly Described DSLR Categoriesfor Astrophotography
Deep SkyNon-planetary
(Stars, galaxies, nebulae)
PlanetaryGenerally High Magnification
(Moon, Sun, Planets)
Jerry Lodriguss
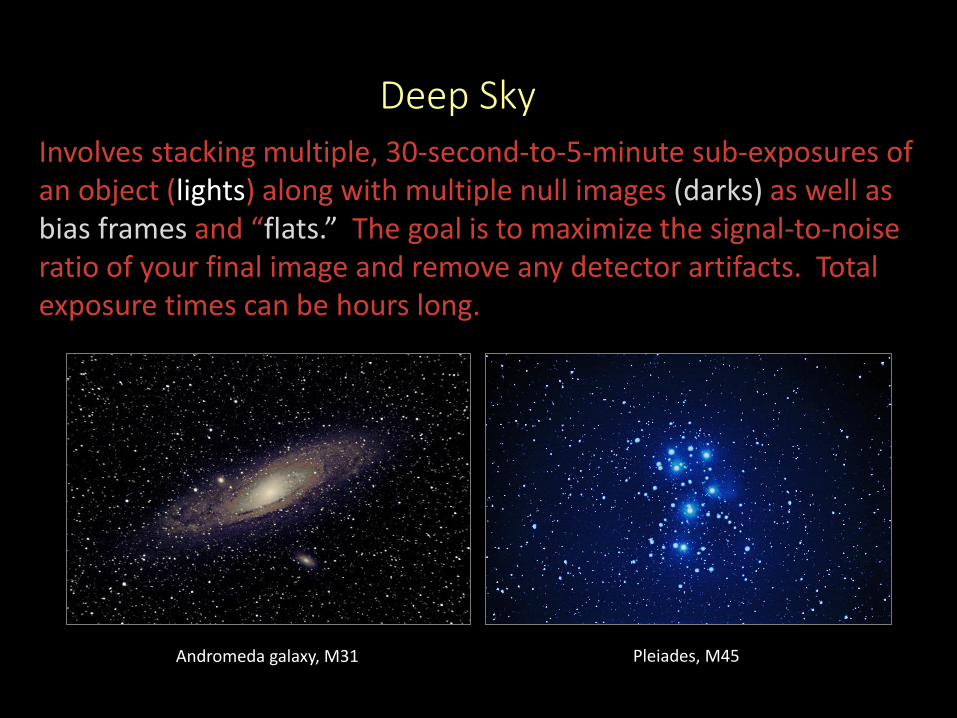
Deep Sky
Involves stacking multiple, 30-second-to-5-minute sub-exposures of an object (lights) along with multiple null images (darks) as well as bias frames and “flats.” The goal is to maximize the signal-to-noise ratio of your final image and remove any detector artifacts. Total exposure times can be hours long.
Andromeda galaxy, M31 Pleiades, M45
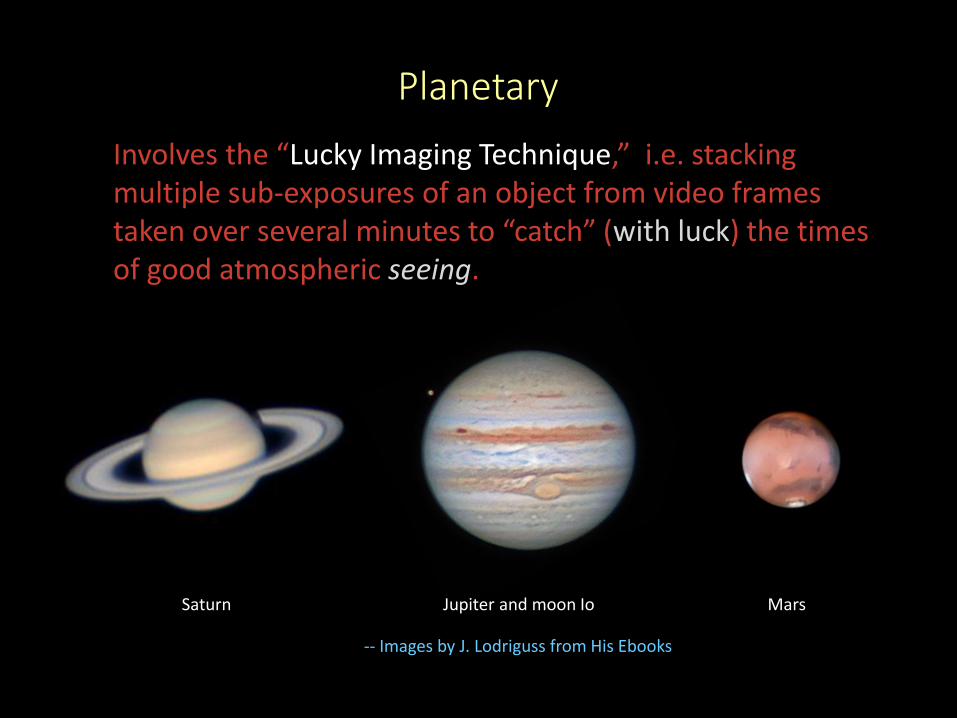
Planetary
Involves the “Lucky Imaging Technique,” i.e. stacking multiple sub-exposures of an object from video frames taken over several minutes to “catch” (with luck) the times of good atmospheric seeing.
Saturn Jupiter and moon Io Mars
-- Images by J. Lodriguss from His Ebooks
“Lucky Imaging” From Ebooks by J. Lodriguss
Image size: A very simple rule of thumb to determine the focal ratio, and
therefore the magnification, you should shoot at is to multiply your pixel size by 5x for nights of average seeing, and 7x for nights of really good seeing.
For example, Canon's T3i (600D), T2i (550D), 60D, and 7D all have the same size pixels, which are 4.3 microns square. For a night of average seeing, we would multiply 4.3 by 5x and get 21.5, so we would want to shoot at around f/21. If you have an SCT with a focal ratio of f/10, you could use a 2x Barlow to get to f/20.
1:1 Pixel Resolution: Using the native resolution of the sensor allows us to
record images with 1:1 pixel resolution. This means there is a 1:1 relationship between the detail recorded by the sensor and the detail in the final image.One pixel recorded by the sensor is output to one pixel in the final image.
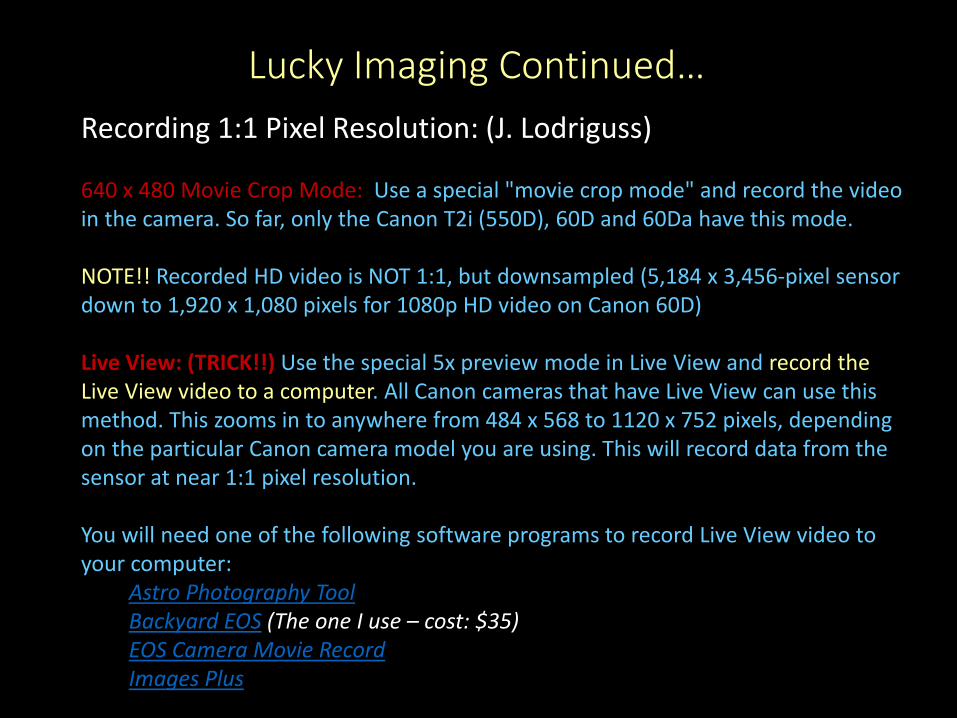
Lucky Imaging Continued…
Recording 1:1 Pixel Resolution: (J. Lodriguss)Live View - Use a special
5x zoom 640 x 480 Movie Crop Mode: Use a special "movie crop mode" and record the video in the camera. So far, only the Canon T2i (550D), 60D and 60Da have this mode.
NOTE!! Recorded HD video is NOT 1:1, but downsampled (5,184 x 3,456-pixel sensor down to 1,920 x 1,080 pixels for 1080p HD video on Canon 60D)
Live View: (TRICK!!) Use the special 5x preview mode in Live View and record the Live View video to a computer. All Canon cameras that have Live View can use this method. This zooms in to anywhere from 484 x 568 to 1120 x 752 pixels, depending on the particular Canon camera model you are using. This will record data from the sensor at near 1:1 pixel resolution.
You will need one of the following software programs to record Live View video to your computer:
Astro Photography ToolBackyard EOS (The one I use – cost: $35)EOS Camera Movie RecordImages Plus
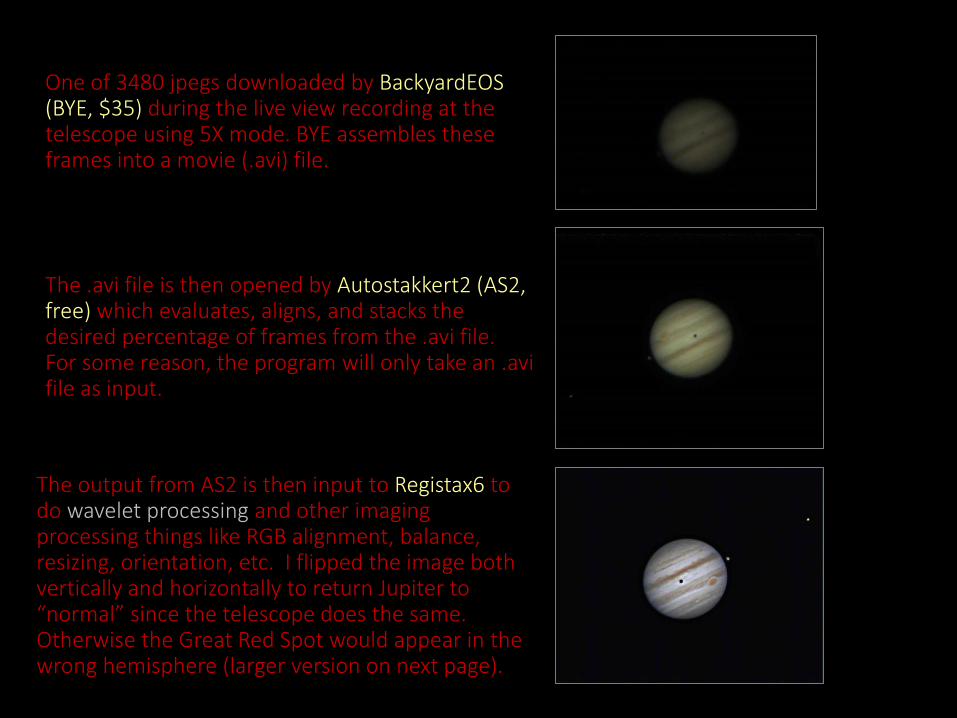
One of 3480 jpegs downloaded by BackyardEOS(BYE, $35) during the live view recording at the telescope using 5X mode. BYE assembles these frames into a movie (.avi) file.
The .avi file is then opened by Autostakkert2 (AS2, free) which evaluates, aligns, and stacks the desired percentage of frames from the .avi file. For some reason, the program will only take an .avifile as input.
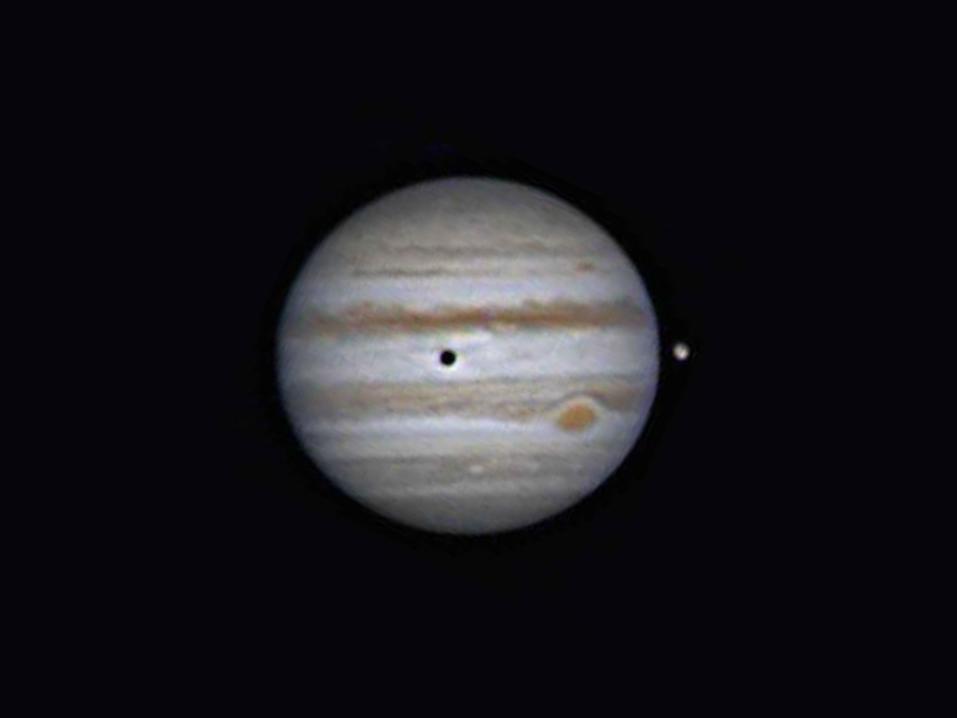
The output from AS2 is then input to Registax6 todo wavelet processing and other imaging processing things like RGB alignment, balance, resizing, orientation, etc. I flipped the image both vertically and horizontally to return Jupiter to “normal” since the telescope does the same. Otherwise the Great Red Spot would appear in the wrong hemisphere (larger version on next page).
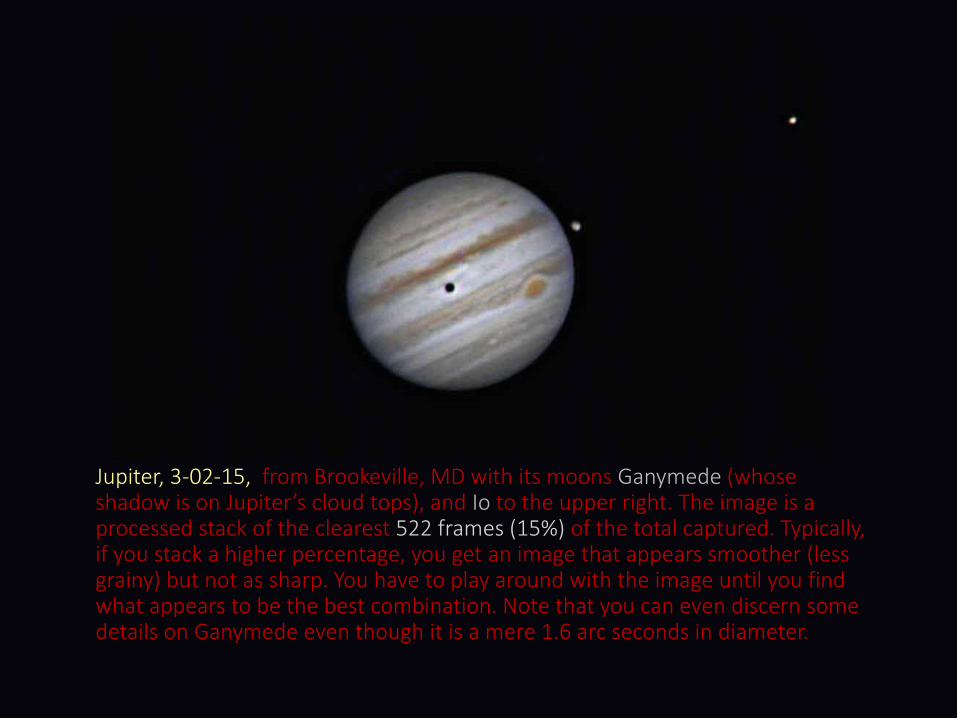
Jupiter, 3-02-15, from Brookeville, MD with its moons Ganymede (whose shadow is on Jupiter’s cloud tops), and Io to the upper right. The image is a processed stack of the clearest 522 frames (15%) of the total captured. Typically, if you stack a higher percentage, you get an image that appears smoother (less grainy) but not as sharp. You have to play around with the image until you find what appears to be the best combination. Note that you can even discern some details on Ganymede even though it is a mere 1.6 arc seconds in diameter.

Demo