astrophotography 101 · astrophotography 101 1. telescope – your choice remember – the shorter...
TRANSCRIPT
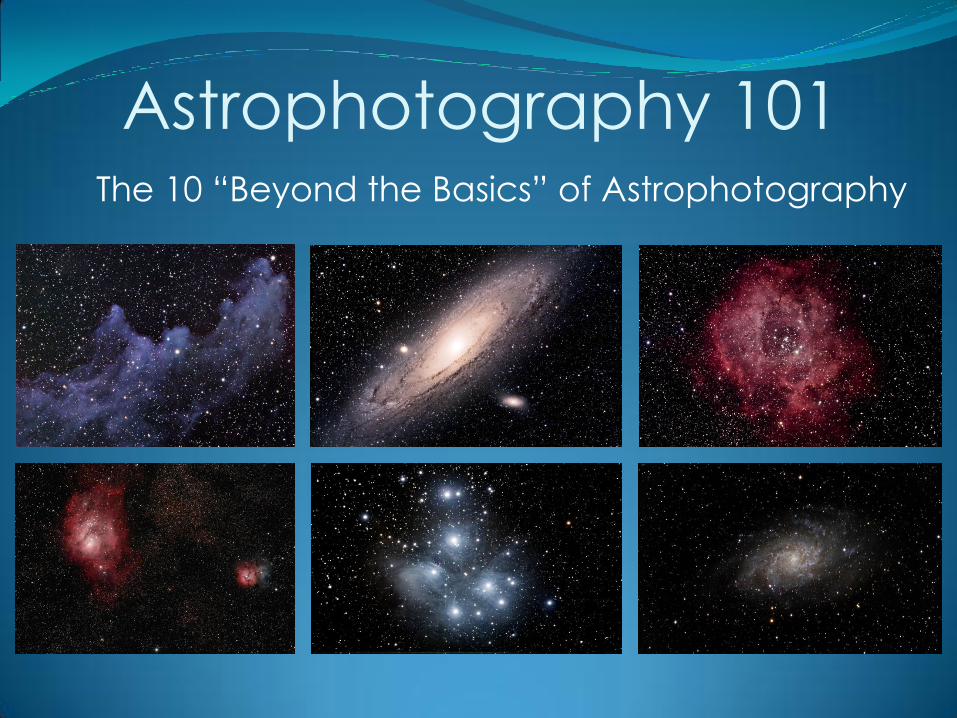
Astrophotography 101 The 10 “Beyond the Basics” of Astrophotography

Astrophotography 101 The 10 “Beyond the Basics” of Astrophotography
1. Telescope
2. Equatorial Mount vs. Alt-azimuth mount
3. Camera
4. Necessary Accessories
5. Autoguiding – PHD
6. Focus Focus Focus!
7. Capture and Processing Software
8 Lights, Darks, Flats and Bias Frames – How Many?
9. Pre processing – combining the images
10. Voila – your first image – see what ya got!

Astrophotography 101
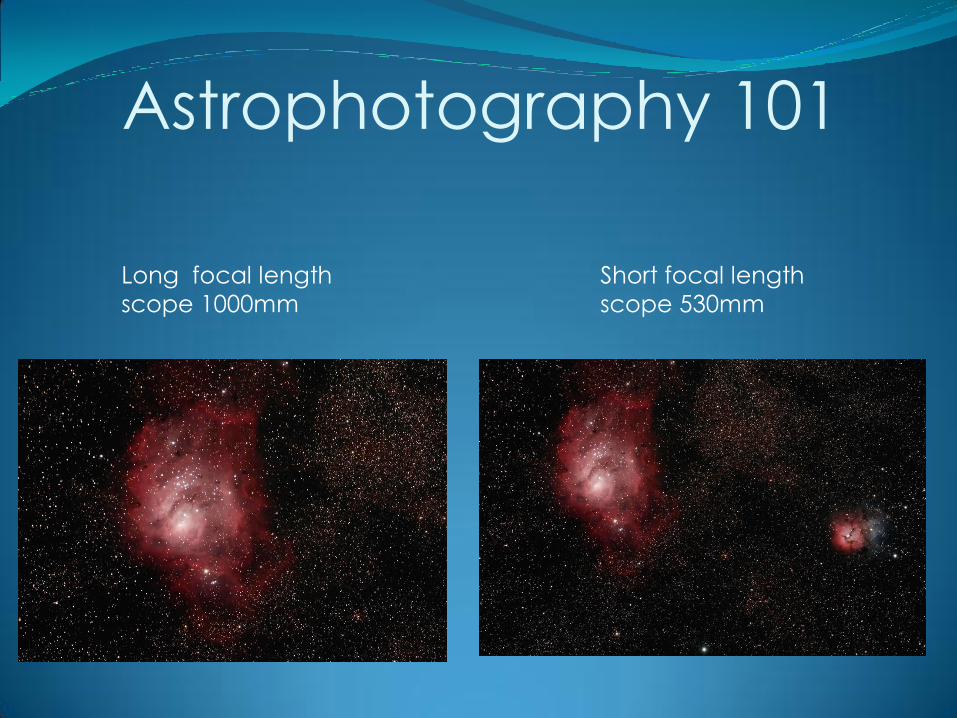
1. Telescope – Your Choice REMEMBER – the SHORTER the focal length –
the WIDER the field of view!
Any scope will work for astrophotography!
Decide what you want to photograph – if you
are looking to photograph nebula – a shorter
focal length scope will work – if you want to
get galaxies – longer focal length will be
needed.

Astrophotography 101
Short focal length
scope 530mm Long focal length
scope 1000mm
Astrophotography 101
Short focal length
scope 530mm
Long focal length
scope 1000mm

Astrophotography 101 Excellent FREEWARE program for determining
field of view for your scope AND Camera is :
Astrophotography 101
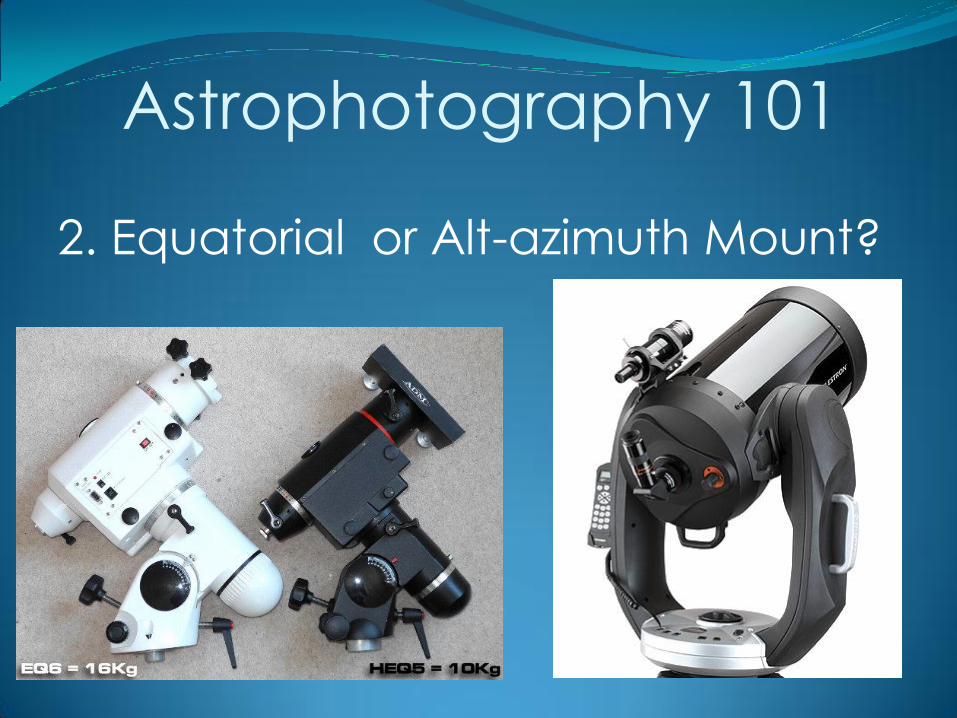
2. Equatorial or Alt-azimuth Mount?
Astrophotography 101
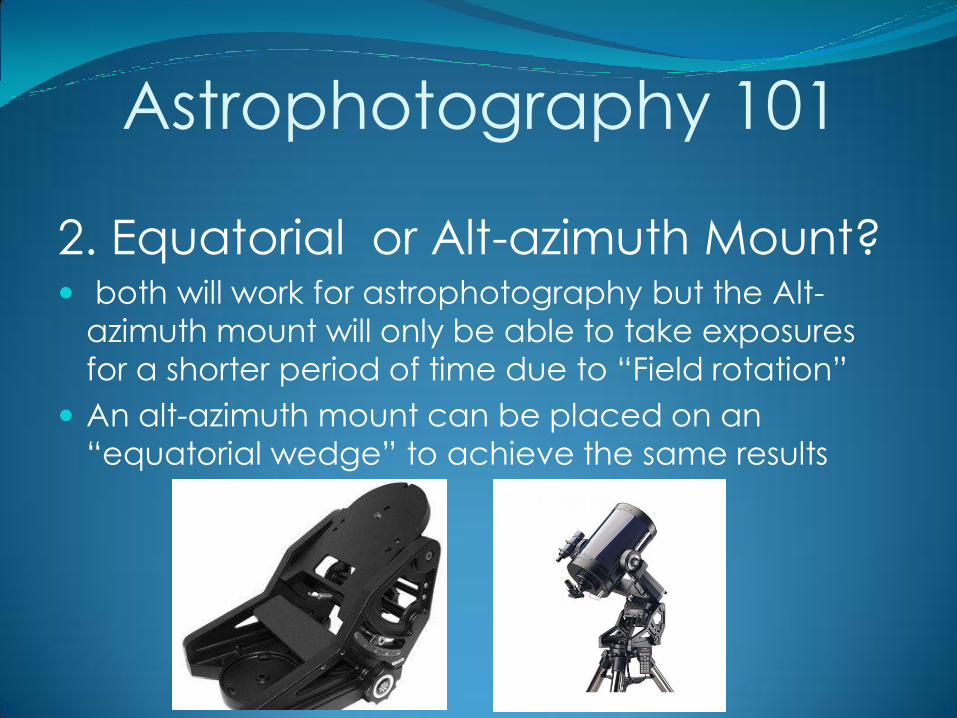
2. Equatorial or Alt-azimuth Mount? both will work for astrophotography but the Alt-
azimuth mount will only be able to take exposures
for a shorter period of time due to “Field rotation”
An alt-azimuth mount can be placed on an
“equatorial wedge” to achieve the same results
Astrophotography 101
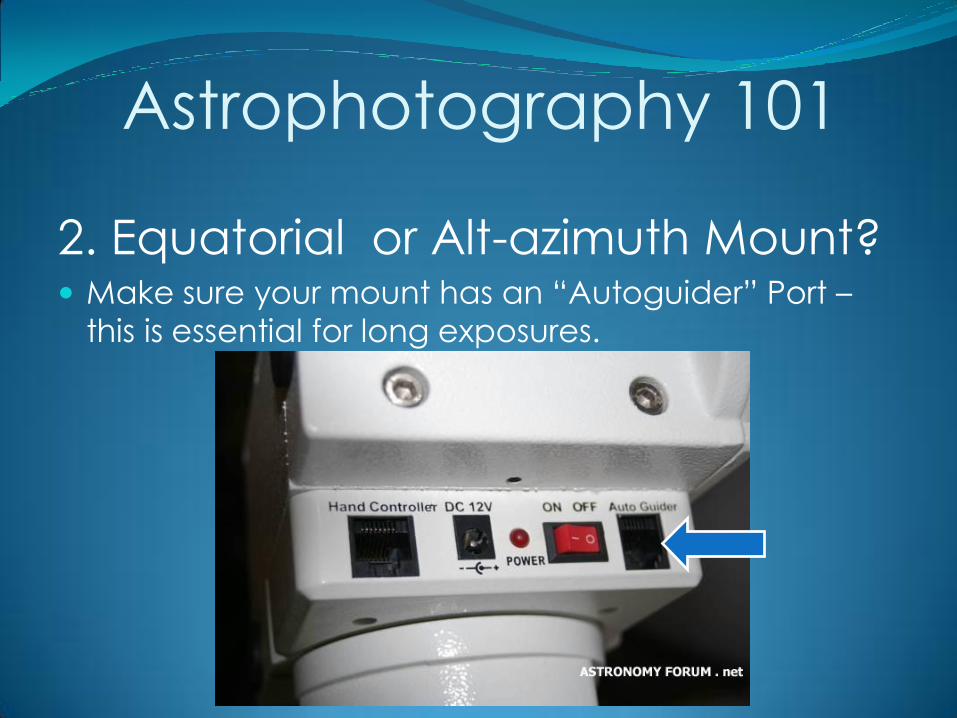
2. Equatorial or Alt-azimuth Mount? Make sure your mount has an “Autoguider” Port –
this is essential for long exposures.

Astrophotography 101
Powering the mount? Make Sure you have a reliable power source for
long time use – generally a good commercial grade
truck or auto battery is enough
NOTE: AMP HOURS - the higher the amp hours the
longer lasting charge available . Minimum 105 ha
Automotive or deep cycle???

Astrophotography 101
Powering the mount? deep cycle batteries can be run down to nothing
and can be recharged – unlike automotive
batteries
Not recommended if you are running dew heaters –
most dew heaters i.e. Kendrick have built in shutoff if
voltage goes too low – need inverter to boost the
voltage….
Deep cycle – avg. 12.89 v max
Auto – 13.8v max

Astrophotography 101
3. Camera Choice DSLR?...CCD?....COLOUR?....Monochrome???
Let’s start with the good ‘ol DSLR!
Easy to use and COLOUR!
Very “software” friendly – lots of astro software works
well with the Canon products. Lightweight and rugged
Shutter can be operated by computer
Easily adapted to most scopes
Astrophotography 101
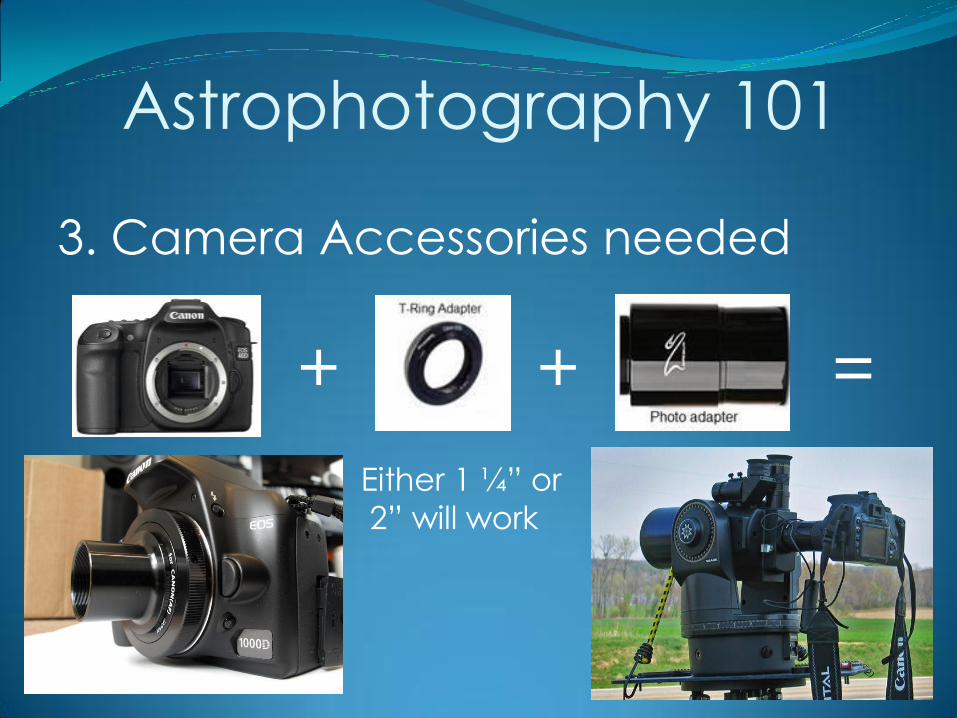
3. Camera Accessories needed
+ + =
Either 1 ¼” or
2” will work

Astrophotography 101
4. Necessary Accessories Good Planetartium Software Freeware – Stellarium
- Cartes Du Ciel
Purchase - The SKY
- Earth Centered Universe
- Starry Night
Note: ALL of the above software have the ability to operate your telescope mount!!!!!

Astrophotography 101 4. Necessary Accessories Dew Control
Minimum 2 heaters
Objective and
autoguider

Astrophotography 101 4. Camera Control Software Freeware – DSLR Control
APT by Digital Software * minimal charge
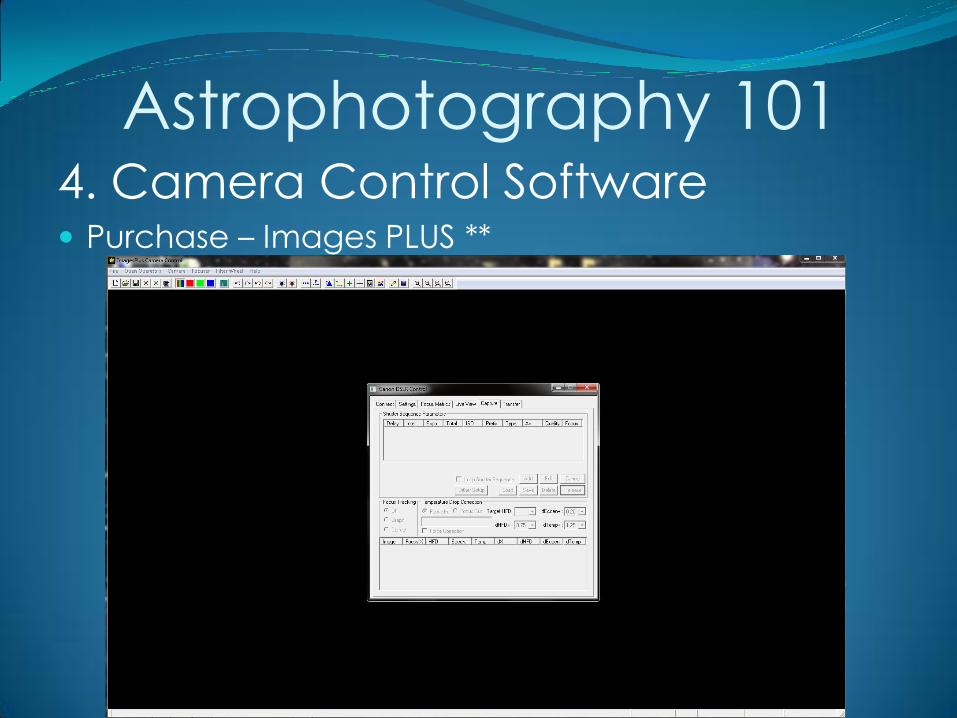
Astrophotography 101 4. Camera Control Software Purchase – Images PLUS **

Astrophotography 101 4. Camera Control Software Purchase – Maxim DL

Astrophotography 101 5. Autoguiding - Autoguiders Starshoot – Orion
QHY5 – KW Telescope
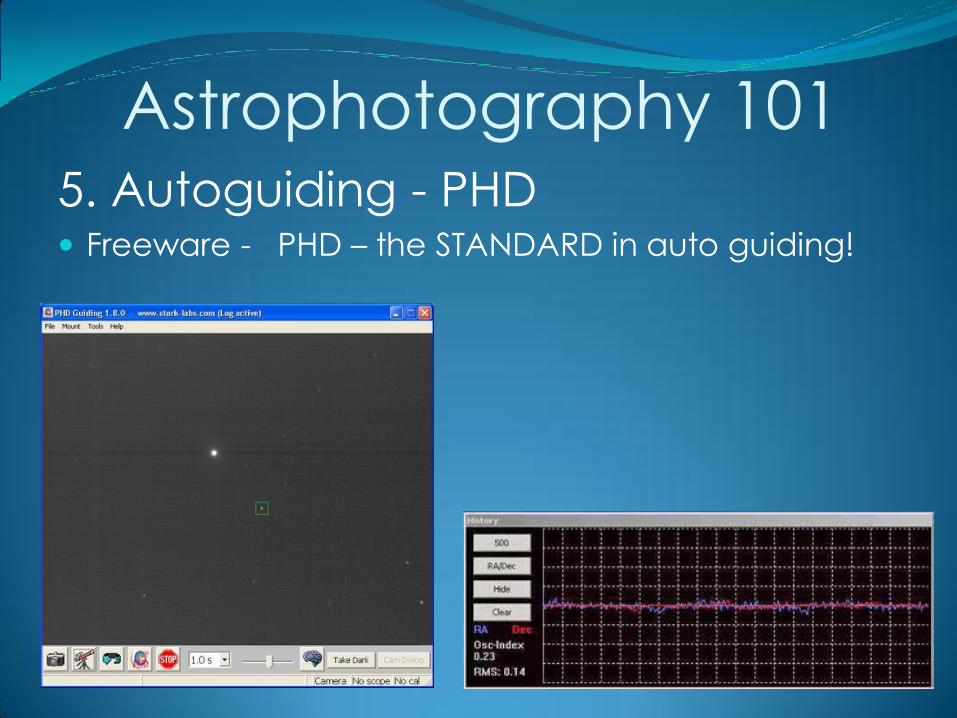
Astrophotography 101 5. Autoguiding - PHD Freeware - PHD – the STANDARD in auto guiding!

Astrophotography 101 ASCOM Platform

Astrophotography 101 6. Focus Focus Focus!!!
Bahtinov Mask
Liveview – Canon cameras
Fotosharp – KW Telescope

Astrophotography 101
Freeware –
Focus Max
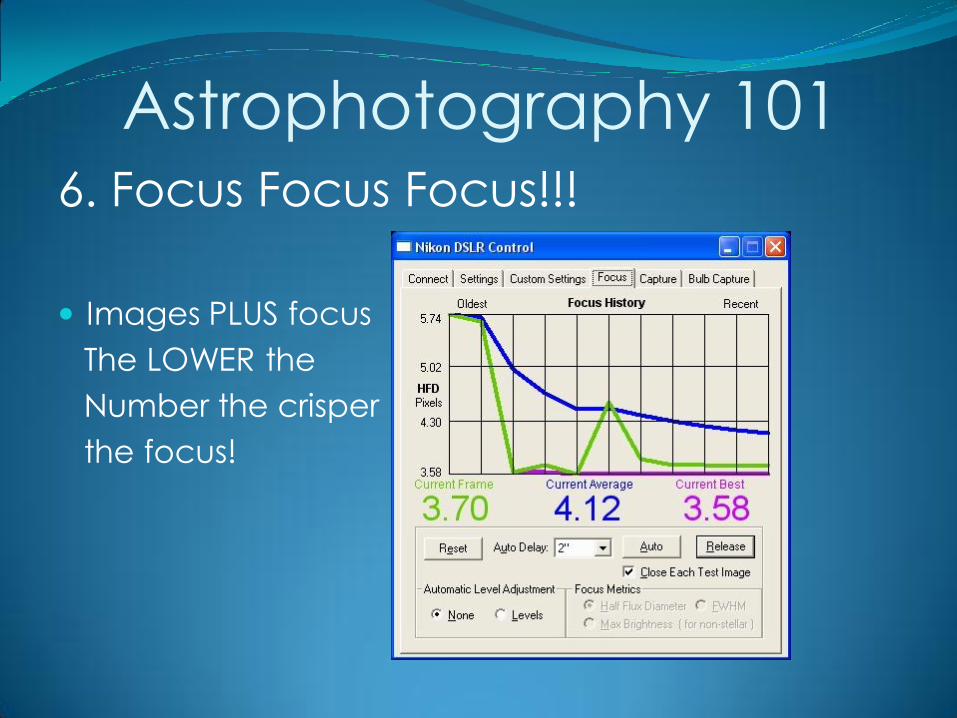
Astrophotography 101 6. Focus Focus Focus!!!
Images PLUS focus
The LOWER the
Number the crisper
the focus!

Astrophotography 101
7. Image Capture & Processing Image capture and processing software
Freeware - Nebulosity
- Deep Sky Stacker
- Registax
Purchase - Images PLUS *
- Maxim DL
- Photoshop * • - Carboni’s Actions
• - Annies Actions

Astrophotography 101

Astrophotography 101
Carboni and Annie’s Actions

Astrophotography 101
8. Lights, Darks, Flats & Bias – The
Meat and Potatoes!
Remember you don’t need to know how these go
together…just how to produce them! ( Too Geeky
even for me!)

Astrophotography 101
Lights – The Actual Picture! Always take them in RAW format
Take as many as practically possible
Always use same ISO & Exposure for an object i.e. if you use ISO 800 and 480 seconds – do that for the entire sequence
The more you take, the greater amount of information you will get
…but don’t be disappointed…you wont see much!

Astrophotography 101
Raw image 480 seconds….bleckh!
Astrophotography 101
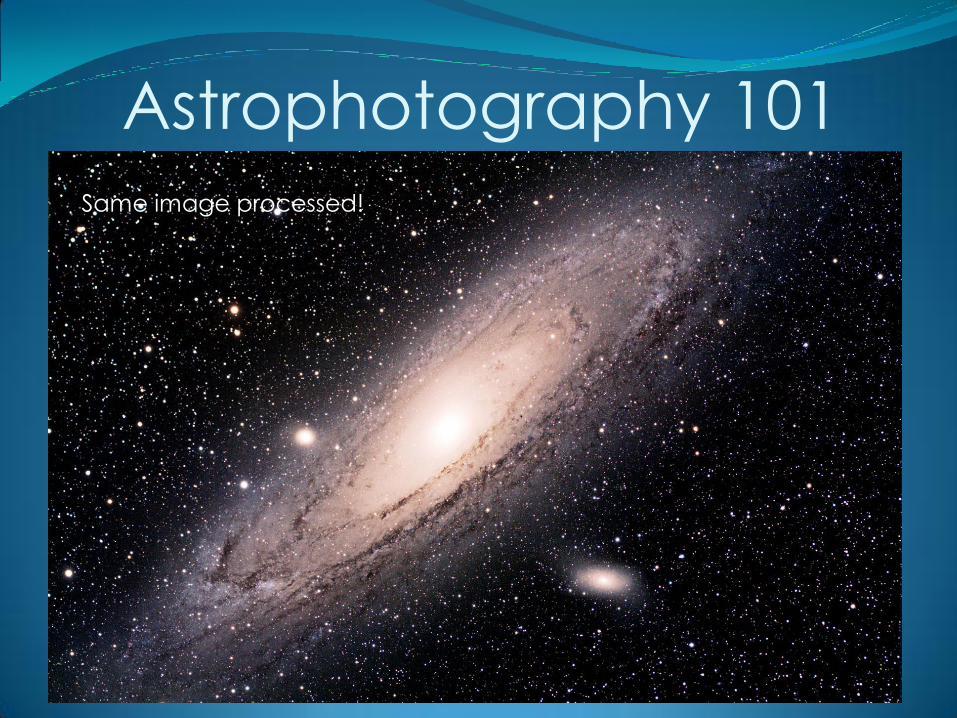
Same image processed!

Astrophotography 101
Darks – The Noise remover! Take at least 50% number of Darks as Lights
Same ISO & Exposure time as Lights
Try to take them at the same temperature as
your Lights – this is important…
Take them with the Objective “Covered”
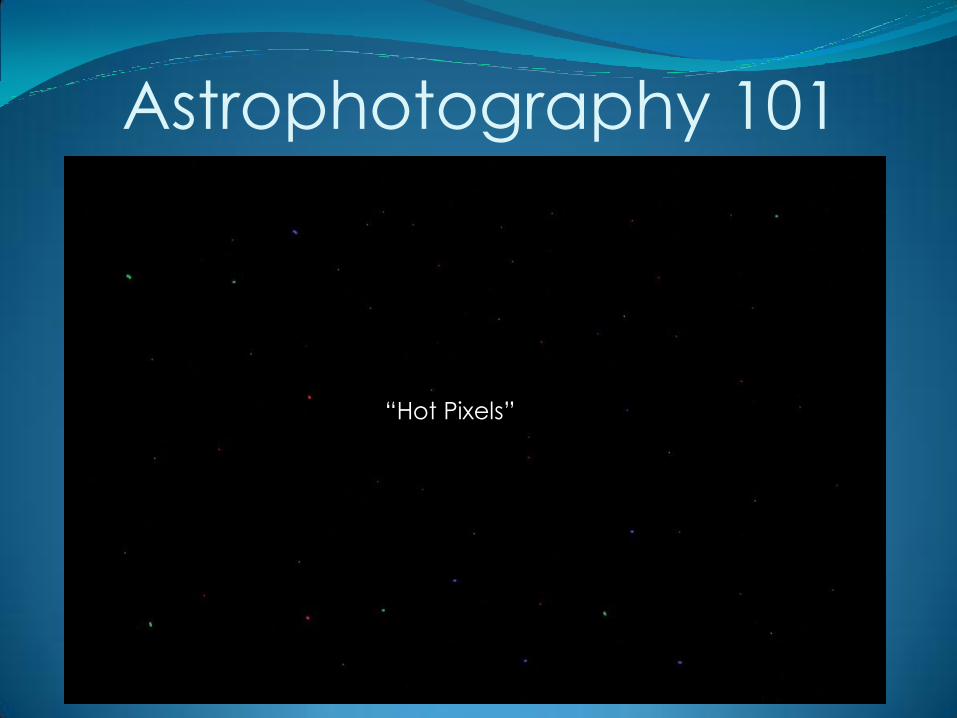
What do they look like?...
Astrophotography 101
“Hot Pixels”

Astrophotography 101
Processing software uses the Dark frames to
“subtract” the noise from your images to
produce cleaner images that are virtually noise
free.
They are very important – like windshield wipers
that remove raindrops from your windshield.
If you take 30 Light frames – take at least 15 Dark
frames.
Astrophotography 101
Bias Frames – Haven’t a clue what these do
but they are an integral part of the process!
Take same amount of Bias frames as light frames
Usually taken at the fastest shutter speed your
camera will allow i.e. 1/4000 sec.
Taken with the objective covered.
Astrophotography 101
Flat Frames – The Dust Bunny
Removers! Taken at a shutter speed of between 1/5 and 1/30
of a second – you will have to experiment to see
what is good for you
Taken with an “Even” light shining on the objective
using a “light box” that can be easily made or
commercially purchased

Astrophotography 101 Home made light
box
Commercial light box

Astrophotography 101
Dirt and dust

Astrophotography 101
Flat Frames – The Dust Bunny
Removers! Image processing software “removes” these nasties
from your images!
Take same number of Flat frames as light frames

Astrophotography 101
Summary of Frames to Take: Light Frames – the more the merrier
Dark Frames – Objective Covered – same ISO/Exposure
Bias Frames – Objective Covered – fastest exposure on
camera and same ISO
Flat Frames – 1/5-1/15 sec. evenly illuminated light over
objective same ISO
***DO NOT MOVE CAMERA POSITION! FOR ANY OF THESE
FRAMES!*** this is critical!

Astrophotography 101
9. Pre-Processing -Combining the
Images Now the FUN Starts!
Image processing software will take “ALL” your frames.
Align them, tweak them, stack them into ONE RAW IMAGE!
Again, don’t be disappointed with what you get –
remember it is only the RAW image…there is a TON of
information in that one bleak looking frame!...remember…

Astrophotography 101 30 frames @ 480 seconds = 3 hours of raw data!....Awesome!
Can you guess what the image is????
Astrophotography 101
10. VOILA! Let’s see what we got!

Astrophotography 101
Click on
“Color “Tab
This panel will
show up

Astrophotography 101
To bring out
detail use the
“Break Point”
Slider

Astrophotography 101
Save as an
uncompressed
TIFF file
Set “slider”
to 2500

Astrophotography 101
…And Now for the LIVE demo!!!!!!!