advance rcp
TRANSCRIPT

Rahul Shukla

Eclipse provides the concept of extension points and extensions
to allow functionality to be contributed to plug-ins by several
other plug-ins.
Extensions and Extension points are defined via the plugin.xml
file.
The information about the available extension points and the
provided extensions are stored in a class of type
IExtensionRegistry.
Note:The Eclipse platform reads the extension points and provided
extensions once the plug-in is in the RESOLVED lifecyle status as
defined by the OSGi specification.
Plug-in defines extension point- Allows other plug-ins
to add functionality based on the contract defined by
the extension point. The plug-in which defines the
extension point is also responsible for evaluating the
extensions. Therefore the defining plug-in typically
contains the code to evaluate the extensions.
A plug-in provides an extension- This plug-in provides
an extension (contribution) based on the contract
defined by an existing extension point. Contributions
can be code or data.

<extension point="org.eclipse.ui.menus">
<menuContribution
locationURI="menu:org.eclipse.ui.main.menu">
<menu label="File">
<command
commandId="org.eclipse.ui.file.exit"
label="Exit">
</command>
</menu>
</menuContribution>
</extension>
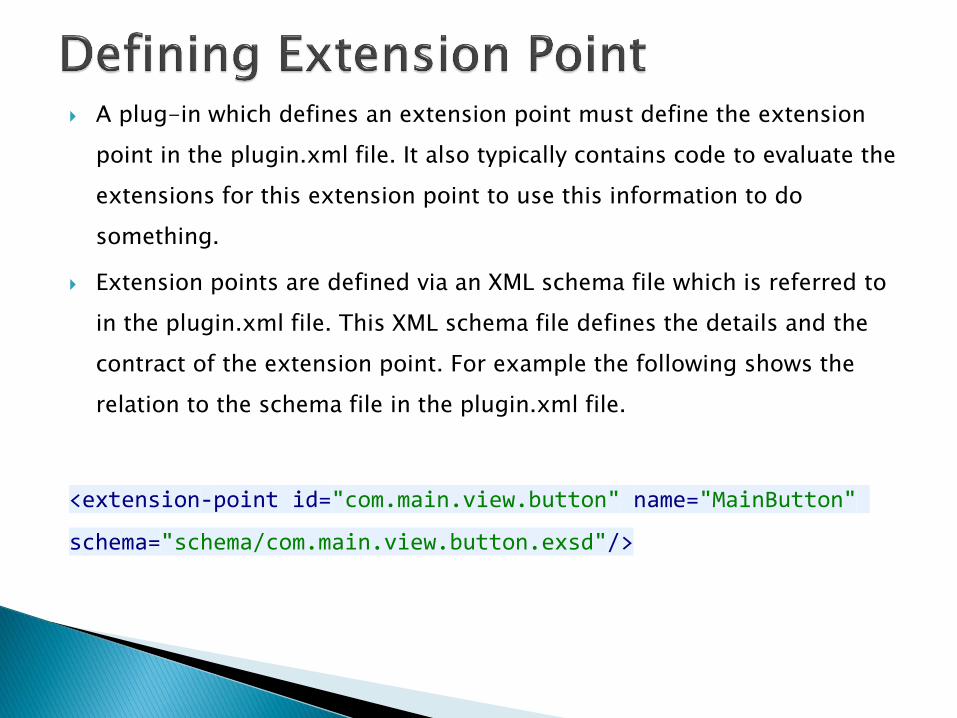
A plug-in which defines an extension point must define the extension
point in the plugin.xml file. It also typically contains code to evaluate the
extensions for this extension point to use this information to do
something.
Extension points are defined via an XML schema file which is referred to
in the plugin.xml file. This XML schema file defines the details and the
contract of the extension point. For example the following shows the
relation to the schema file in the plugin.xml file.
<extension-point id="com.main.view.button" name="MainButton"
schema="schema/com.main.view.button.exsd"/>

<annotation> <appinfo> <meta.schema plugin="RCPApp" id="com.main.view.button" name="MainButton"/> </appinfo> </annotation> <element name="button"> <complexType> <attribute name="id" type="string“ use="required"></attribute> <attribute name="icon" type="string" use="required"> ……….. kind="resource</attribute> <attribute name="commandID" type="string" use="required"> ……….. kind="identifier" basedOn="org.eclipse.ui.commands/keyBinding/@commandId"/> </attribute> </complexType>
</element>
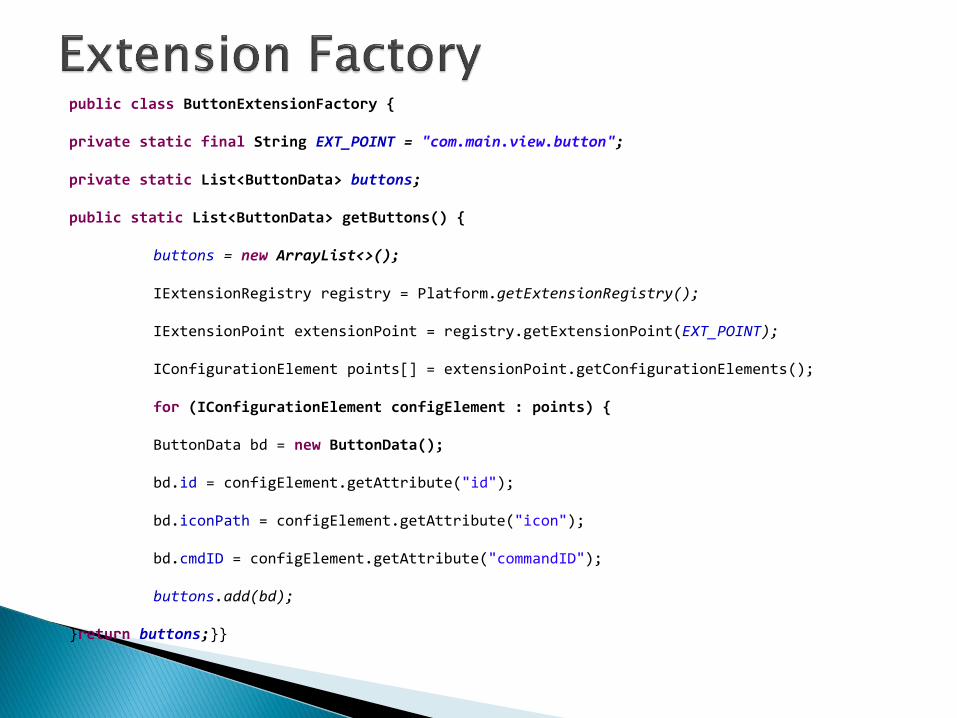
public class ButtonExtensionFactory {
private static final String EXT_POINT = "com.main.view.button";
private static List<ButtonData> buttons;
public static List<ButtonData> getButtons() {
buttons = new ArrayList<>();
IExtensionRegistry registry = Platform.getExtensionRegistry();
IExtensionPoint extensionPoint = registry.getExtensionPoint(EXT_POINT);
IConfigurationElement points[] = extensionPoint.getConfigurationElements();
for (IConfigurationElement configElement : points) {
ButtonData bd = new ButtonData();
bd.id = configElement.getAttribute("id");
bd.iconPath = configElement.getAttribute("icon");
bd.cmdID = configElement.getAttribute("commandID");
buttons.add(bd);
}return buttons;}}

Unlike SWT and JFace, which are both general purpose UI
toolkits, the workbench provides the UI personality of the
Eclipse Platform, and supplies the structures in which tools
interact with the user. Because of this central and defining
role, the workbench is synonymous with the Eclipse
Platform UI as a whole and with the main window the user
sees when the Platform is running .
The workbench API is dependent on the SWT API, and to a
lesser extent on the JFace API. The workbench
implementation is built using both SWT and JFace;
Java AWT and Swing are not used.
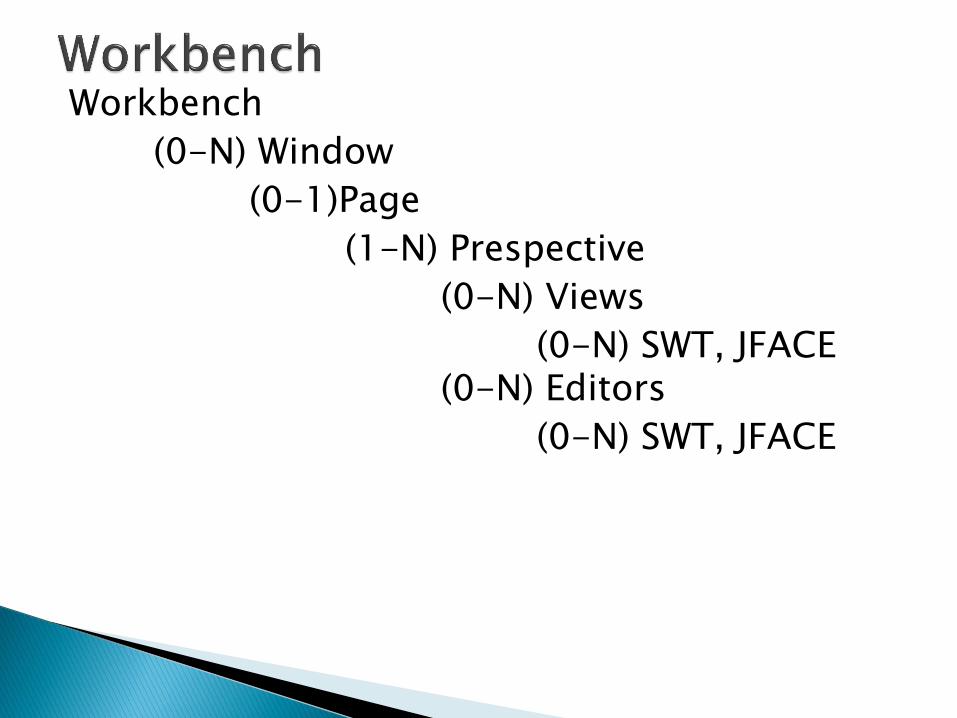
Workbench
(0-N) Window
(0-1)Page
(1-N) Prespective
(0-N) Views
(0-N) SWT, JFACE (0-N) Editors
(0-N) SWT, JFACE

A workbench window can have several separate perspectives, only one of
which is visible at any given moment.
Each perspective has its own views and editors that are arranged (tiled,
stacked, or detached) for presentation on the screen (some may be hidden at
any given moment). Several different types of views and editors can be open
at the same time within a perspective.
A perspective controls initial view visibility, layout, and action visibility.
User can quickly switch perspective to work on a different task, and can
easily rearrange and customize a perspective to better suit a particular task.
Platform provides standard perspectives for general resource navigation,
online help, and team support tasks. Additional perspectives are supplied by
other plug-ins.

Perspectives within the Eclipse workbench are a visual container
for all opened views and editors.
Define the perspective's purpose -- Since the Eclipse
workbench only displays a single perspective at a time, you want to group
logical and functional areas of your application into a unified perspective.
This approach minimizes the need for the user to toggle between different
perspectives to accomplish a particular task. As you work through and
define each perspective's purpose, also keep in mind that a view or editor
cannot be shared between different perspectives. The number of
perspectives that any application will have is largely dependent on the
application's size and complexity.

Define the perspective's behavior -- Depending on your
application, a perspective with its collective views, editors, and
actions can be designed to perform distinct functions. For
example, the Java Browsing perspective within Eclipse 3.0 is
designed to provide you various types of information that are
filtered based on a set of selection criteria. This perspective's
behavior filters information for you using a series of consecutive
views. In contrast, the Java perspective is a collection of views,
editors, and actions that give you the ability to edit and compile
Java code. This perspective's behavior is task-oriented and gives
the end user a set of tools to accomplish a particular goal.

Creating a perspective is a two-step process.
First, modify the plug-in manifest to include a new extension that uses the
org.eclipse.ui.perspectives extension point.
Second, using the attributes from the new extension point, create a perspective class
<extension point="org.eclipse.ui.perspectives"> <perspective name="Perspective“ class="rcpapp.Perspective" id="RCPApp.perspective"> </perspective> </extension> The <perspective> element has the following attributes:
° id -- This attribute defines a unique identifier for the perspective.
° name -- This attribute defines a name for this perspective, and the workbench
window menu bar uses it to represent this perspective.
° class -- This attribute contains the fully qualified name of the class that
implements the org.eclipse.ui.IPerspectiveFactory interface.

public class Perspective implements IPerspectiveFactory {
public void createInitialLayout(IPageLayout layout) {
layout.setEditorAreaVisible(false);
layout.setFixed(true);
}
}

Views within the Eclipse workbench are visual
containers that allow users to display or navigate
resources of a particular type. As you begin
creating views within your own RCP application,
remember to review the view's purpose before
starting development. Since a view's responsibility
is to display data from your domain model, group
similar types of objects into the view.
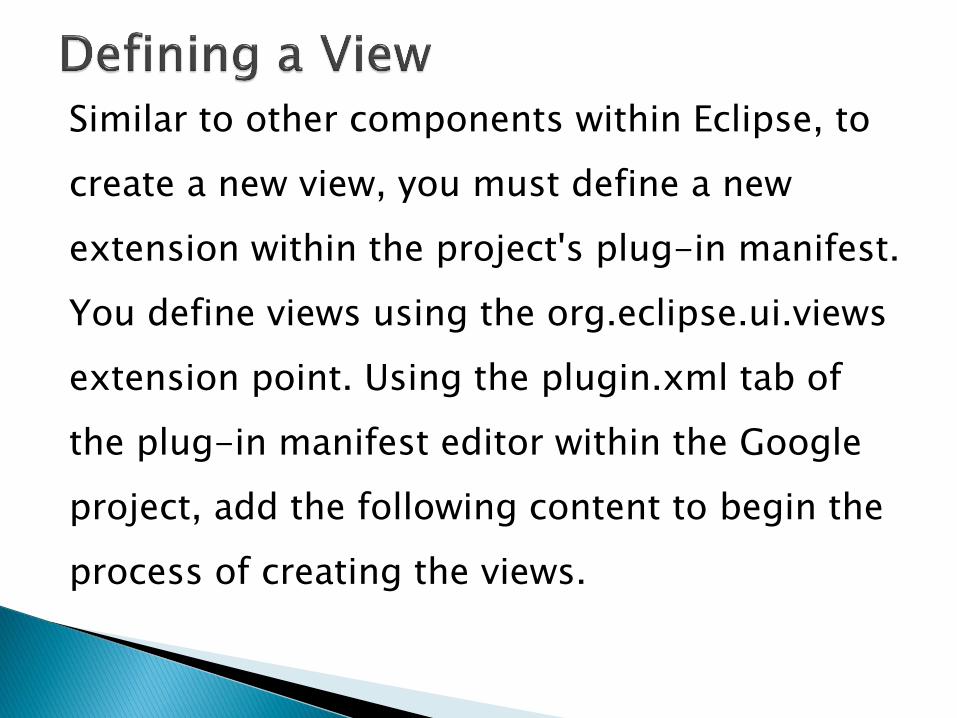
Similar to other components within Eclipse, to
create a new view, you must define a new
extension within the project's plug-in manifest.
You define views using the org.eclipse.ui.views
extension point. Using the plugin.xml tab of
the plug-in manifest editor within the Google
project, add the following content to begin the
process of creating the views.

<extension point="org.eclipse.ui.views"> <view name="View“ class="rcpapp.View"id="RCPApp.view"> </view> </extension>
The <view> element has the following attributes:
id -This attribute defines a unique identifier for the view.
name -This attribute defines a name for this view, and the
workbench uses it to represent this view.
category -This optional attribute defines the categories identifiers.
Each category is separated by a '/' and must exist within the plug-in
manifest prior to being referenced by the <view> element.

class - This attribute contains the fully-qualified name of the class that
implements the org.eclipse.ui.IViewPart interface.
icon -This optional attribute contains a relative name of the icon
associated with the view.
fastViewWidthRatio - This optional attribute contains the percentage of
the width of the workbench that the view will take up. This attribute
must be a floating point value between 0.05 and 0.95.
allowMultiple -This optional attribute indicates whether this view allows
for the creation of multiple instances within the workbench.

public class View extends ViewPart { public static final String ID = "RCPApp.view"; public void createPartControl(Composite parent) { // Create controls here } public void setFocus() { // control which will be focused when you view is open . } }

Define Prespective Extension Add View to the extension <extension point="org.eclipse.ui.perspectiveExtensions"> <perspectiveExtension targetID="*"> <view standalone="true" minimized="false" relative="org.eclipse.ui.editorss" relationship="left" id="RCPApp.view"> </view> </perspectiveExtension> </extension>

Demo:RCP Application

Entry Point for and RCP Application
Extend IApplication.java represent executable
entry points into an application. It can be
configured into the Platform's
org.eclipse.core.runtime.applications extension-
point.
Controls all aspects of the application's
execution.
Responsible for creating WorkBenchAdvisor

public class Application implements IApplication {
public Object start(IApplicationContext context) {
Display display = PlatformUI.createDisplay();
try {
int returnCode = PlatformUI.createAndRunWorkbench(display, new ApplicationWorkbenchAdvisor());
if (returnCode == PlatformUI.RETURN_RESTART) {
return IApplication.EXIT_RESTART;}
return IApplication.EXIT_OK;
} finally {display.dispose();}}
public void stop() {
if (!PlatformUI.isWorkbenchRunning())return;
final IWorkbench workbench = PlatformUI.getWorkbench();
final Display display = workbench.getDisplay();
display.syncExec(new Runnable() {
public void run() {
if (!display.isDisposed())
workbench.close();}});}}
WorkbenchAdvisor class is responsible for configuring the
workbench that displays when an RCP application executes.
Developers access to the lifecycle of the generic workbench
Note that the workbench advisor object is created in advance of
creating the workbench. However, by the time the workbench
starts calling methods on this class, PlatformUI.getWorkbench is
guaranteed to have been properly initialized.
Resoponsibe for creating windowWorkbenchAdvisor
Provides default Prespective

CreateWorkbenchWindowAdvisor-Creates a new workbench window advisor for configuring a
new workbench window
getInitialWindowPerspectiveId-Returns the id of the perspective to use for the initial workbench
window
initialize -This method is called first before any windows are displayed.
preStartup - This method is executed second, but is called before the first window is opened.
This method is useful to temporarily disable items during startup or restore.
postStartup - This method is called third after the first window is opened and is used to re-
enable items temporarily disabled in the preStartup method.
postRestore - This method is called after the workbench and its windows have been recreated
from a previously-saved state.
preShutdown -This method is called just after the event loop has terminated,but before any
windows have been closed.
postShutdown -This is the final method that is called after the event loop has terminated.

Public base class for configuring a workbench window.
The workbench window advisor object is created in response to a
workbench window being created (one per window), and is used to
configure the window.
An application should declare a subclass of WorkbenchWindowAdvisor
and override methods to configure workbench windows to suit the needs
of the particular application.
The following advisor methods are called at strategic points in the
workbench window's lifecycle (as with the workbench advisor, all occur
within the dynamic scope of the call to
PlatformUI.createAndRunWorkbench):

preWindowOpen - called as the window is being opened; use to configure
aspects of the window other than actions bars
postWindowRestore - called after the window has been recreated from a
previously saved state; use to adjust the restored window
postWindowCreate - called after the window has been created, either from an
initial state or from a restored state; used to adjust the window
openIntro - called immediately before the window is opened in order to
create the introduction component, if any.
postWindowOpen - called after the window has been opened; use to hook
window listeners, etc.
preWindowShellClose - called when the window's shell is closed by the user;
use to pre-screen window closings

Public base class for configuring the action bars of a workbench
window.
An application should declare a subclass of ActionBarAdvisor and
override methods to configure a window's action bars to suit the
needs of the particular application.
The following advisor methods are called at strategic points in
the workbench's lifecycle (all occur within the dynamic scope of
the call to PlatformUI.createAndRunWorkbench):
fillActionBars - called after
WorkbenchWindowAdvisor.preWindowOpen to configure a
window's action bars


Thanks