adobe connect user guide. adobe connect meeting is an online-based tool that lets you to connect...
TRANSCRIPT
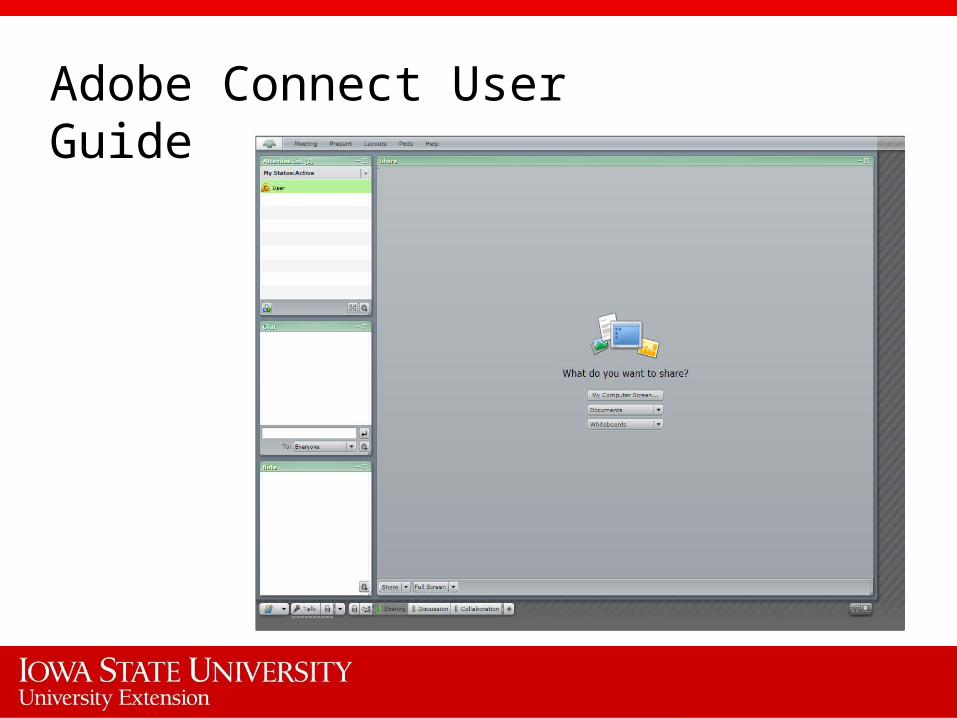
Adobe Connect User Guide

Adobe Connect Meeting is an online-based tool that lets you to connect with colleagues, classmates, or anyone else around the world. With a web browser and an internet connection, you are able to participate in online meetings with PowerPoint presentations, video, Word documents, and many other types of media. Adobe Connect Meeting can host up to two or hundreds of attendees in a single session. The actual meeting room is a specific web address that you can receive by E-mail from whoever is hosting the meeting. Once in the meeting, you may be granted additional rights from the host to upload your own videos, documents, slides, etc. to share in the meeting. The following user guide gives an explanation of the several tools, known as “pods,” that make up the interface. Each section of this guide contains images and descriptions to help you during your experience in Adobe Connect Meeting.
System Requirements…………………………………...... 3Joining a Meeting………………………………………………. 4Chat Pod………………………………………………………………5Attendee List and Status Options………………….... 6Share Pod……………………………………………………….... 7Whiteboard and Sharing your Desktop……………. 9Camera and Voice Pod………………………………………. 10Additional Resources…………………………………………. 12
Contents:
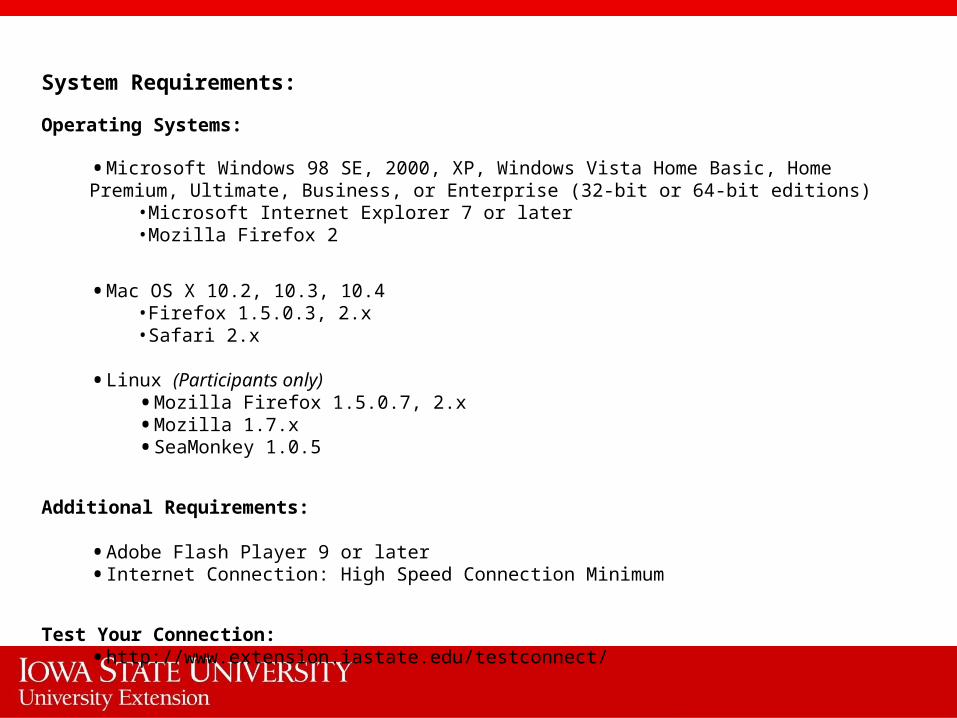
System Requirements:
Operating Systems:
•Microsoft Windows 98 SE, 2000, XP, Windows Vista Home Basic, Home Premium, Ultimate, Business, or Enterprise (32-bit or 64-bit editions)
•Microsoft Internet Explorer 7 or later •Mozilla Firefox 2
•Mac OS X 10.2, 10.3, 10.4•Firefox 1.5.0.3, 2.x •Safari 2.x
•Linux (Participants only)•Mozilla Firefox 1.5.0.7, 2.x •Mozilla 1.7.x •SeaMonkey 1.0.5
Additional Requirements:
•Adobe Flash Player 9 or later •Internet Connection: High Speed Connection Minimum
Test Your Connection:•http://www.extension.iastate.edu/testconnect/
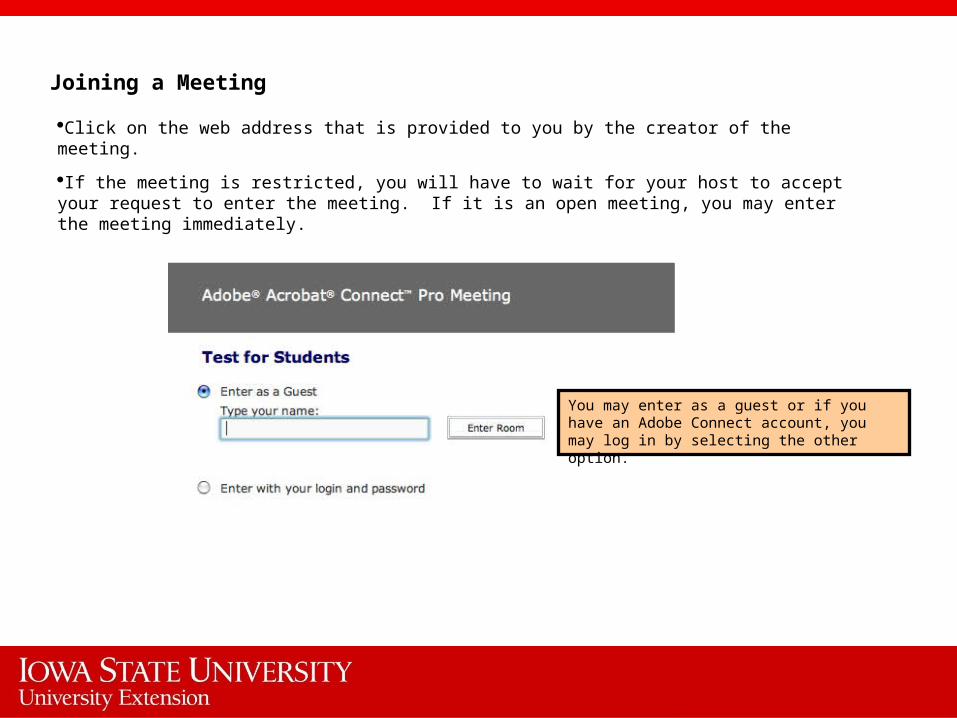
Click on the web address that is provided to you by the creator of the meeting.
If the meeting is restricted, you will have to wait for your host to accept your request to enter the meeting. If it is an open meeting, you may enter the meeting immediately.
Joining a Meeting
You may enter as a guest or if you have an Adobe Connect account, you may log in by selecting the other option.
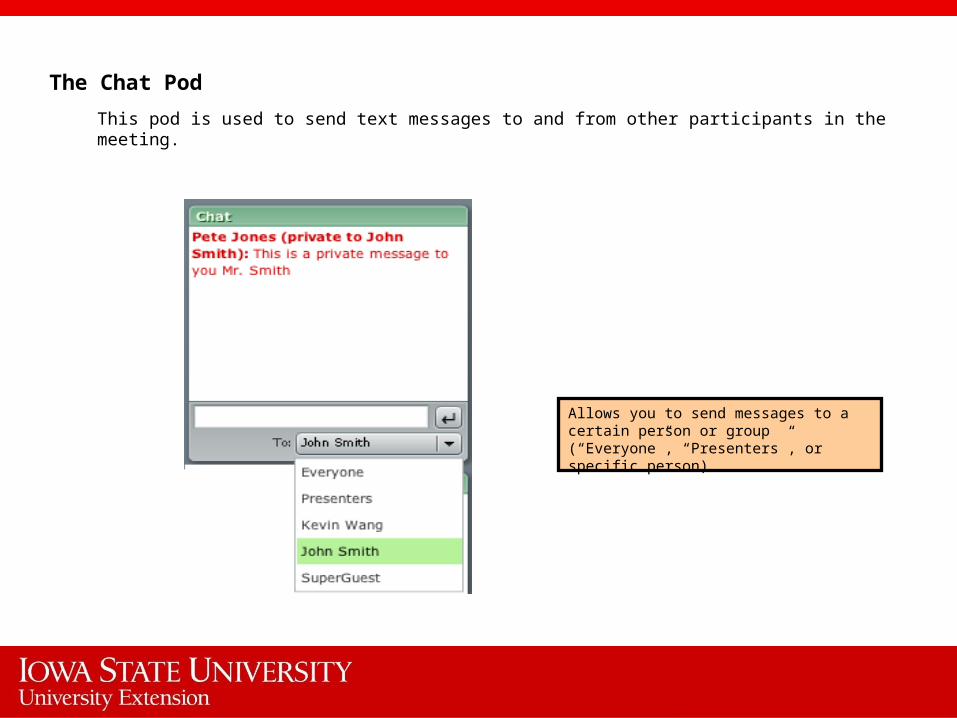
The Chat Pod
This pod is used to send text messages to and from other participants in the meeting.
Allows you to send messages to a certain person or group (“Everyone”, “Presenters”, or specific person)
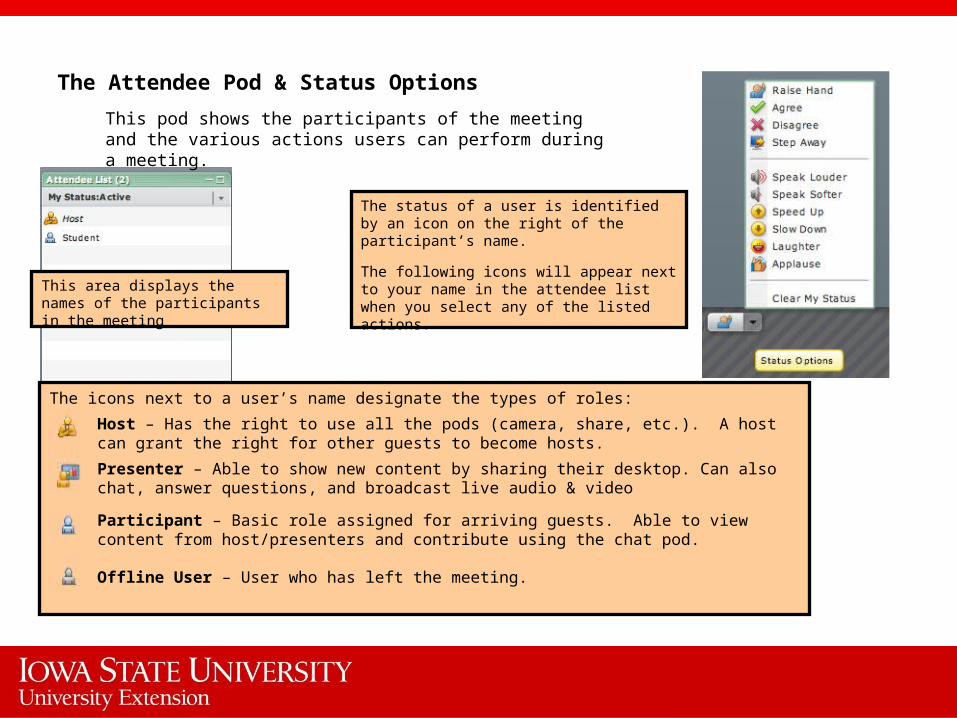
The Attendee Pod & Status Options
This pod shows the participants of the meeting and the various actions users can perform during a meeting.
The status of a user is identified by an icon on the right of the participant’s name.
The following icons will appear next to your name in the attendee list when you select any of the listed actions.
This area displays the names of the participants in the meeting
The icons next to a user’s name designate the types of roles:
Host – Has the right to use all the pods (camera, share, etc.). A host can grant the right for other guests to become hosts.
Presenter – Able to show new content by sharing their desktop. Can also chat, answer questions, and broadcast live audio & video
Participant – Basic role assigned for arriving guests. Able to view content from host/presenters and contribute using the chat pod.
Offline User – User who has left the meeting.
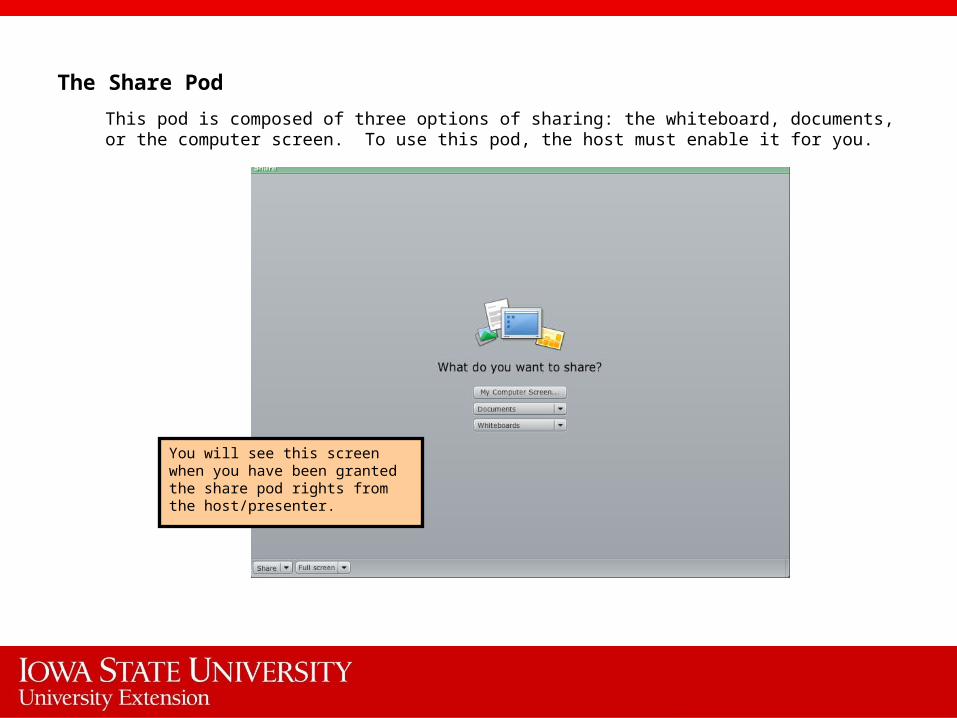
The Share Pod
This pod is composed of three options of sharing: the whiteboard, documents, or the computer screen. To use this pod, the host must enable it for you.
You will see this screen when you have been granted the share pod rights from the host/presenter.
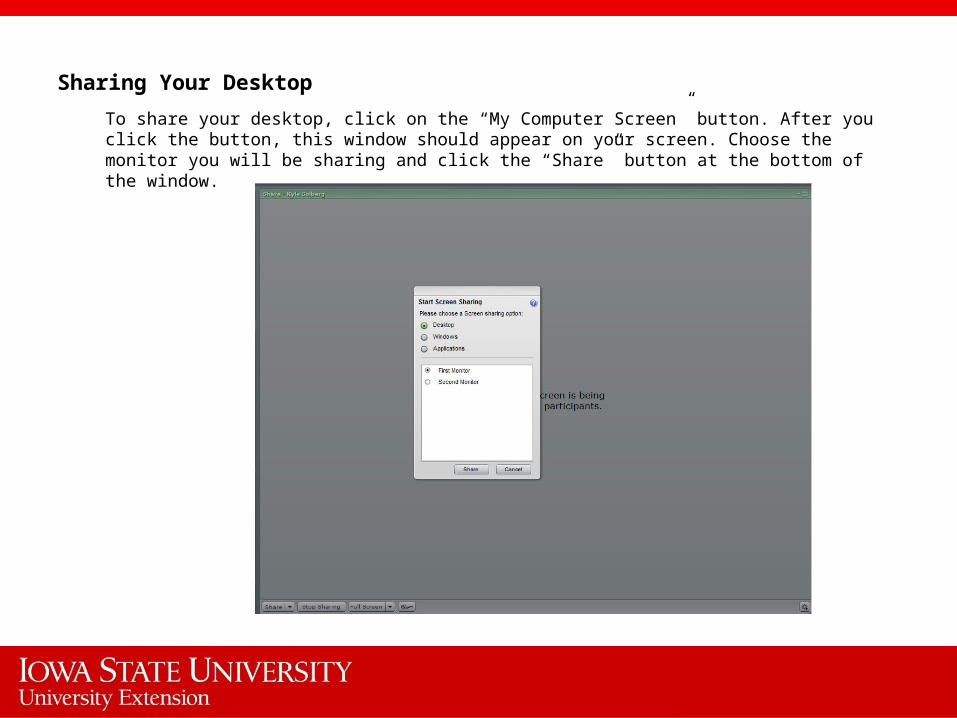
Sharing Your Desktop
To share your desktop, click on the “My Computer Screen” button. After you click the button, this window should appear on your screen. Choose the monitor you will be sharing and click the “Share” button at the bottom of the window.
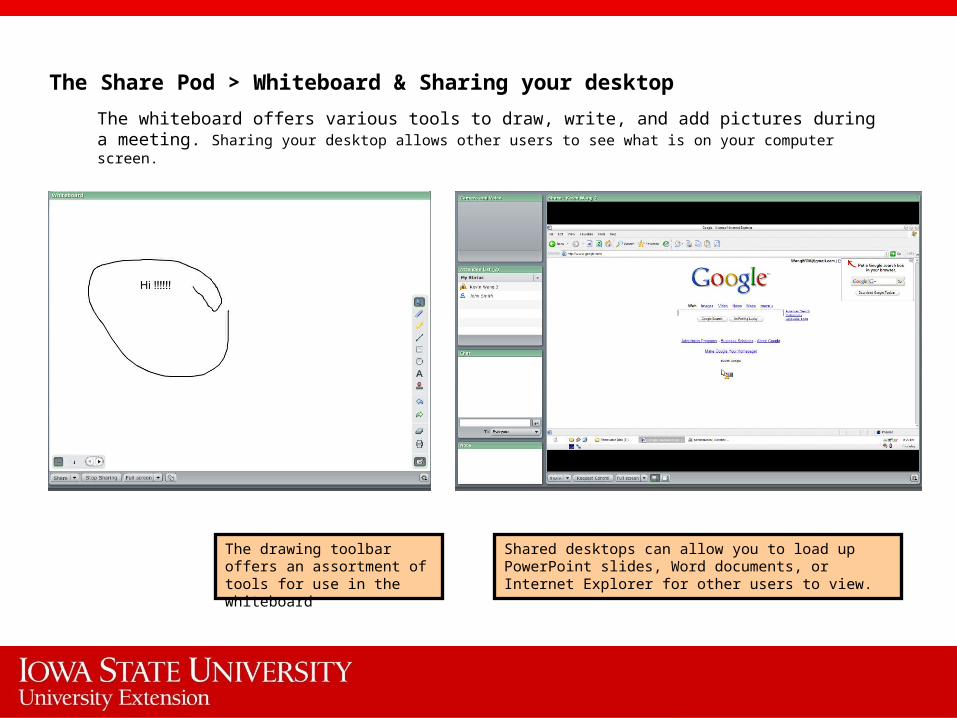
The drawing toolbar offers an assortment of tools for use in the whiteboard
Shared desktops can allow you to load up PowerPoint slides, Word documents, or Internet Explorer for other users to view.
The Share Pod > Whiteboard & Sharing your desktop
The whiteboard offers various tools to draw, write, and add pictures during a meeting. Sharing your desktop allows other users to see what is on your computer screen.
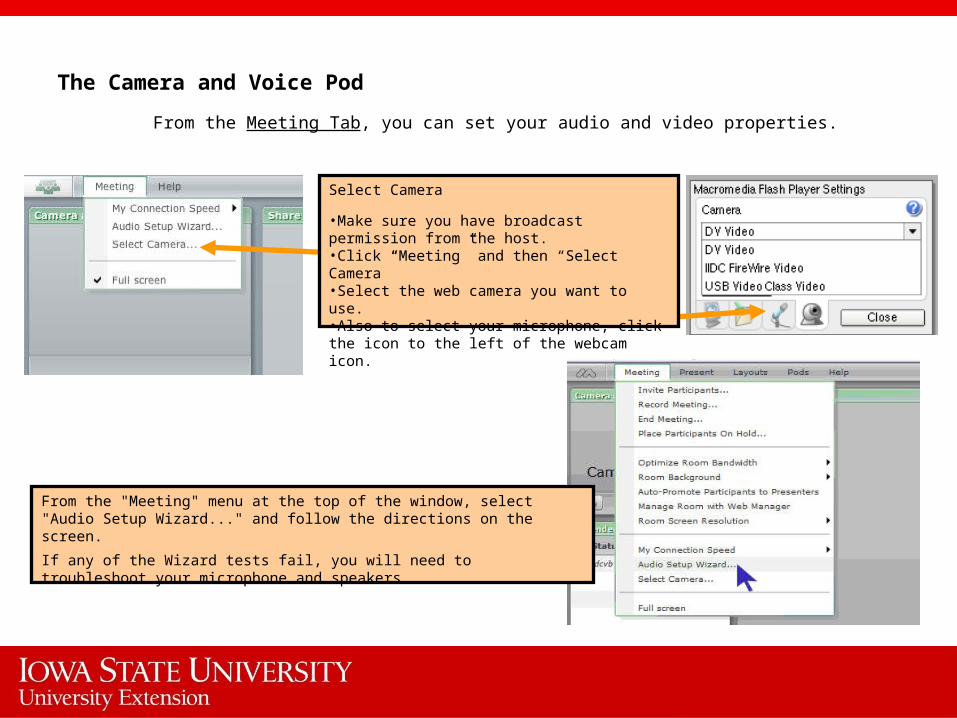
From the "Meeting" menu at the top of the window, select "Audio Setup Wizard..." and follow the directions on the screen.
If any of the Wizard tests fail, you will need to troubleshoot your microphone and speakers.
The Camera and Voice Pod
From the Meeting Tab, you can set your audio and video properties.
Select Camera
•Make sure you have broadcast permission from the host.•Click “Meeting” and then “Select Camera”•Select the web camera you want to use.•Also to select your microphone, click the icon to the left of the webcam icon.
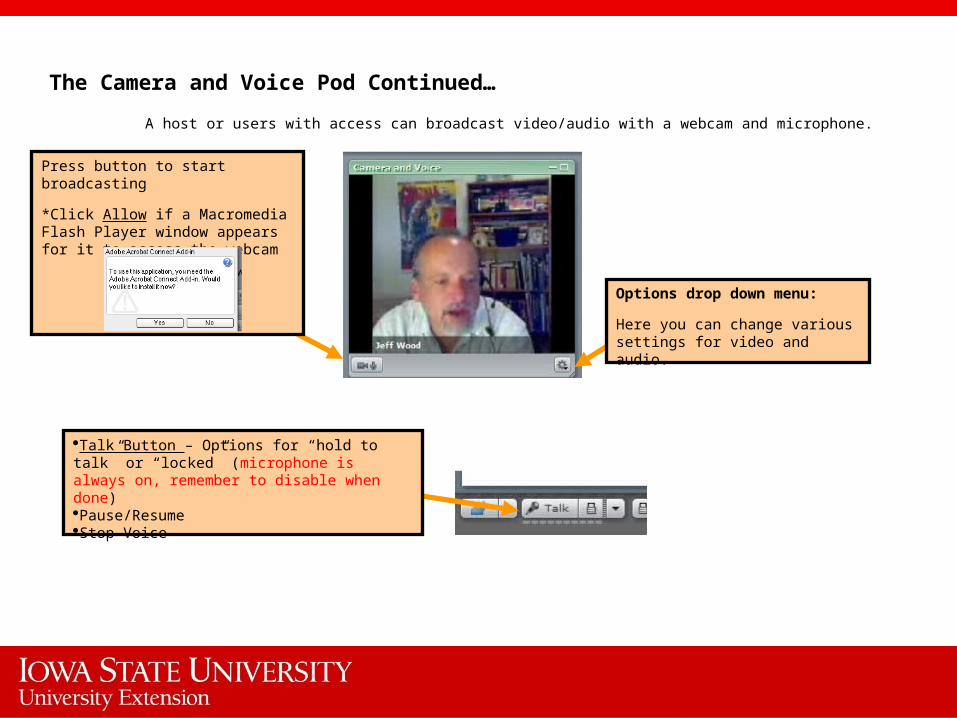
Press button to start broadcasting
*Click Allow if a Macromedia Flash Player window appears for it to access the webcam
The Camera and Voice Pod Continued…
A host or users with access can broadcast video/audio with a webcam and microphone.
Options drop down menu:
Here you can change various settings for video and audio.
Talk Button – Options for “hold to talk” or “locked” (microphone is always on, remember to disable when done)Pause/ResumeStop Voice

Additional Links
http://www.extension.iastate.edu/it/webconferencing/
-Select the tutorial for Adobe Connect
http://www.adobe.com/resources/acrobatconnect/
-Tutorials, help documentation, etc. from Adobe