6 drawing unit students will understand that the action of drawing from memory or imagination is...
TRANSCRIPT
6 Drawing Unit
• Students will understand that the action of drawing from memory or imagination is just as artistic as drawing from observation.
• The lessons in this unit are designed to increase powers of observation and to train the hand to follow the eye.
• Lessons are taken from the first half of the book …>>>

Preinstruction drawings
Record present drawing skill


DRAWING UNIT
Preliminary 4-part freeing
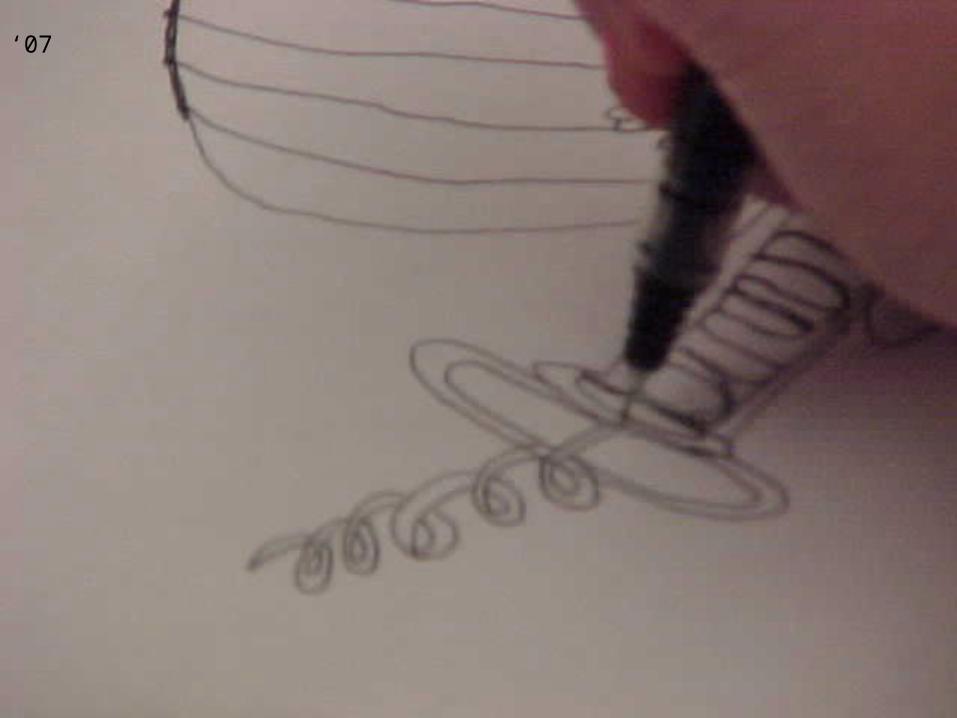
face vase …
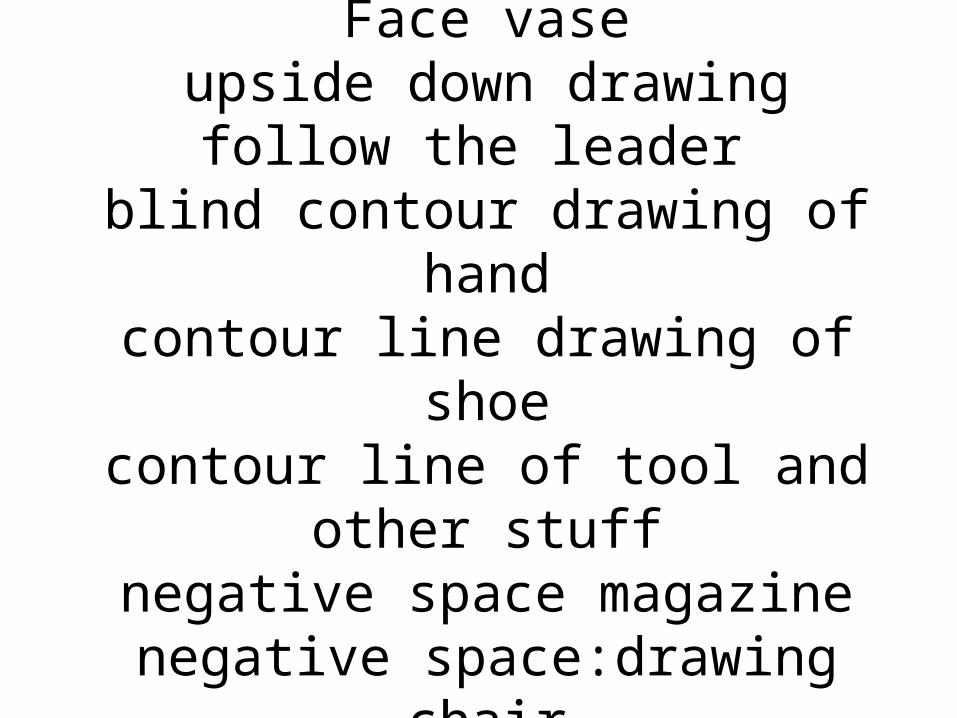
Preliminary: 4 partFace vase
upside down drawingfollow the leader
blind contour drawing of handcontour line drawing of shoe
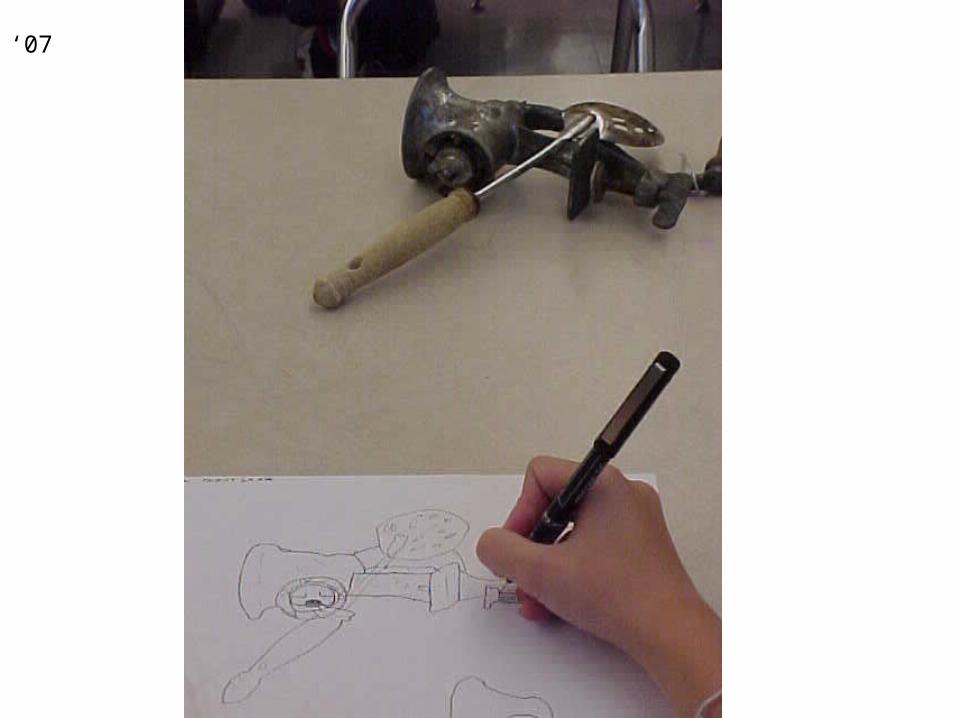
contour line of tool and other stuffnegative space magazine
negative space:drawing chair

Exercise # 1Freeing exercise
• Increase confidence on the paper
• Use, composing the whole space
• Listening
• Stop when you start to scribble and not compose.
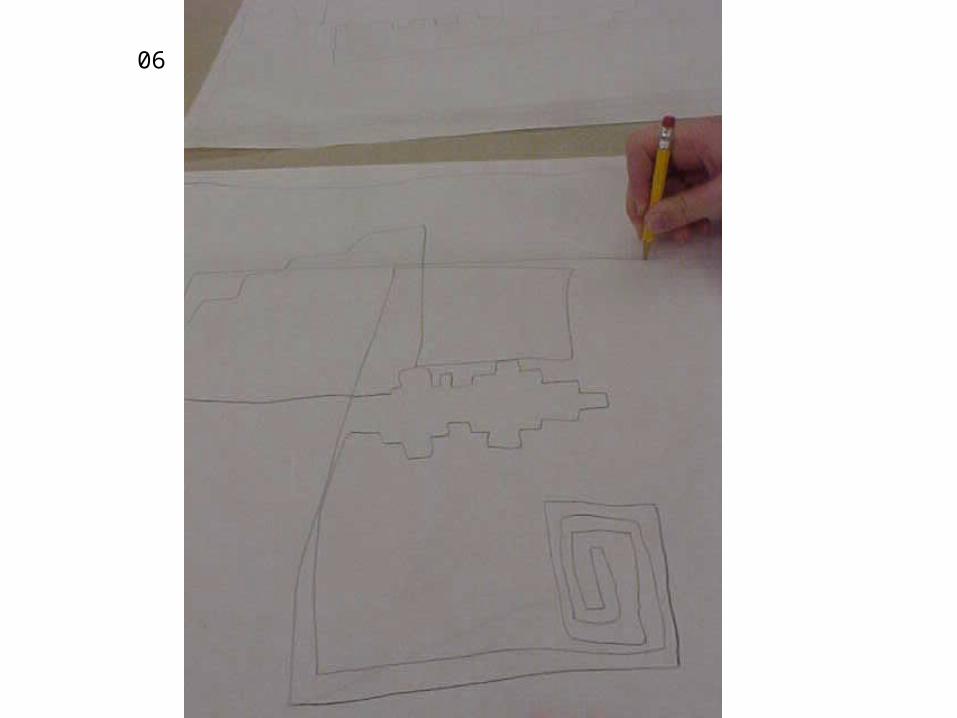
06

06
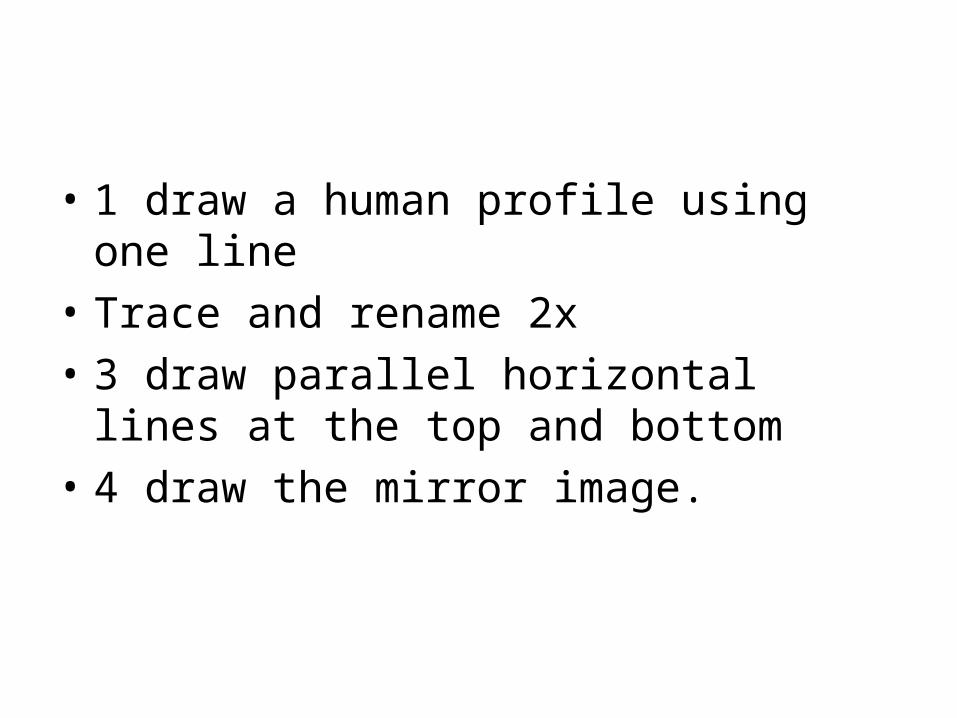
• 1 draw a human profile using one line
• Trace and rename 2x
• 3 draw parallel horizontal lines at the top and bottom
• 4 draw the mirror image.

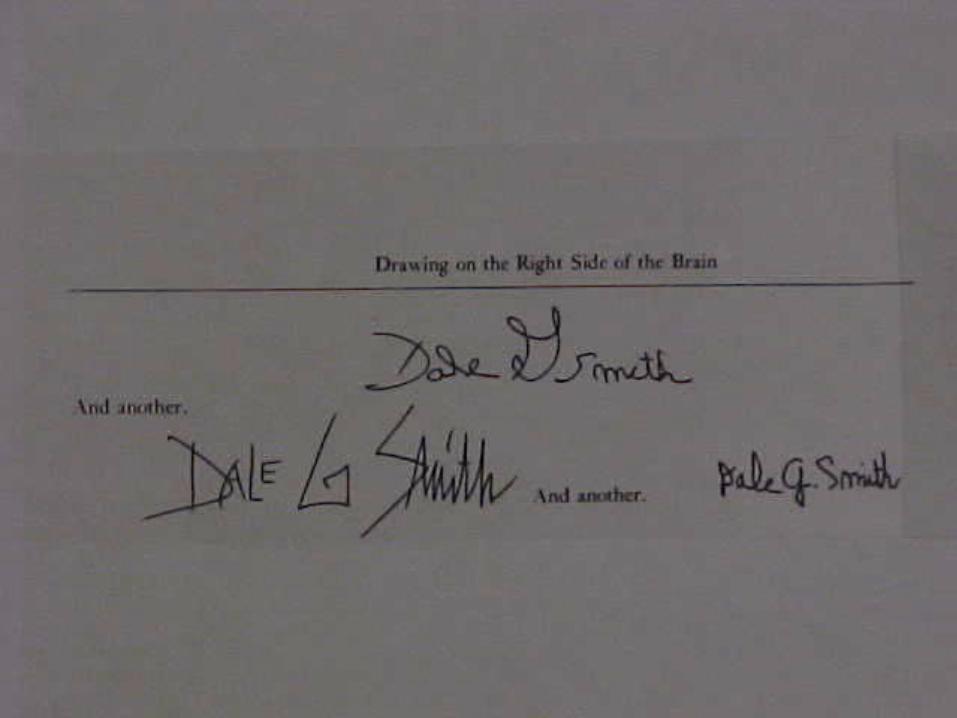
Drawing on the Right Side of the Brain Exercise 2: Monster face-vase
• Step 1: draw the lines you remember, draw what you know. It pulled from memory, naming all stuff on a face. All the information was inside you.
• Step 4: you had to mirror- copy the lines to the other side. You drew what you saw. All the information was in front of you.
• Color (and draw on?) the background of the optical illusion so the monster is hidden.

06
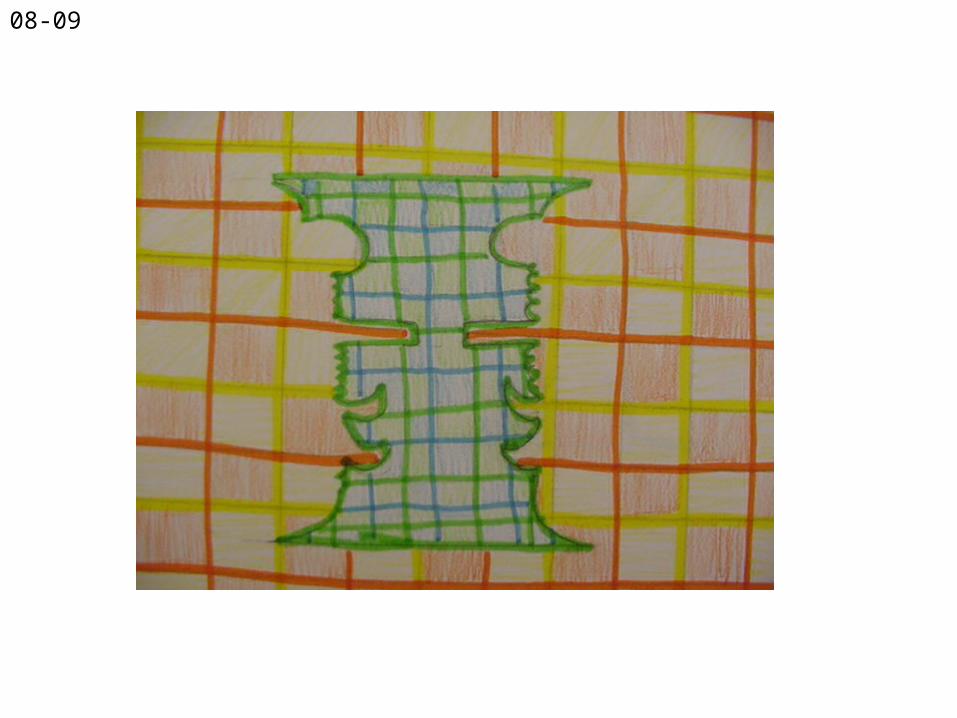
08-09


Drawing on the Right Side of the Brain Exercise 2: face-vase•Step 1: draw the lines you remember, pulling from memory, naming all stuff on a face. All the information was inside you.•Step 4: you had to mirror- copy the lines to the other side. All the information was in front of you.

starter
• follow the leader (look at book from the library “Follow the Line”)
• Try • Right Brain Exercises for Artists: Taking a Line for a
Walk• Learn to capture the essence of a subject with this right
brain exercise.• By Marion Boddy-Evans, About.com• http://painting.about.com/od/rightleftbrain/a/
rightbrain_walk.htm
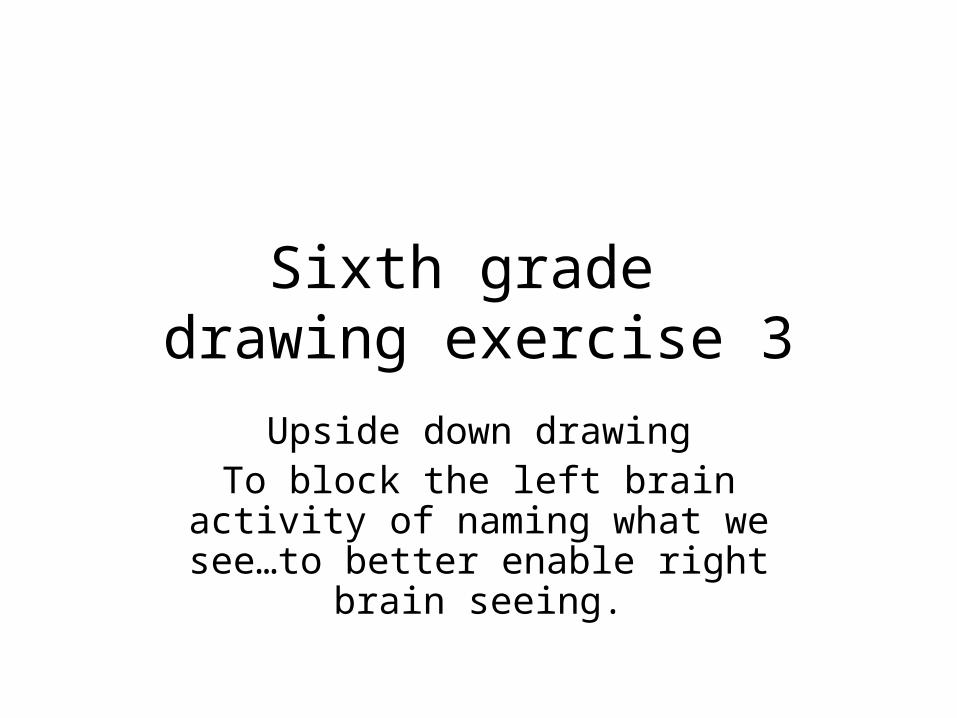
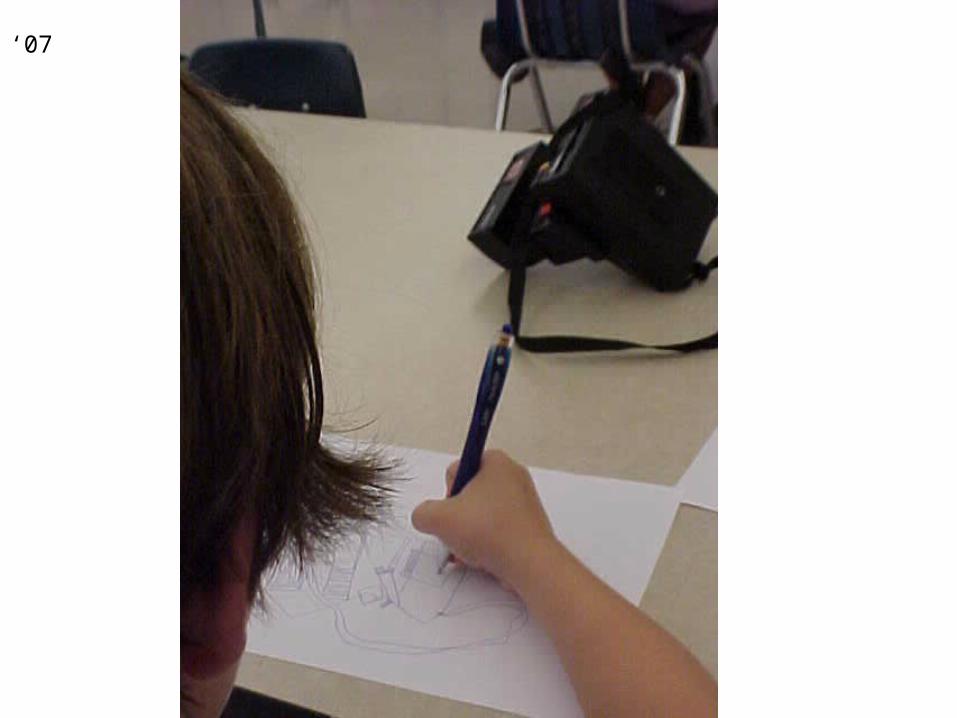
Sixth grade drawing exercise 3
Upside down drawingTo block the left brain activity of
naming what we see…to better enable right brain seeing.

0606
06

06

6th Grade blind contour drawing
• When making a blind contour drawing, the eye is not watching the pencil move on the paper as it draws. The eye looks at the subject. Contour drawing is an excellent way to train the eye to draw what it really sees rather than what it thinks it sees. The first contour drawings you do will look, well, funny. However, with practice, you will find that you will be able to accurately record an image on paper without looking at your paper!
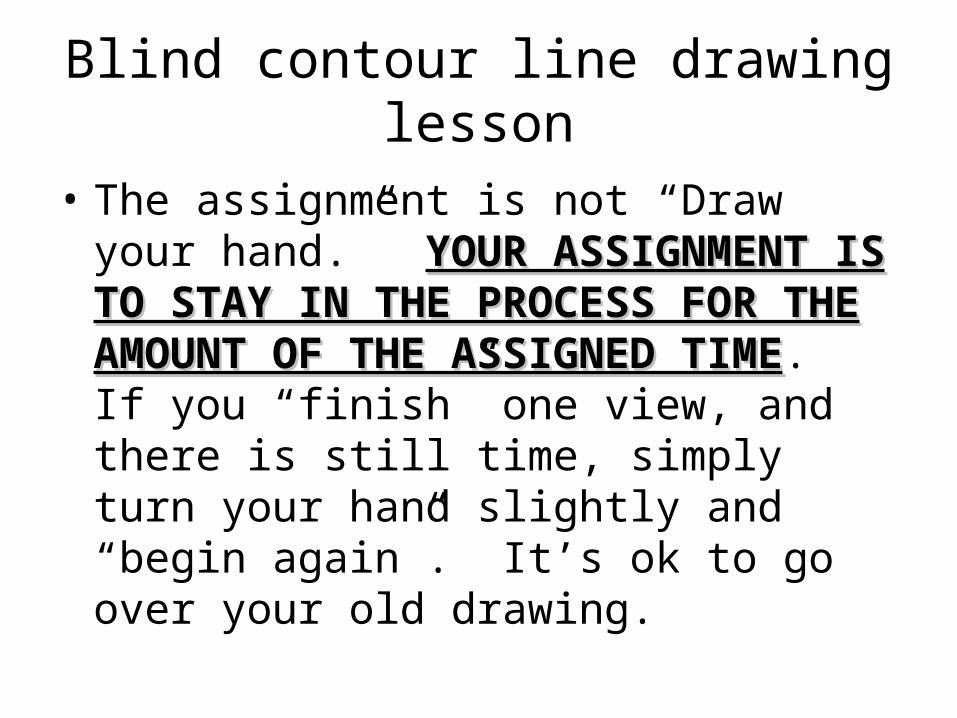
Blind contour line drawing lesson
• The assignment is not “Draw your hand.” YOUR ASSIGNMENT IS TO STAY IN YOUR ASSIGNMENT IS TO STAY IN THE PROCESS FOR THE AMOUNT OF THE PROCESS FOR THE AMOUNT OF THE ASSIGNED TIMETHE ASSIGNED TIME. If you “finish” one view, and there is still time, simply turn your hand slightly and “begin again”. It’s ok to go over your old drawing.
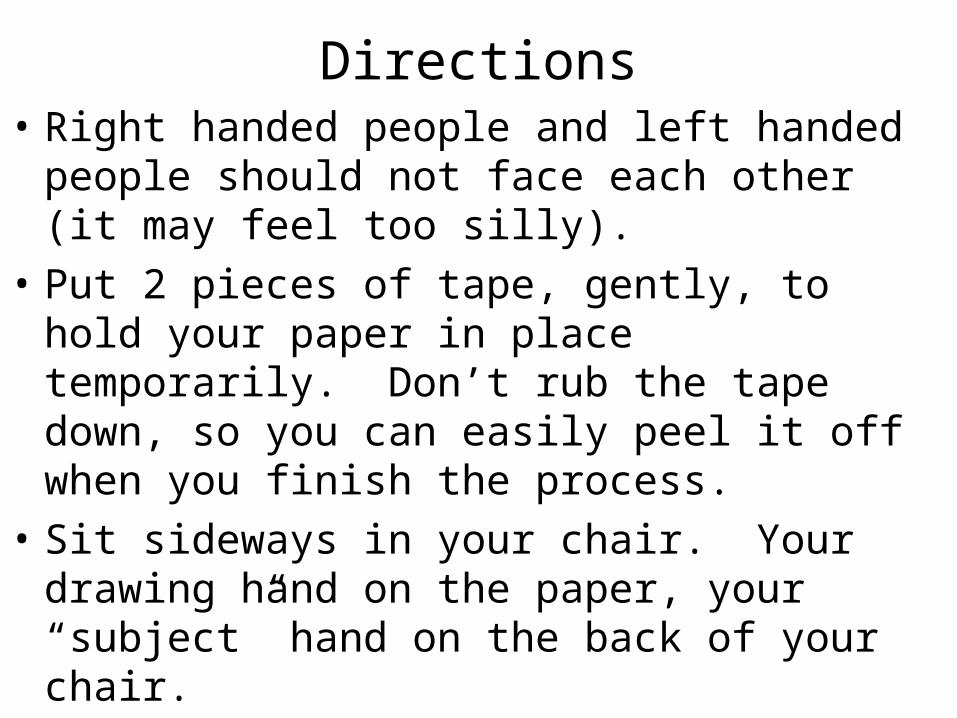
Directions• Right handed people and left handed people
should not face each other (it may feel too silly).
• Put 2 pieces of tape, gently, to hold your paper in place temporarily. Don’t rub the tape down, so you can easily peel it off when you finish the process.
• Sit sideways in your chair. Your drawing hand on the paper, your “subject” hand on the back of your chair.

Relax
Dir. Cont.

Directions, continued:
• Draw with ink so you don’t worry about erasing.• Draw only when you are looking at your subject• Look at your paper only when a line ends, and
you need to decide a place to start a new line.• Repeat: The assignment is not “Draw your
hand.” Your assignment is to stay in the process for the amount of the assigned time. If you “finish” one view, and there is still time, simply turn your hand slightly and “begin again”. It’s ok to go over your old drawing.
• Discuss grade.

Grade understanding:
• Complicated view
• No erasing, drew with ink
• Drew right brain contours
• Put name and homeroom on

How I evaluate: I watch the process
• You don’t quit, you stay with the process the whole time, looking at your subject for the full time. If you “finish” one view, simply turn your hand slightly and “begin again”. It’s ok to go over your old drawing.
• You don’t draw when you look at your paper, you look only to place your pen to start a new line.
• You don’t choose a “flat hand” view, you choose a view of your hand that is complicted with overlapping, so your left brain is turned off.

How I evaluate: I look at your drawing
• Erasing…you looked too much at your paper (pen eliminates this)
• Smooth certain lines…you already knew how to draw it….possibly a left brain “schema”…possible fear of trying…possible not understanding
• The drawing looks just like a hand…you possibly looked too often

Modified Contour line Drawing
• Look only at the subject while drawing.
• Look at your paper only when not drawing to place your pencil.
• It is the next step in training the eye to draw what it really sees rather than what it thinks it sees.
• Use a seat chart and mark how long each student draws. Put grade in book.


’07-’08

’07-’08

’07-’08


Contour 3
• Draw more contours

‘07

‘07
‘07
‘07
‘07

‘07


Rules for contour line drawing
• TV off, No noise,You can’t talk – it messes up your focus
• The subject should be still, and you have to be still
• Think of it as lines, don’t name the object• Really look at the subject, Go slow to get all the
detail• Instrumental (no words) music helps you ignore
disruptions. • Choose a subject or angle of viewing that
frustrates your left brain and delights your right.>


• Look back on your preliminary drawings
• Write on your final contour line drawing lesson how your skill has changed
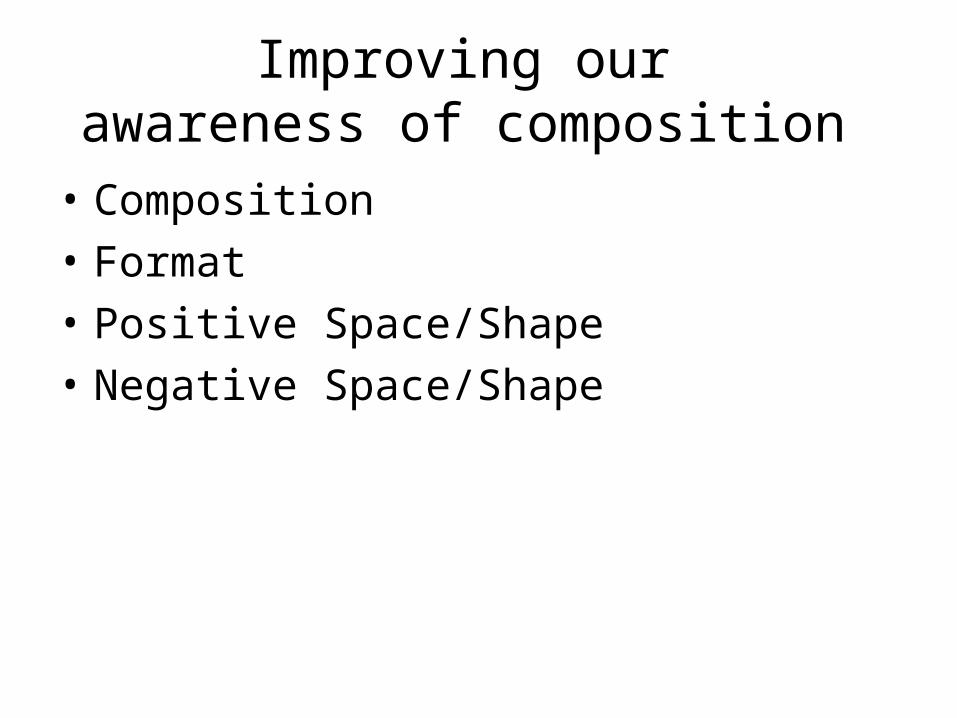
Improving our awareness of composition
• Composition
• Format
• Positive Space/Shape
• Negative Space/Shape


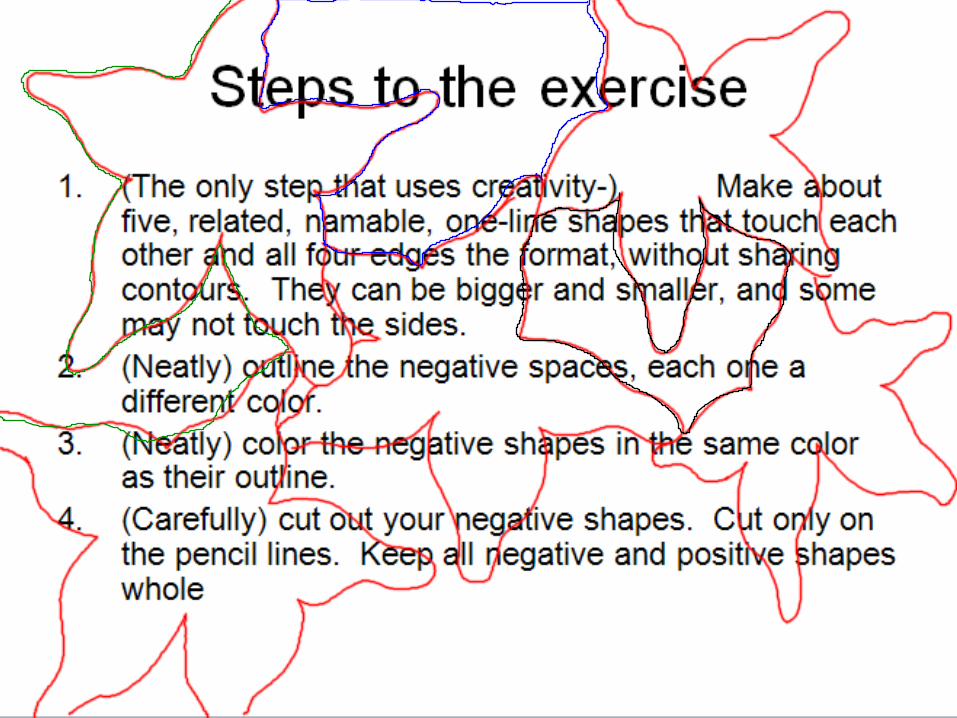
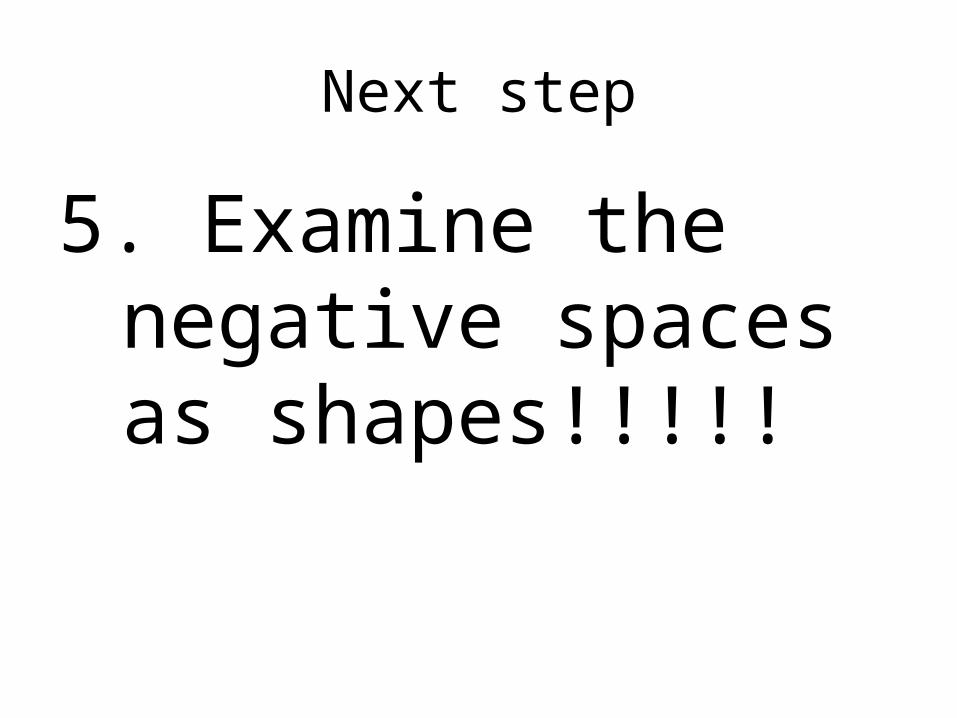
Next step
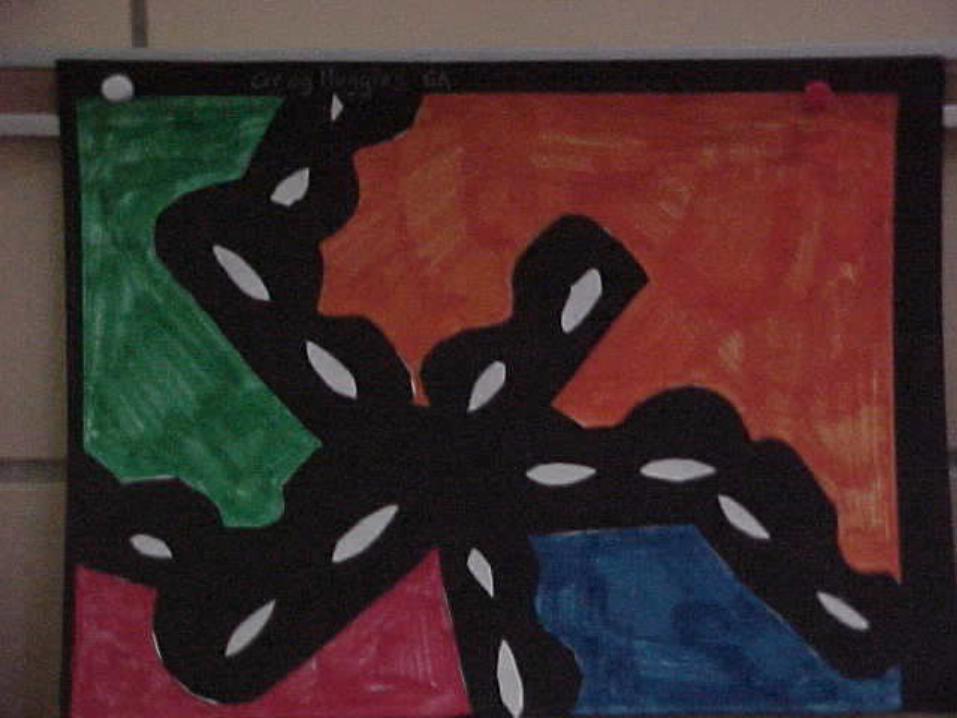
5. Examine the negative spaces as shapes!!!!!

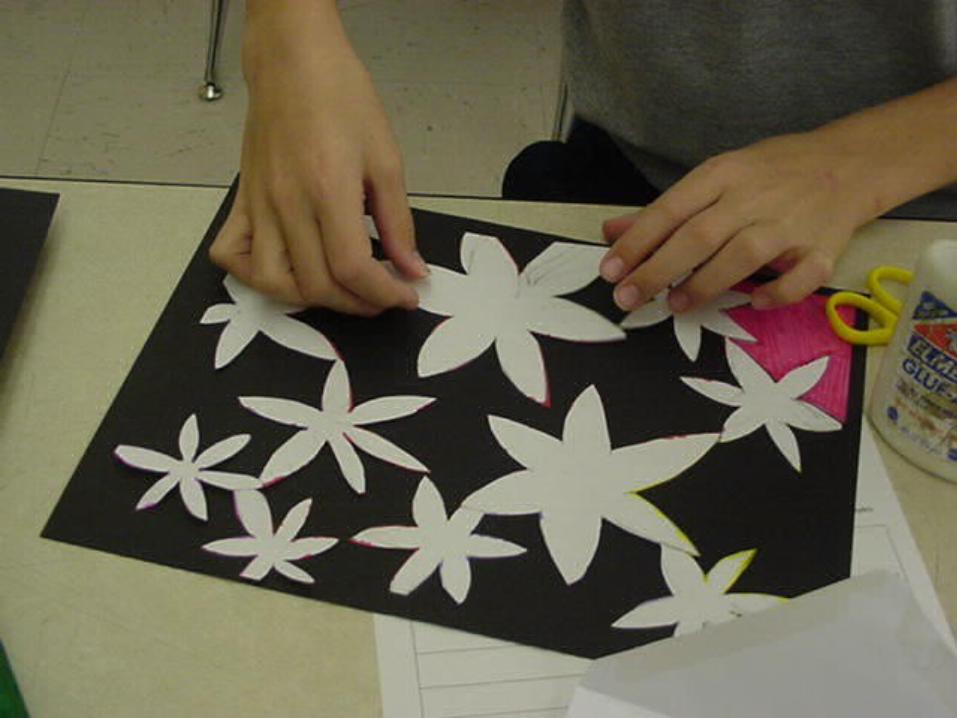
Cont.
6. (neatly) reassemble the puzzle, centered on a black background
7. (neatly) glue down only the negative shapes
8. Observe that the properly placed negative shapes make the positive shapes appear.


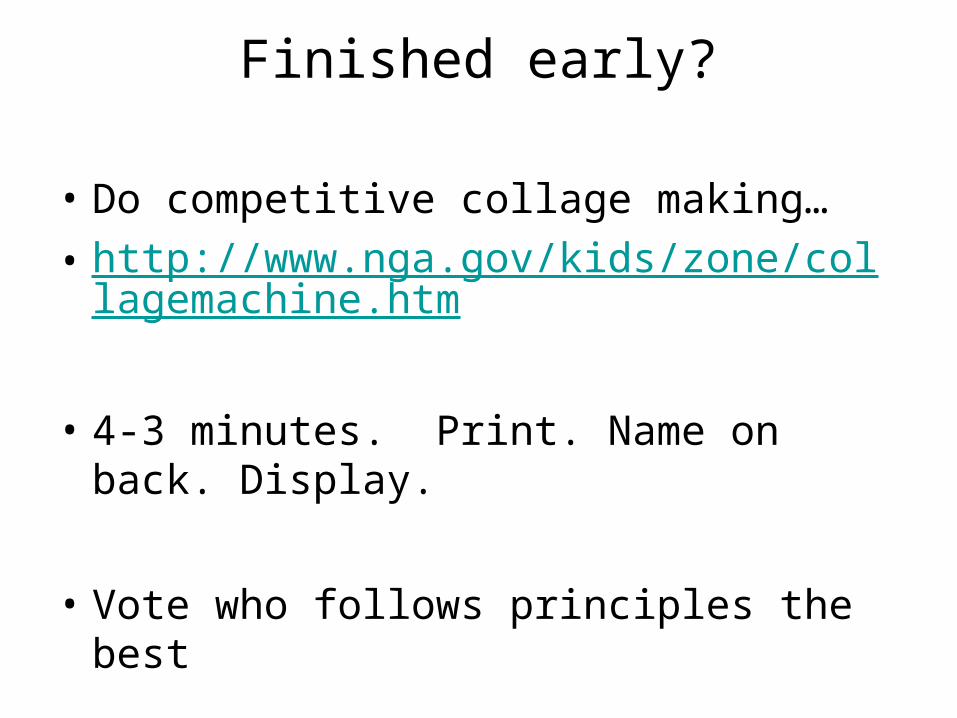
Finished early?
• Do competitive collage making…
• http://www.nga.gov/kids/zone/collagemachine.htm
• 4-3 minutes. Print. Name on back. Display.
• Vote who follows principles the best

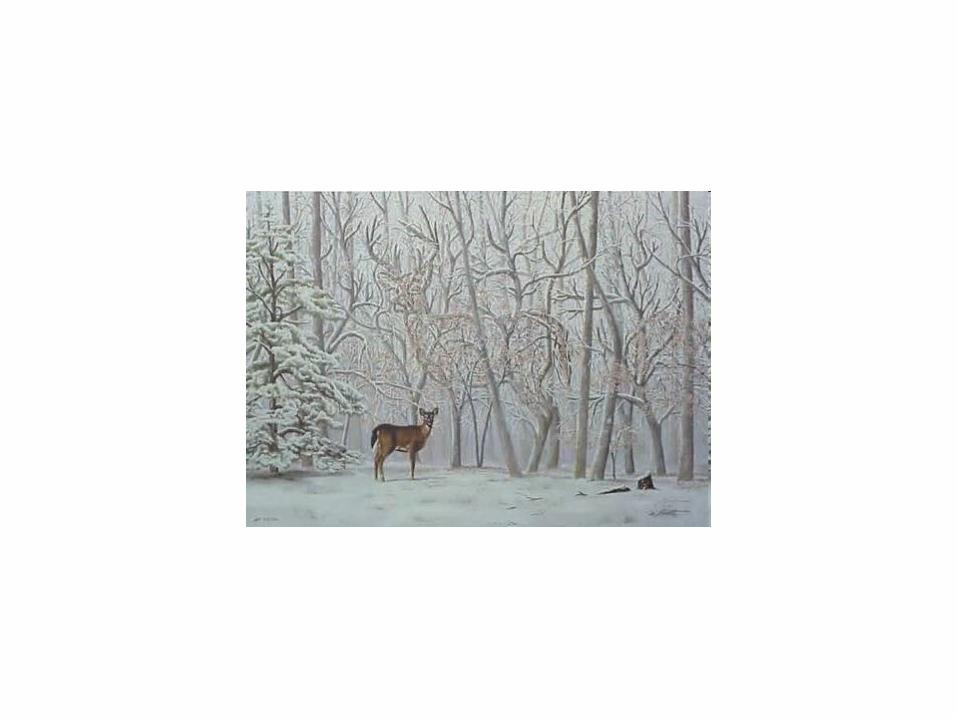
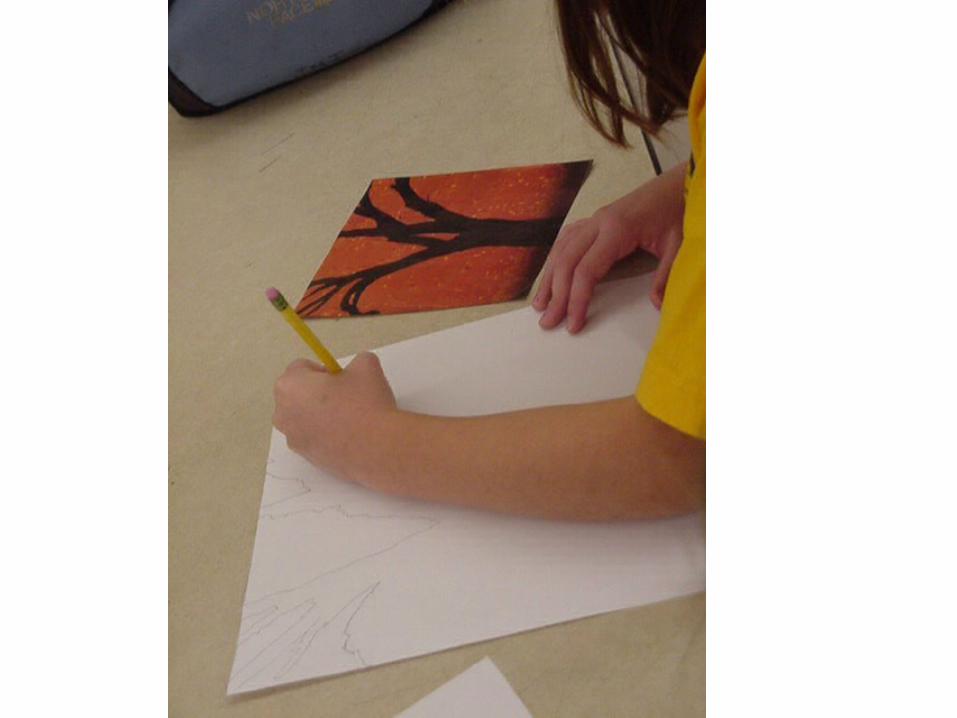
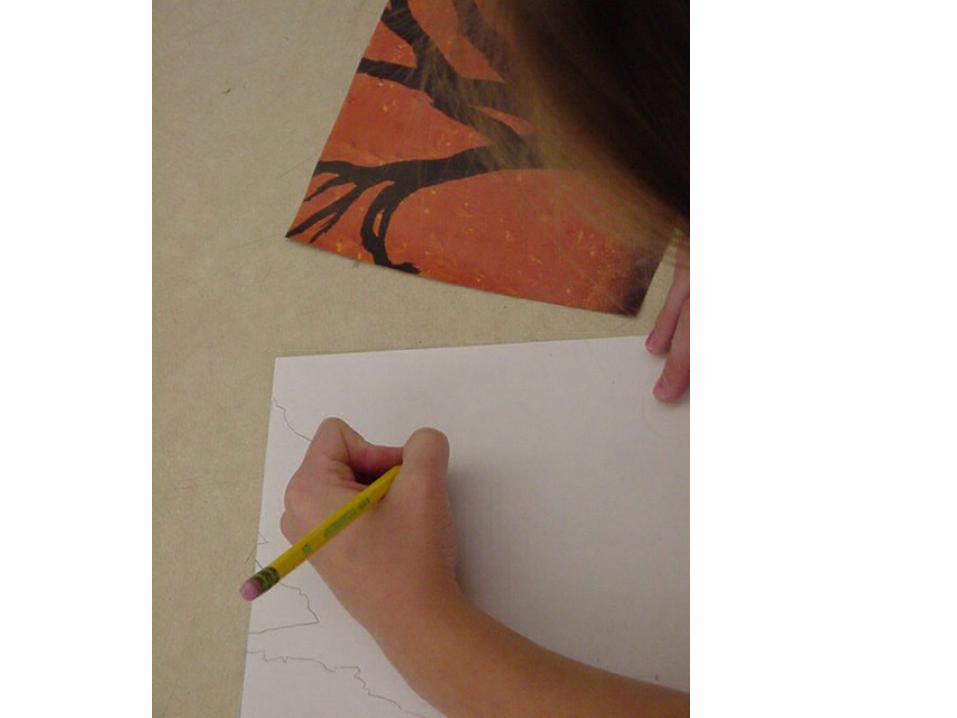
10 faces tree


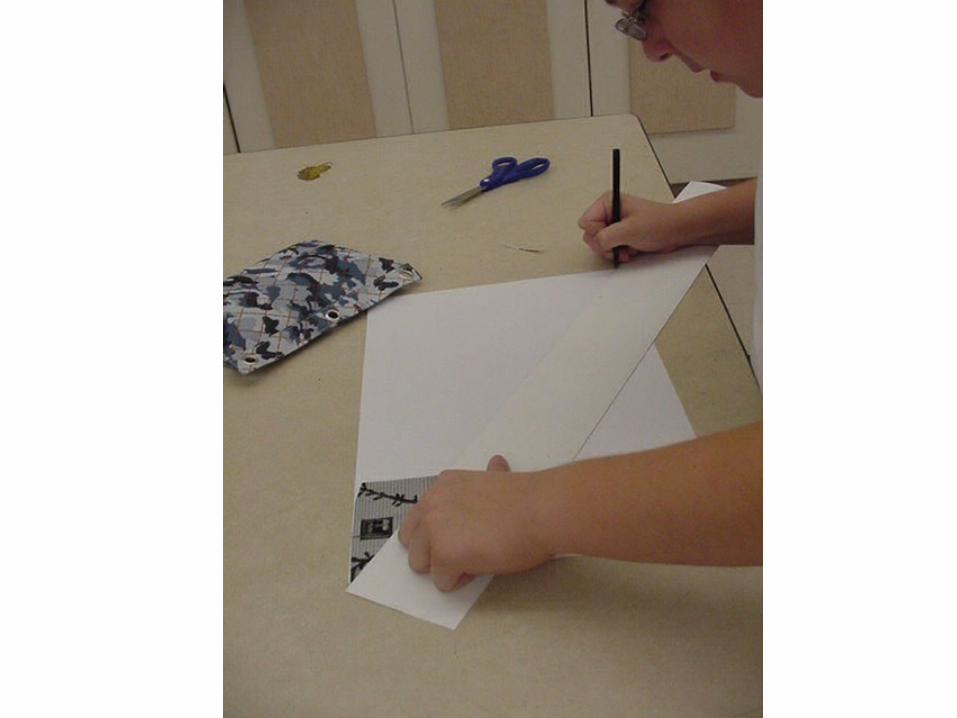
Negative space drawing
• Cut out (in rectangle shape) magazine pictures that have at least 5 negative spaces. – Sometimes this involves deciding what in the
picture is positive space. Or it may involved re-formatting the picture.

Negative space drawing, cont.
• Choose the one that has the most interesting negative spaces to draw.
• Get a piece of 11x17 copier paper.
• Format the paper so your drawing is as big as it can be on the paper, but still be congruent with the picture that you chose. (Cut off the extra.)


Line up the straight edge with the corner of magazine picture.

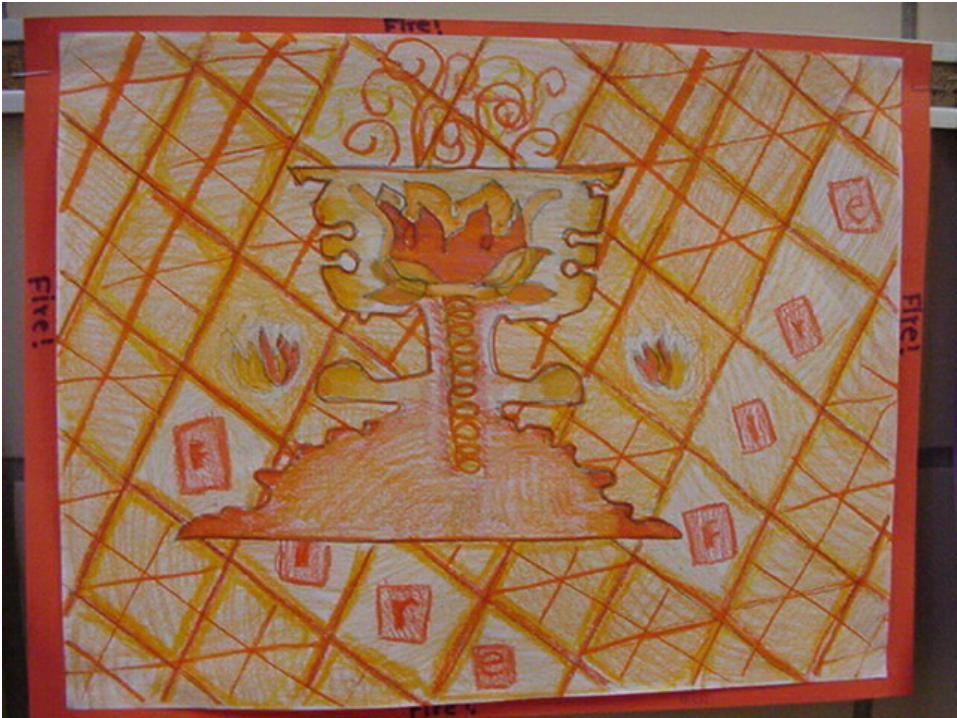
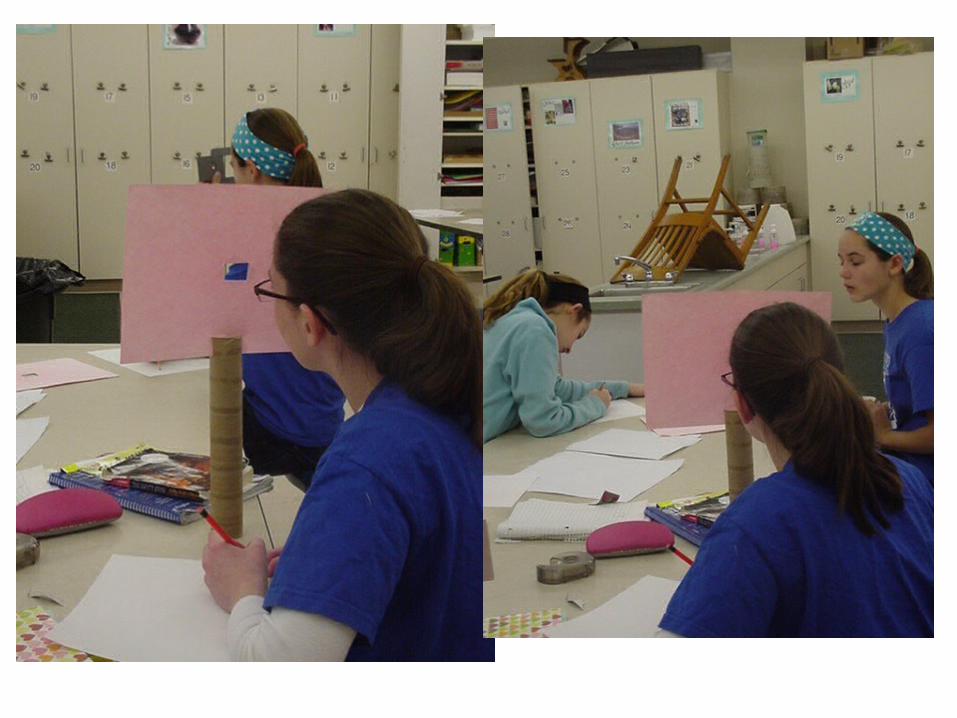
6th gradeFinal Composition Exercise
• We taped down our paper.
• We looked through the viewfinder at a 3D object.
• The top of the camera touched the top of the viewfinder. The bottom of the tripod legs touched the bottom of the viewfinder.
• We drew the negative shapes around the camera.

05

05

05
